Hello Guys! This tutorial goes over the concept of a web banner used in digital marketing. Today we are going to show you “How to Design an Eye-Catching Web Banner in Illustrator”.
A web banner or banner ad is a form of an advertisement on the World Wide Web produced by an advertisement server. This form of online promotion requires implanting an advertisement on a web page. It is designed to drag traffic to a website by connecting to the website of the promoter.
Resources
Images used:
Fonts used:
- Vivaldi Italic
Step 01
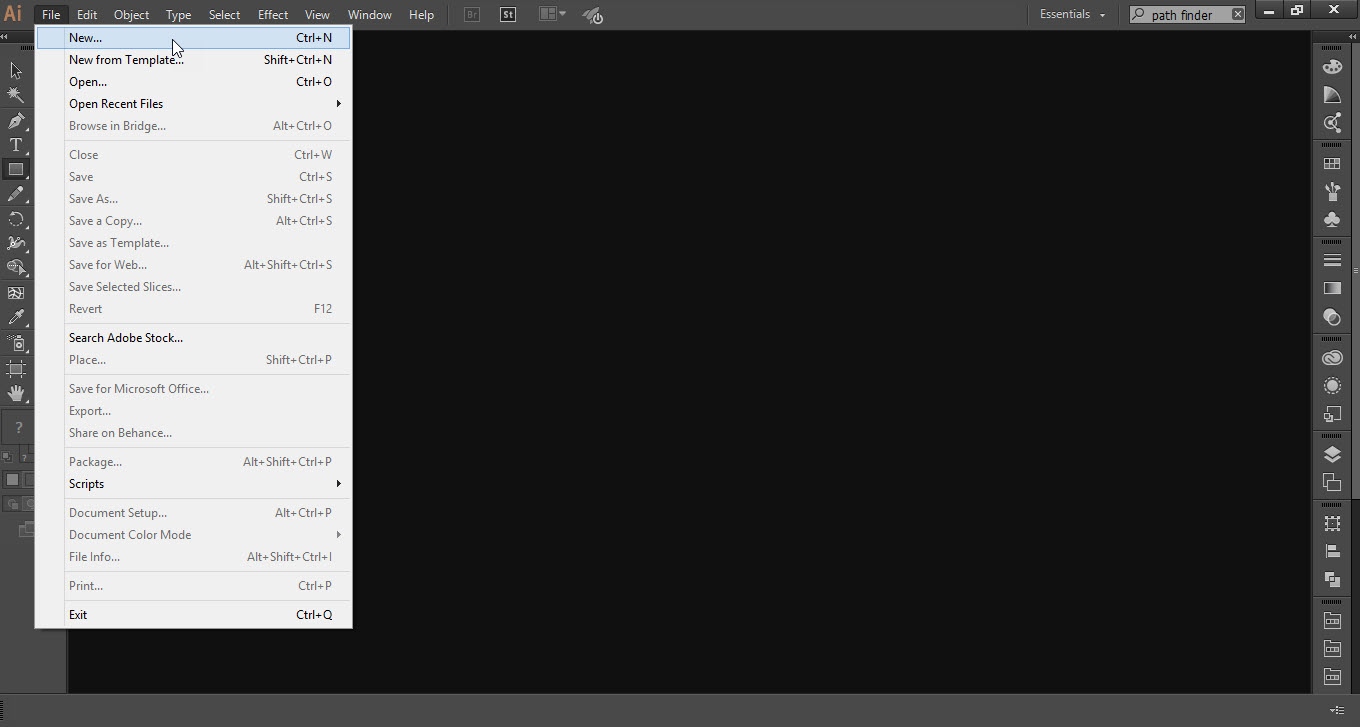
- Open the Illustrator software.
- Go to the “file” menu and click on the “New”.
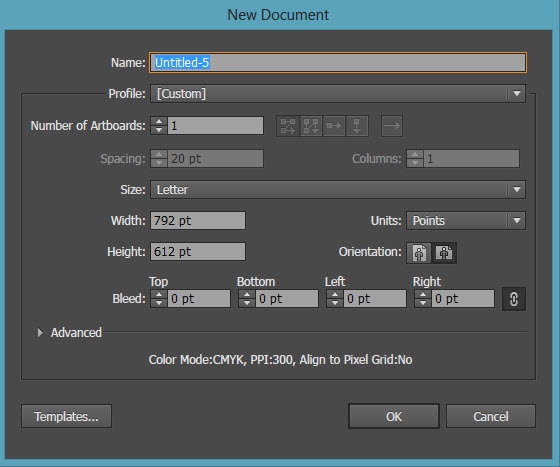
- Select the size of the file according to your requirements.
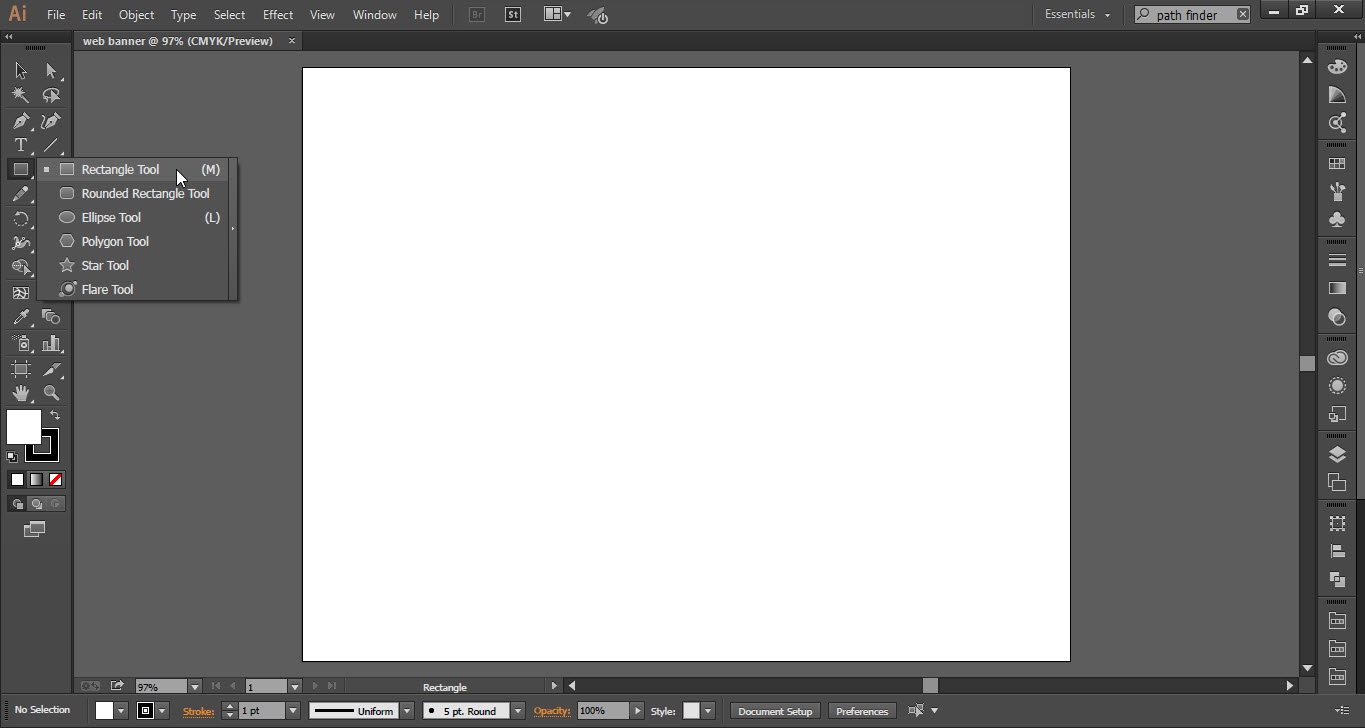
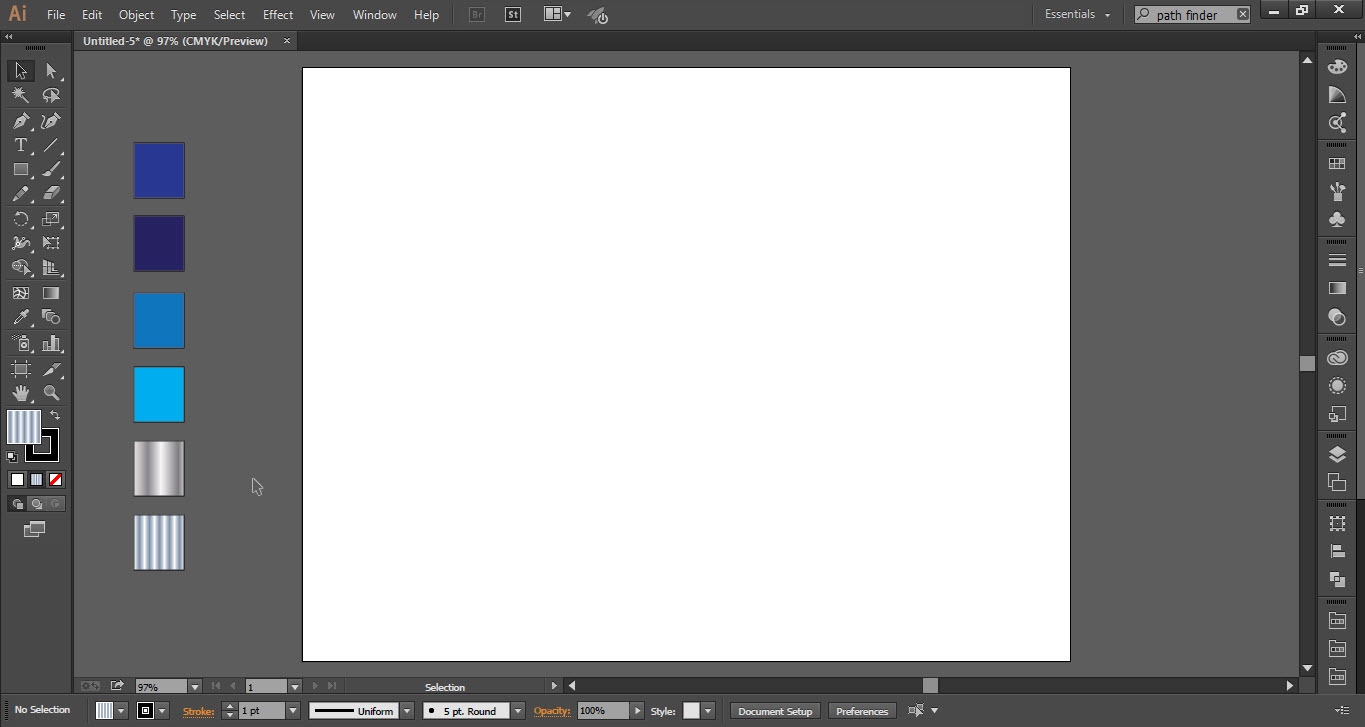
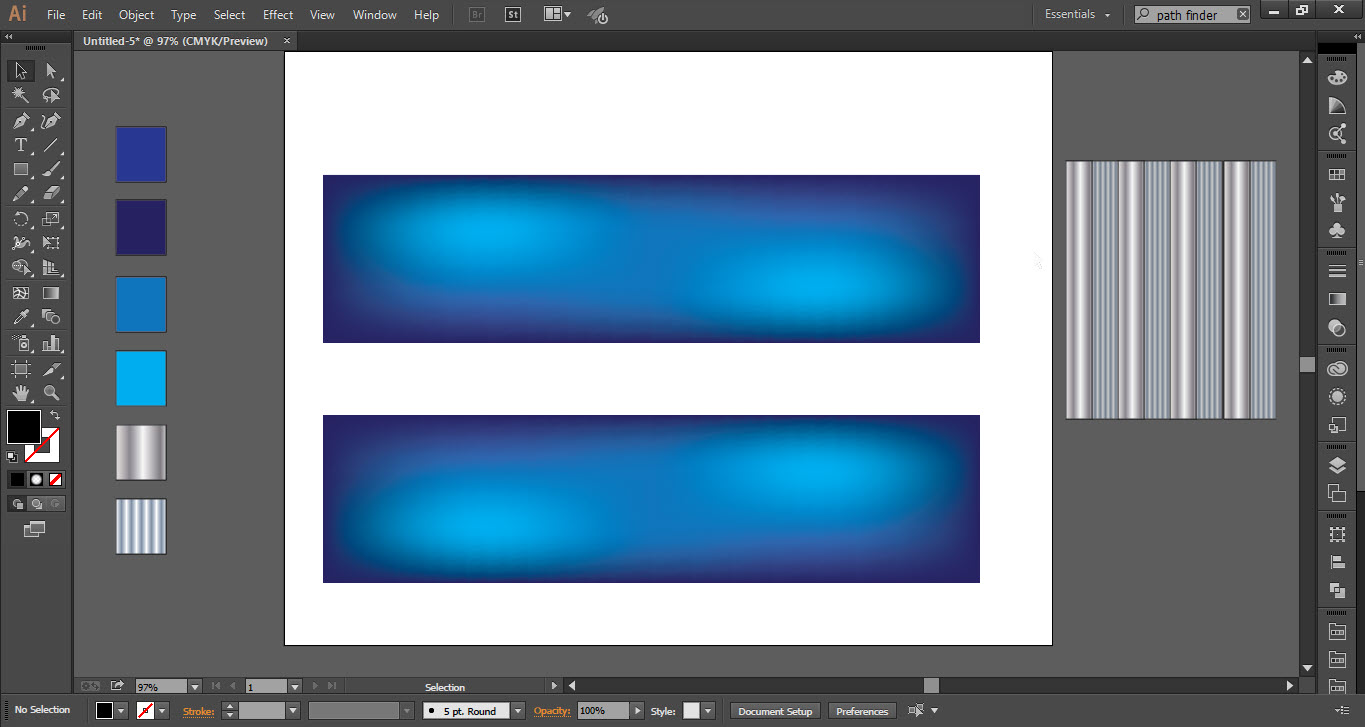
- Now select “Rectangle Tool” and draw small rectangles on one side of the workspace.
- Now fill all the rectangles with the color which you want to use.
Step 02
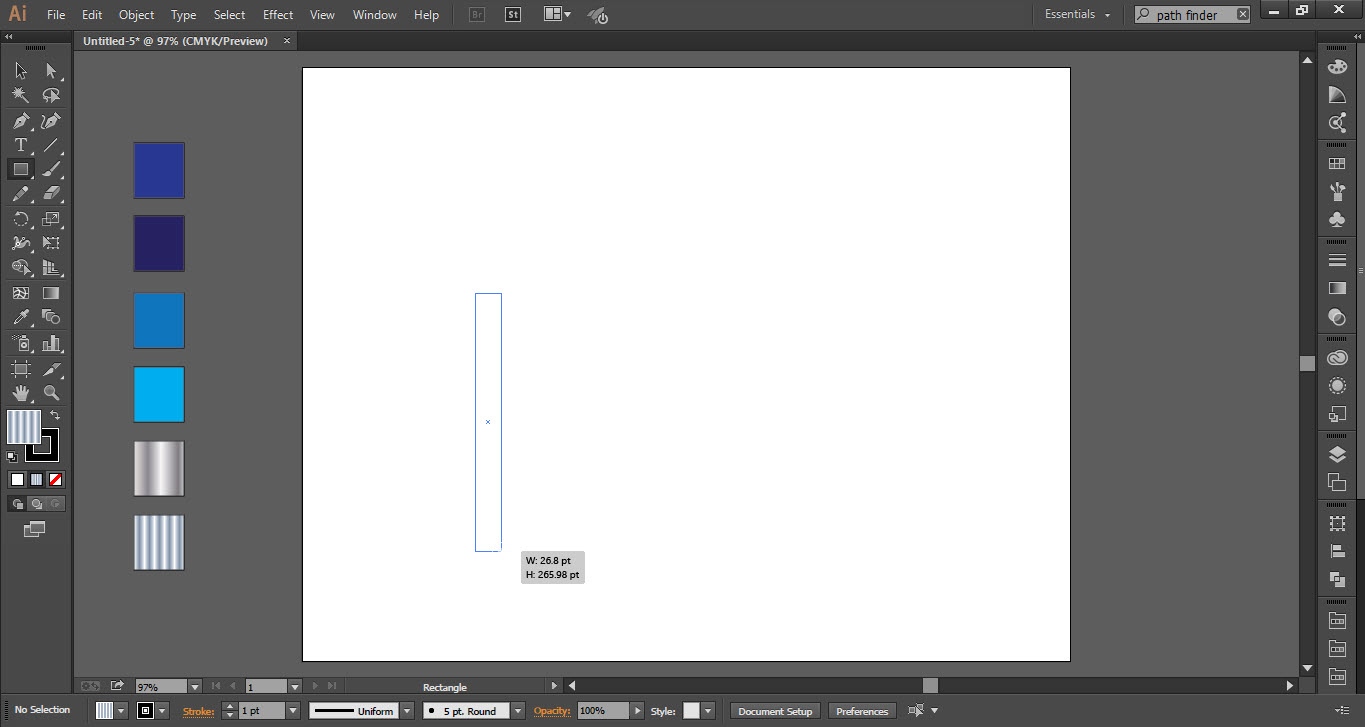
- Now select the “Rectangle Tool”.
- Draw a rectangle as shown in the screenshot and fill it with silver color.
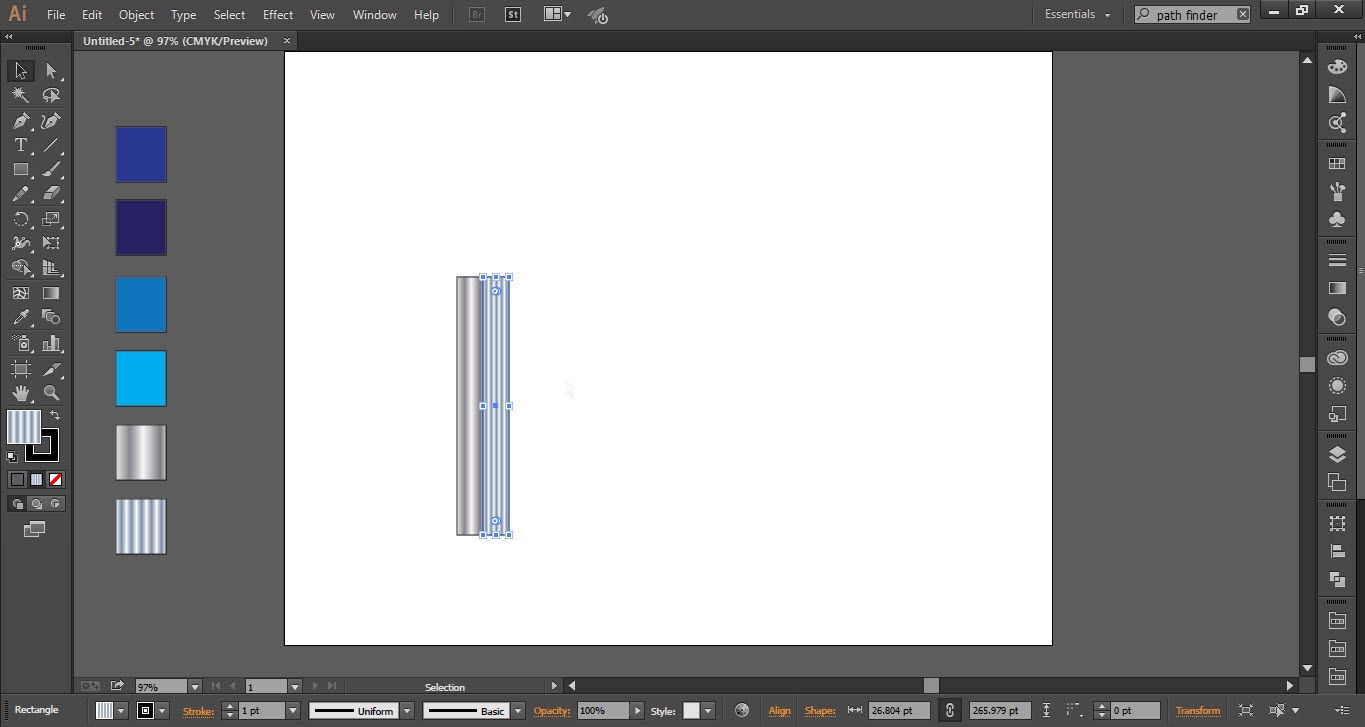
- Now we have to make a duplicate of the same rectangle.
- To do so press “Alt+Windows” button and then start to drag.
- Fill the duplicate rectangle with a color.
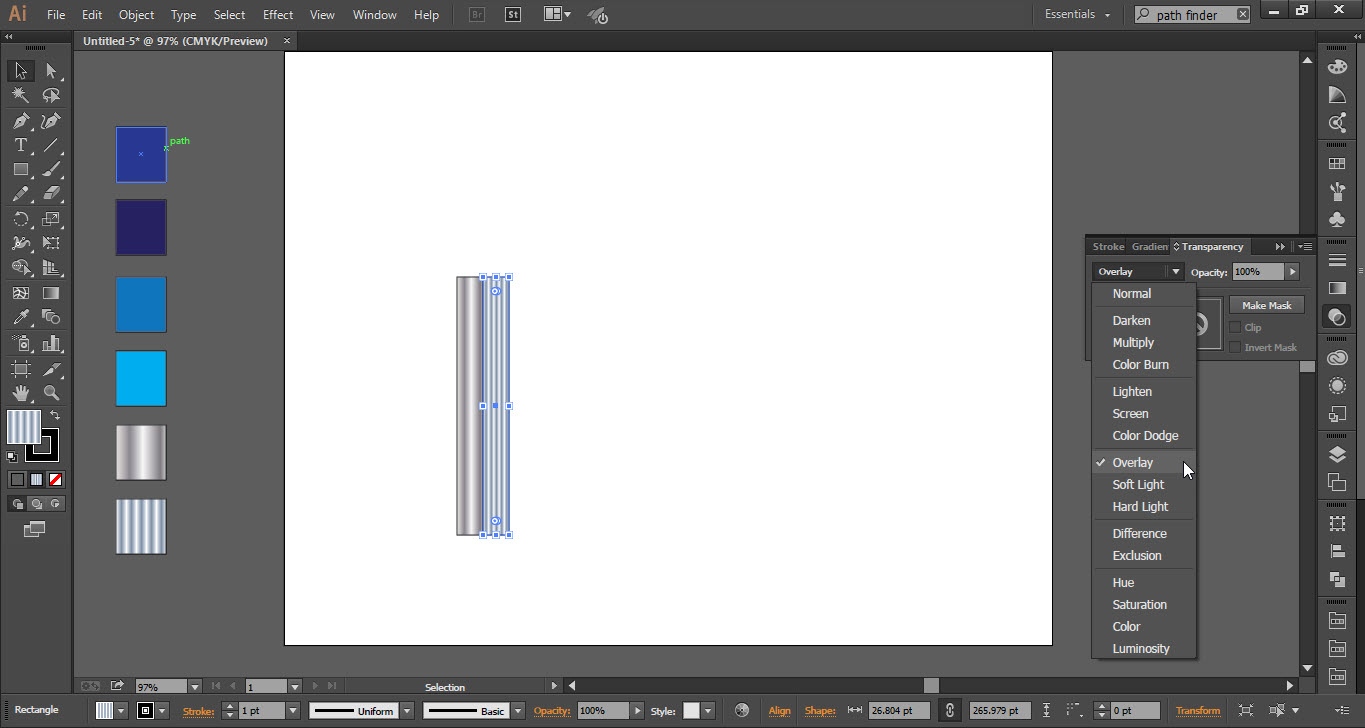
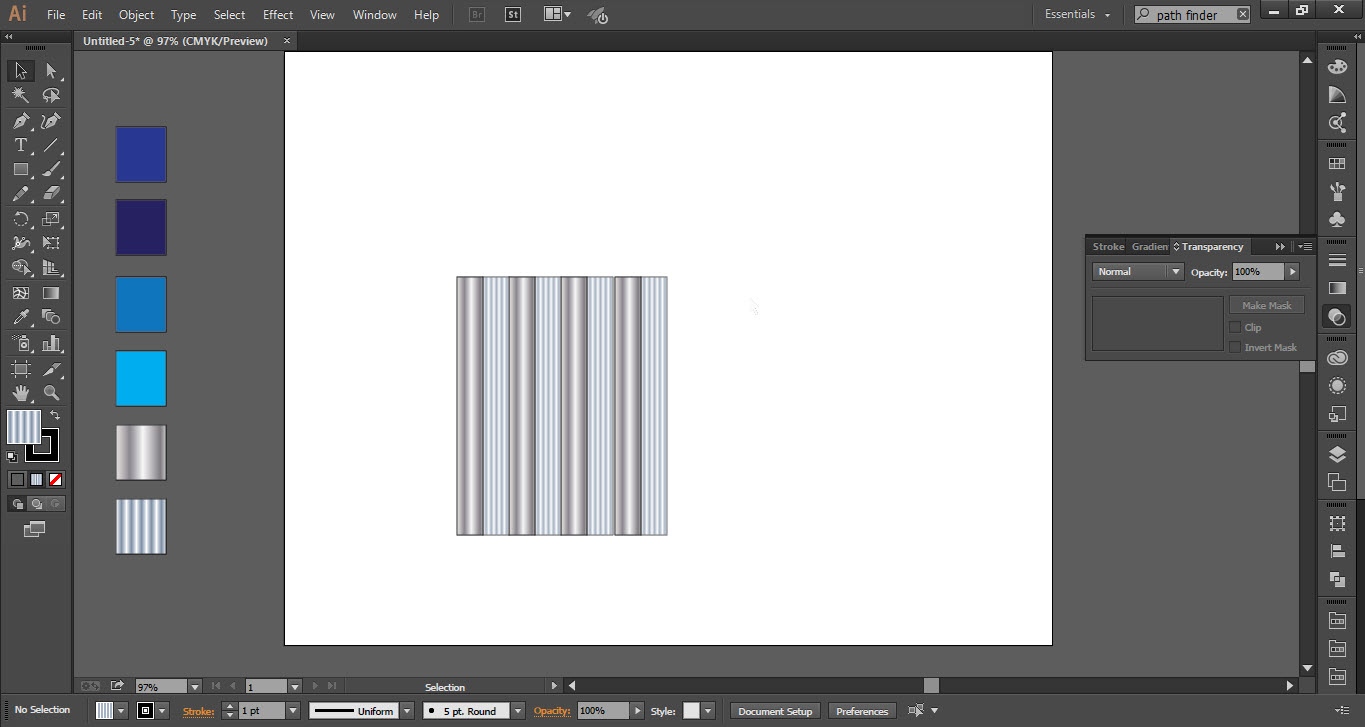
- Now go to the “Window Menu” and click on the “Transparency” option.
- Select the first rectangle and change the “Normal” option to “Color Dodge”.
- Now select the second rectangle and change the “Normal” option to “Overlay”.
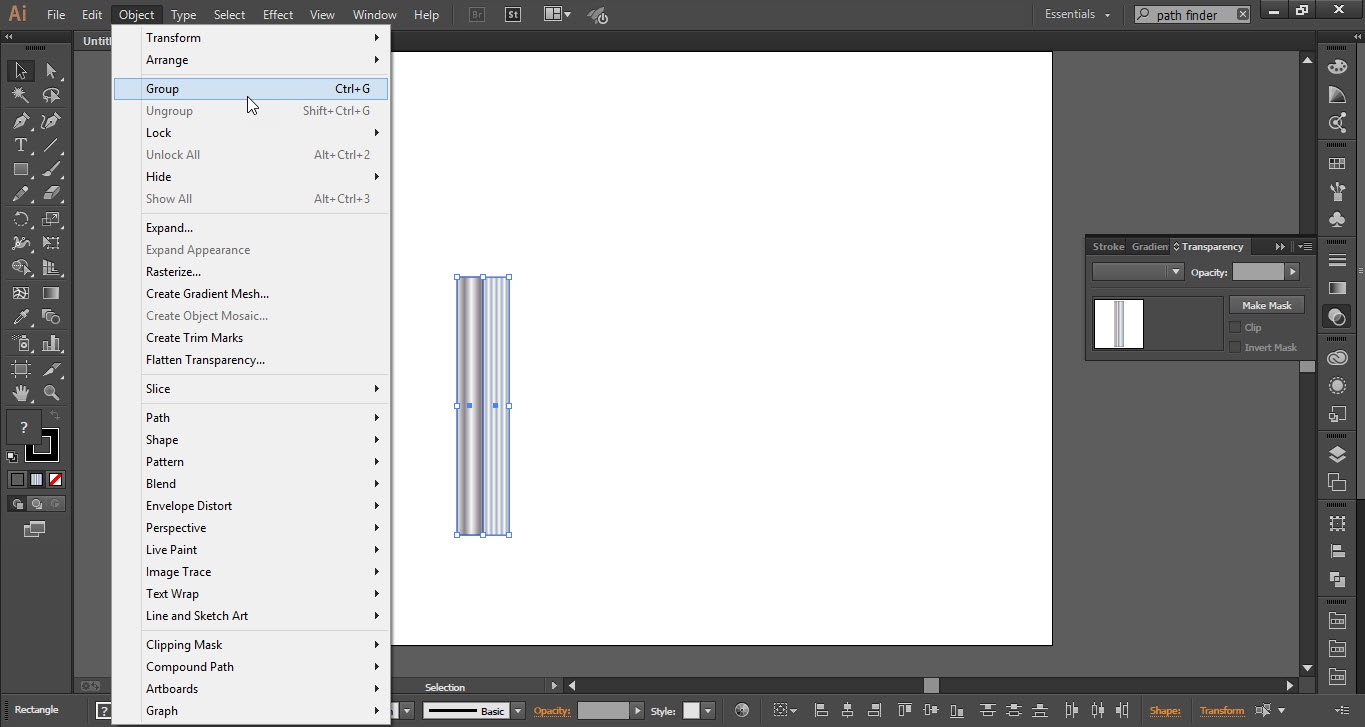
- Now select both the rectangles and go to the “Object” menu and click on “Group” option.
- Make multiples duplicate of the same triangles by pressing the “Alt+Window” button and then drag it.
- Now select all the “Rectangles” then go to the “Object” menu and click on the “Group” option.


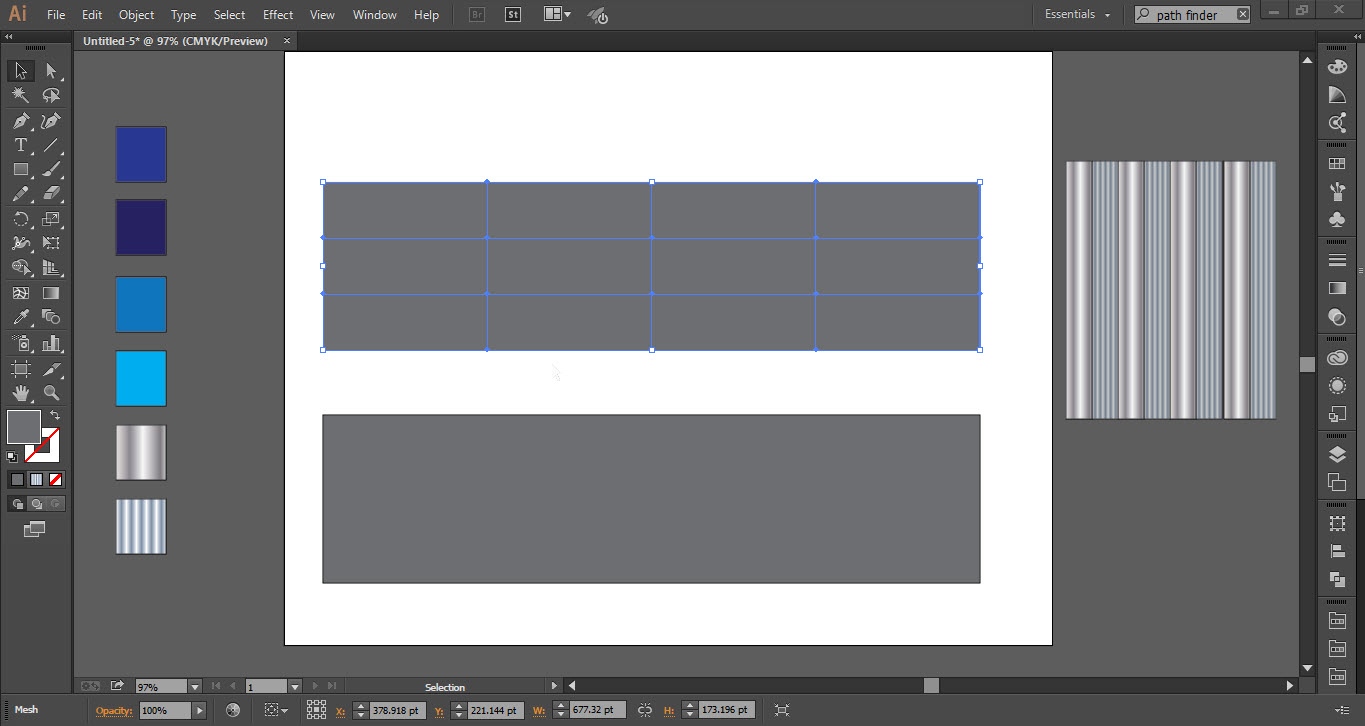
Step 03
- Take the “Rectangle Tool”.
- Make a rectangle of the size according to your requirement.
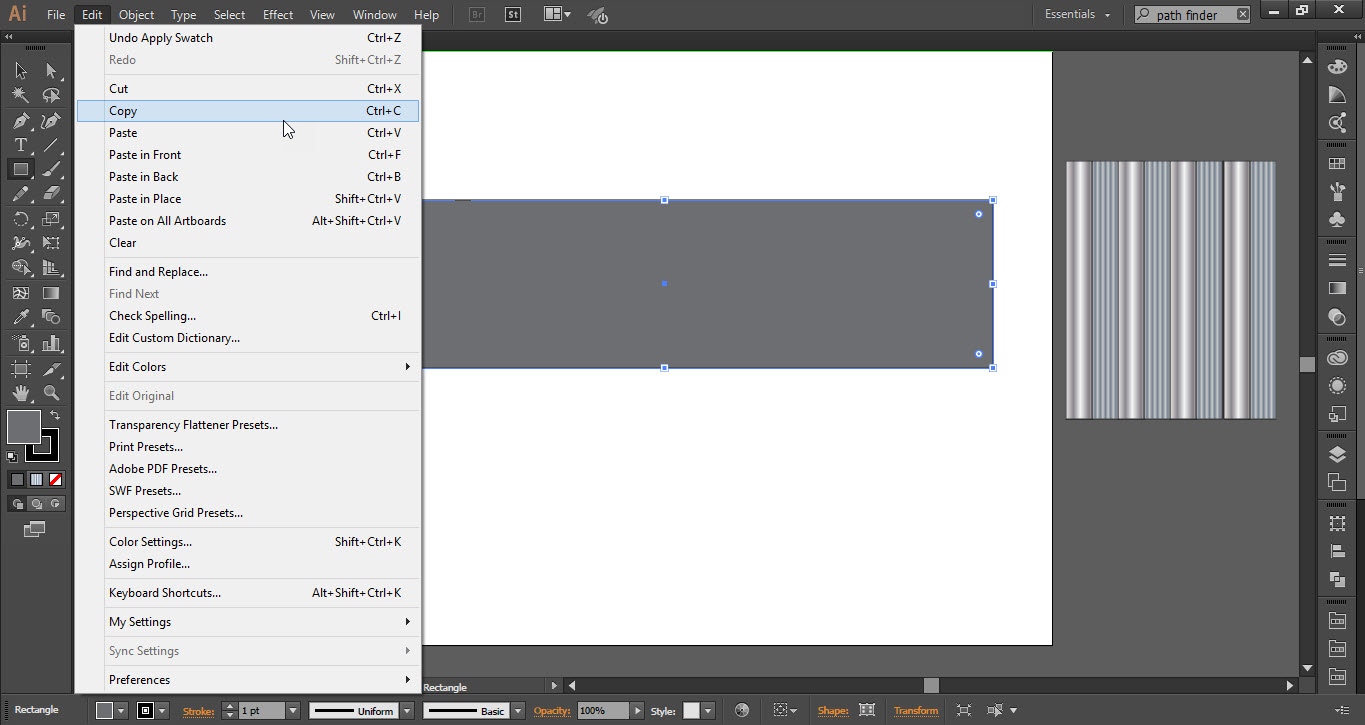
- Now select the rectangle and go to the “Edit Menu” and click on “Copy” option.
- Again go to the “Edit Menu” and click on the “Paste” option.
- Place the copy of the rectangle below the original rectangle.
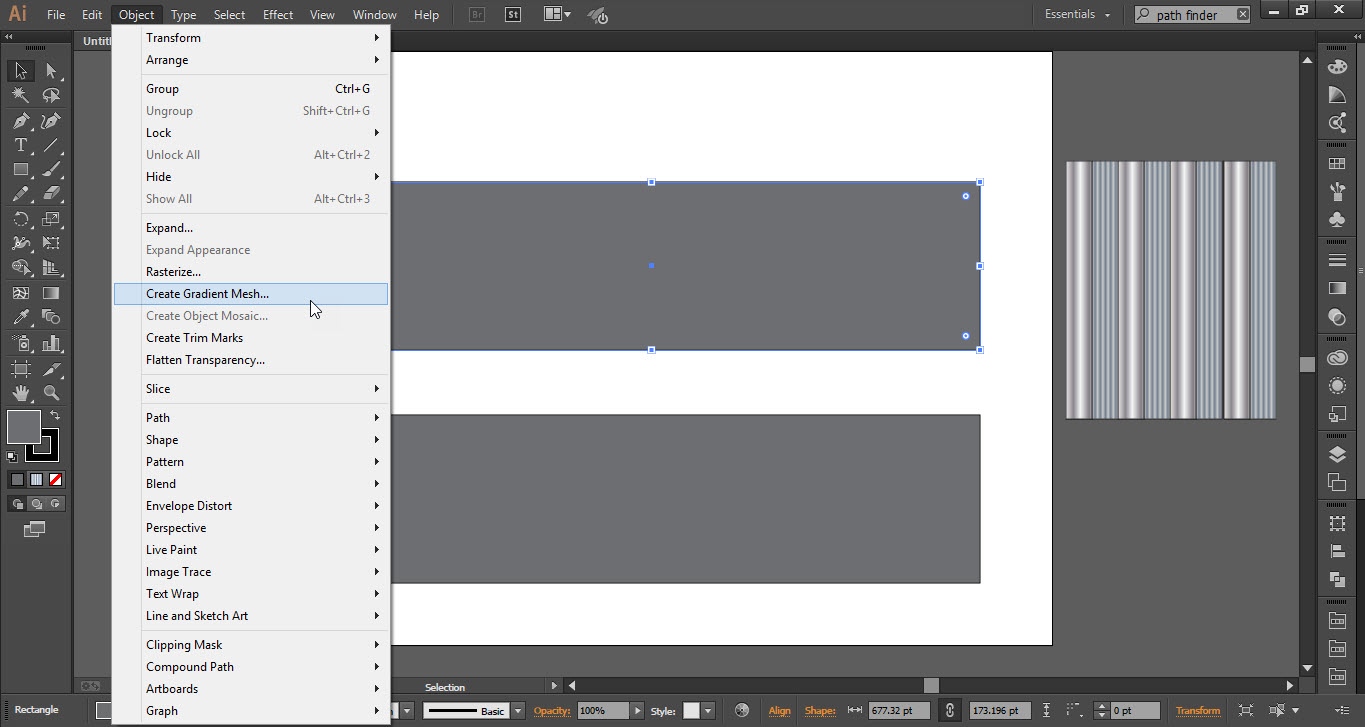
- Now select the original rectangle and go to the “Object Menu” and click on the “Create Gradient Mesh” option.


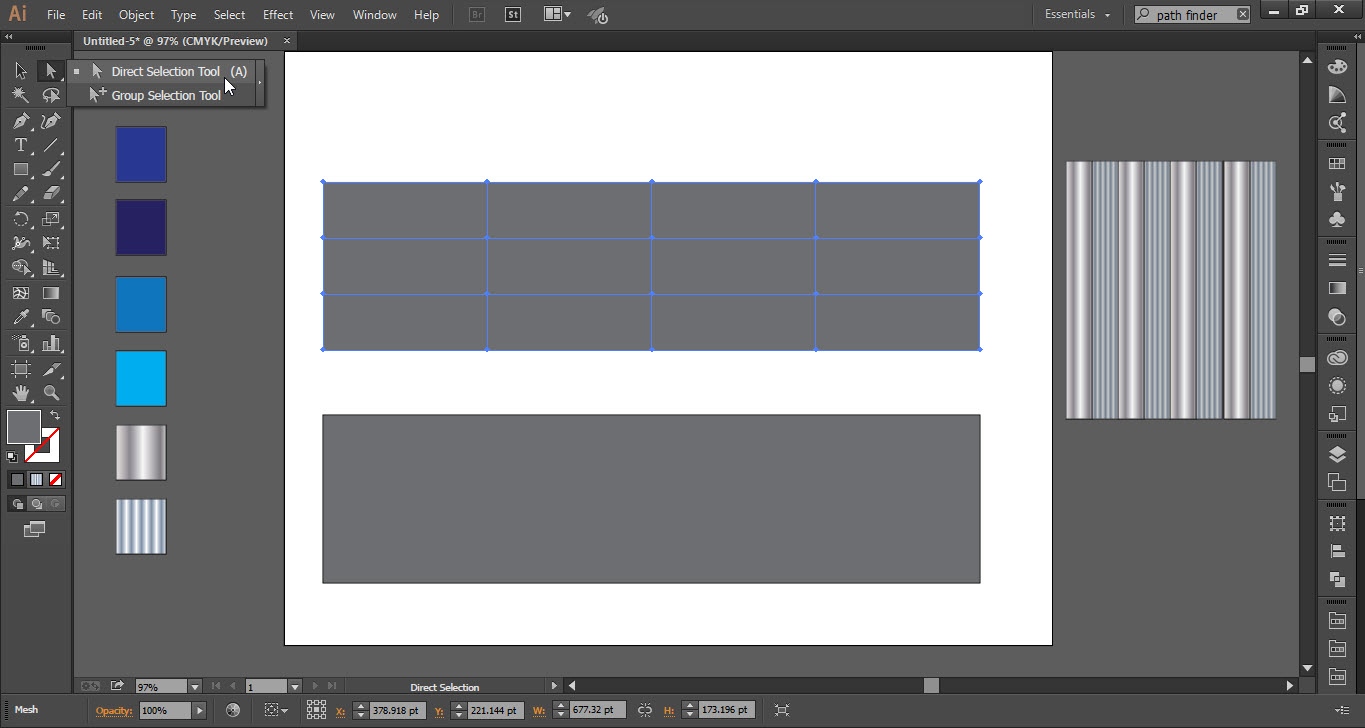
Step 04
- Take the “Selection Tool” and select “Direct Selection Tool”.
- Hold down the “Shift Key” to add the object to your selection as you click on them.
- Click on the right side of the rectangle to make the selection.
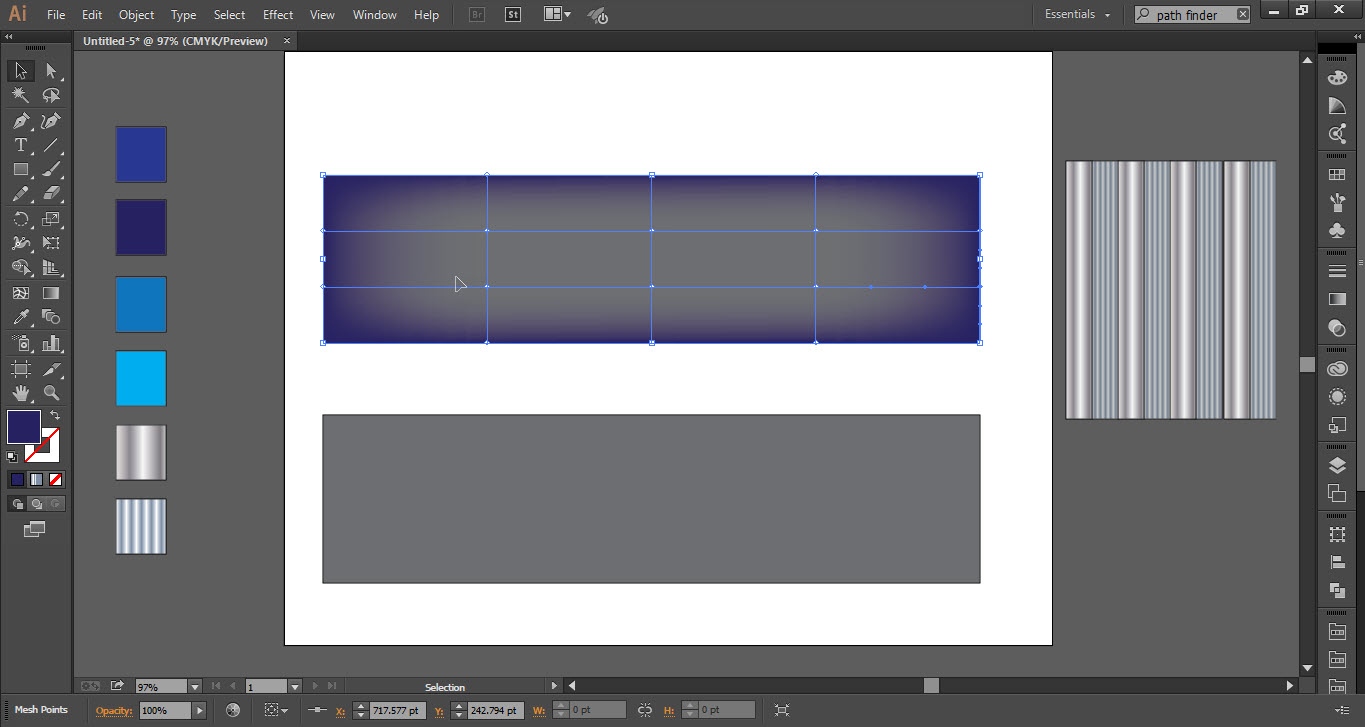
- Now apply the color with the help of “EyeDropper”.
- Apply the color to the boundary by selecting the gradient points.
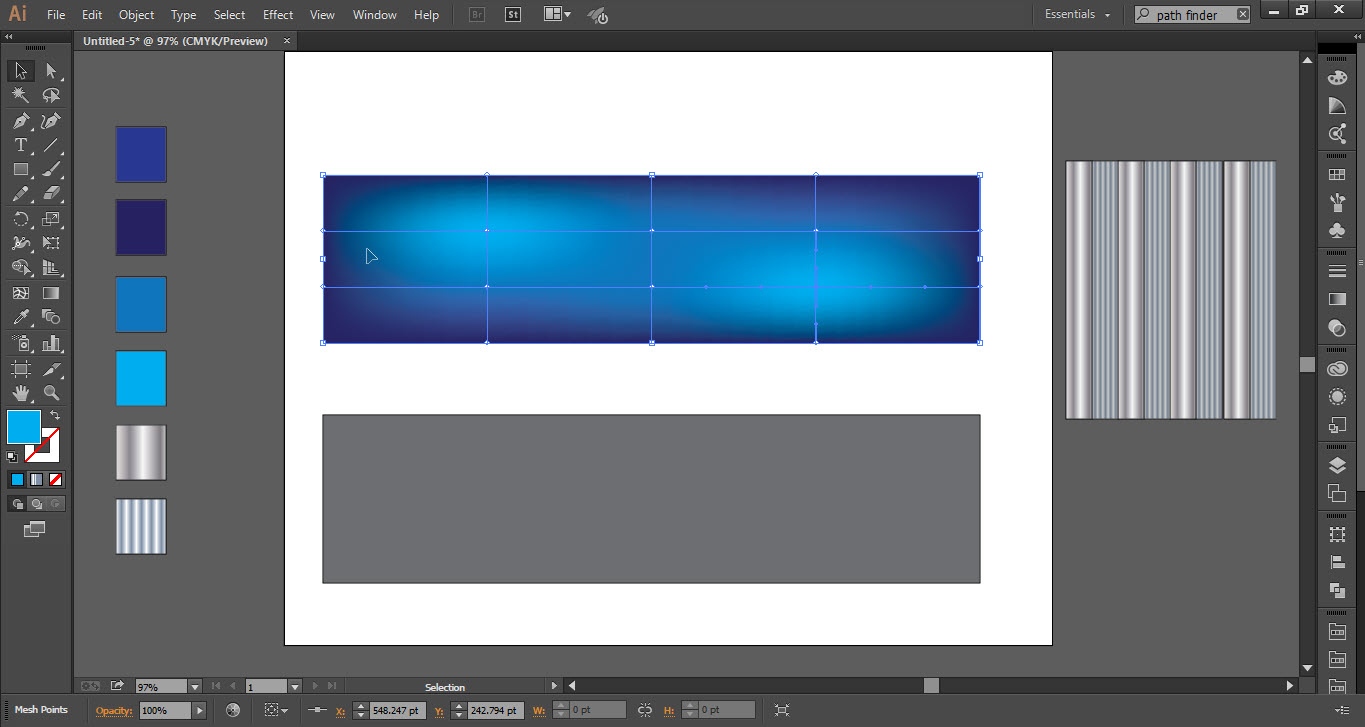
- Now select the center points and apply the colors.
- Follow the same steps to apply color to the second rectangle.

Step 05
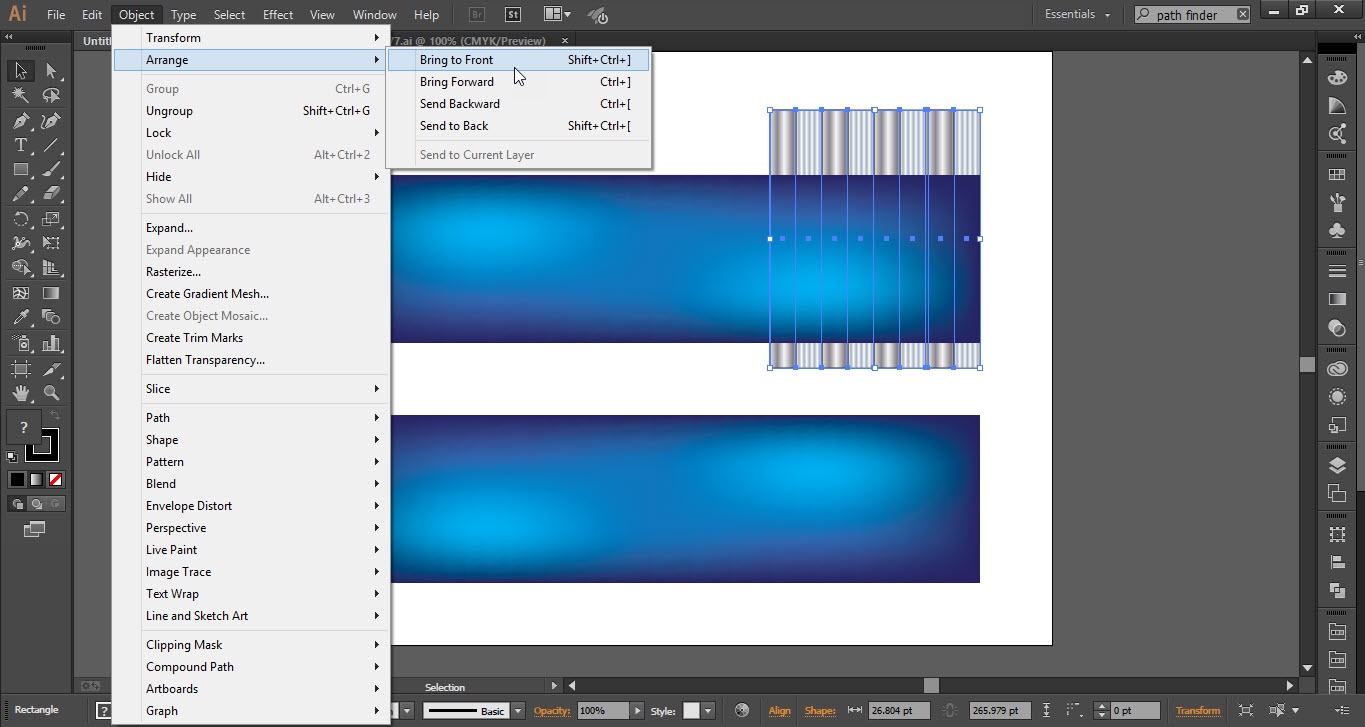
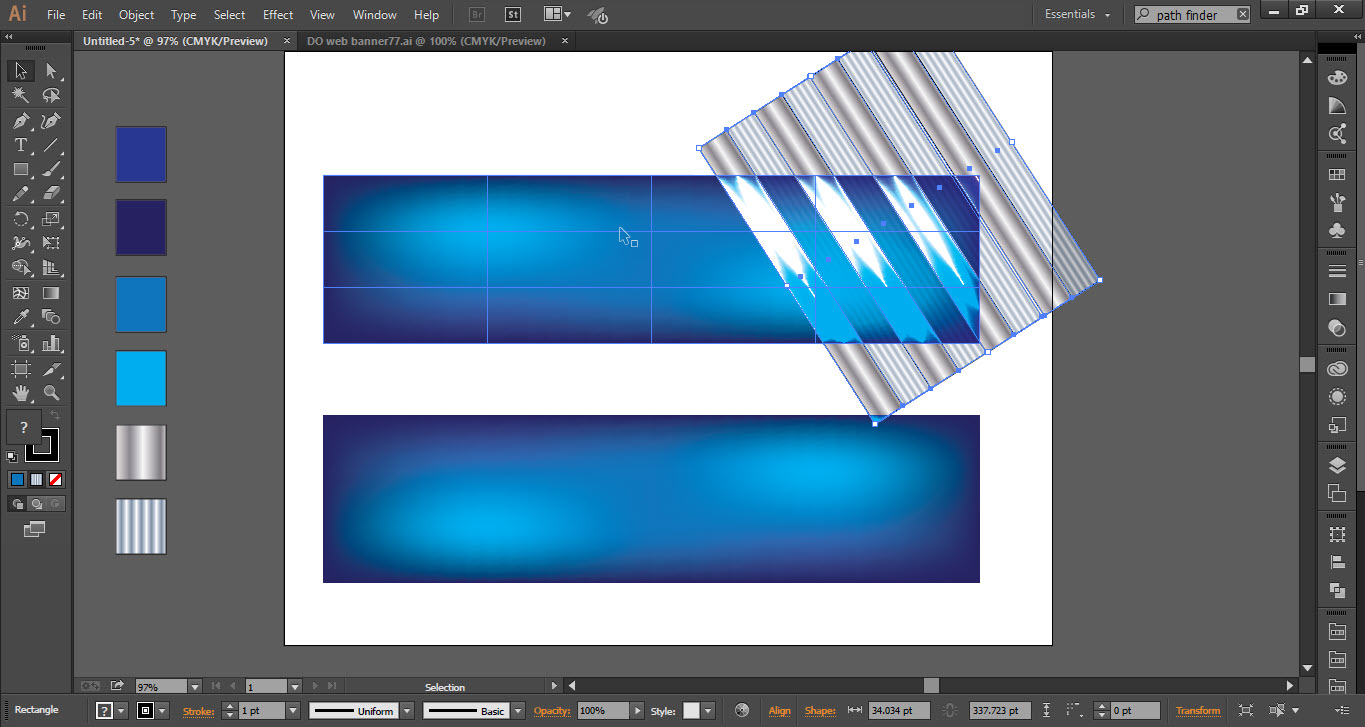
- Now place the shape which we create in the first step on the first rectangle.
- Go to the “Object” menu then go to the “Arrange” menu and click on the “Bring to Front” option.
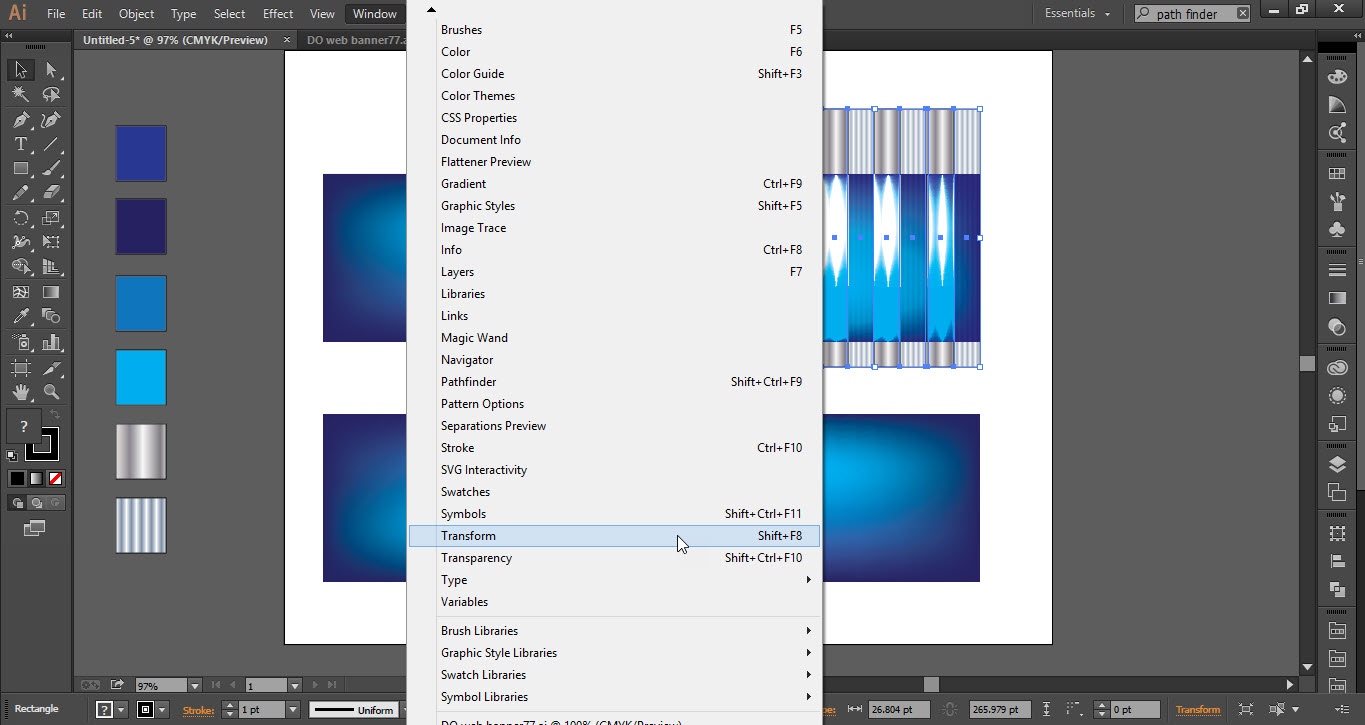
- Now go to the “Window” menu and click on the “Transform” option.
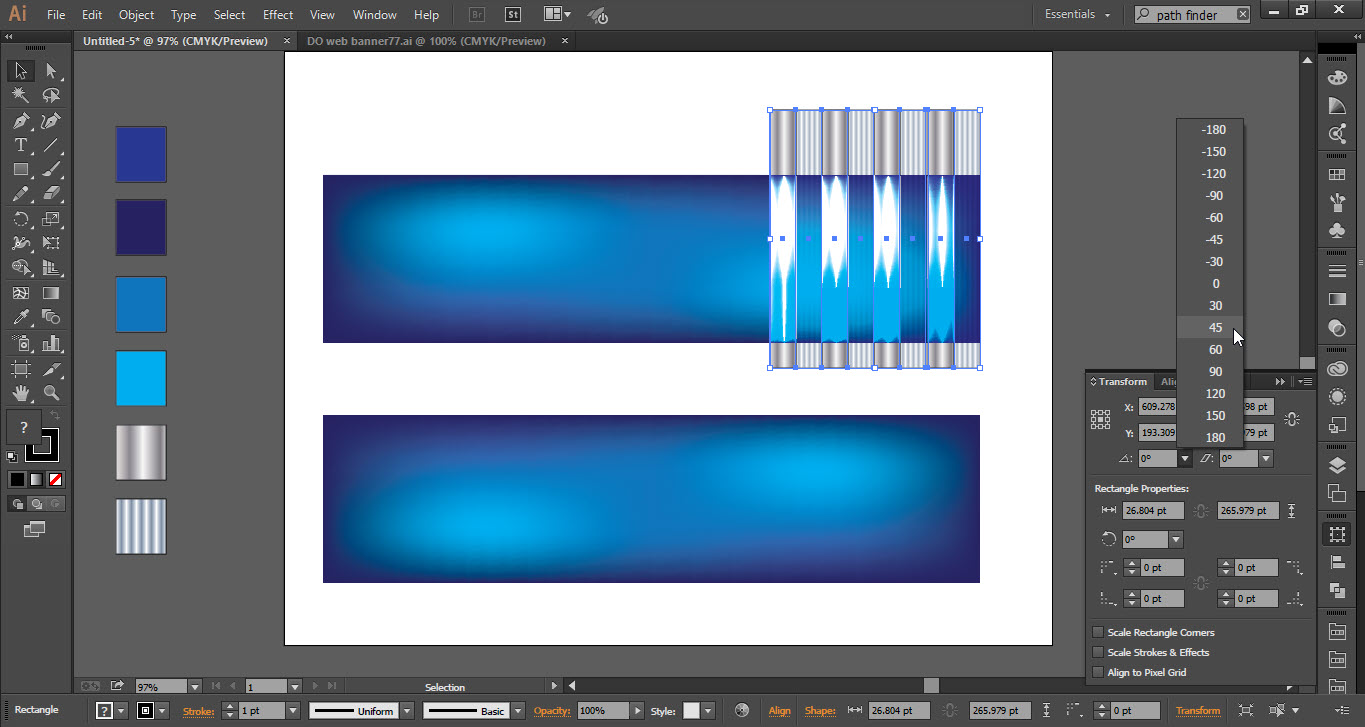
- Now select the angle 45 degrees.
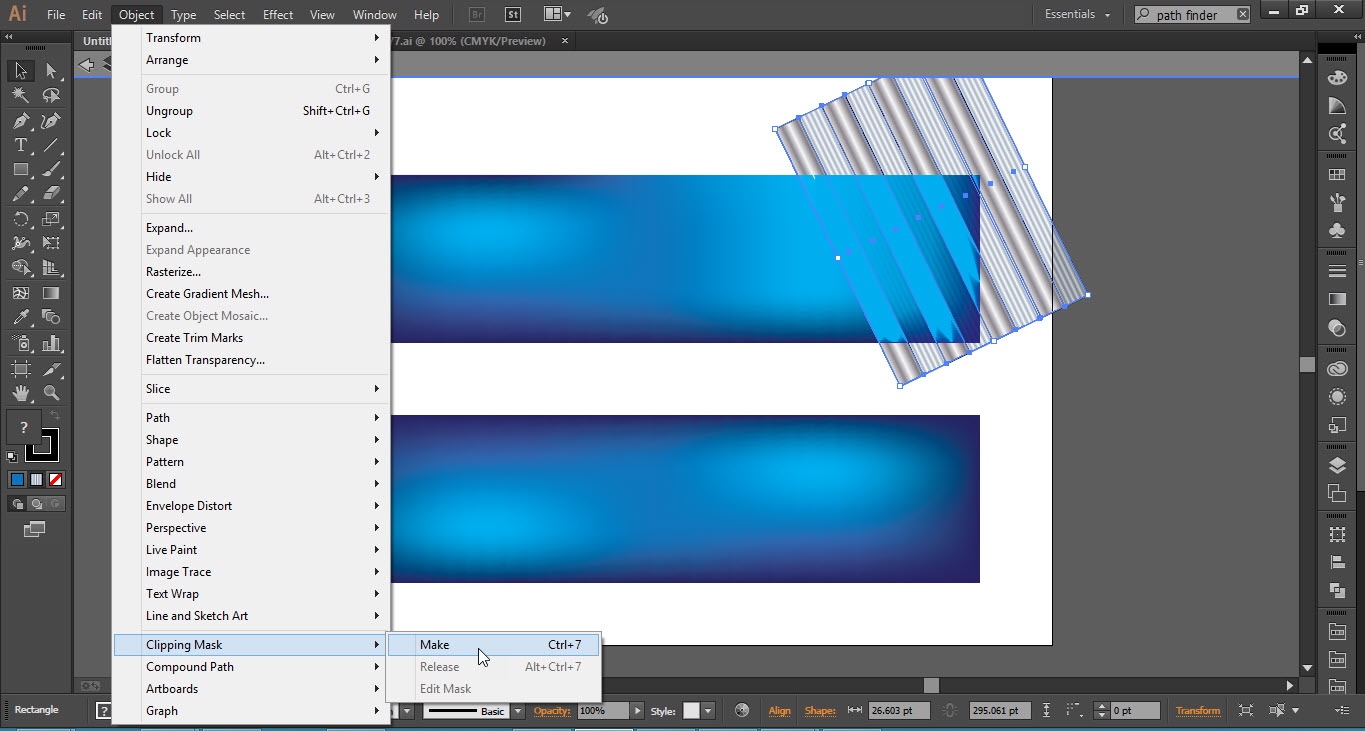
- Select both the object and go to the “Object” menu then go to the “Clipping Mask” and click on “Make” option.
- Now duplicate the upper rectangular and place it on the second.
Step 06
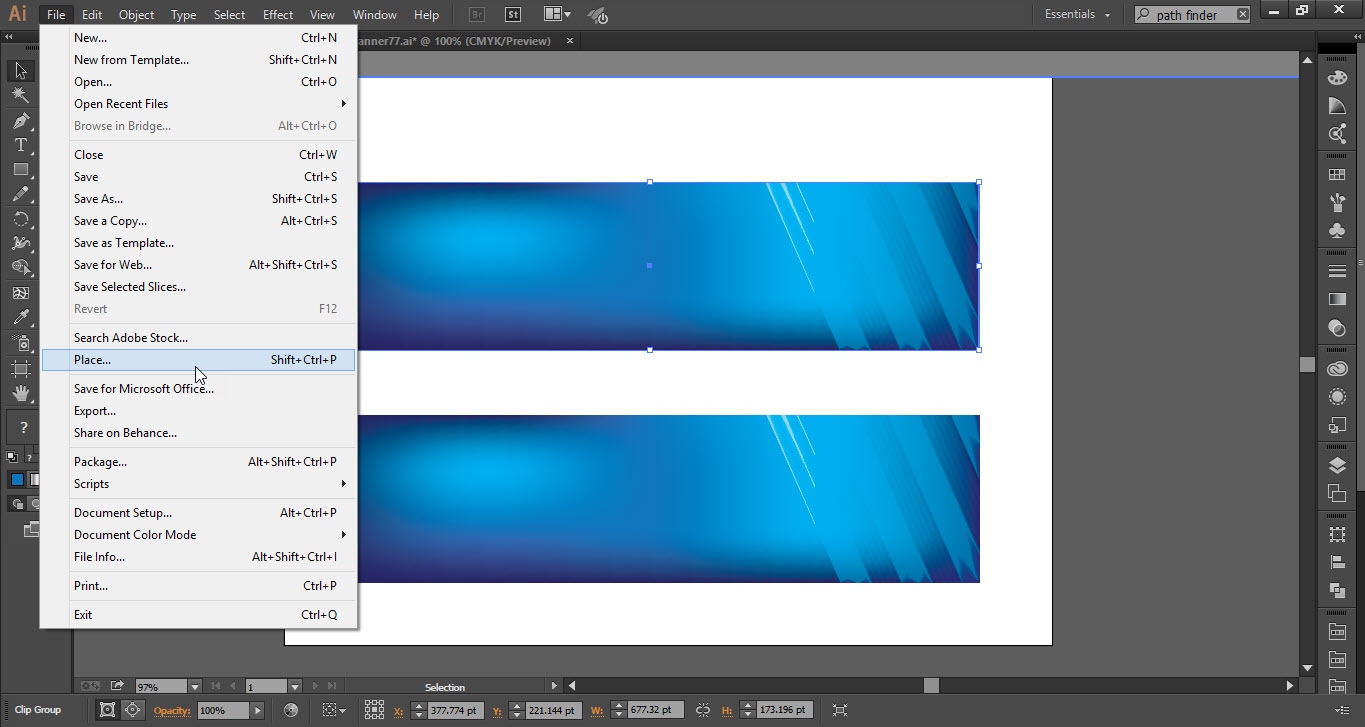
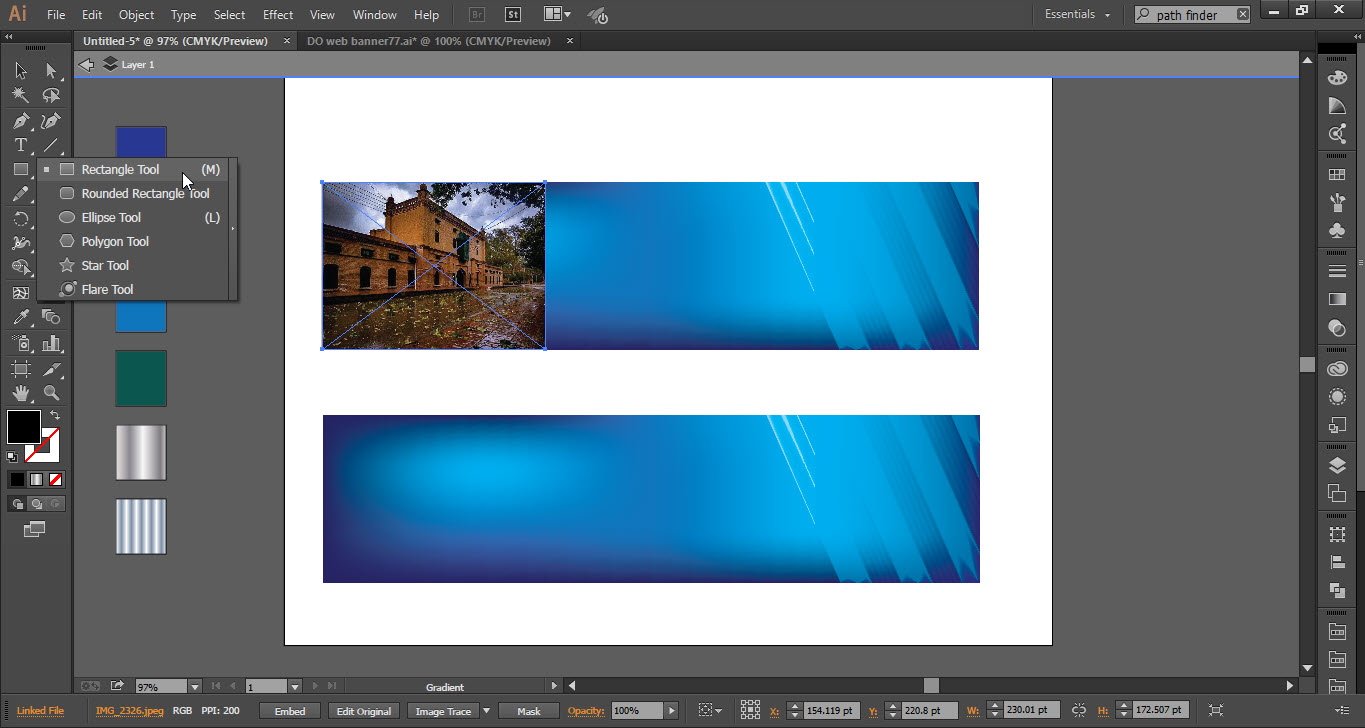
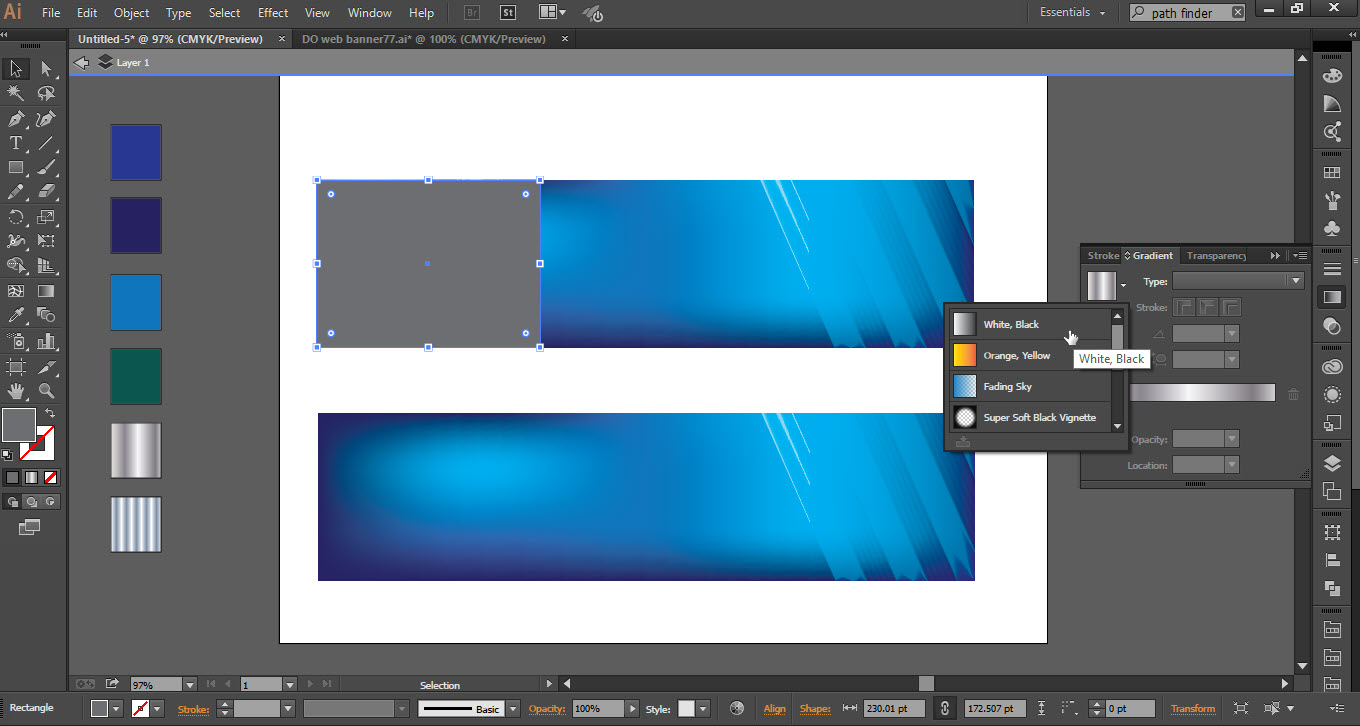
- Now select the first banner and go to the “File” menu and select the image which you want to place in the banner.
- Take the “Rectangle Tool” and make a rectangle on the image which you place on the banner.
- Now open the “Gradient” window select the “Black and White” option.
- Take the “Gradient Tool” and apply a gradient from “Right to Left”.
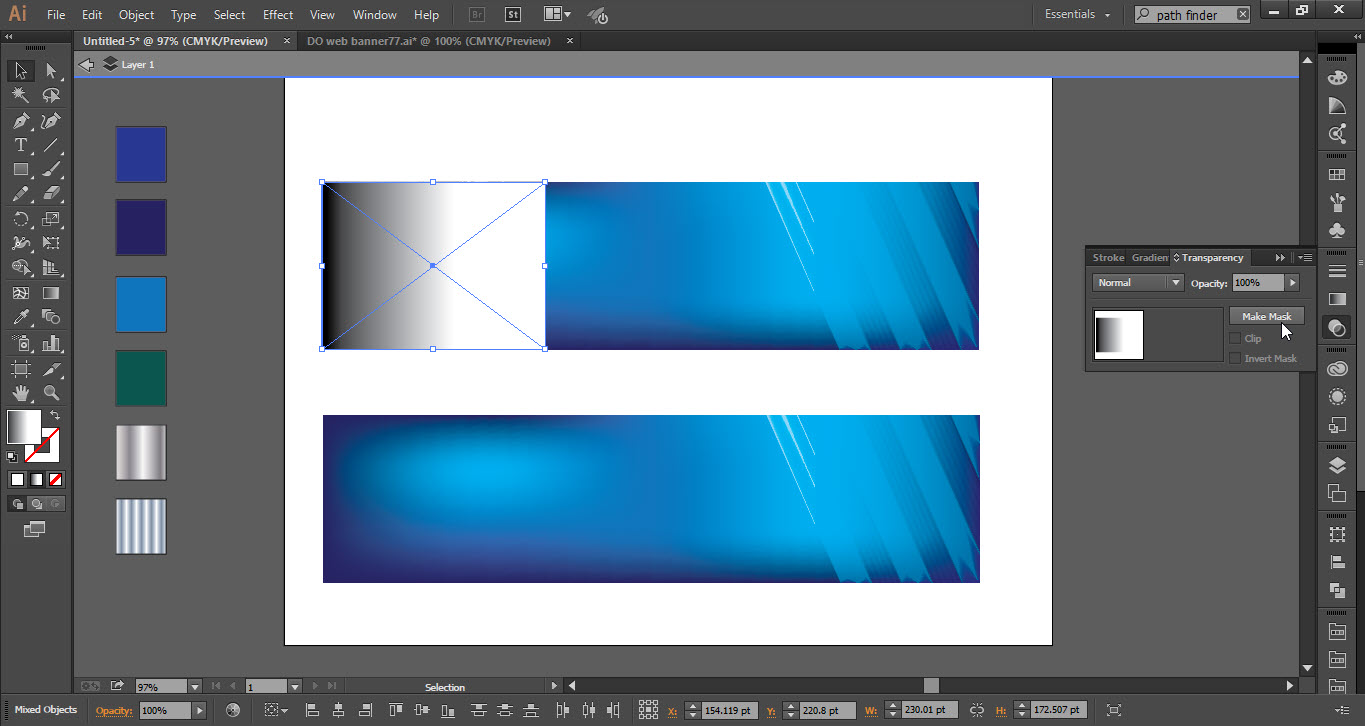
- Select the “Gradient” rectangle and below the Image.
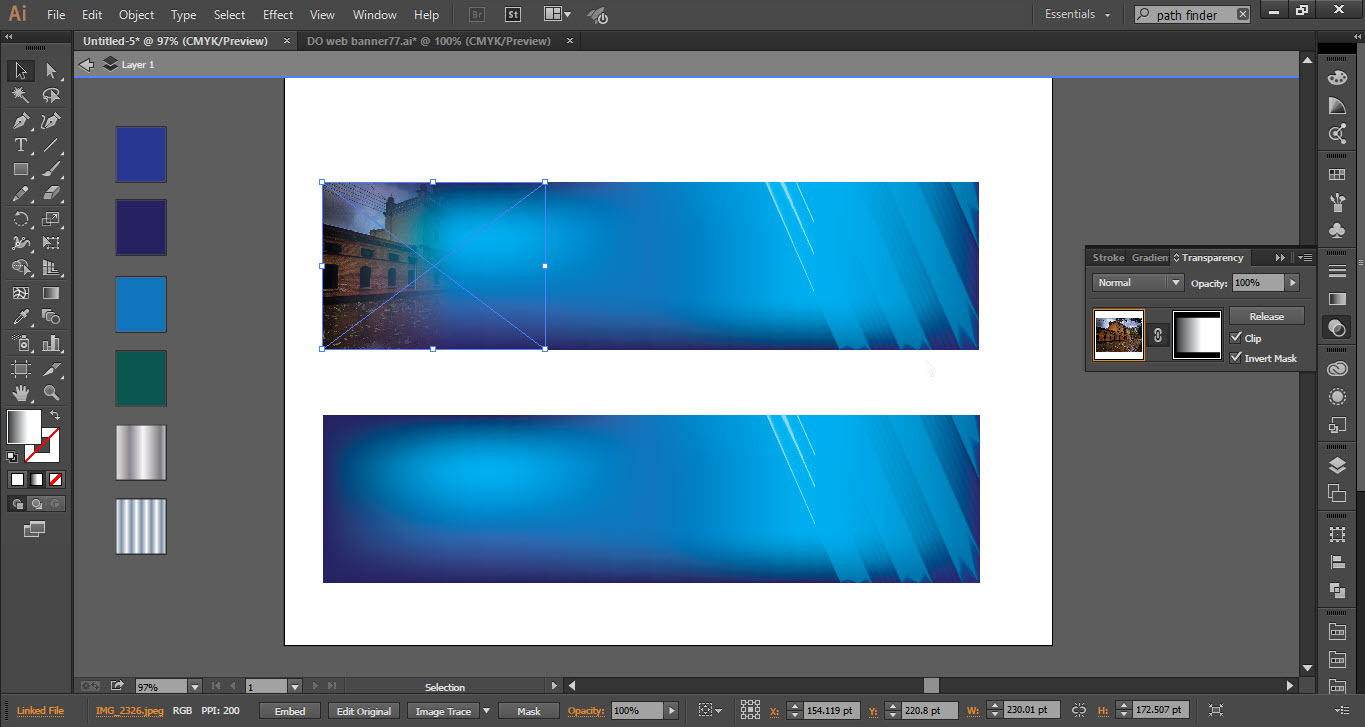
- Now open the “Transparency” window and click on the “Make Mask button”.
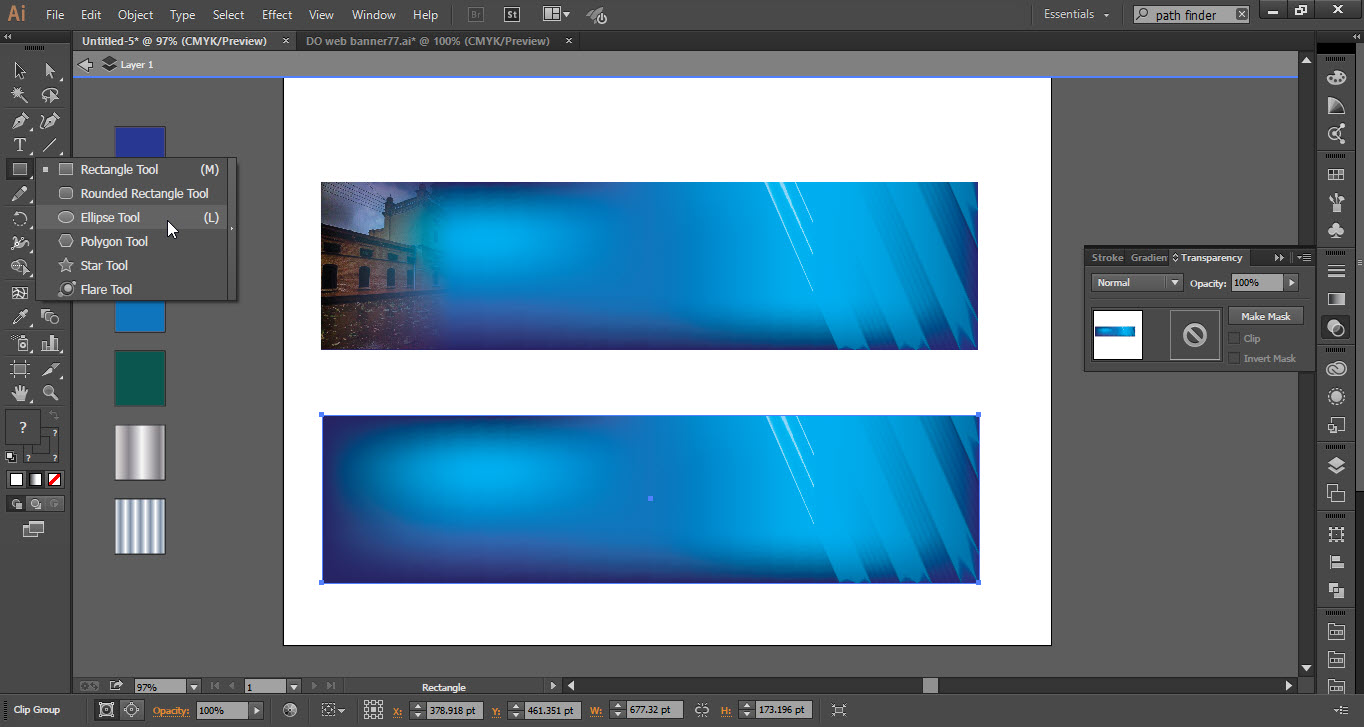
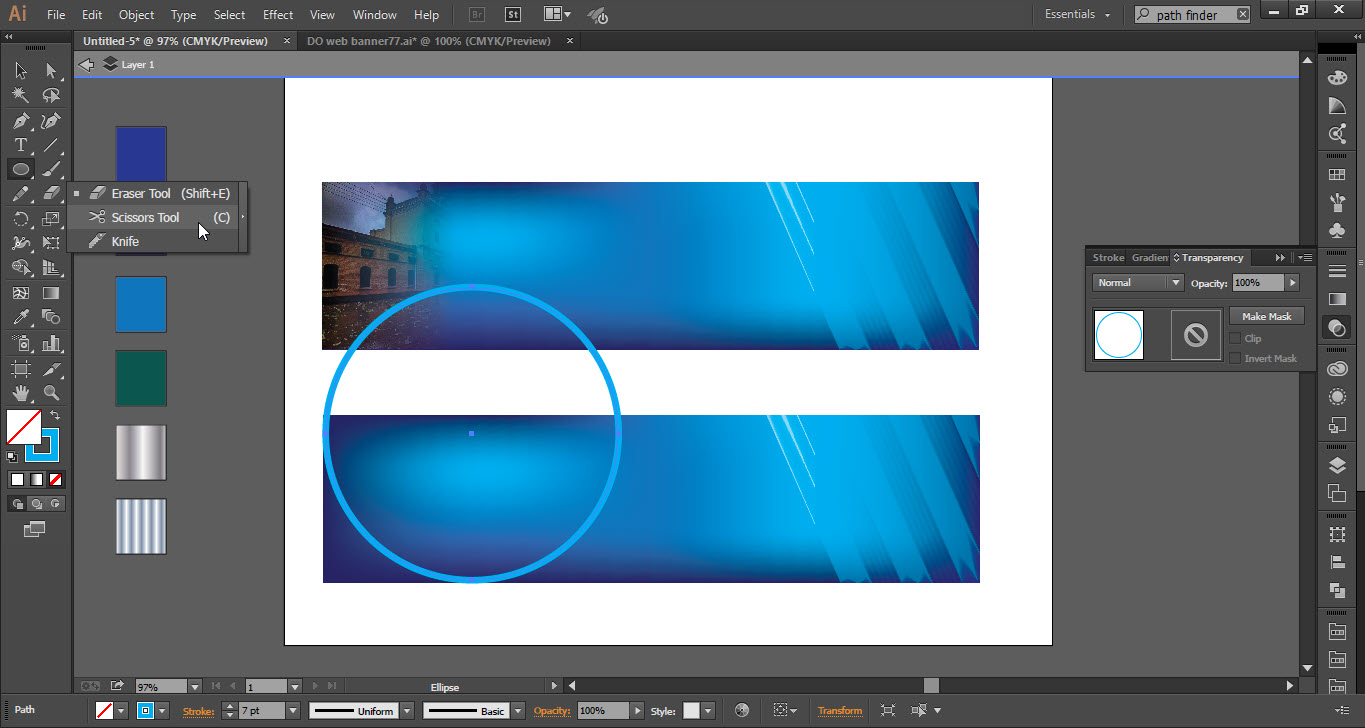
- Select the “Ellipse Tool” and make a circle on the second banner.
- Now select the “Scissors Tool” and cut the upper portion of the circle.


Step 07
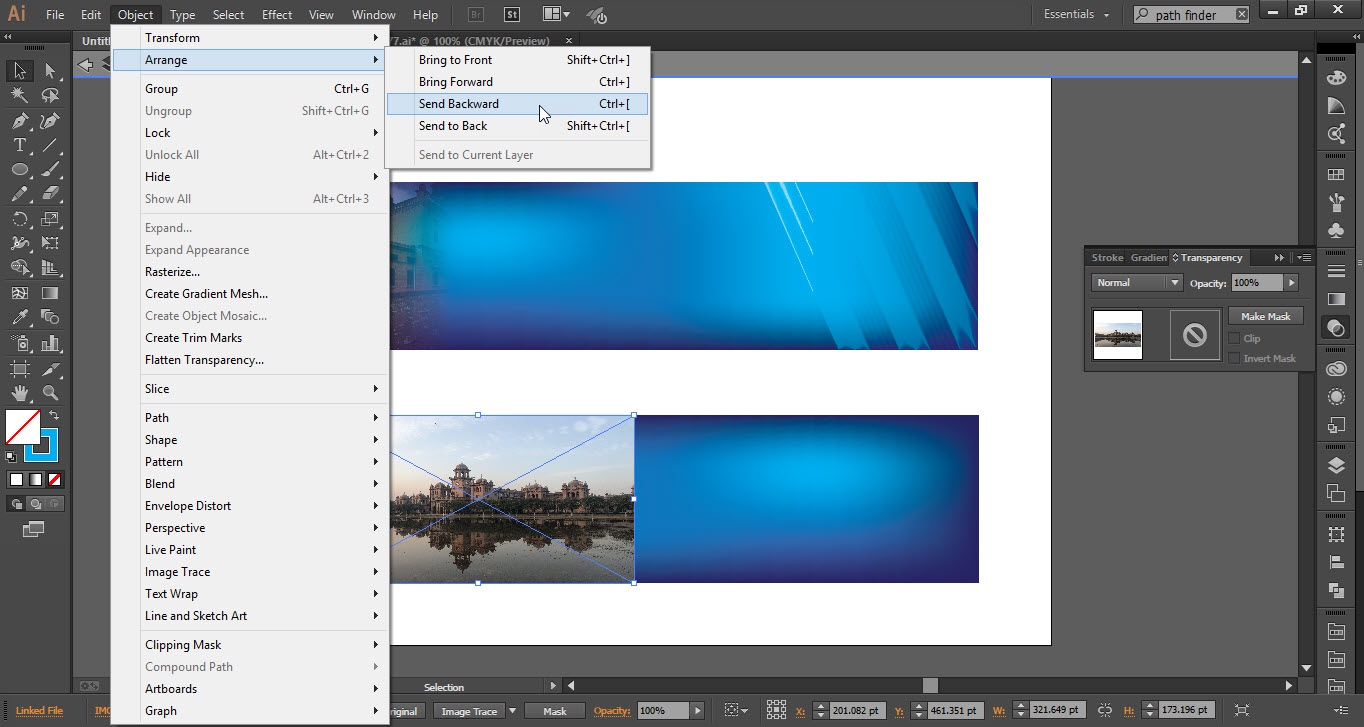
- Go to the “File” menu and place another image which you want in the banner.
- Now go to the “Object” menu then go to the “Arrange” menu and click on “Send Backward” option.
- Select both the half circle and below the image and go to the “Object” menu and click on the “Clipping Mask” option.
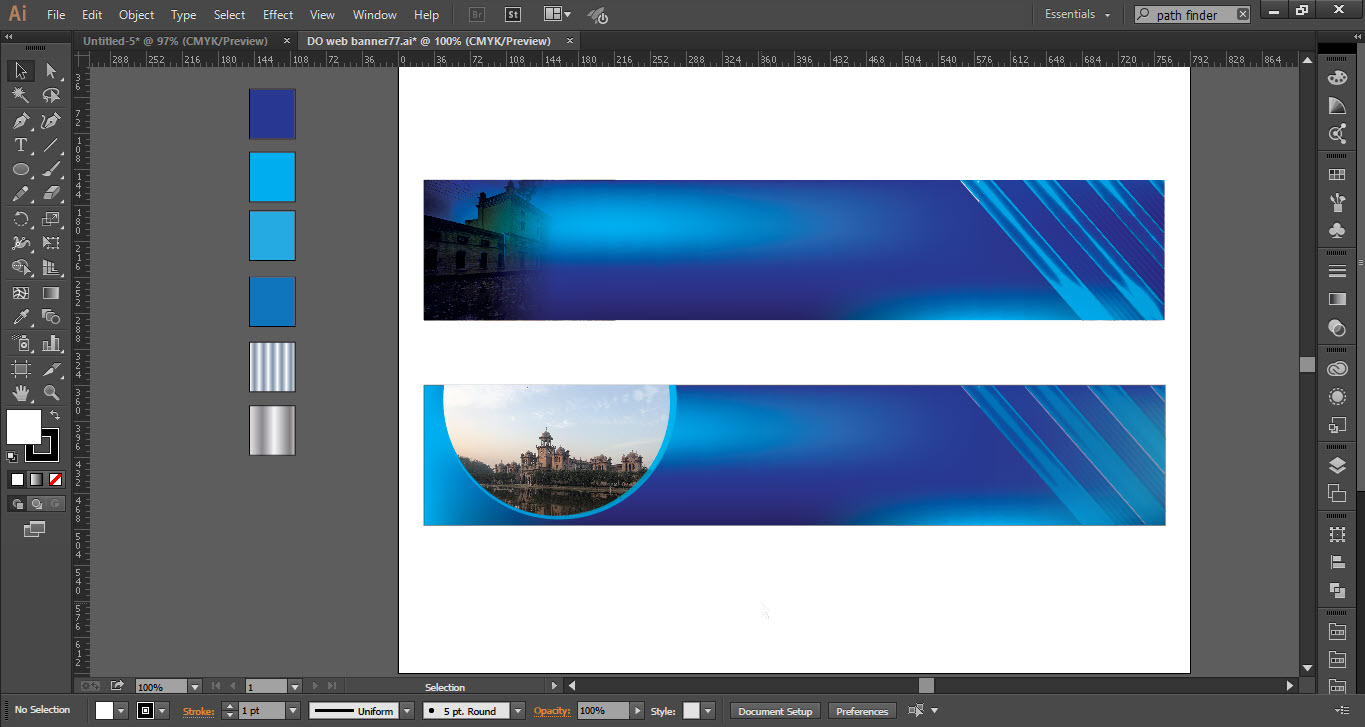
- Now take a copy of half circle and adjust it on the image.
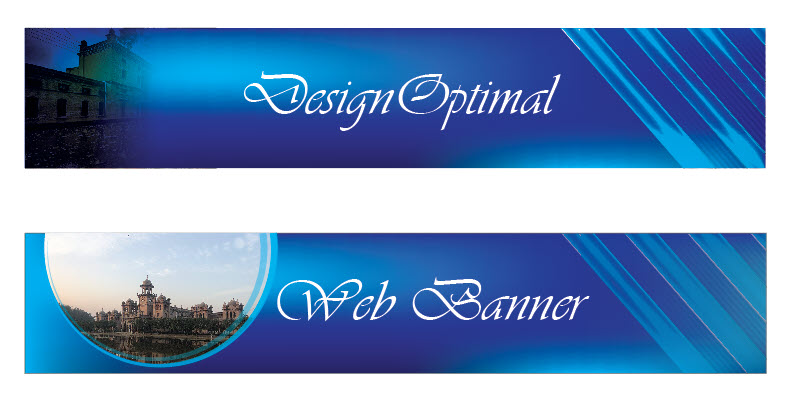
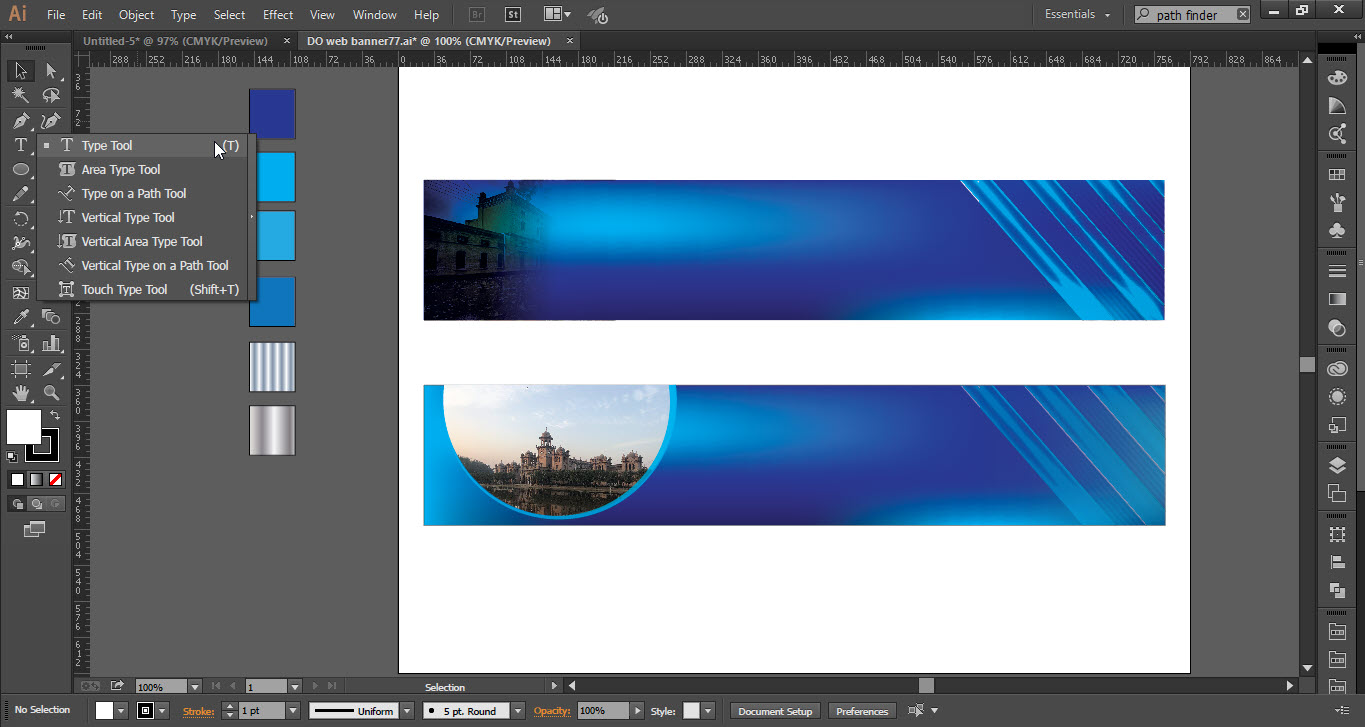
- Take “Text Tool” and write your company name here I write “DesignOptimal”.
- Write the same on the second banner.
- Your banner is ready.

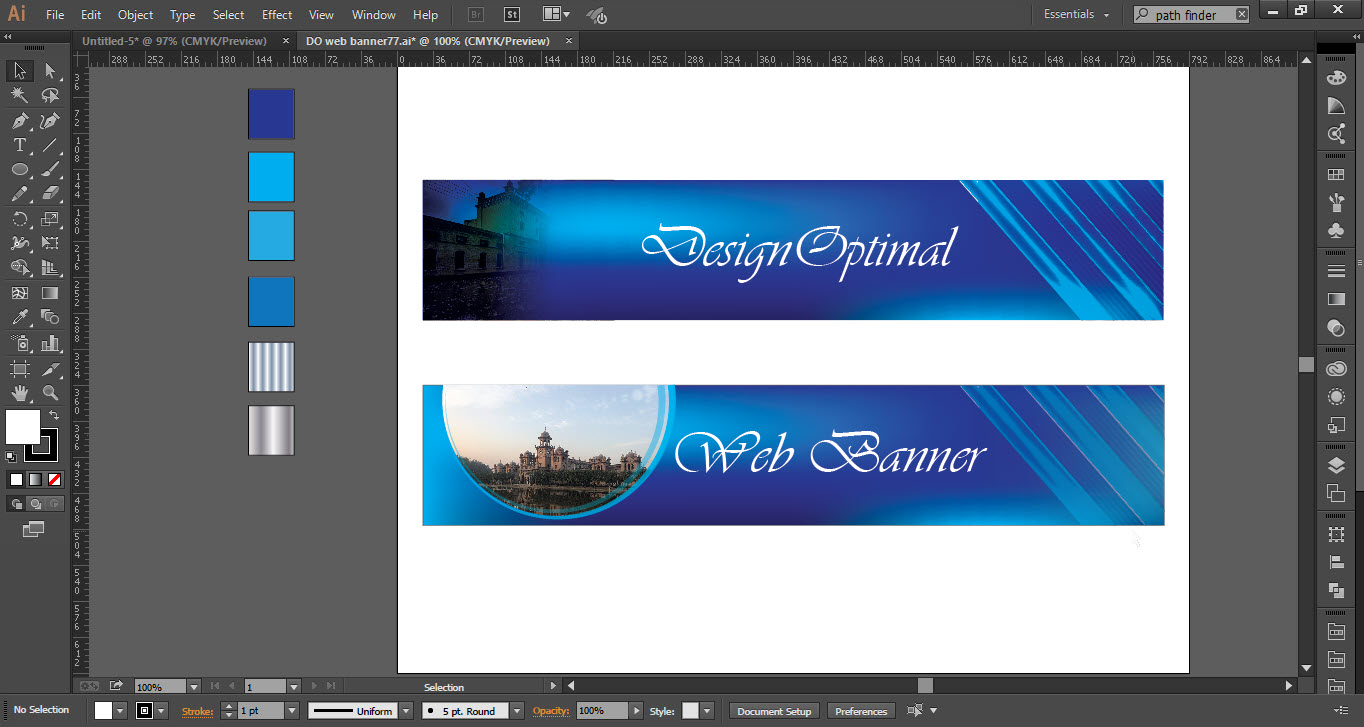
This is how the final result looks like