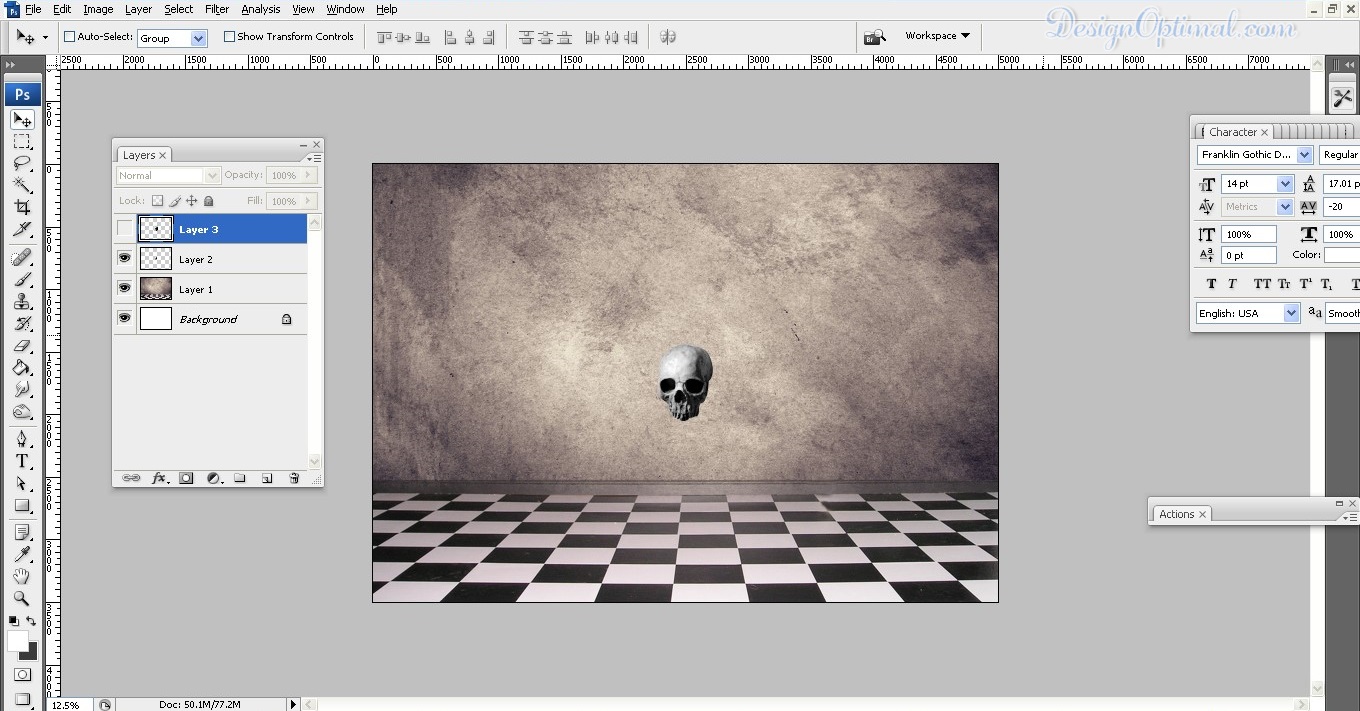
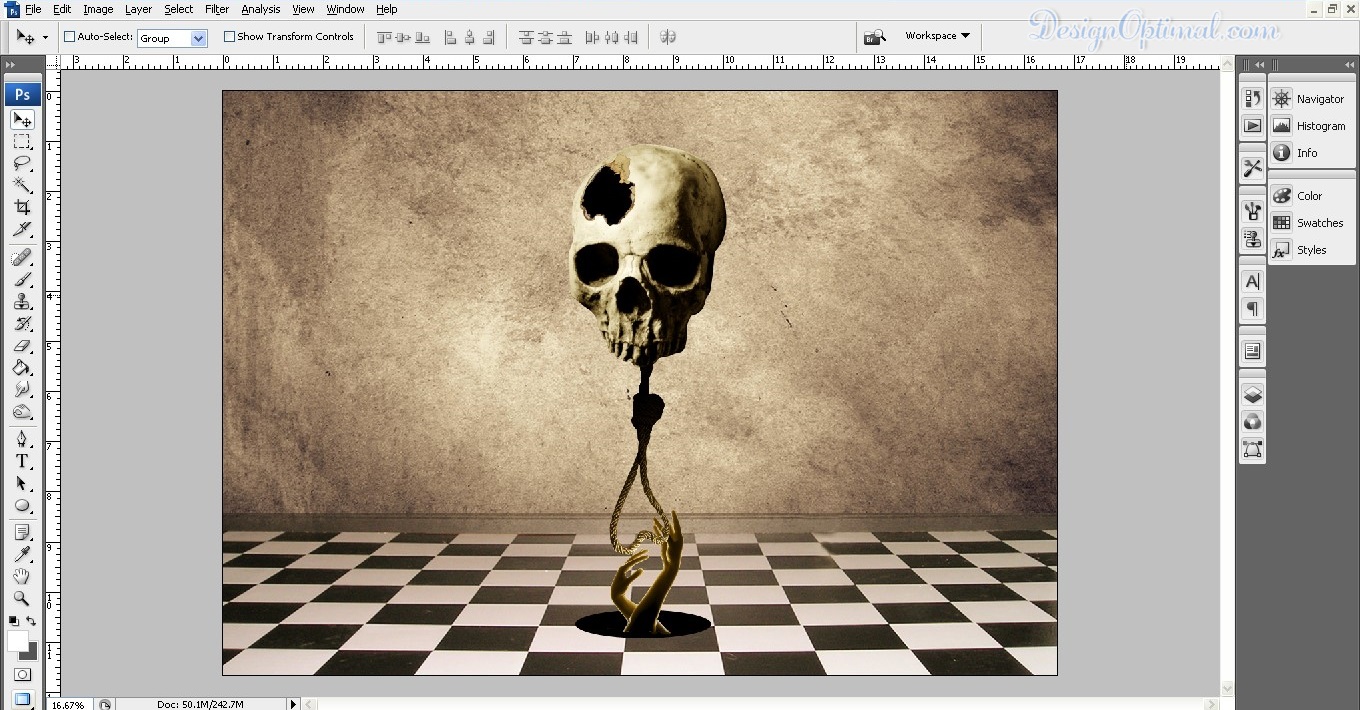
Hello everybody!! Thanks again for joining with us today we are going to discuss about how to create a Photo manipulation that inspired by some Enigmatic Imagination. The files that needing in completing this tutorial are mentioned on the resources section below. And the above image will be the final outcome of what we are going to create.
Resources
- Images used :
Step 01
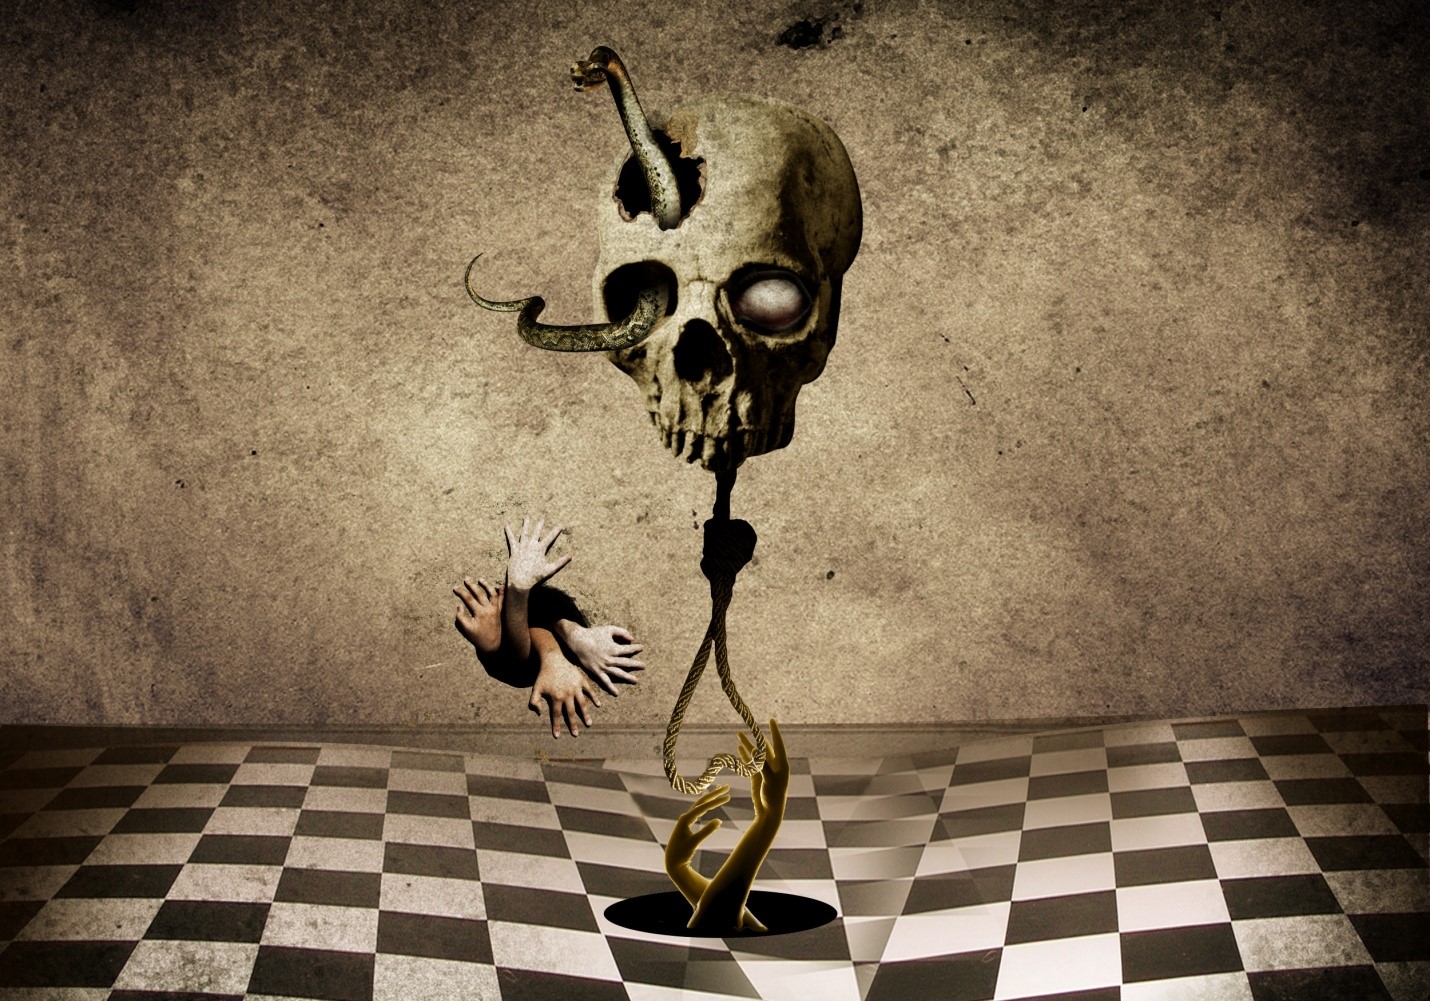
- Open Photoshop and create a new document. We are using 5000x3500px and save it as Darkphotomanupliation.psd.
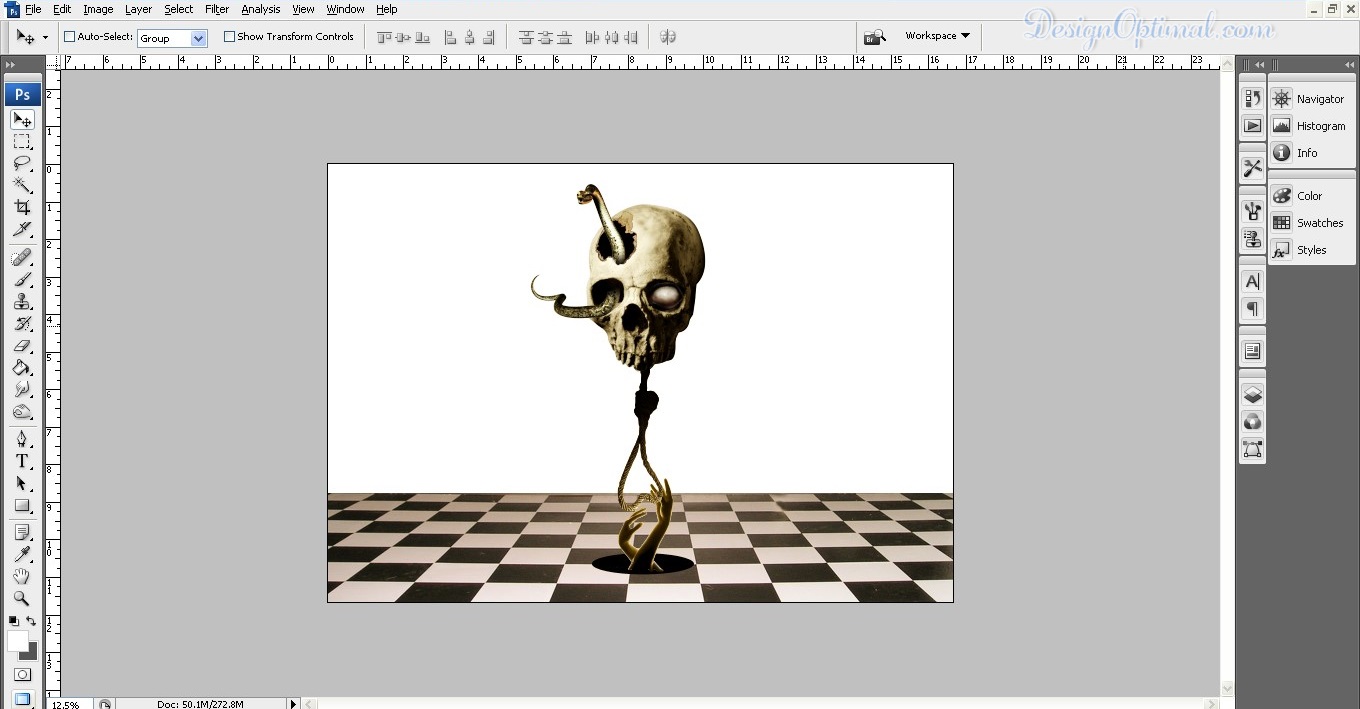
- Now we will use the image called Stock_032__by_enchanted_stock. This image will be the main background.
Step 02
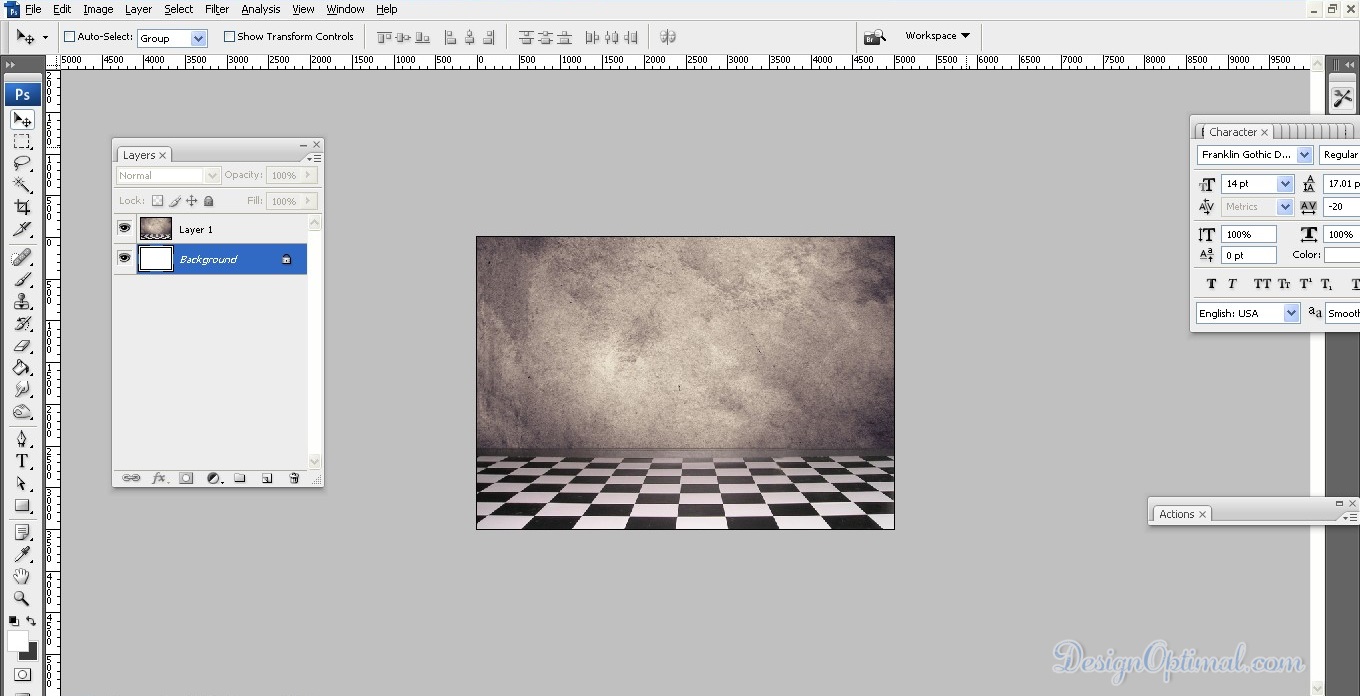
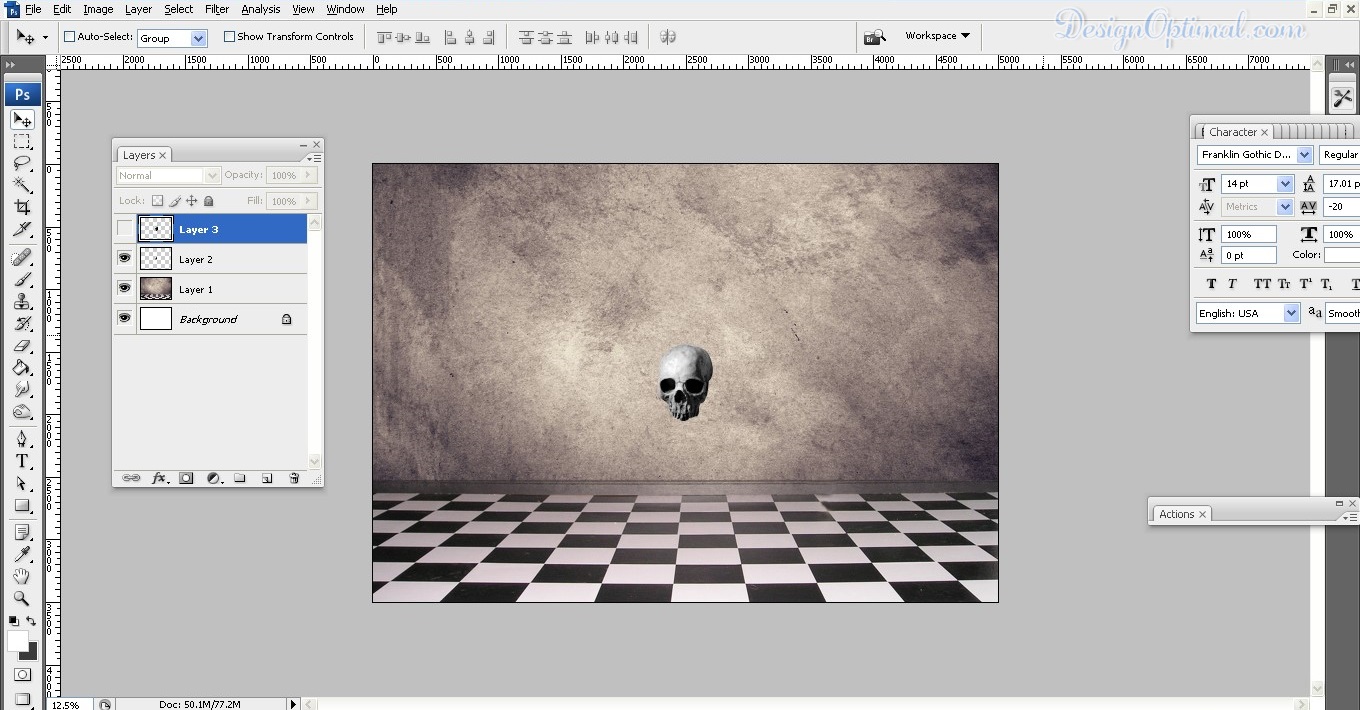
- Now we will use the image called Stock__Skull_4_by_KingZombie. We will remove the background around it and place it in the background image as shown below.
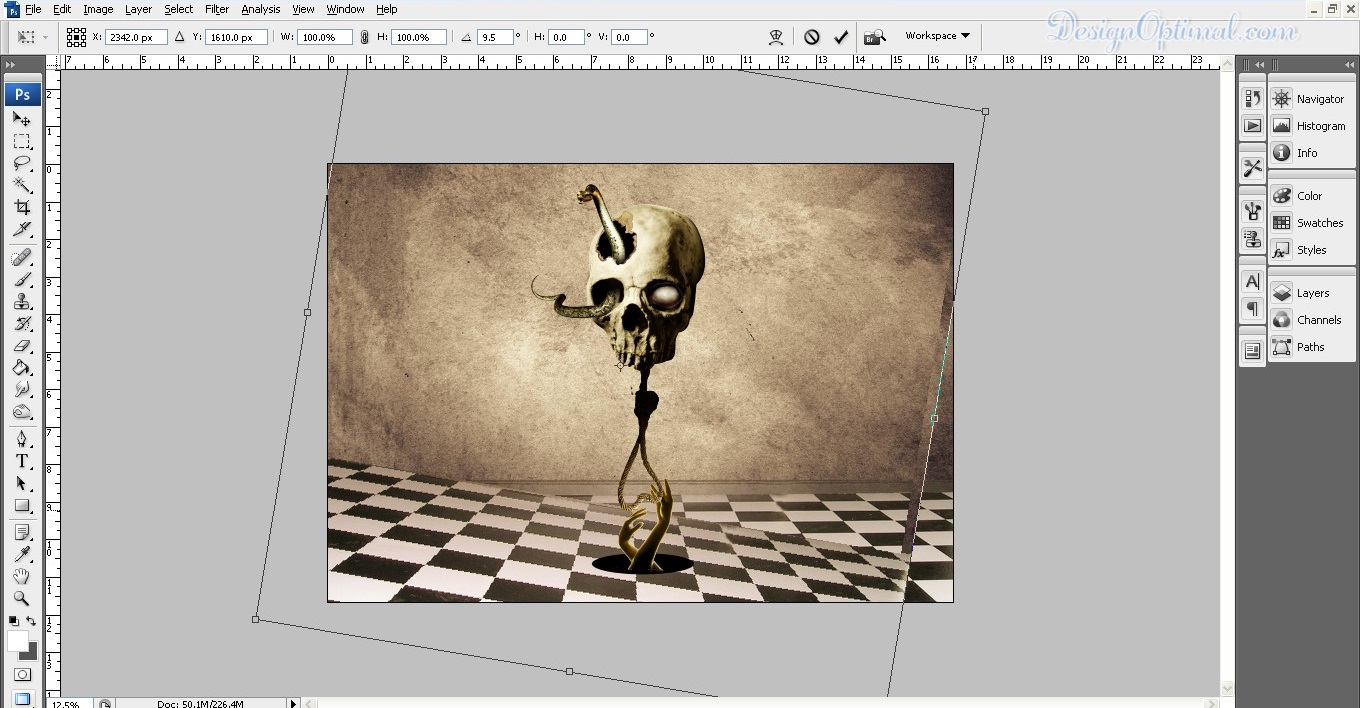
Step 03
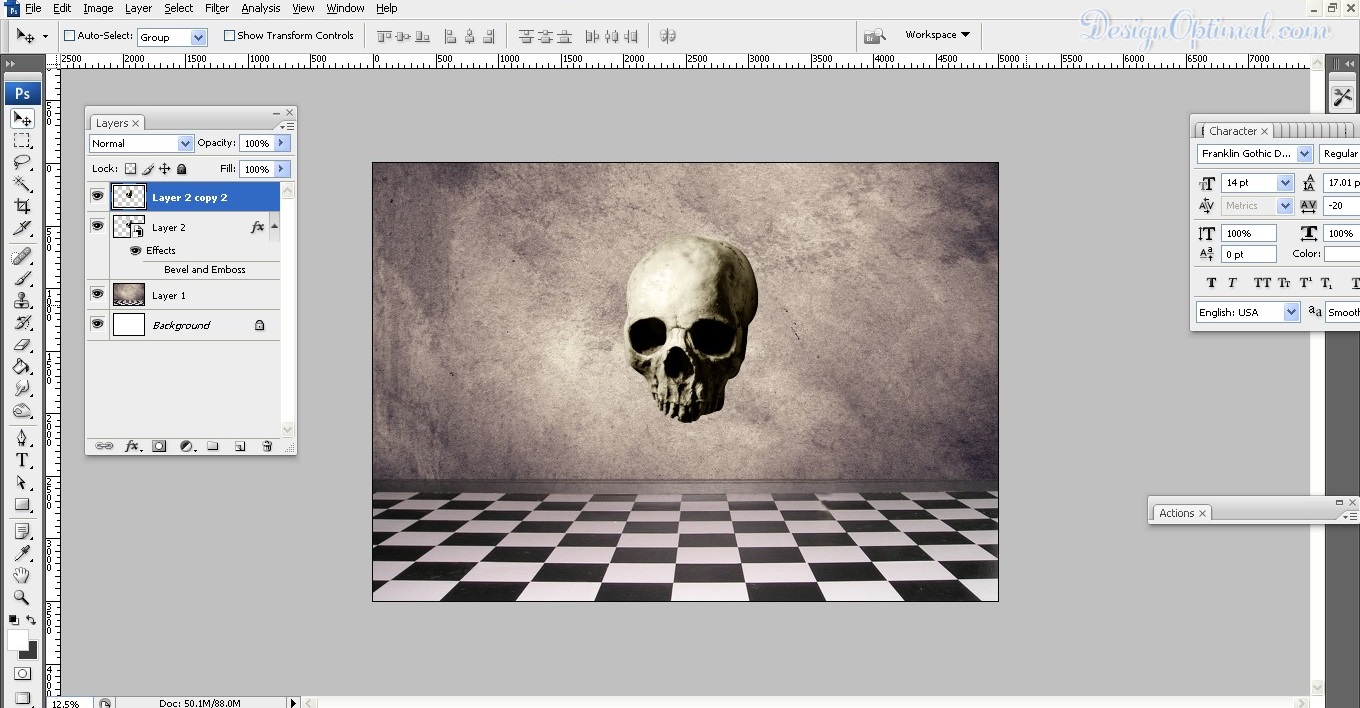
- Now as the next step we will make this skull image as a part of the main image, for this we will duplicate the skull image and got to Image >Adjustment >Black and White.
- Select Tint, press ok button and return to the Psd.
- Now make the layer blending option into Color.
- Now resize the skull image a bit as the steps are shown below.
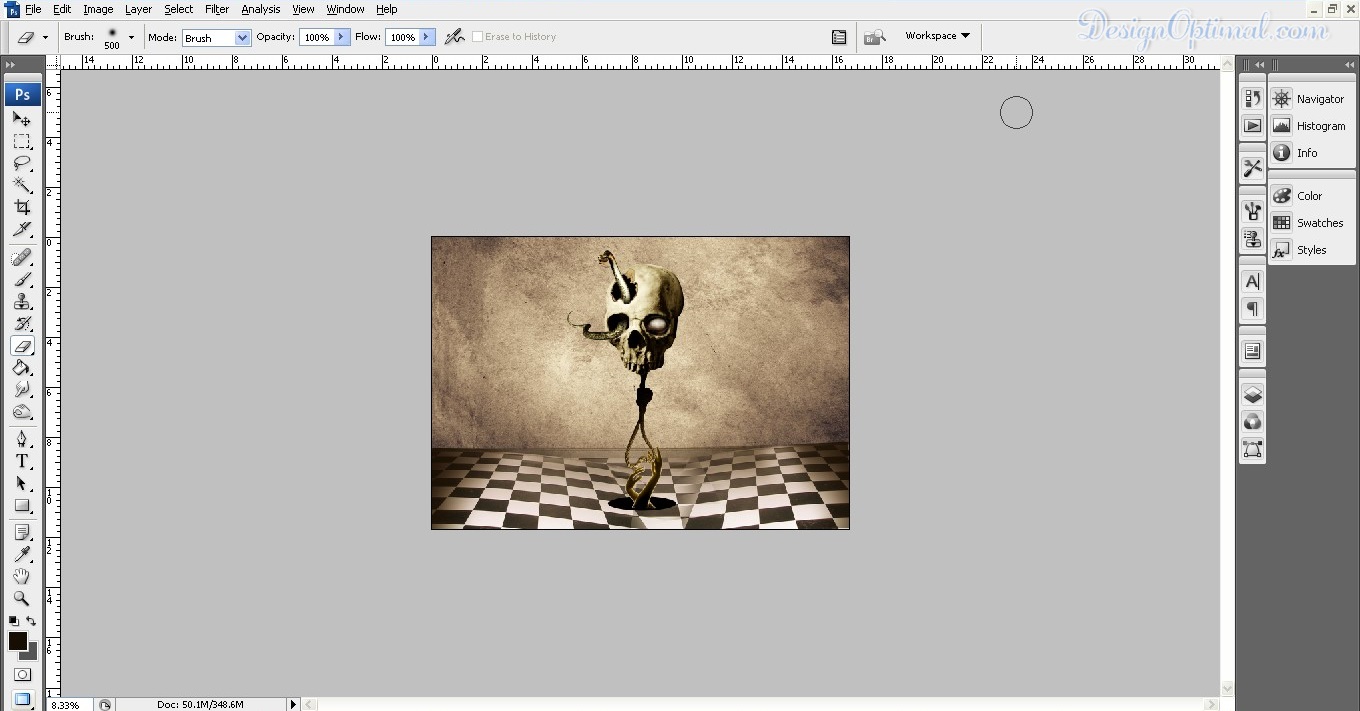
Step 04
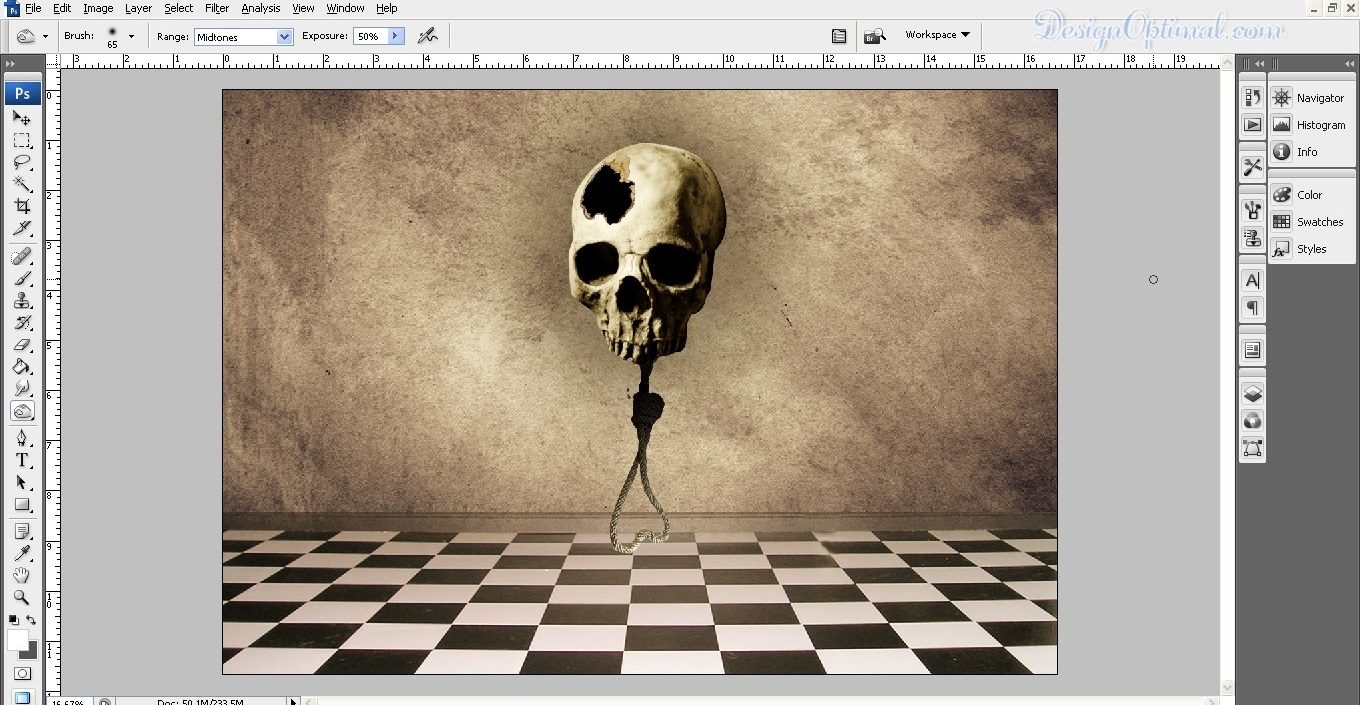
- Now take the hanging rope image (check the “Resources” section at the beginning of the tutorial) and remove the background around it and fit it below the Skull like if it’s coming out from the bottom part of the skull.
- Now duplicate the layer again and go the Image >Adjustment >Black and White and after that blend the layer mode to multiply.


Step 05
- Now as for the next step we will add a crack hole kind of thing to the skull so we will use the image called the Major-League-Painting-Flagstaff-Drywall-Repair and remove the background and position it on the skull as the next image shown.
Step 06
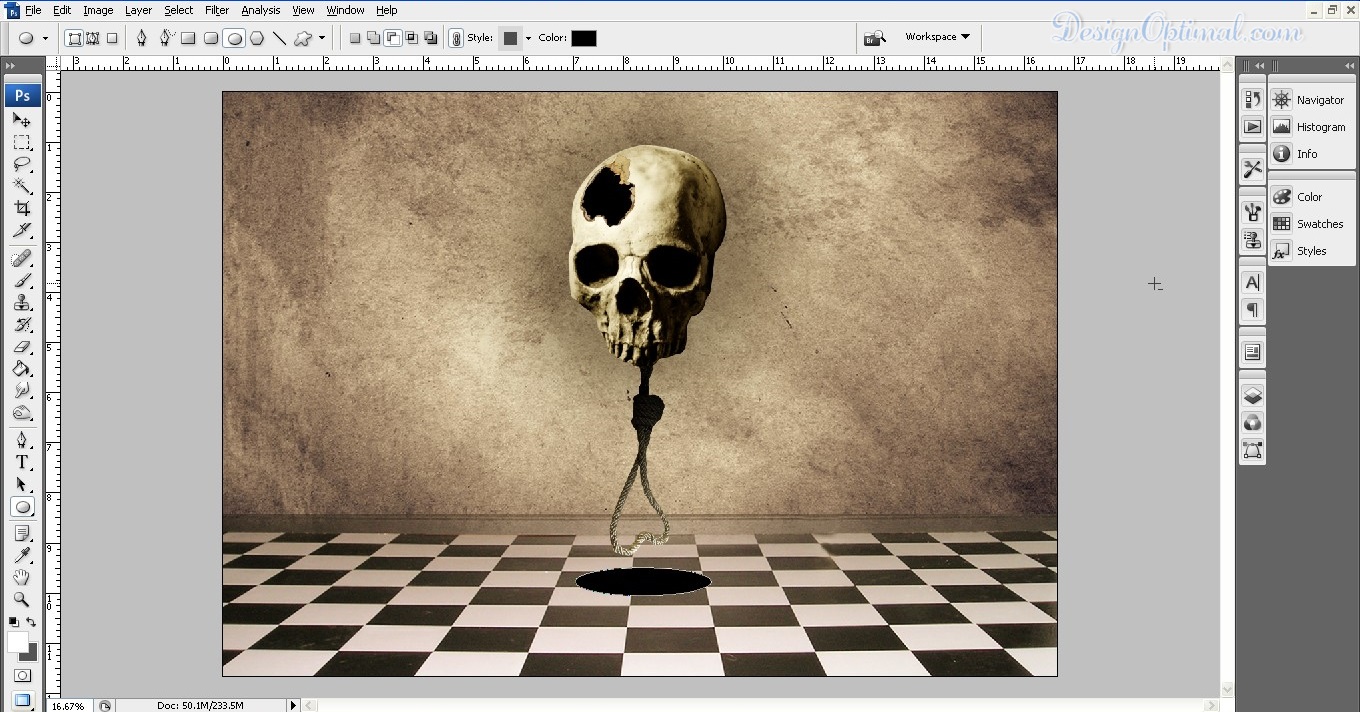
- Now we will be adding a hole to the floor area of the background image.
- Take the shape eclipse tool and draw an eclipse on the floor area right in the bottom where the rope hangs, fill it with black. The process is shown in the next image.
Step 07
- Now as the next step, we will add an image of two hands (check the “Resources” section at the beginning of the tutorial) like it is coming out from the black hole to grab the rope that hangs from the skull.
- The process is shown below and make sure you remove the background around the hands.
- Now in order to make the hands more connected to the entire image we will make the hands into tint. For that go to Image >Adjustment>Black and white and select Tint.
Step 08
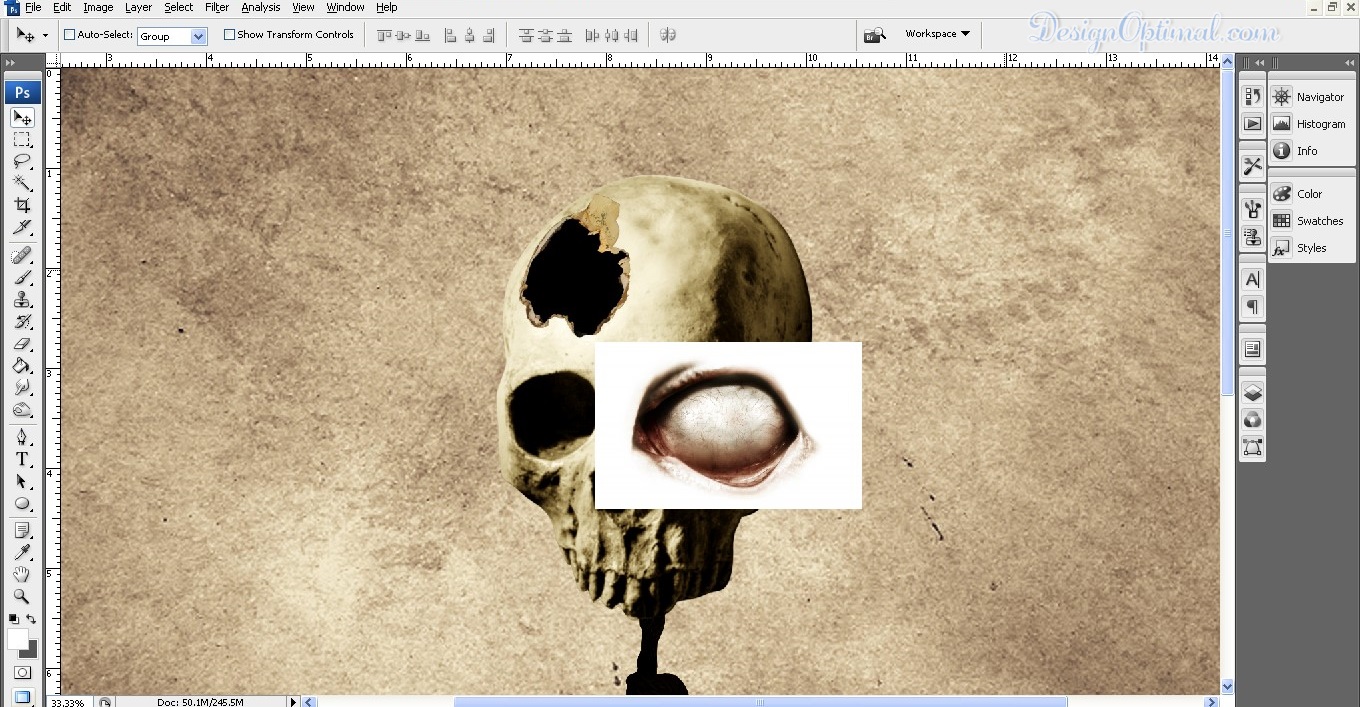
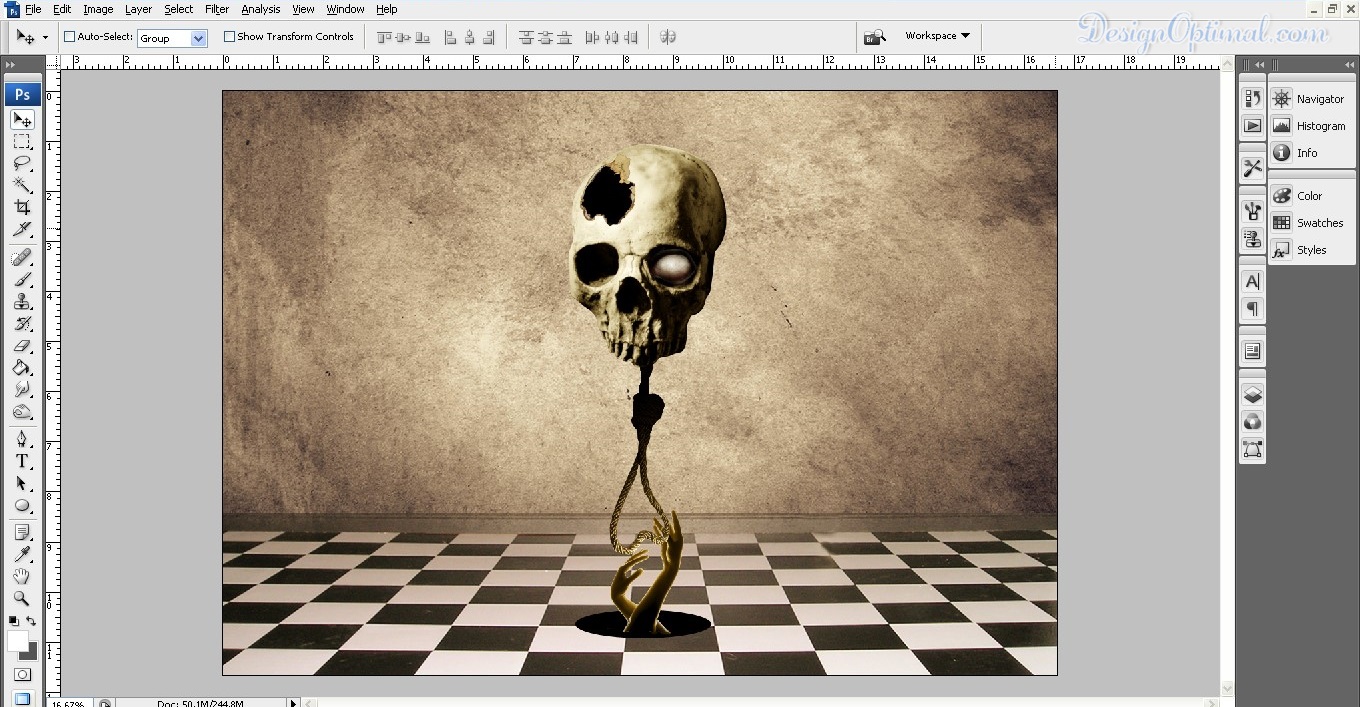
- As for the next step we will eye to the one of the skull empty eye balls. For this we will use the zombie eye image (check the “Resources” section at the beginning of the tutorial).
- Now remove the white background around it and fit it into the eyeball of skull. Make sure you erase unwanted parts around the eye to get it fit to the eyeball of the skull.
Step 09
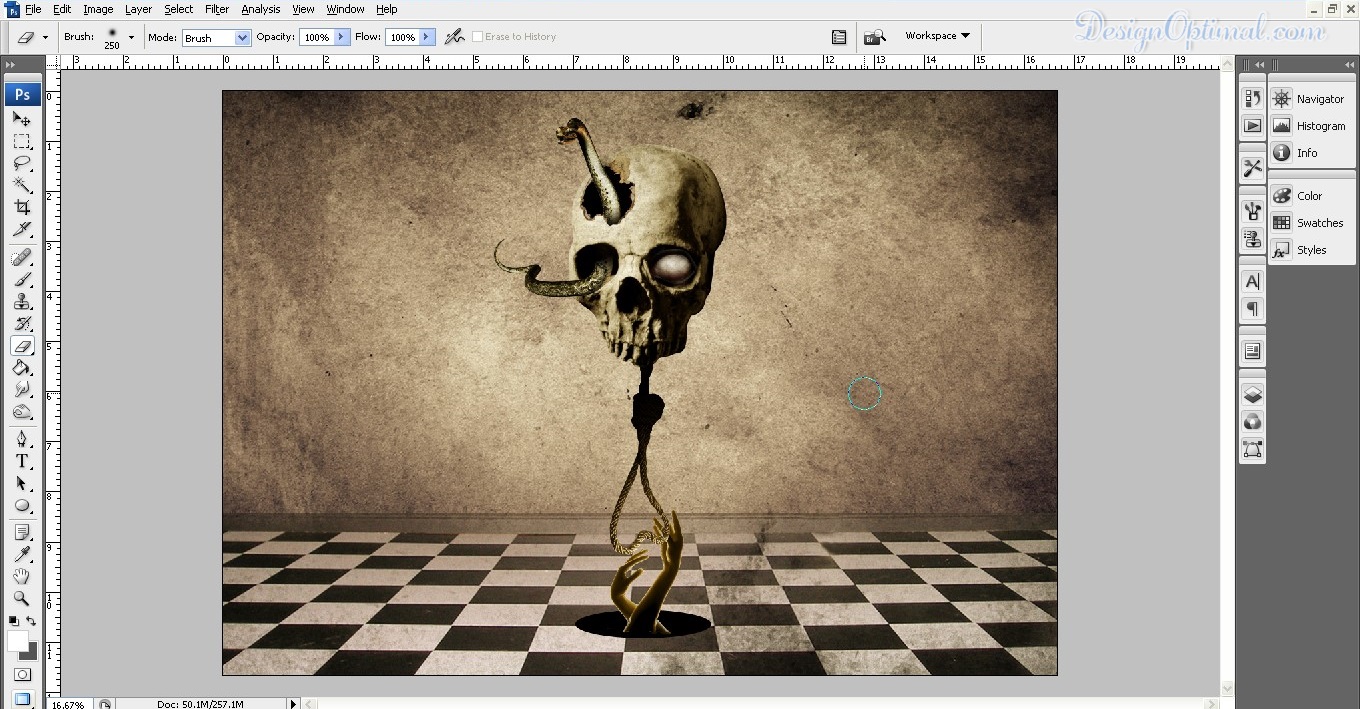
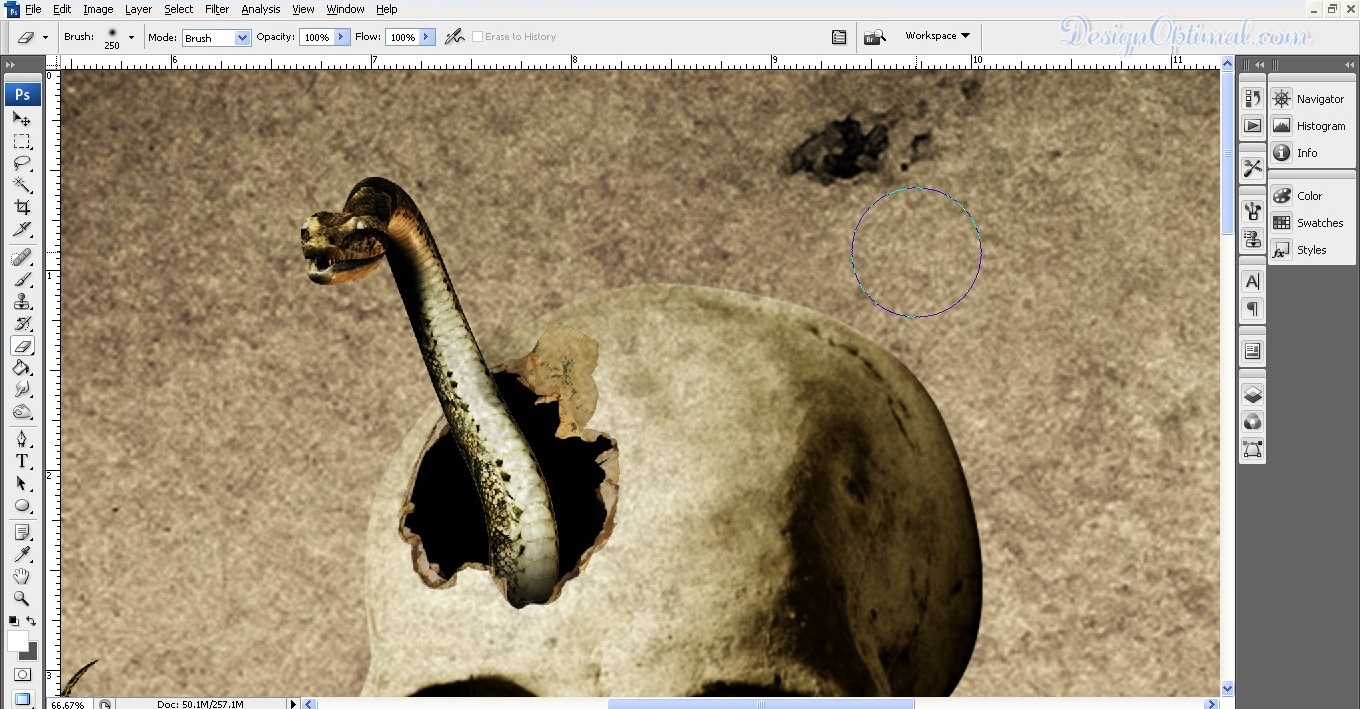
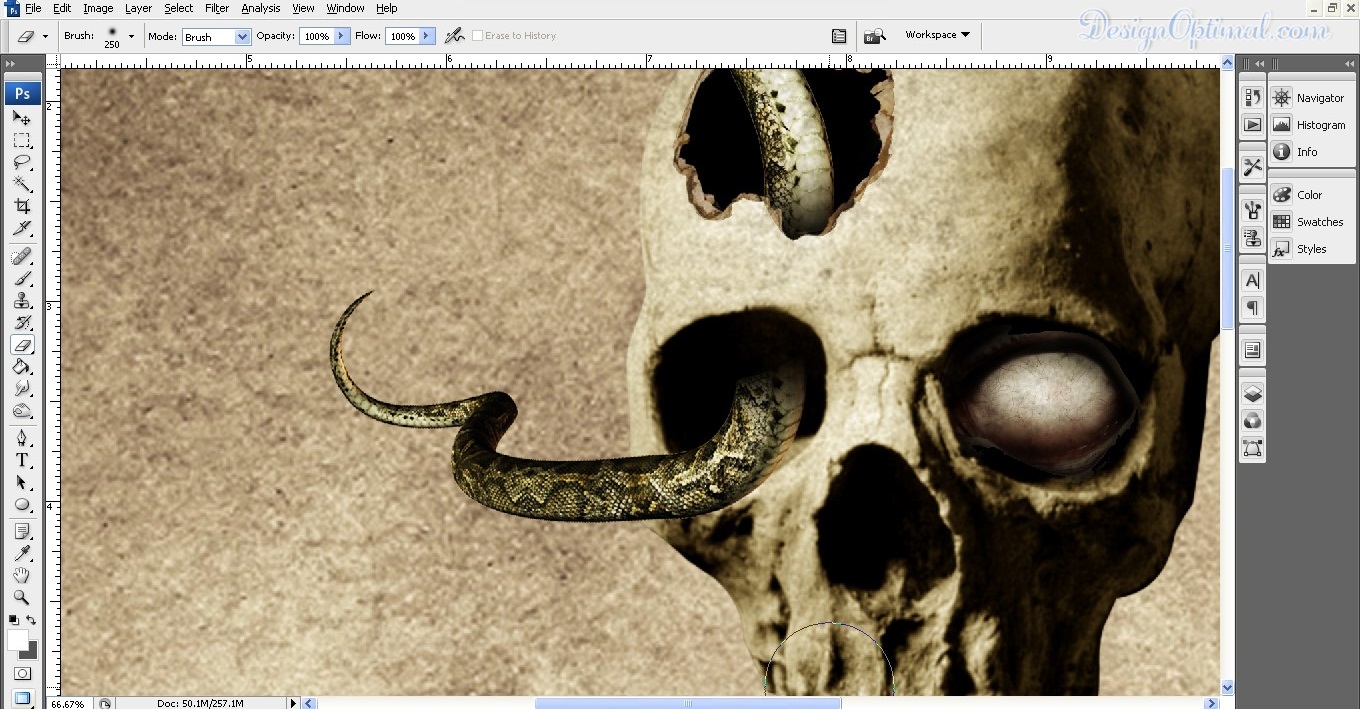
- Next we will add some element coming out from the hole in the skull we will use the snake image (check the “Resources” section at the beginning of the tutorial)
- Duplicate the snake layer and change it into black and white and make the layer blend option in to multiply.
- Now after that we will cut the snake in half’s because we need to fit one part in to hole in the top of the skull as if it’s coming out from it and the other half to the eye if the other half is still in the eye ball. The process is shown below.
Step 10
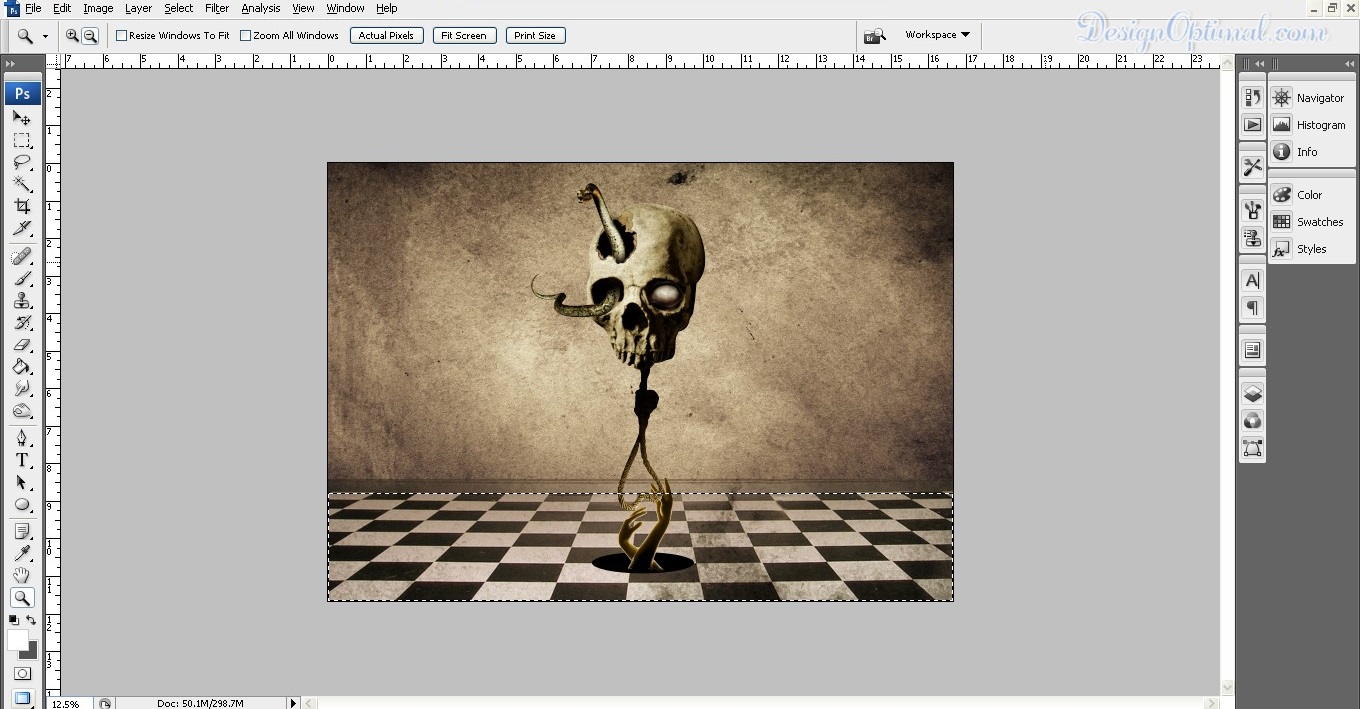
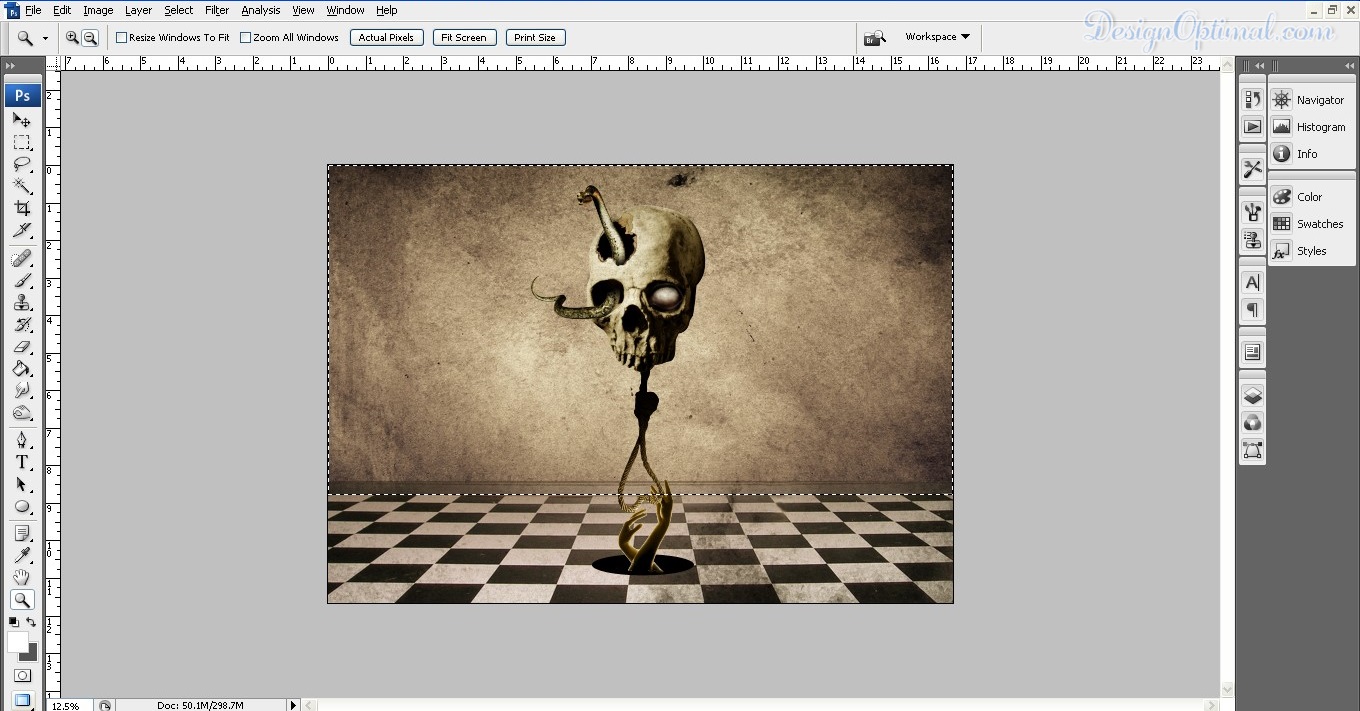
- Now we will add a rip curl kind of effect to the floor area of the background image.
- We will duplicate the background image and remove the other parts other than the checked area.
- Next select the transform tool and right click and select warp, make it similar to some sea wave kind of effect as shown it the next couple of images.
- Do it to the both sides of the images. The process is shown below.

Step 11
- Now we will use the image called another image of hands (check the “Resources” section at the beginning of the tutorial) and we will place this as shown in the next image.
- Duplicate the image, make it into black and white and blend it. I used the overly blending option.
- Make sure to remove the background before use. Adding this image will add the artwork some enigmatic view.
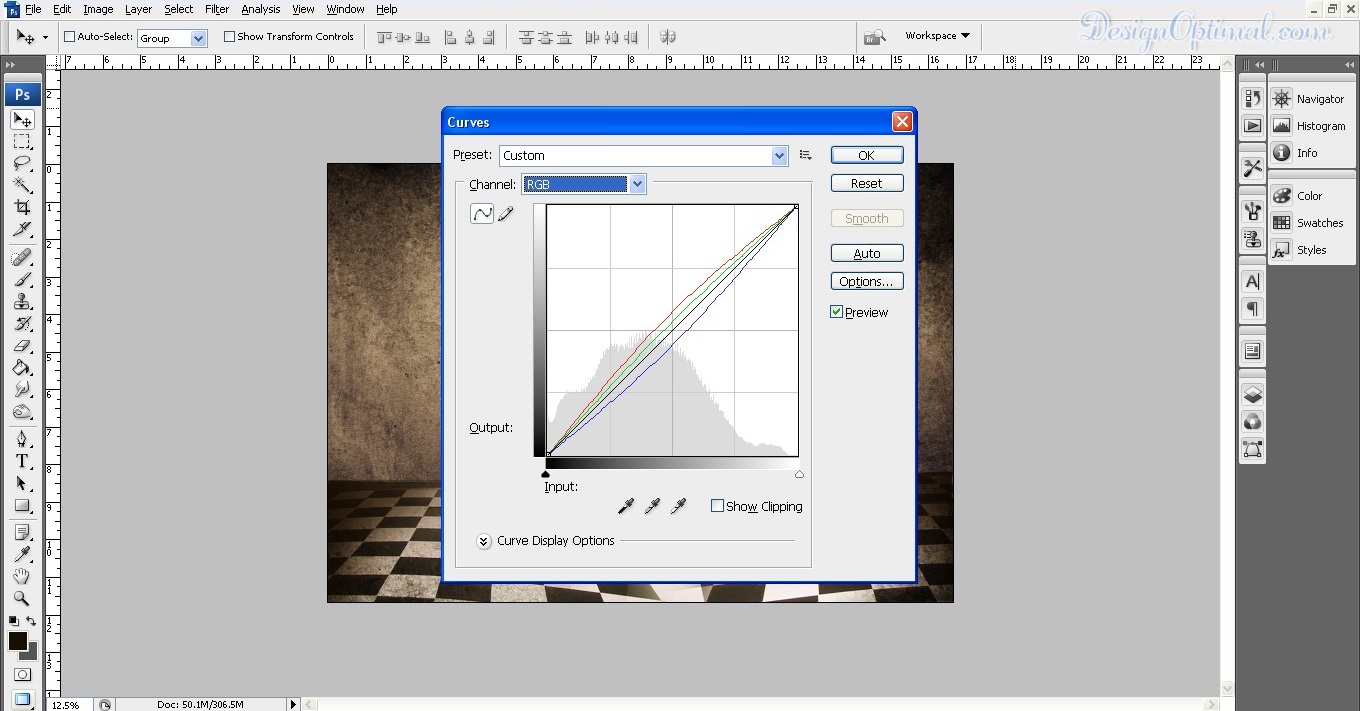
- Finally we will add a layer adjustment of curves. The proportions are given below.