Hello everybody there!! Today we are going to show you “How to Create Professional Ticket Design in Photoshop”. The design process can be showing in simple steps which everyone can follow and design a cool tick for the concert or anything.
A ticket is a confirmation that symbolizes that an individual is entitled to admission to an event or company such as a theatre, amusement park or tourist attraction, or has a right to travel on a vehicle, such as with an airline ticket, bus ticket or train ticket, etc.
Resources
Images used:
- Cup on Table by Unsplash.com
Fonts used:
- Raleway Bold
- Calibri Bold
- Times New Roman Regular
- Calibri Light
Step 01
- Open Photoshop Software.
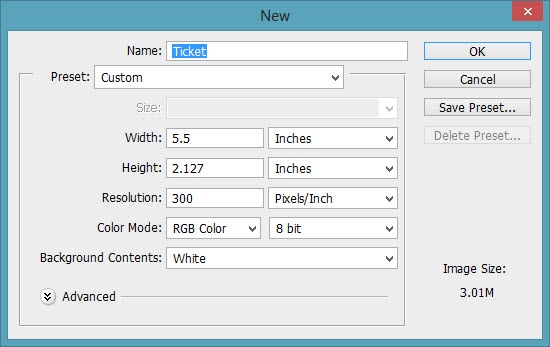
- Go to the “File” menu and click on “NEW” option.
- Select the size of the ticket according to your requirement, Here my ticket size is 5.5/2.217 inches.
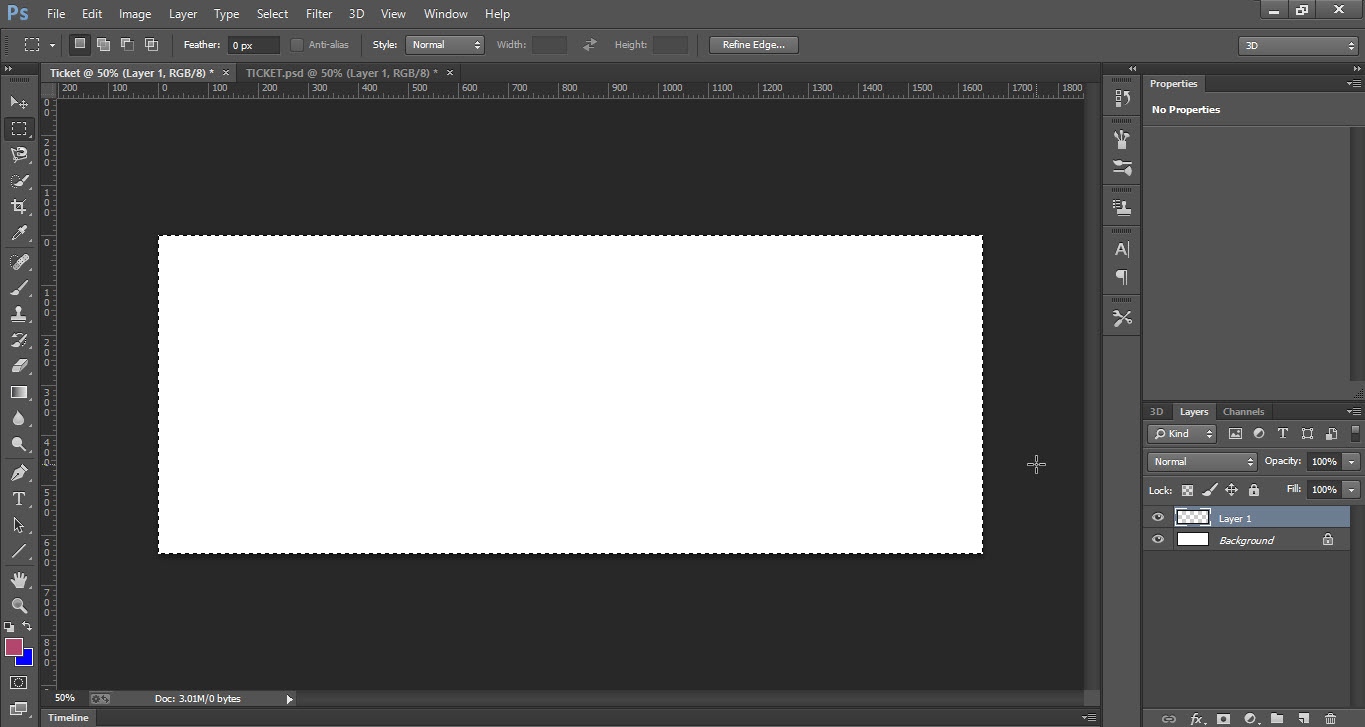
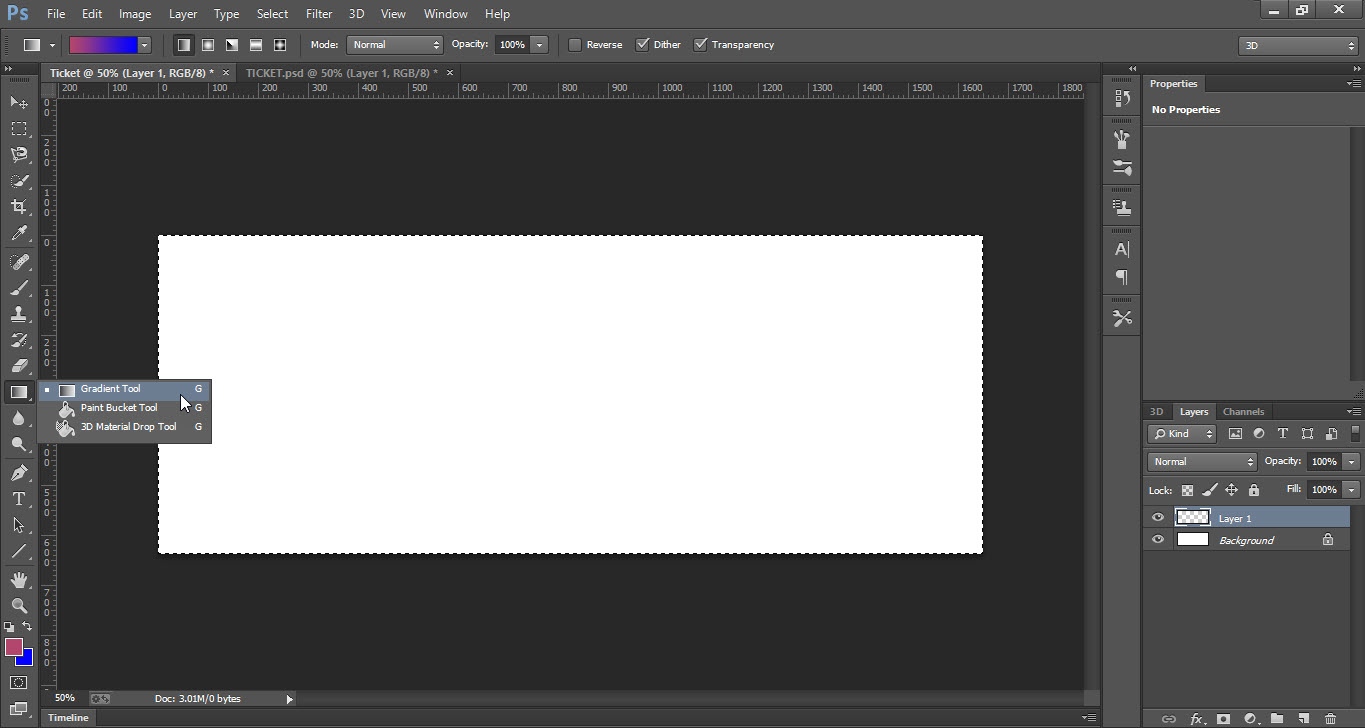
- Now take the new layer and select “Rectangle Tool”.
- Make a selection around the ticket with the help of the rectangle tool.
- Now go to the “Tool Bar” and select the “Gradient” (it’s up to you which color you use).
- Apply the “Gradient” to the ticket.
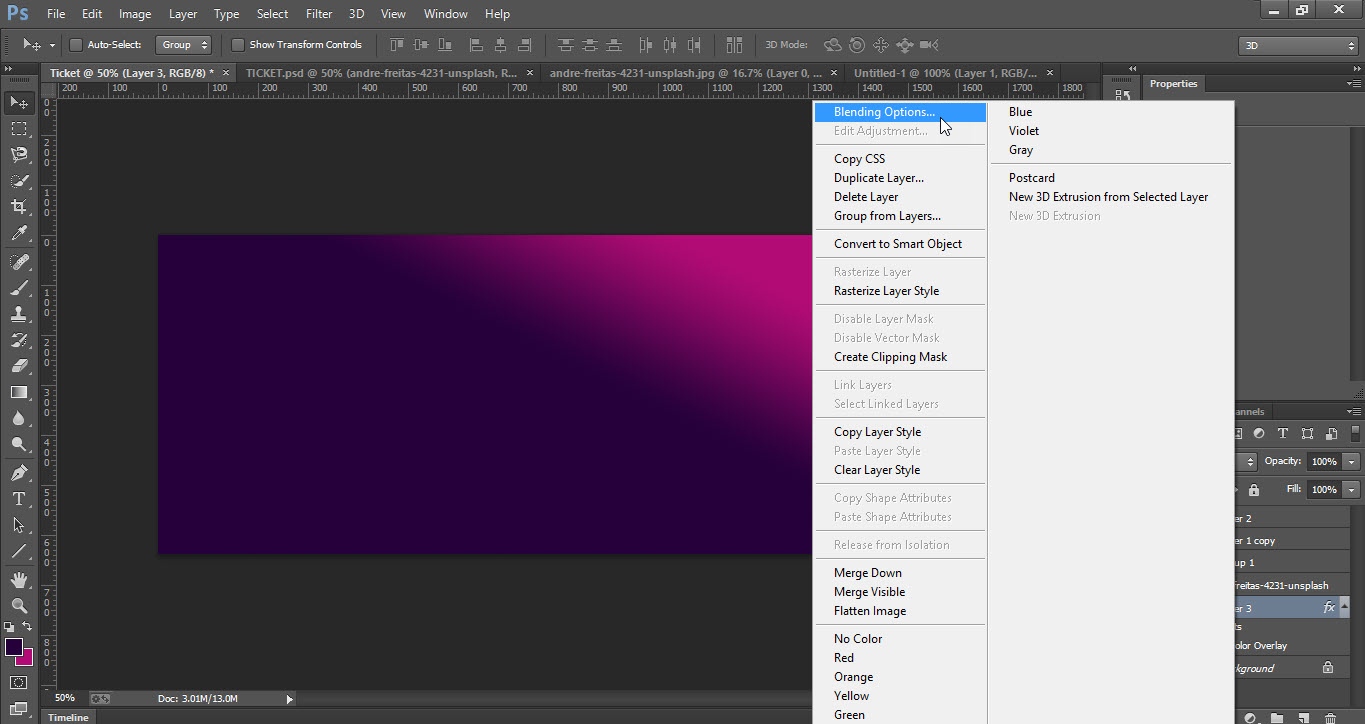
- Now right click on the gradient layer and click on “Blending Options”.
- “Layer Style” window will be opened.
- Tick “Gradient Overly” option then click on “Ok”.


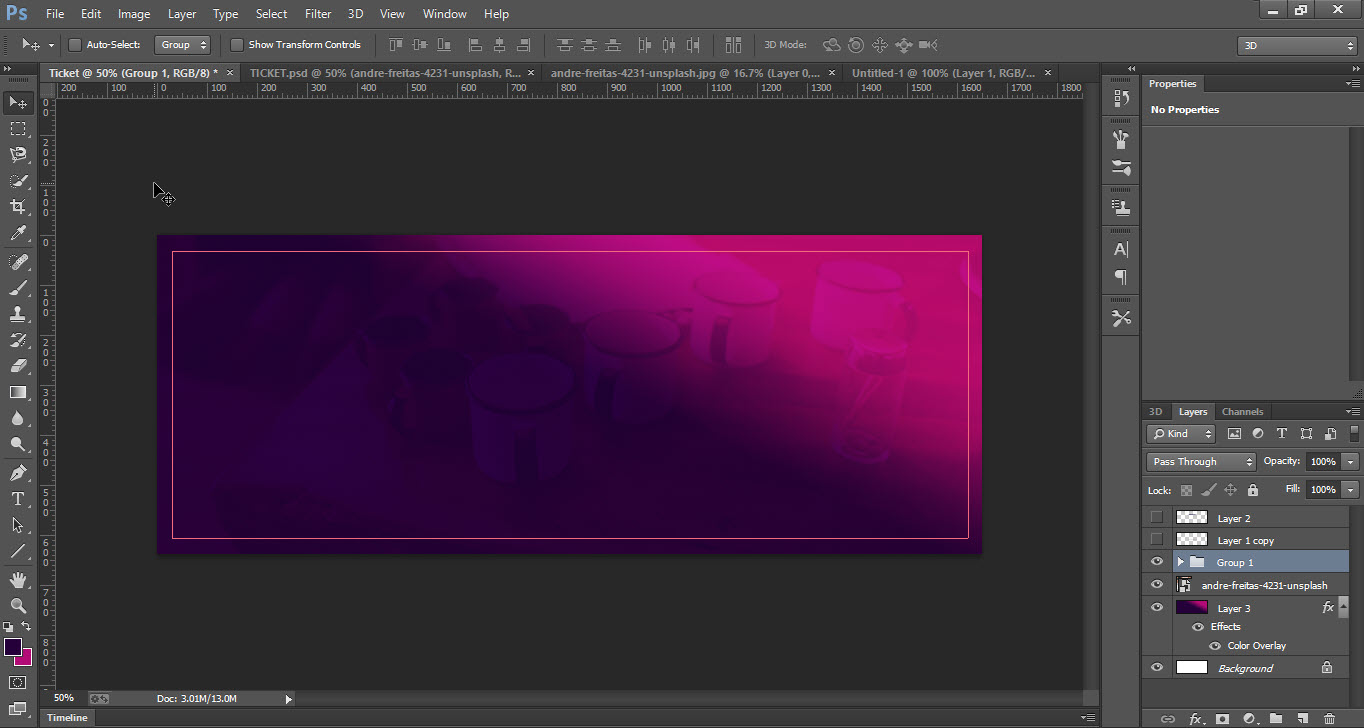
Step 02
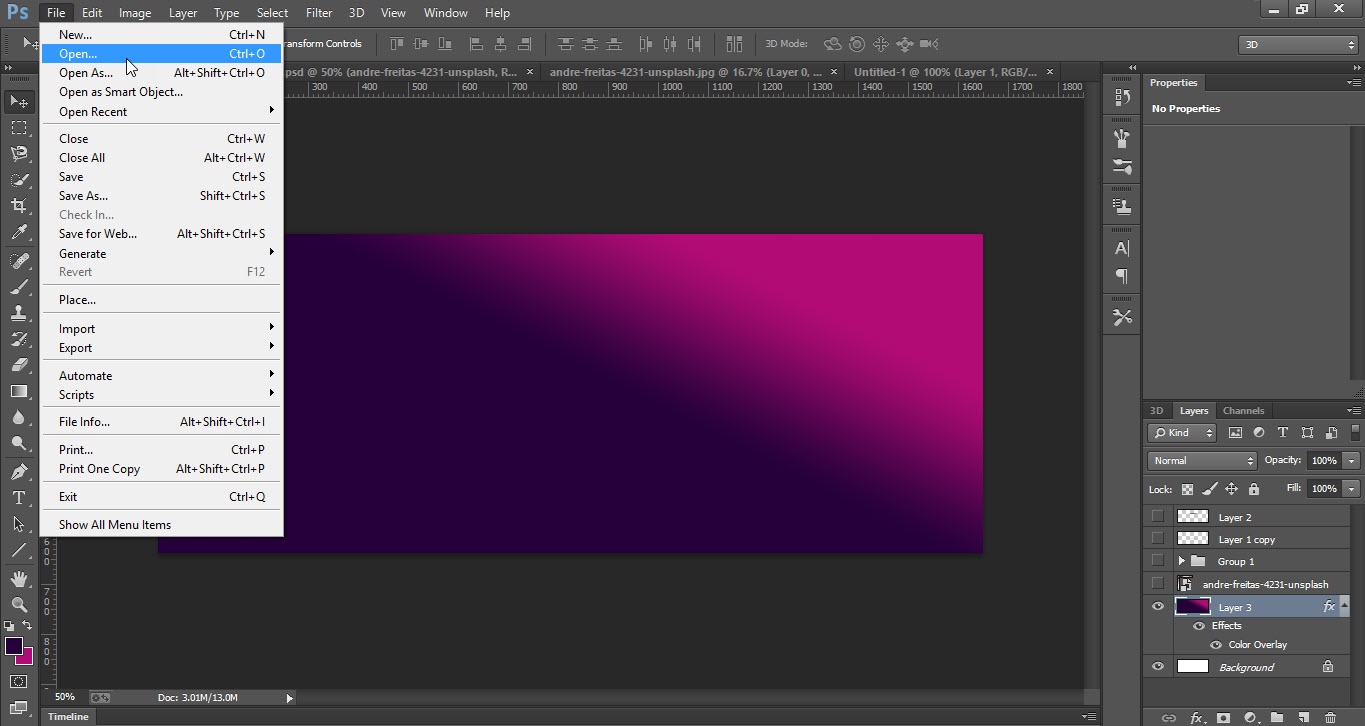
- Go to the “File” menu and click on “Open”.
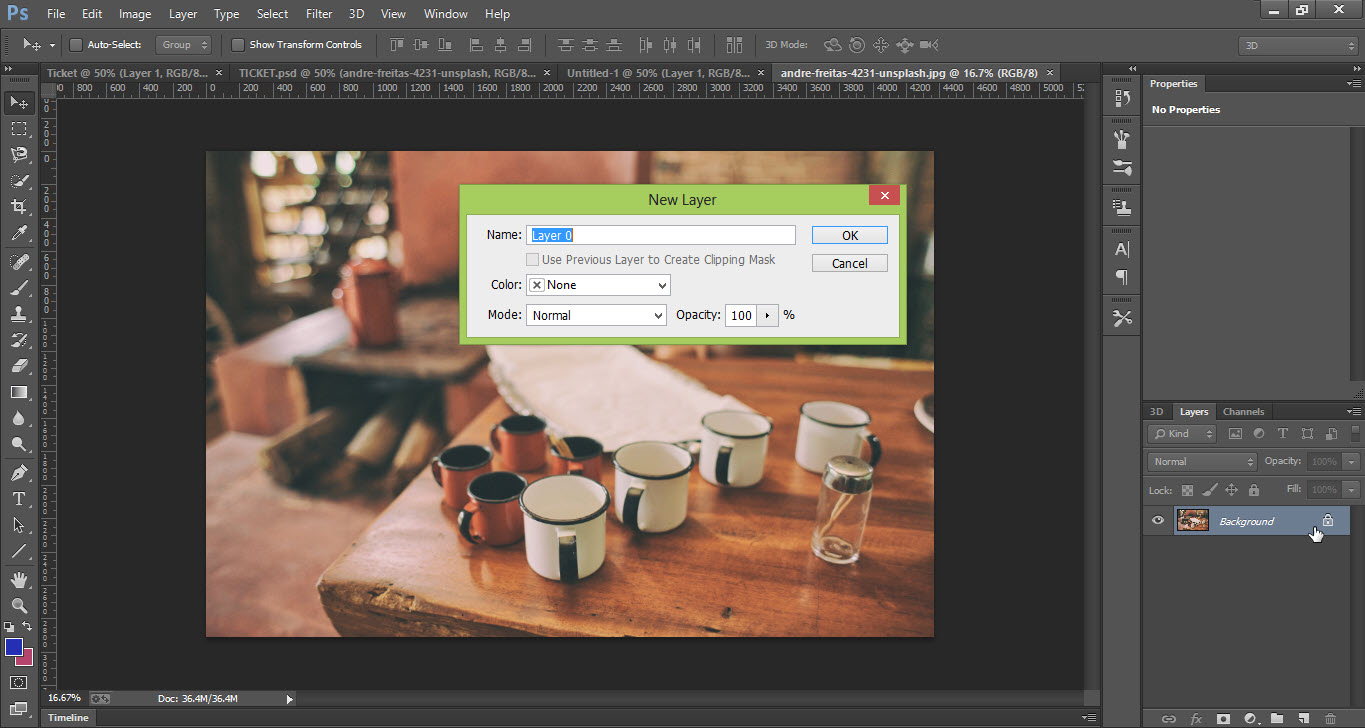
- Open the image which you want to place on the ticket.
- Unlock the “Background” layer of the image by double-clicking on lock.
- Drag the image to the ticket canvas and place the image above the “Gradient” layer and adjust it.
- Now we have to draw boundary lines, so adjust the ruler first according to your point of view.
- Go to the “Tool Bar” and select the “Line Tool”.
- Press the “Shift key” and draw a straight line with the help of the ruler.


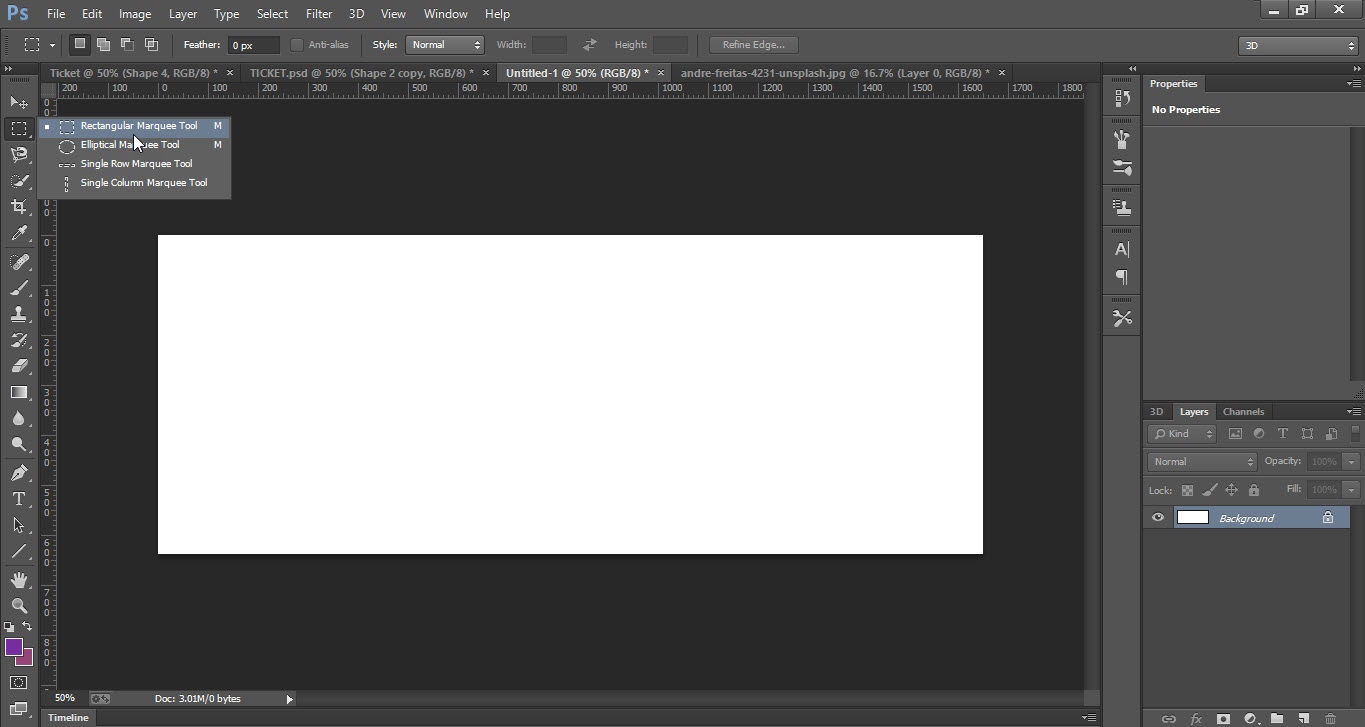
Step 03
- Open the new “File” of any size.
- Take “Rectangle Tool” from “Tool Bar”.
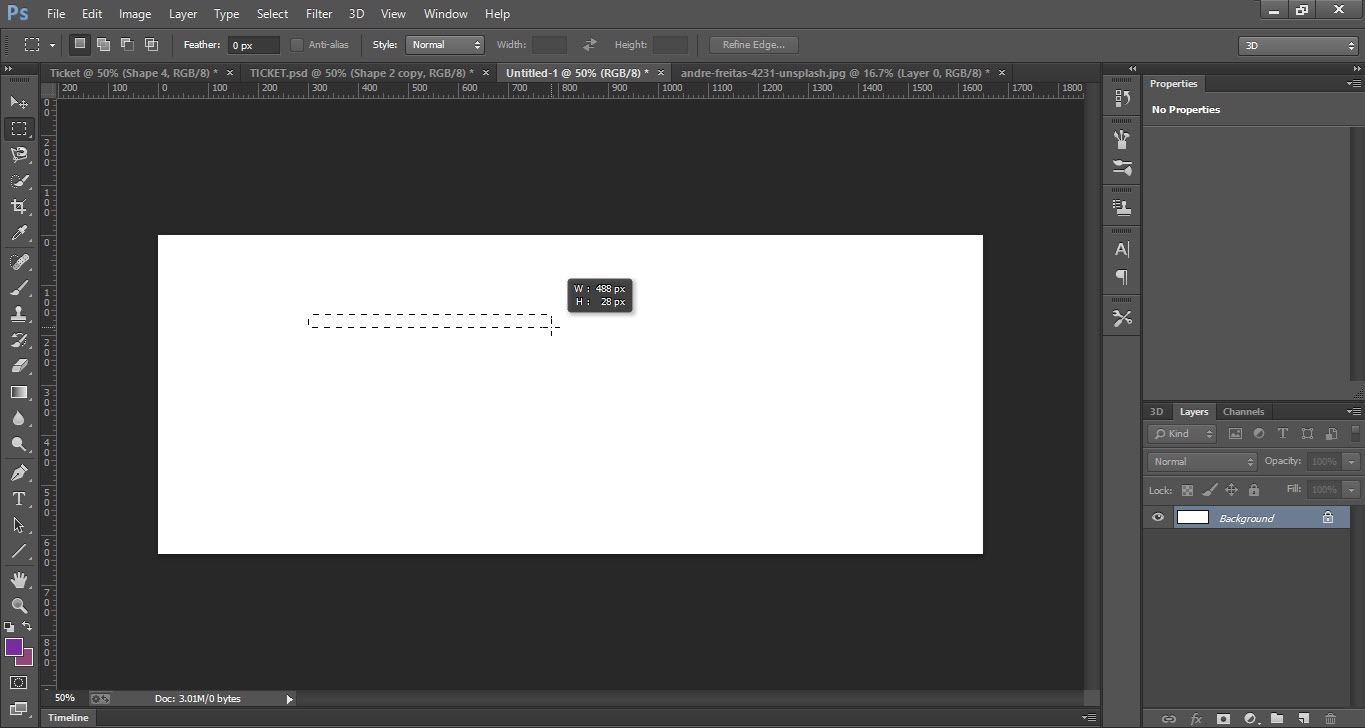
- Draw a rectangle of size 488/28 px.
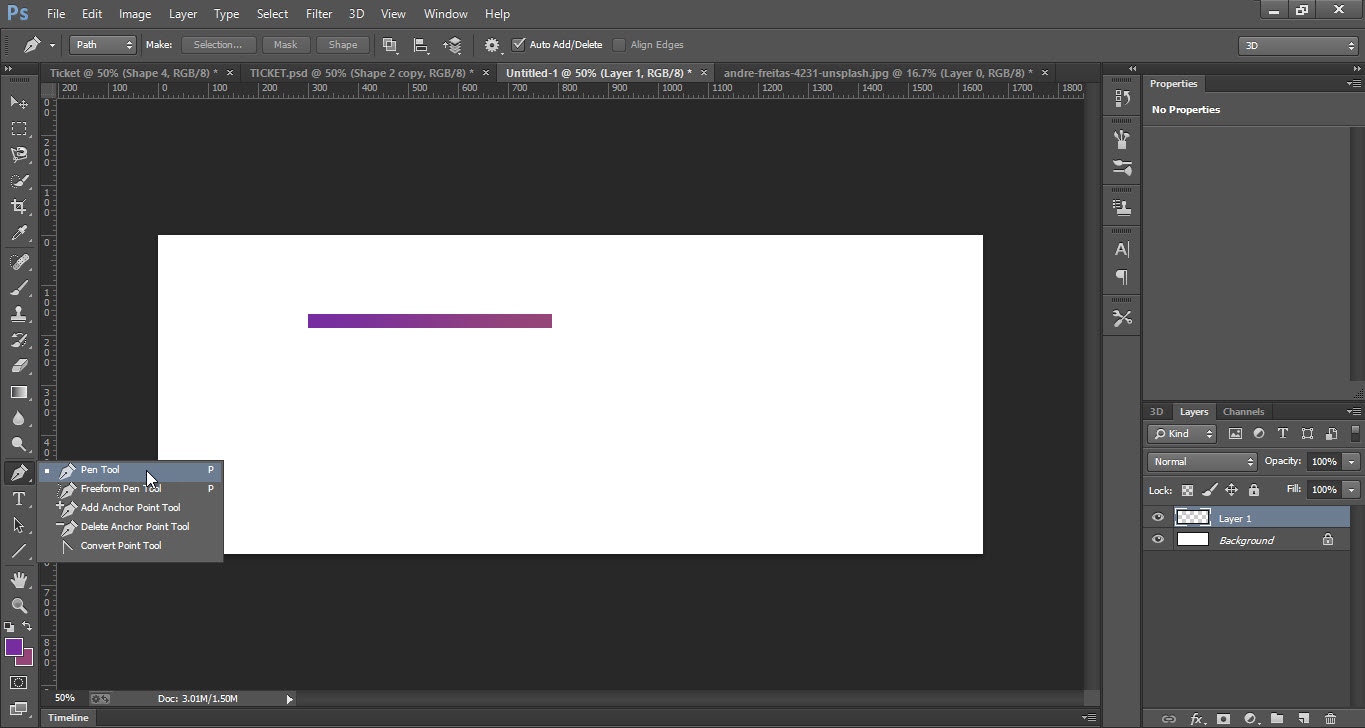
- Fill it with any color.
- Now take “Pen Tool” and make it narrow at one end(check the screenshot you will understand well).
- Make a selection with the help of “Pen Tool” and “Delete” the selected area.
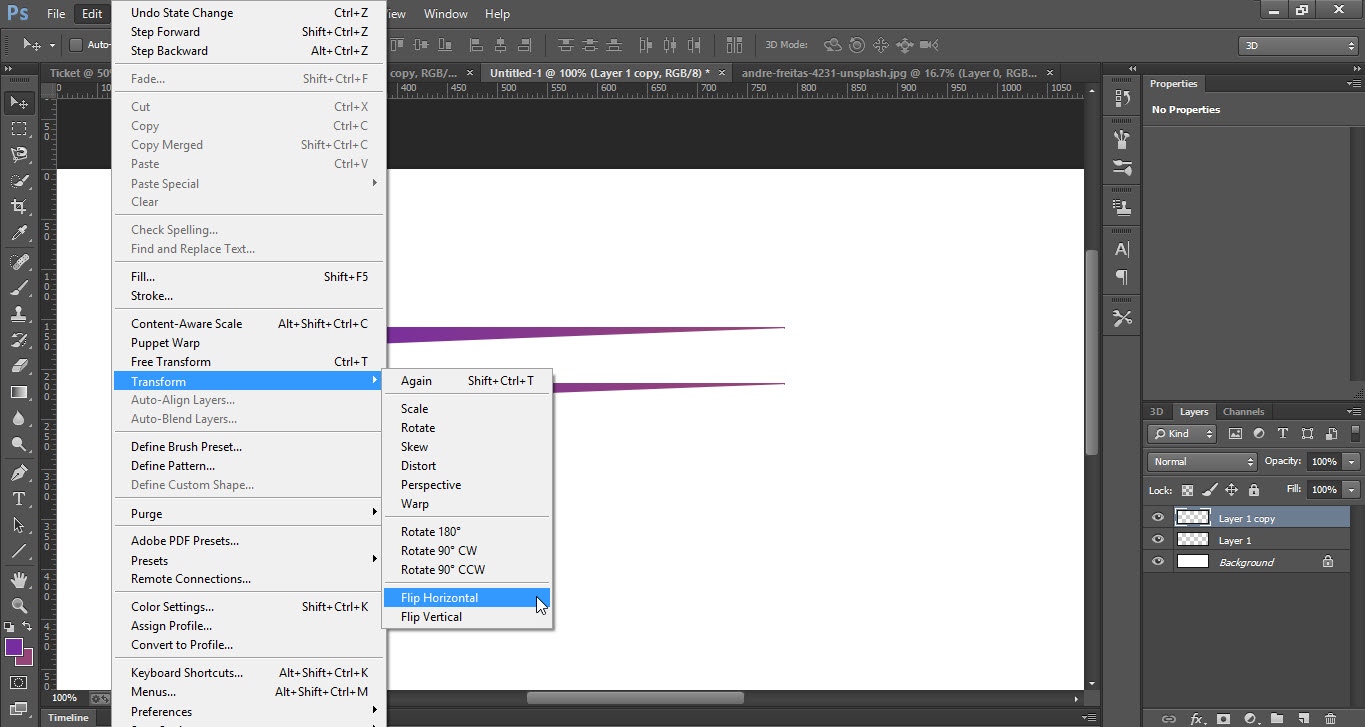
- Make a copy of the same shape by pressing “Ctrl+J”.
- Now go to the “Edit” menu then go to “Transform” option and click on “Flip Horizontal”.
- Drag both the shapes one by one to the original design and adjust it as you want.


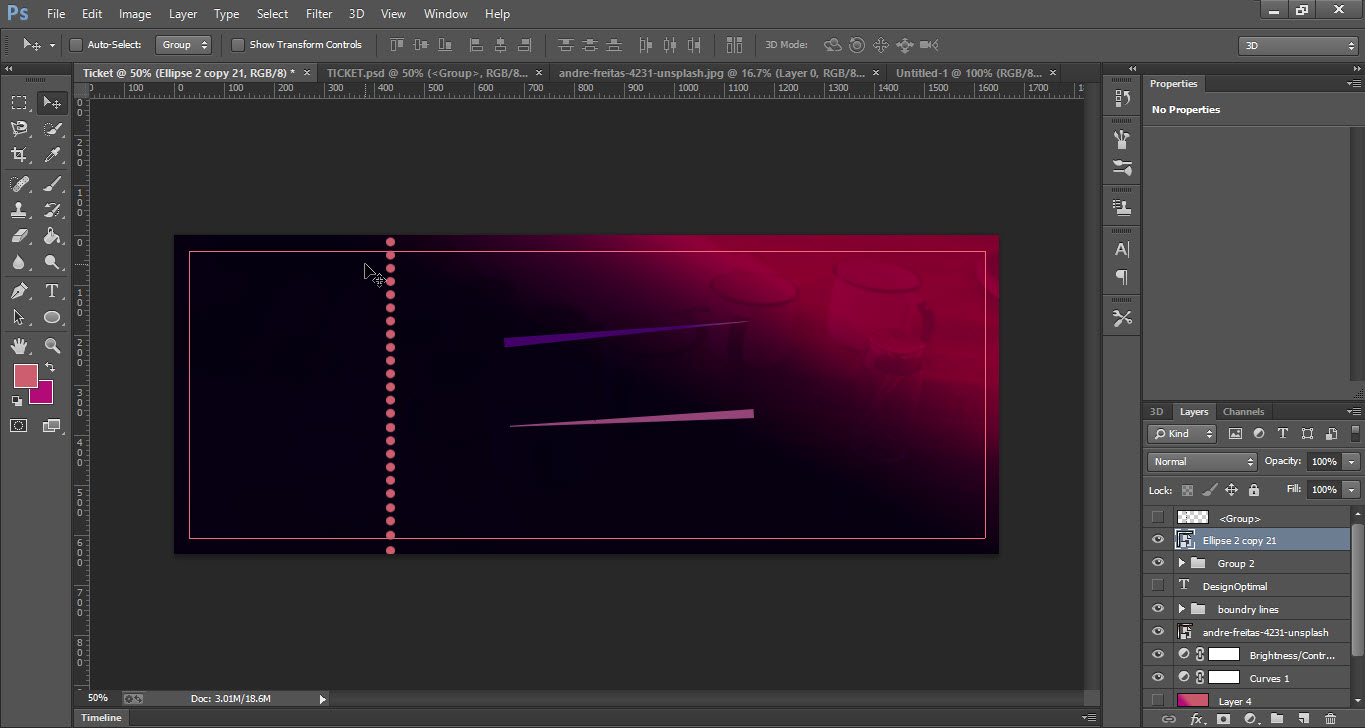
Step 04
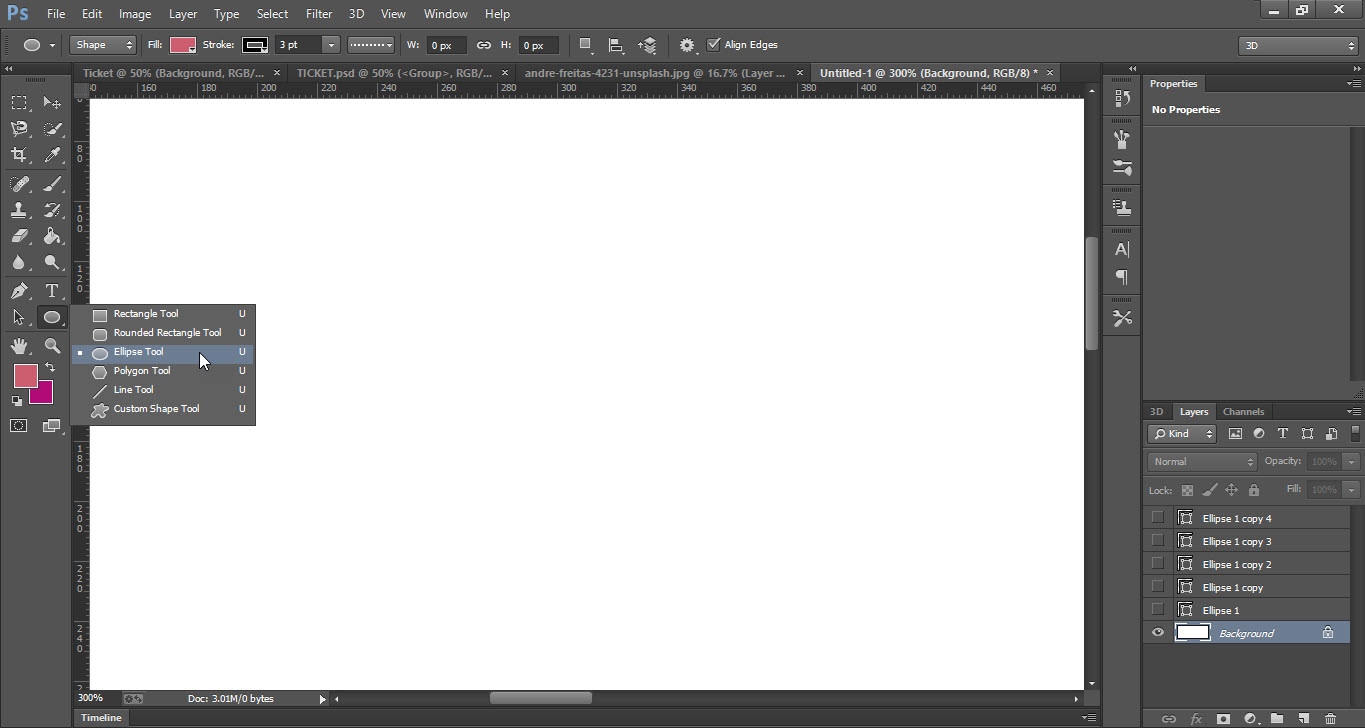
- Now open the new file and select the “Ellipse Tool” from “Tool Bar”.
- Make a small circle according to your point of view.
- Now make multiple copies of the same circle by pressing “Ctrl+J”.
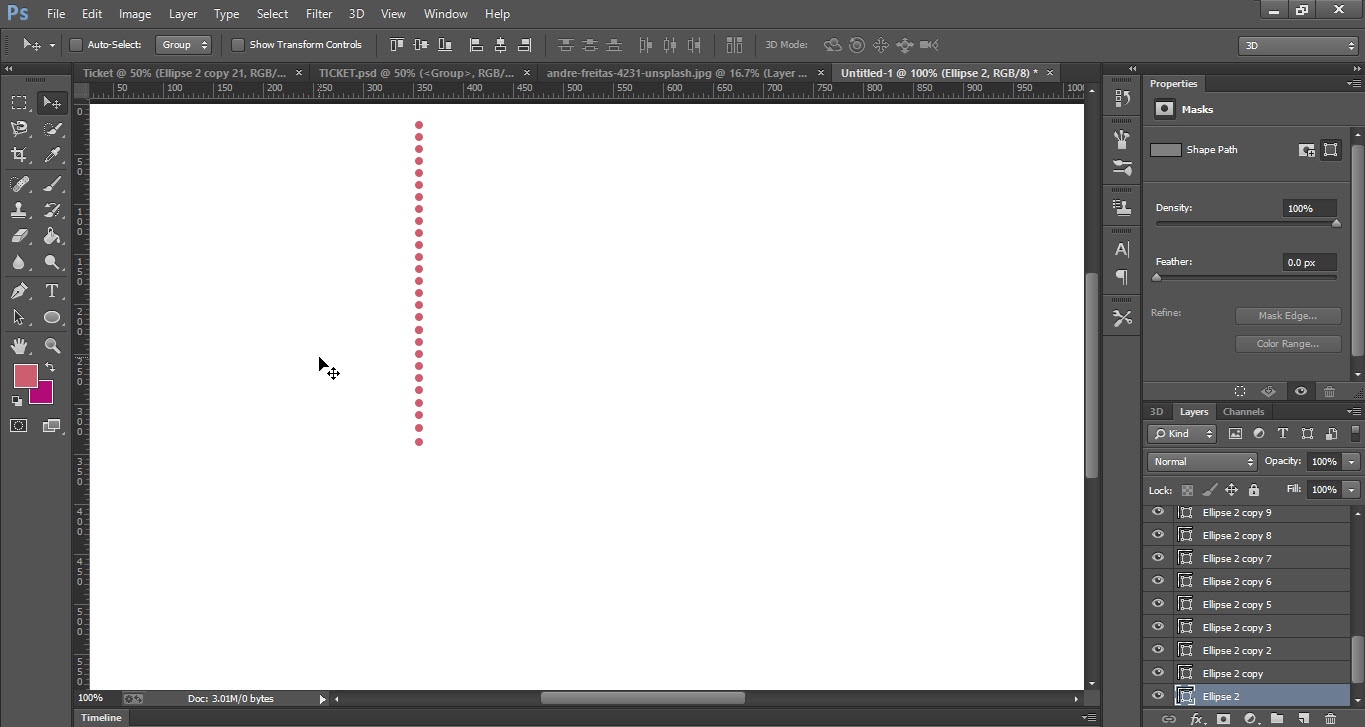
- Arrange all the circle in a line.
- Make a line of the circle according to your design size.
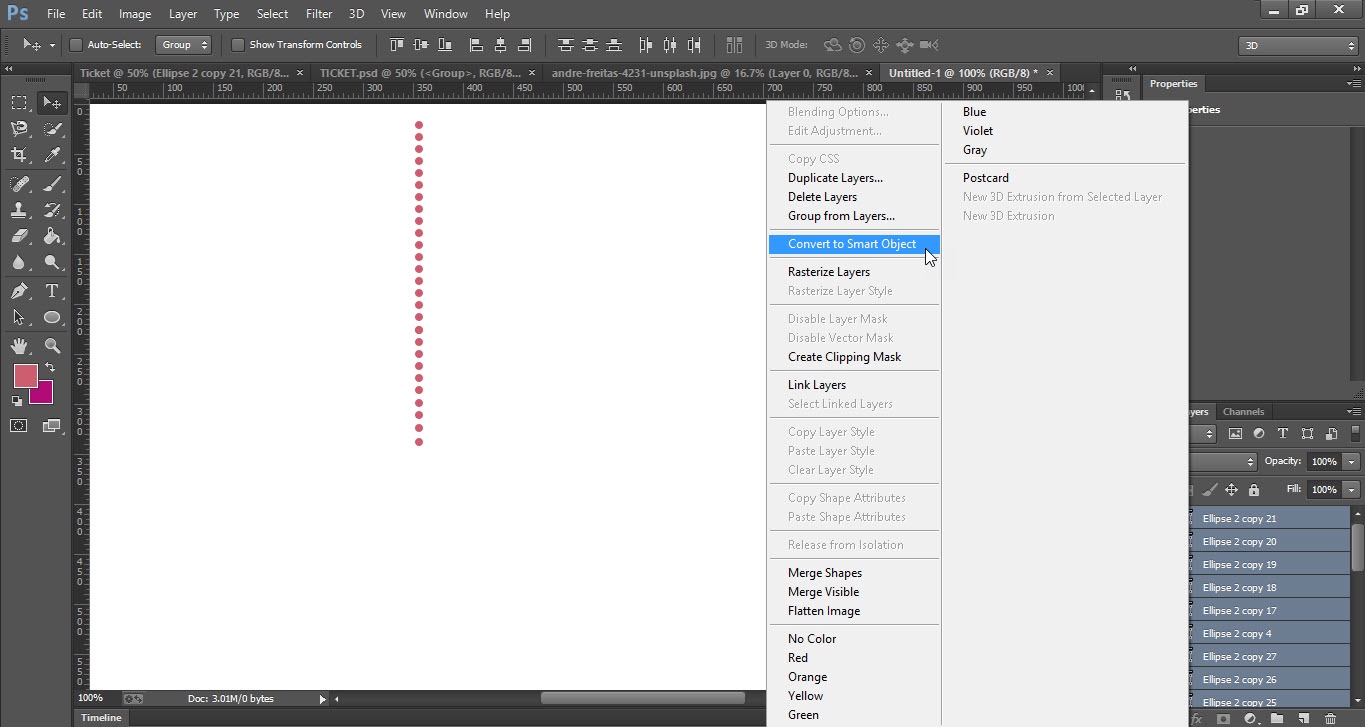
- Now select all the layers and right click on it.
- Click on “Convert to Smart Object” option.
- Now drag the dotted line and place it on the original design

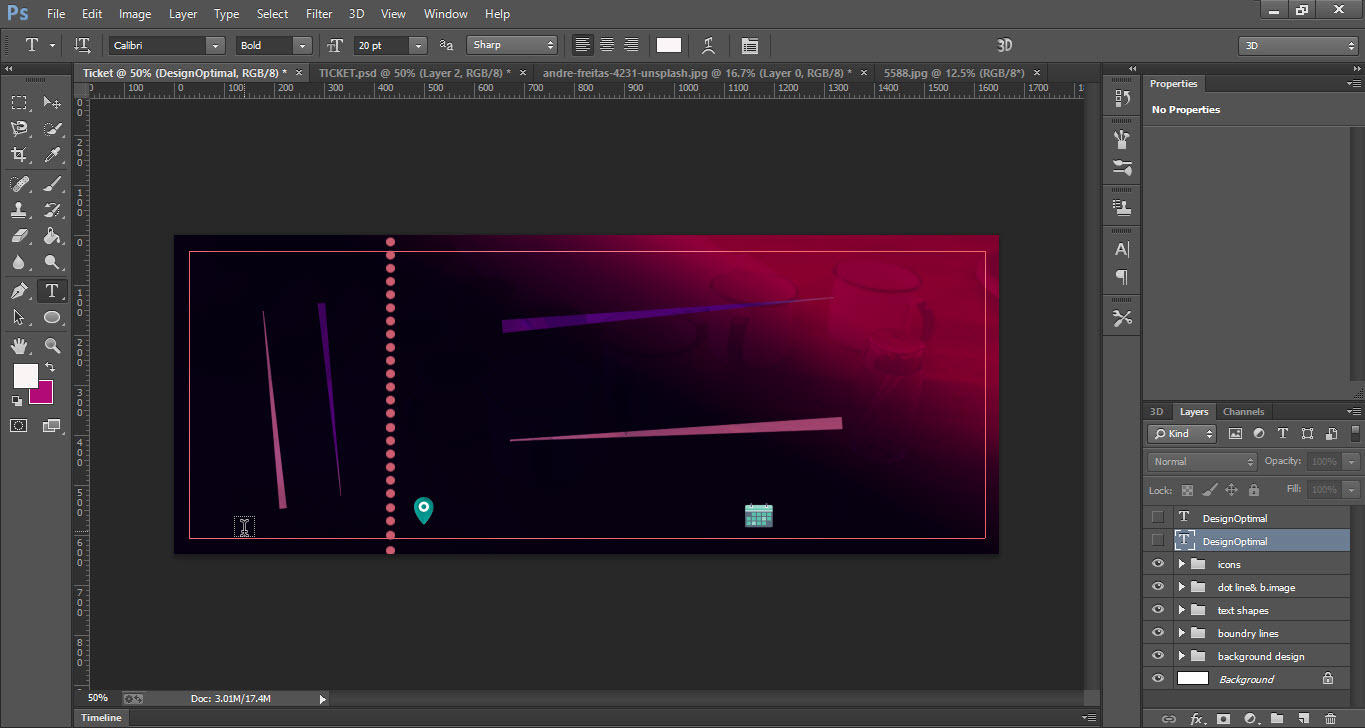
Step 05
- Now place the “Location” and “Date” Icons.
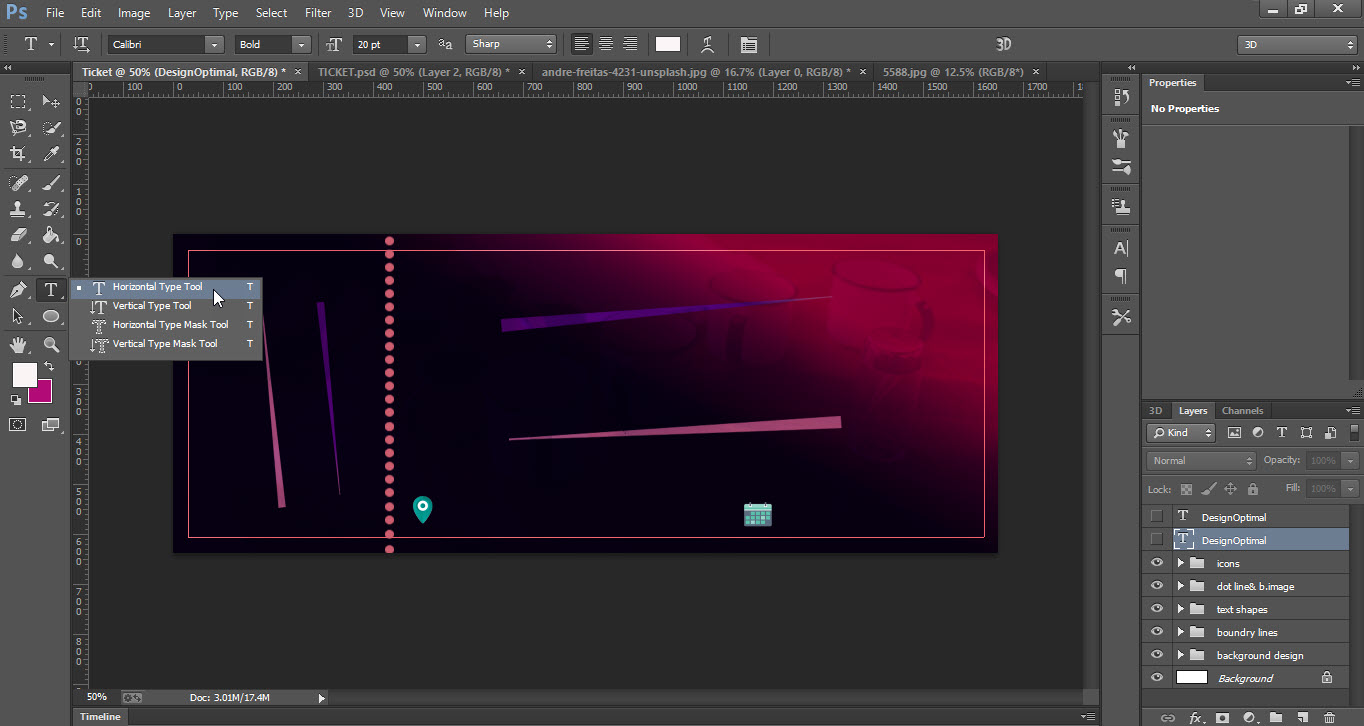
- Go to the “Tool Bar” and select the “Text Tool”.
- Now write your company name or anything for which you design ticket.
- As I write DesignOptimal.
- Also, add location and date in front of icons.
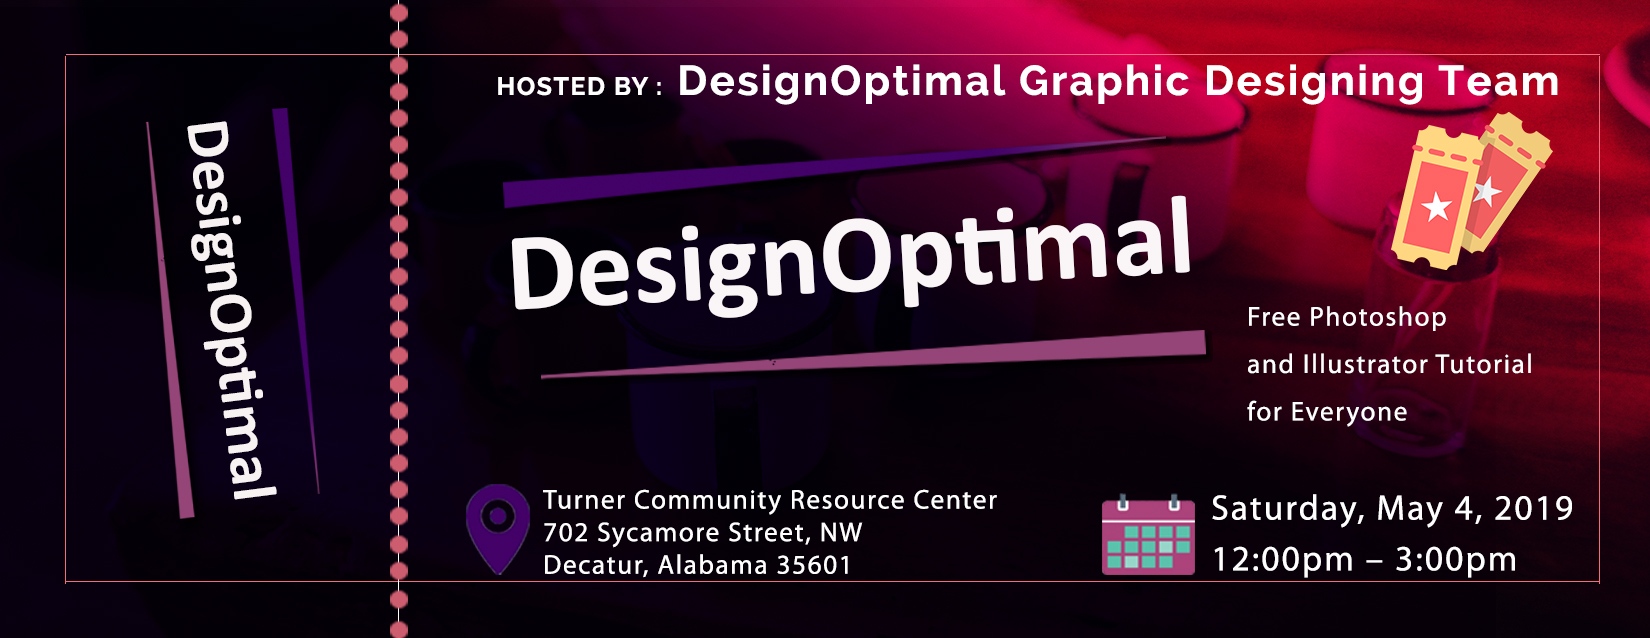
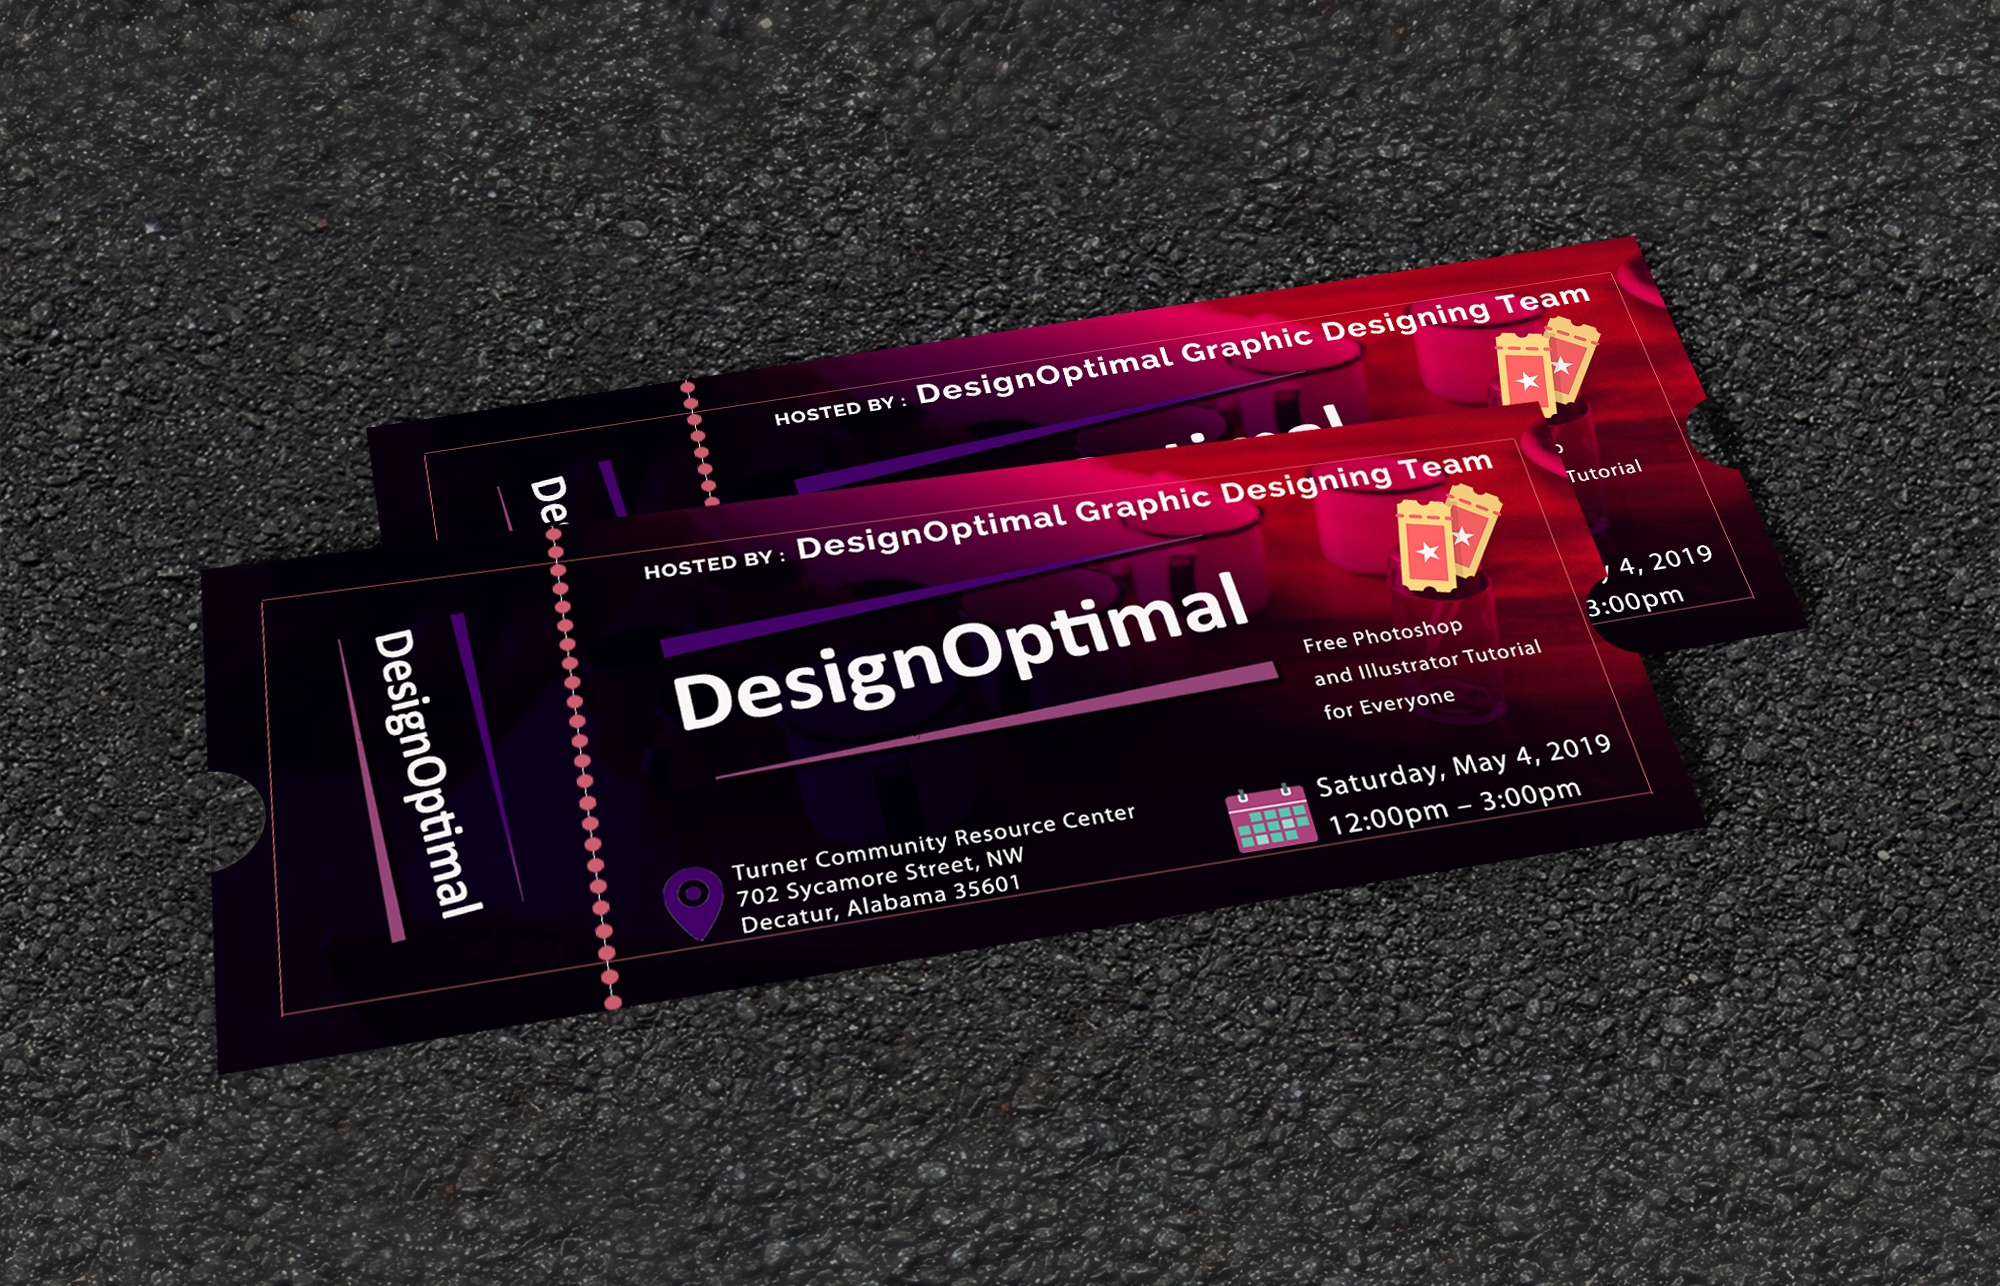
- Here is your design ready.

This is how the final result looks like