Hello, everyone today we are going to show you “How to Circular Spiral Effect in Adobe Illustrator”. In this tutorial, you will learn how to create a circular spiral effect. Don’t worry if you are new here this is a step by step tutorial also have a screenshot of each step so you can practice it by yourself by downloading the project Ai file.
Resources
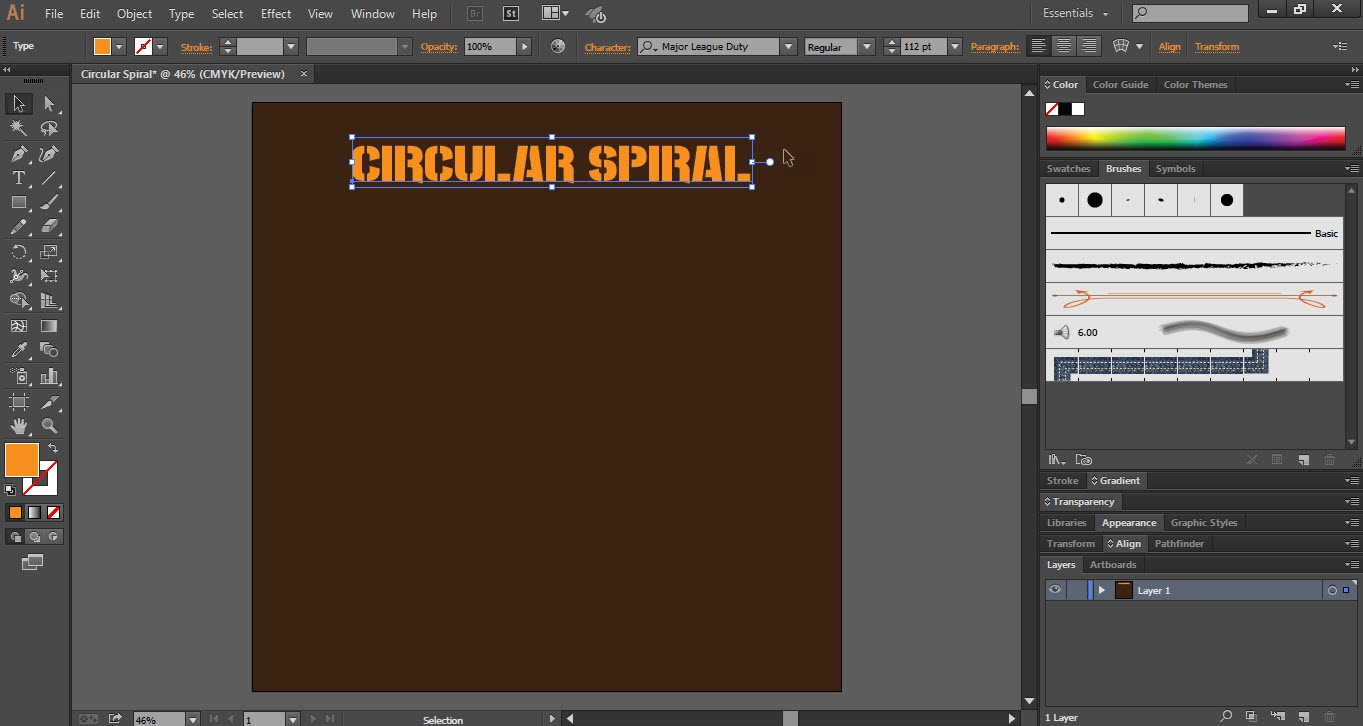
Fonts used:
- Major League Duty
Step 01
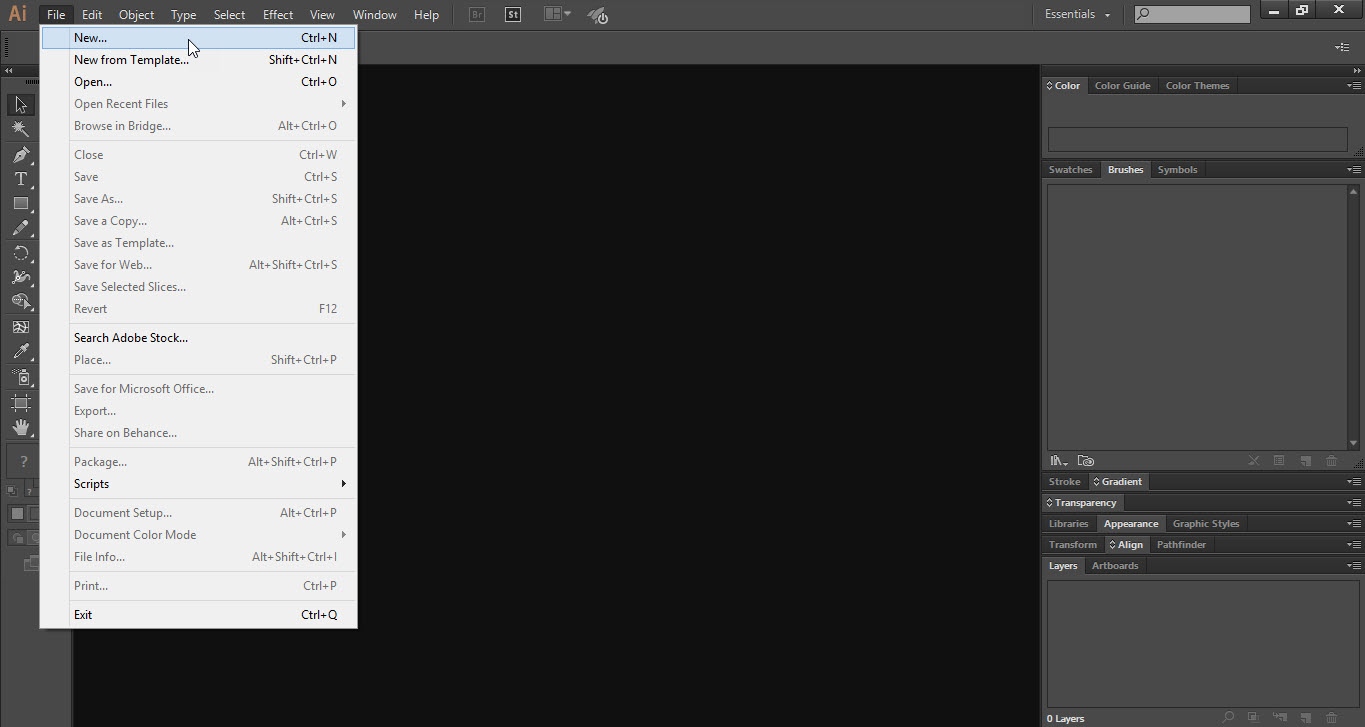
- Open the Adobe Illustrator software.
- Go to the “File” menu and click on the “New” option.
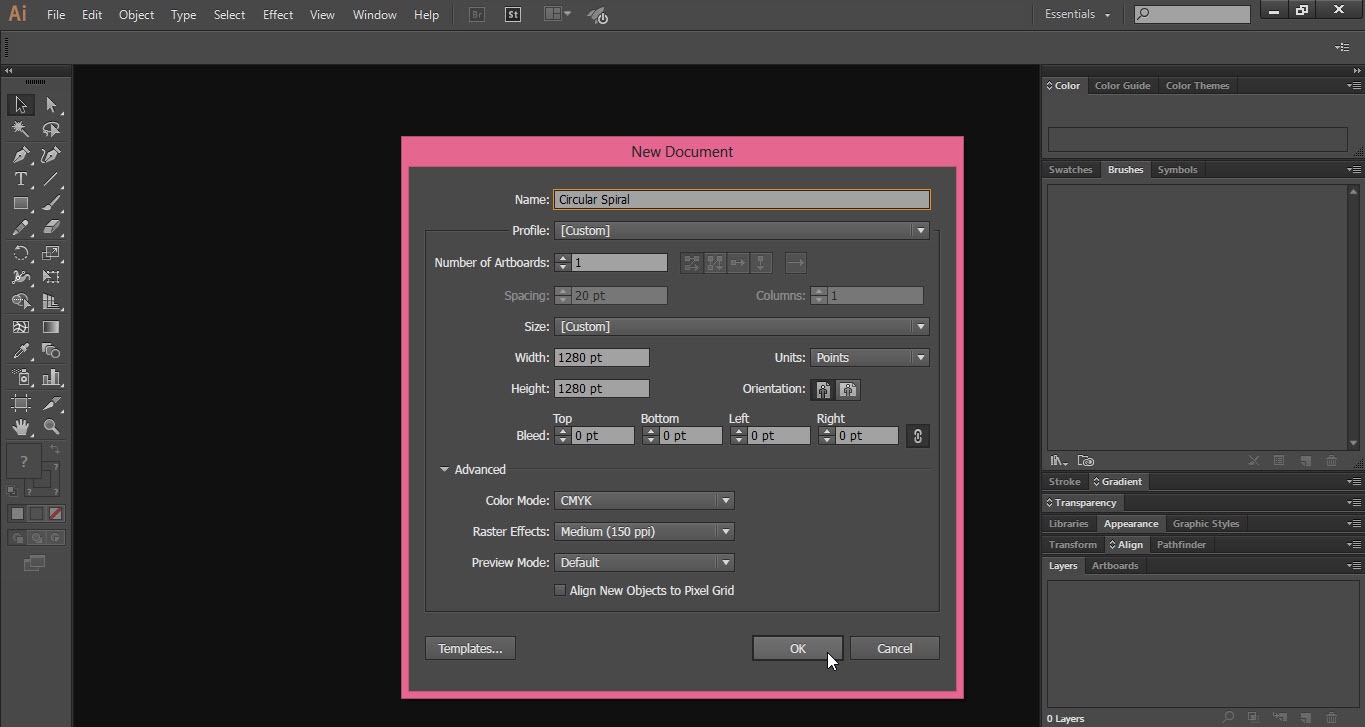
- Select the size of the document according to your requirement.
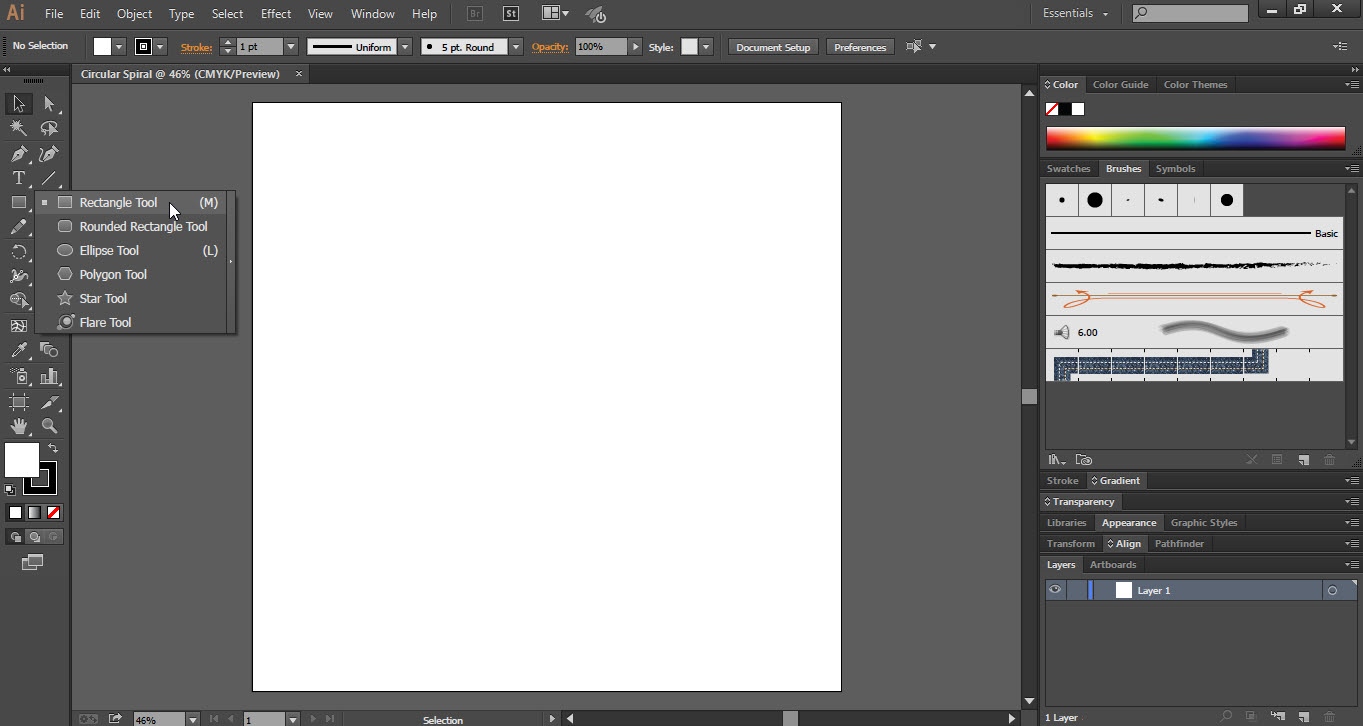
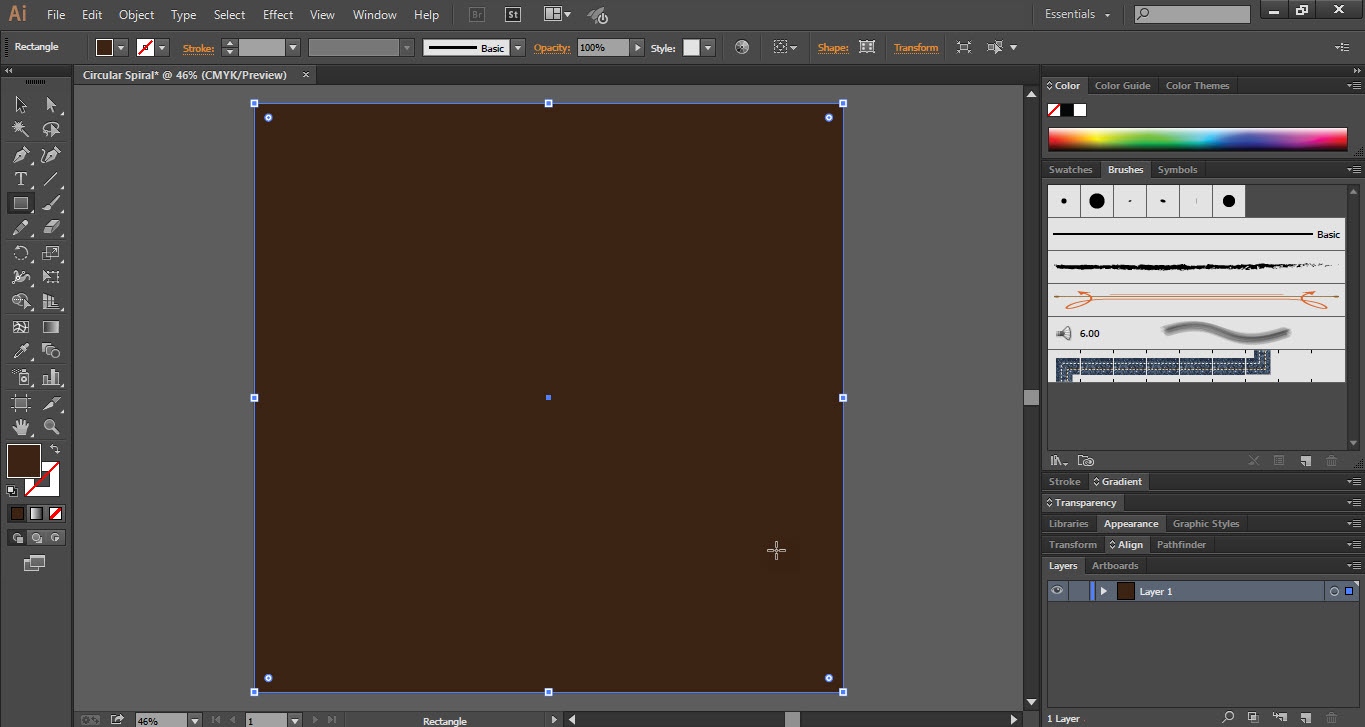
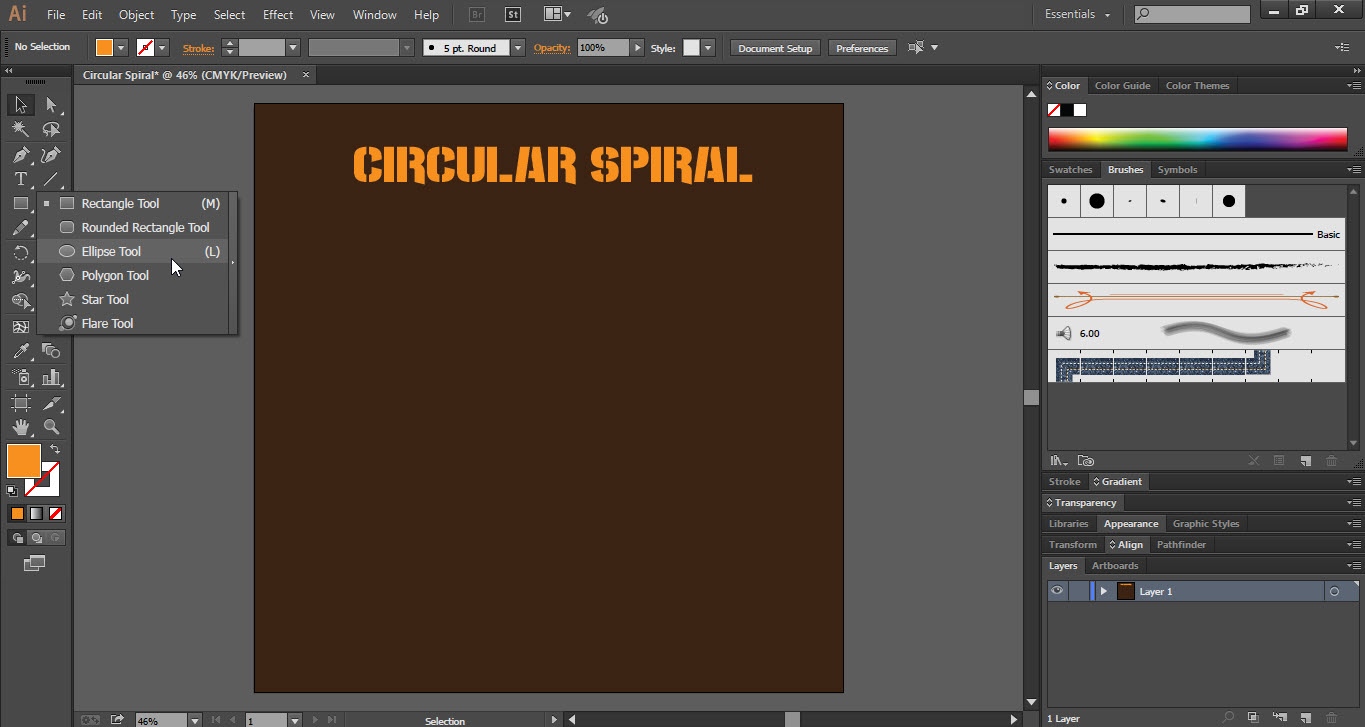
- Take the “Rectangle Tool” from the “Tools Bar”.
- Draw a rectangle over the “Art Board”.
- Make sure that the rectangle covers all the artboards.
- Apply the “Color” to the rectangle.
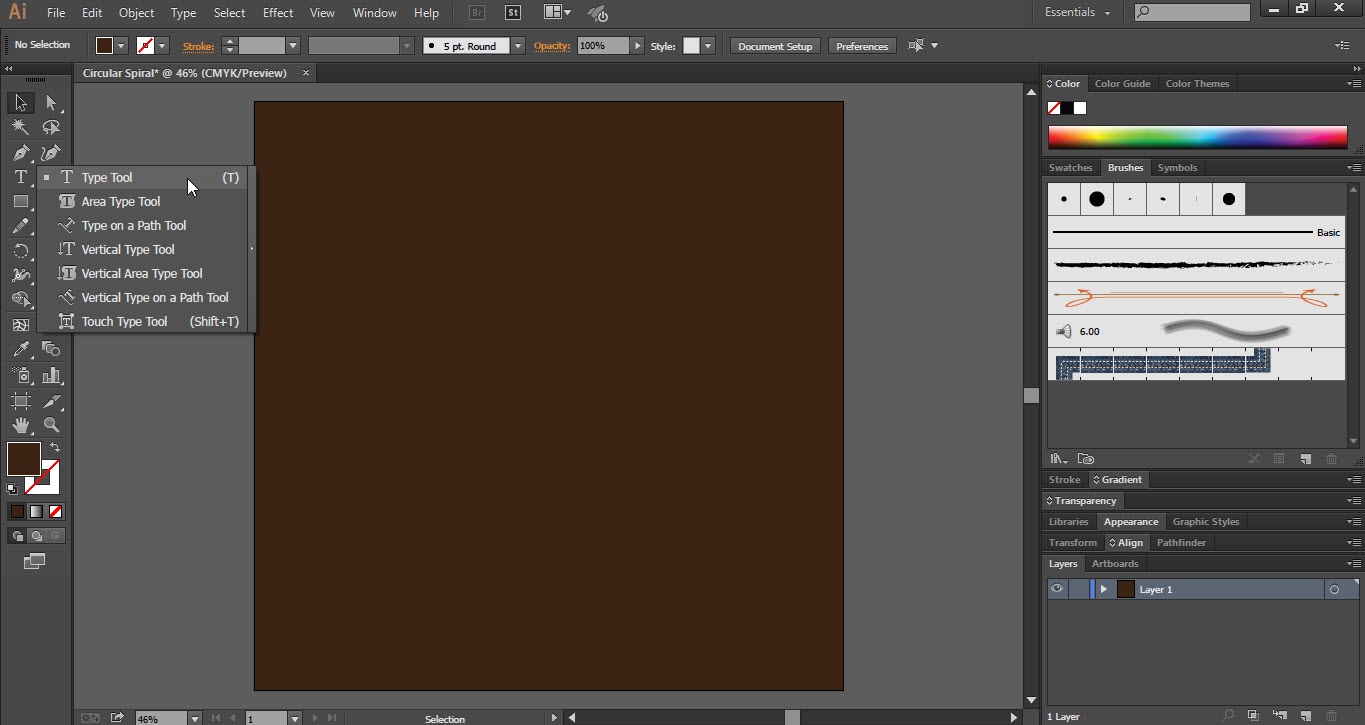
- Now take the “Type Tool” from the “Tools Bar”.
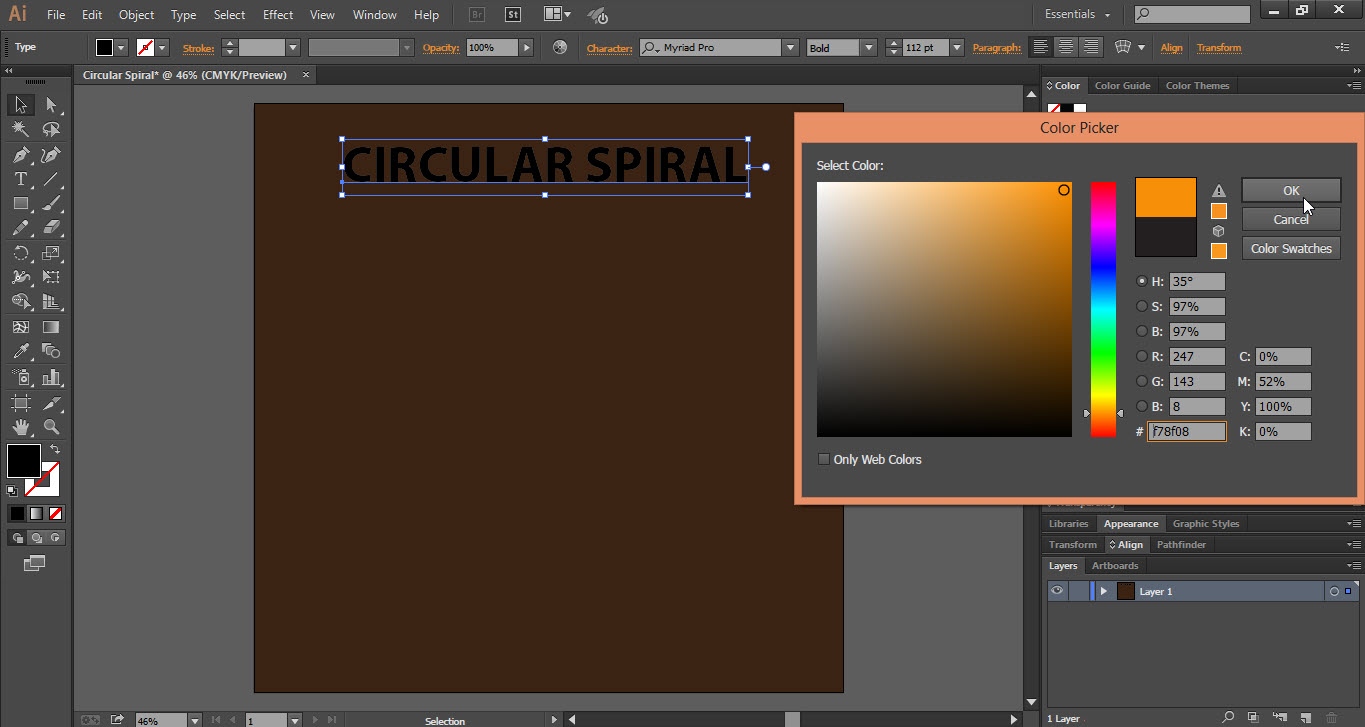
- Add “Text” on the top of the artboard and apply the color.
Step 02
- Now we have to make a “Circular Spiral” design.
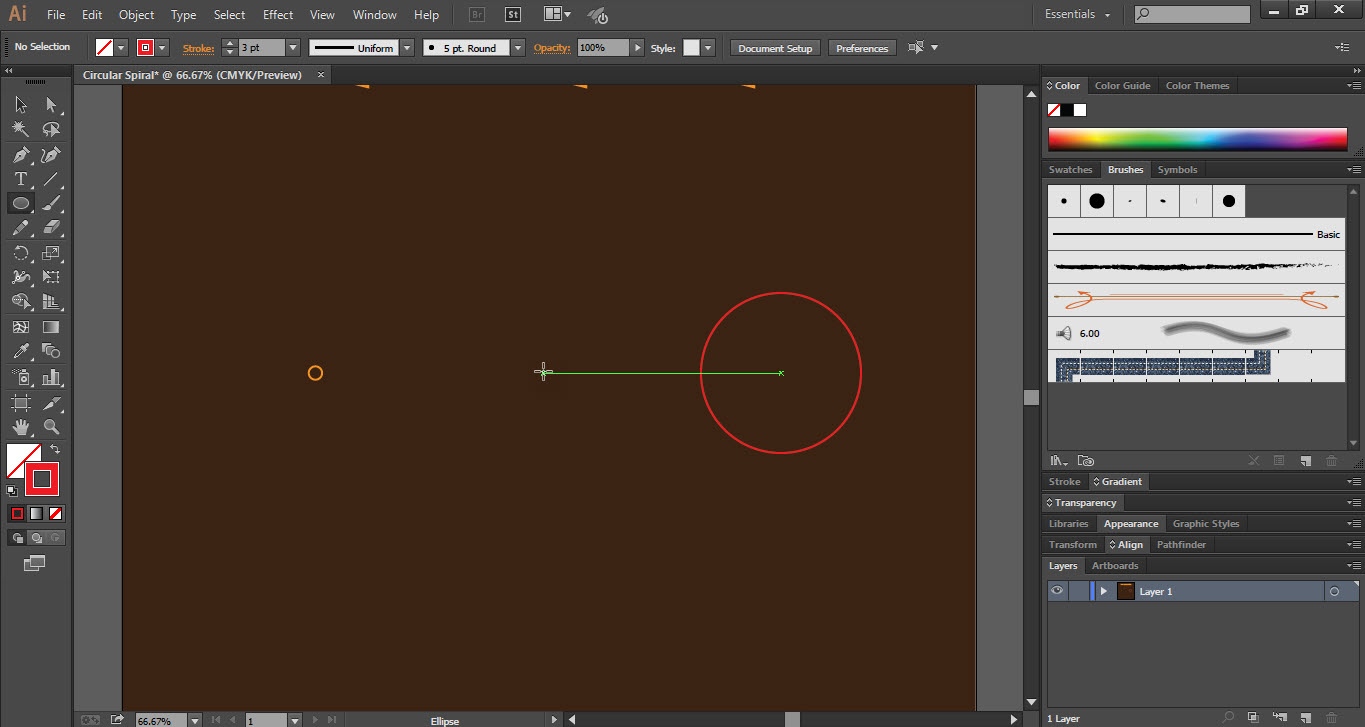
- To do so, take the “Ellipse Tool” from the “Tools Bar”.
- Draw a small “Circle” on the “Left Side”.
- Draw another “Circle” on the “Right Side” but make the size bigger.
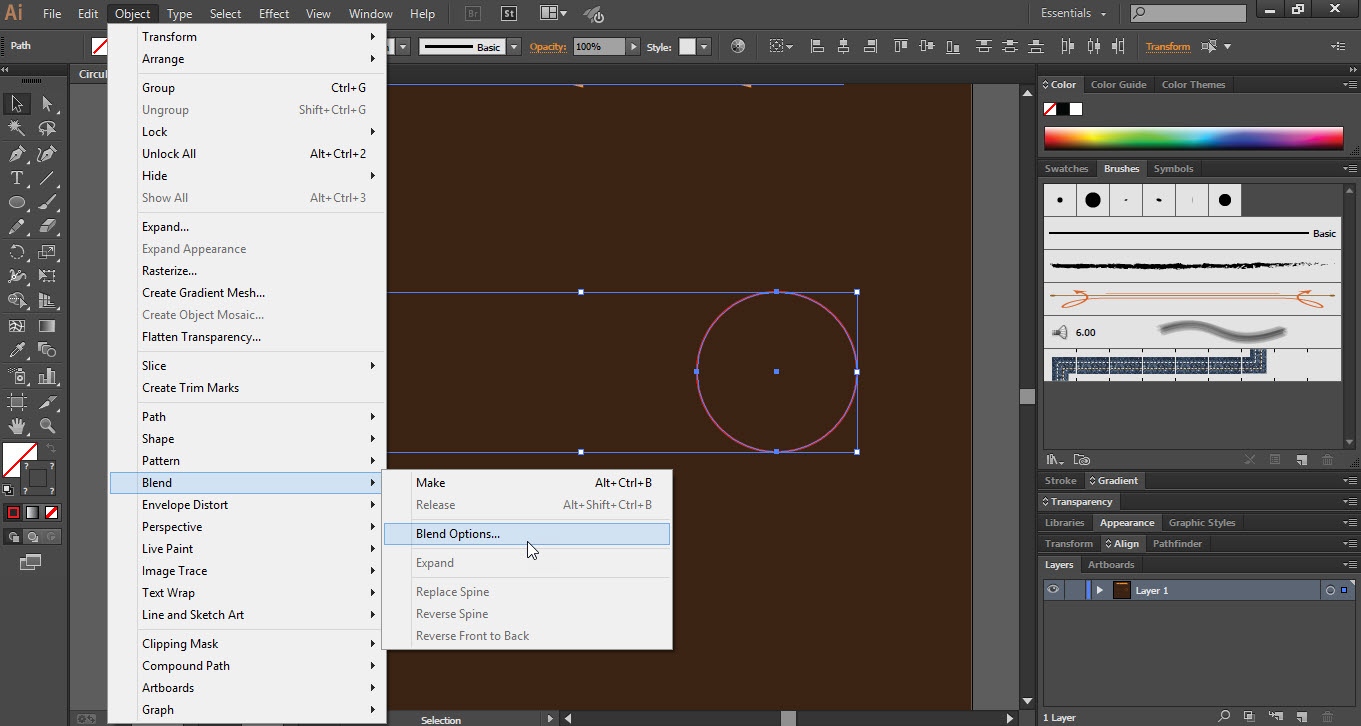
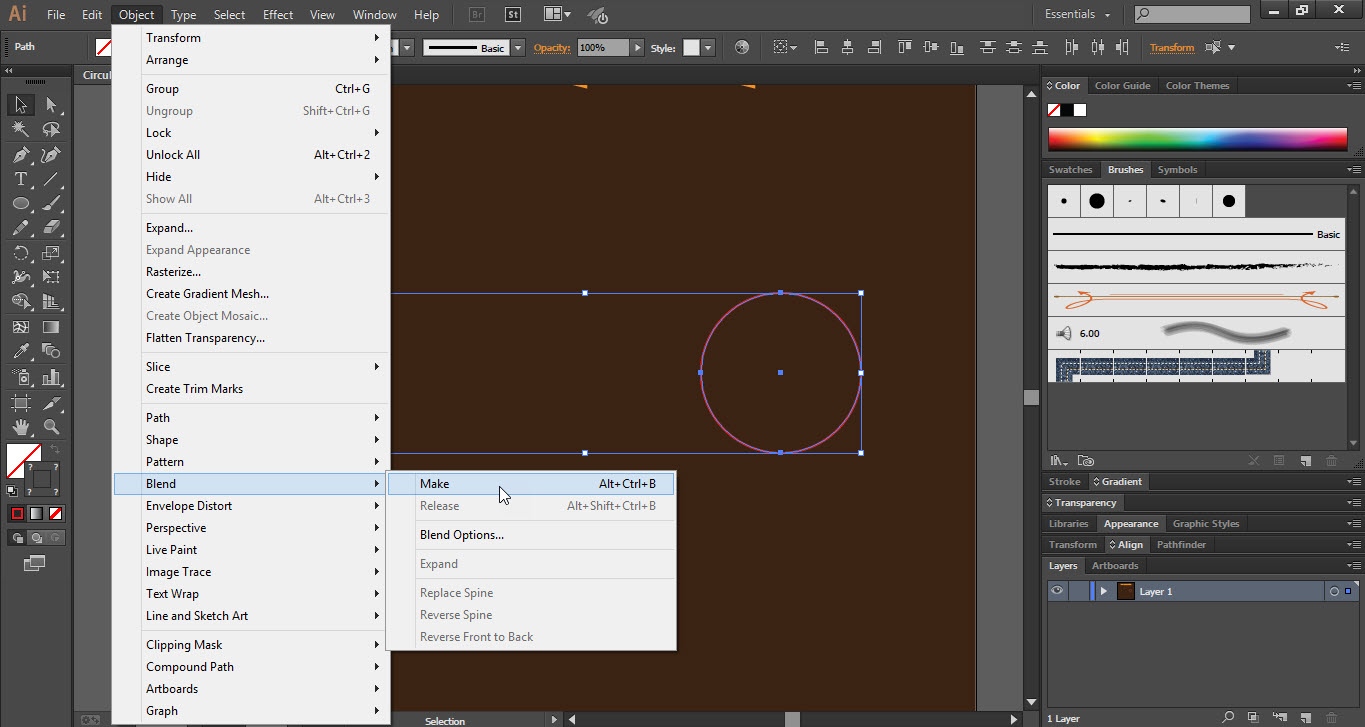
- Select both the “Circle” and go to the “Object” menu.
- In the “Object” menu go to the “Blend” option and click on the “Blend Options”.
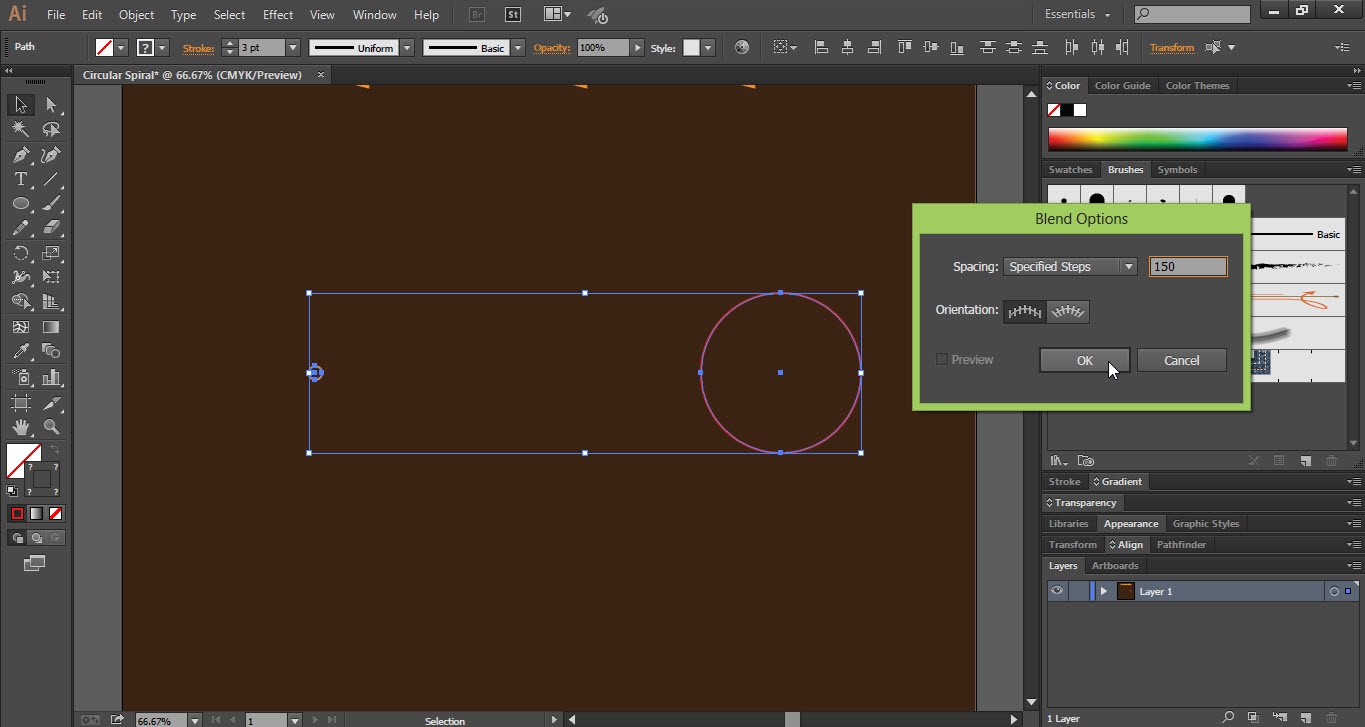
- A “Blend Options” window will be opened. Select the “Specified Step” option and add spacing “150”.
- Again go to the “Object” menu then the “Blend” option and click on “Make”.

Step 03
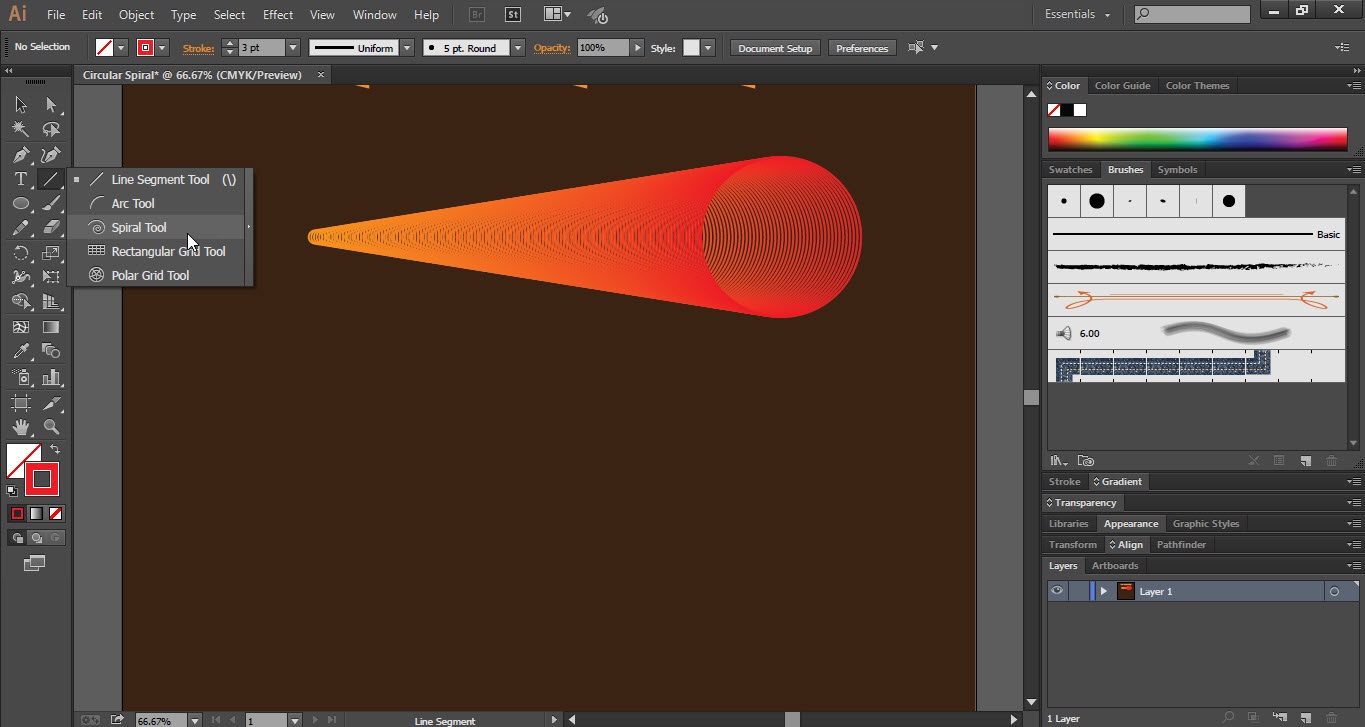
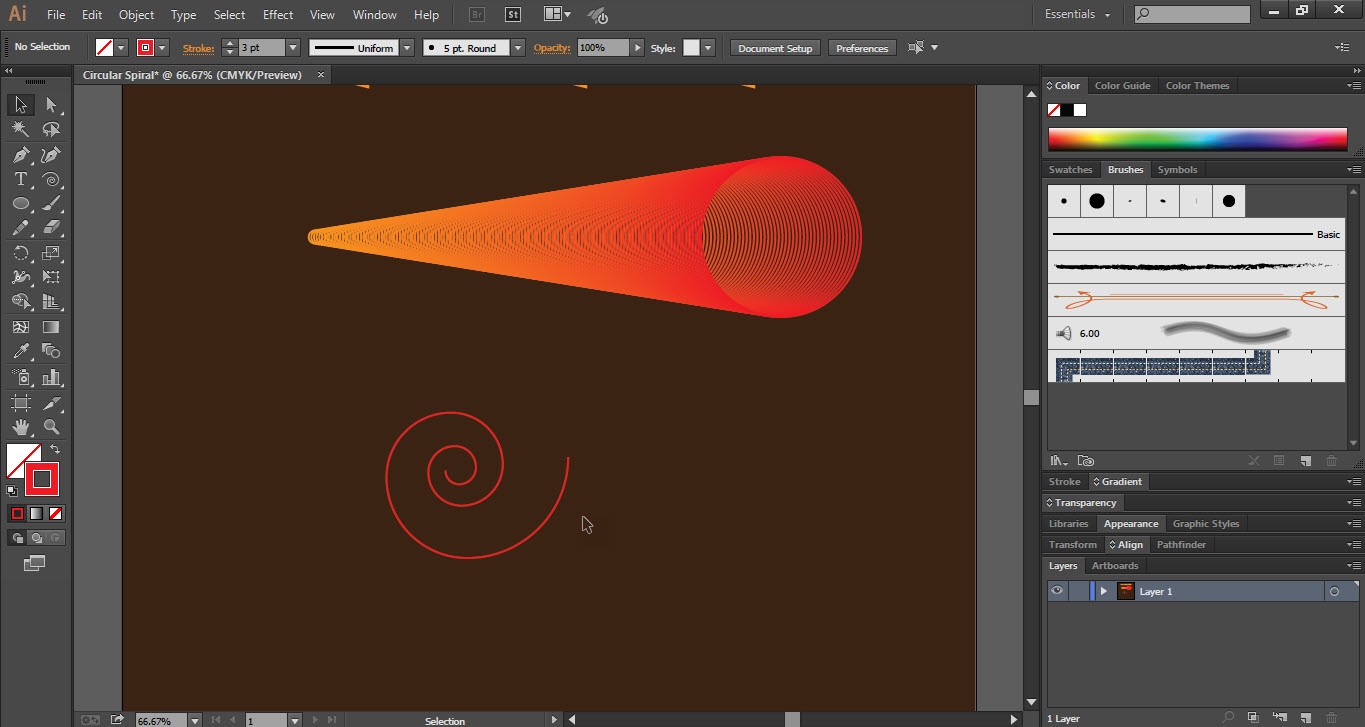
- Now take the “Spiral Tool” from the “Tools Bar”.
- Draw a “Spiral Shape” on the artboard.
- Select both the “Shapes” and go to the “Object” menu.
- In the “Object” menu go to the “Blend” option and click on the “Replace Spine”.
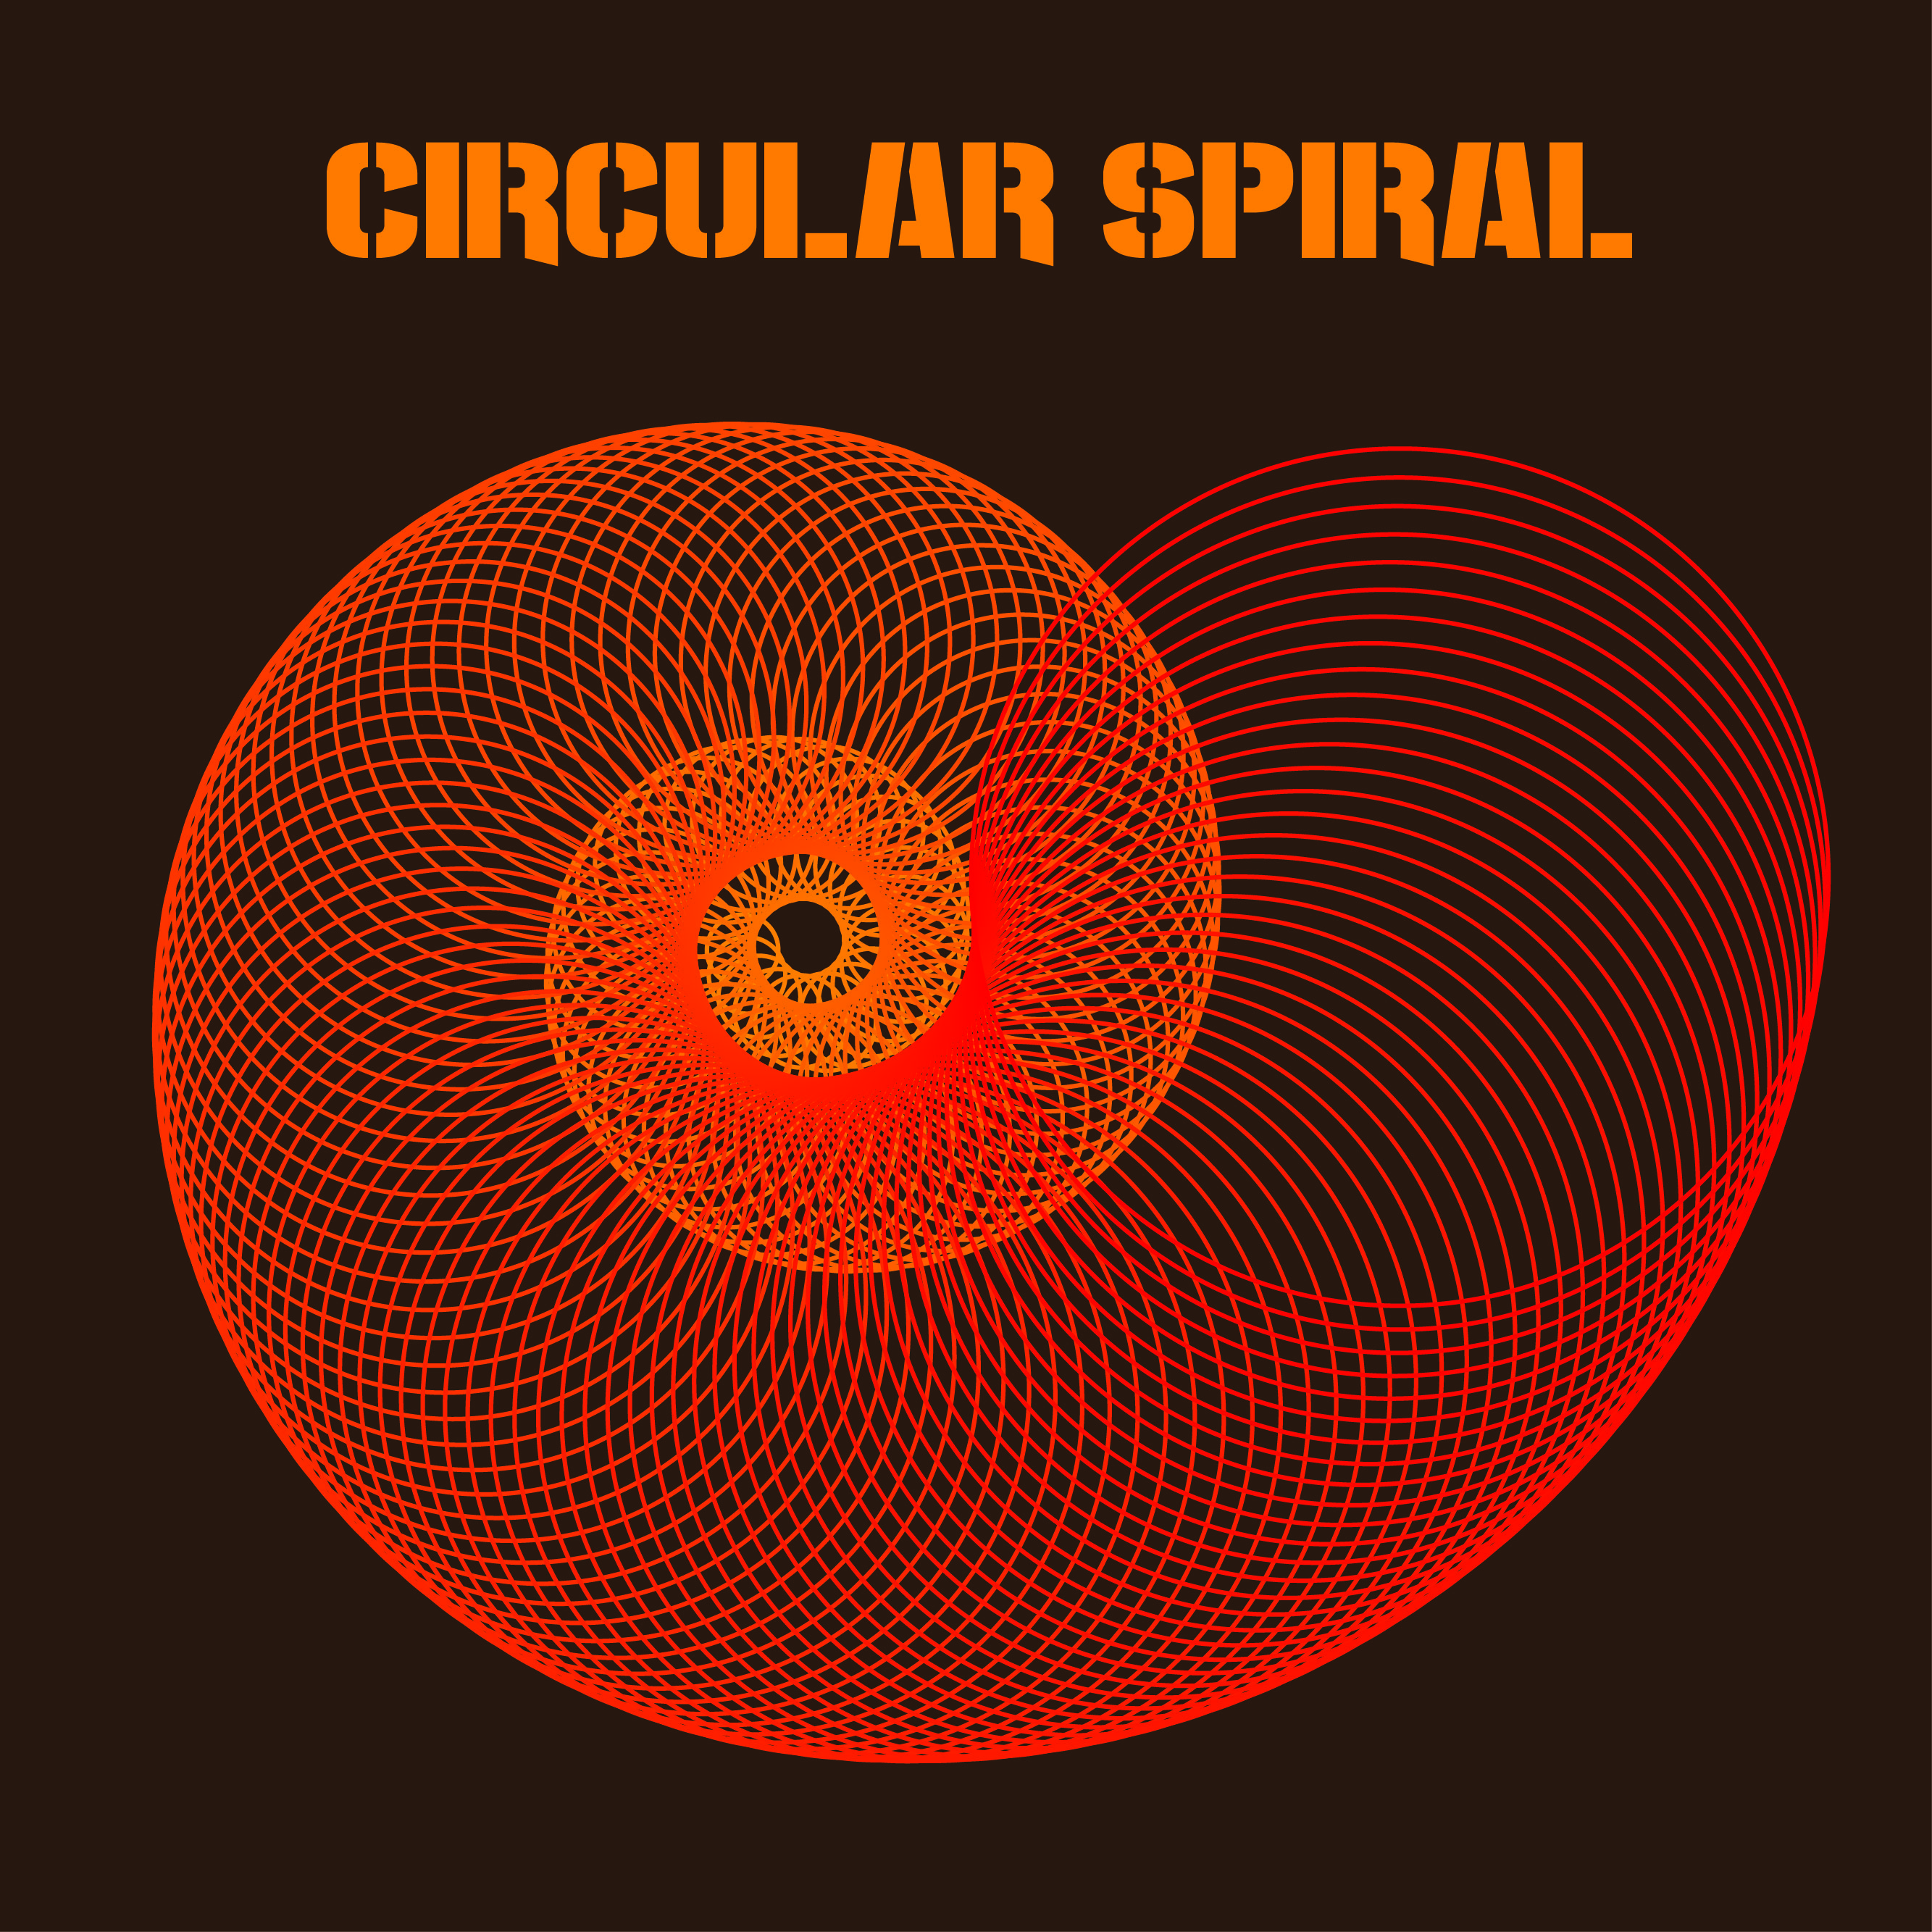
- Finally, your “Circular Spiral” design is complete.

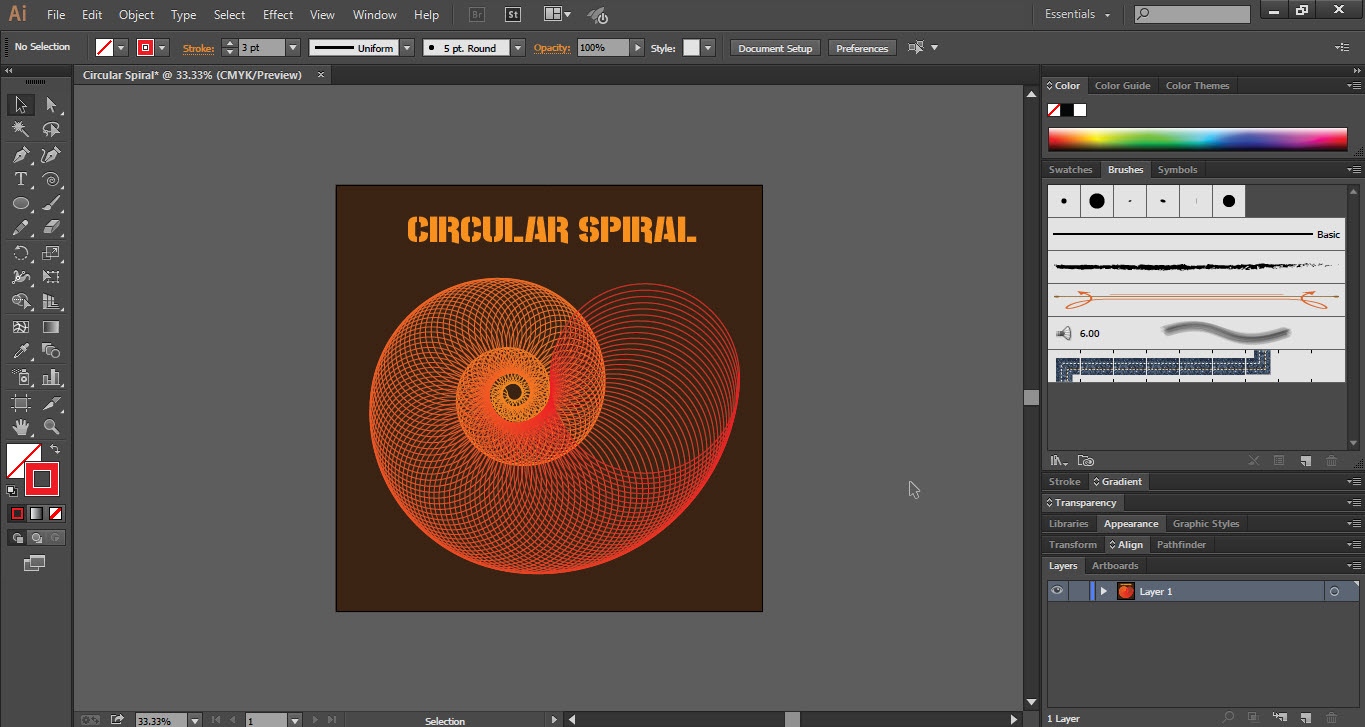
This is how the final result looks like