Hello, everyone today we are going to show you “How to Create New Year Landing Page in Adobe Illustrator”. In this tutorial, you will learn how to create a new year landing page. Don’t worry if you are new here this is a step by step tutorial also have a screenshot of each step so you can practice it by yourself by downloading the project Ai file.
Landing pages drive customers to a specific product, service, or offer and encourage them to take action. This is your opportunity to create conversions and build your customer base.
Resources
Images used:
- 2021 from freepik.com
- Firework from Cleanpng.com
Fonts used:
- Arial font Family
Step 01
- Open the Adobe Illustrator software.
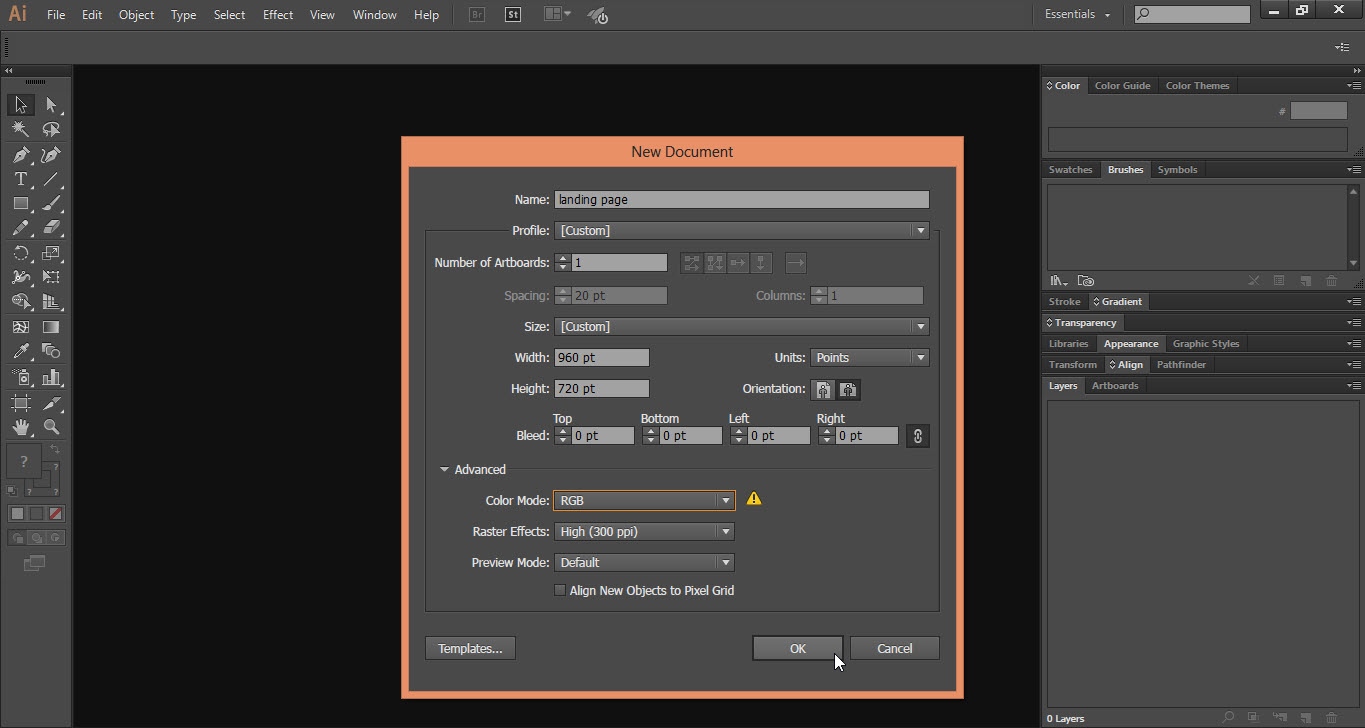
- Go to the “File” menu and click on the “New” option.
- Select the “New Document” Size and “Color Mode” and then click on ok.
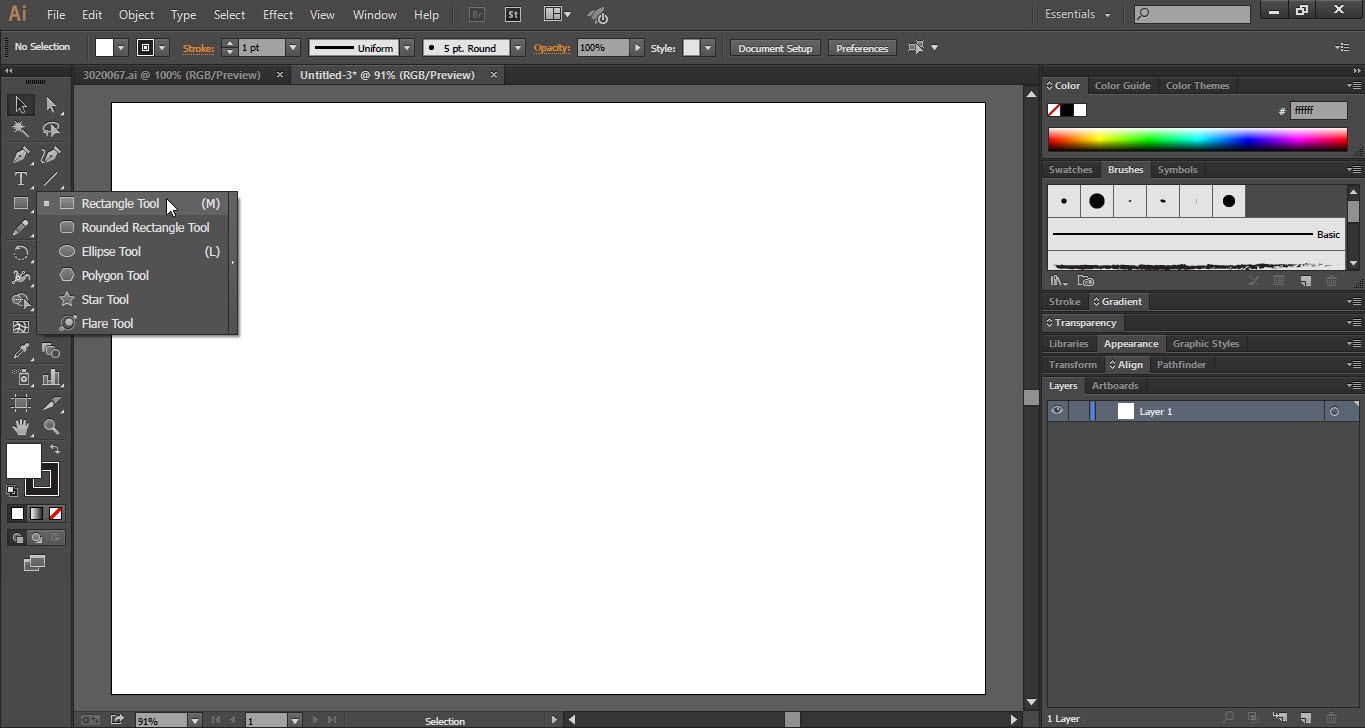
- Take the “Rectangle Tool” from the “Tools Bar”.
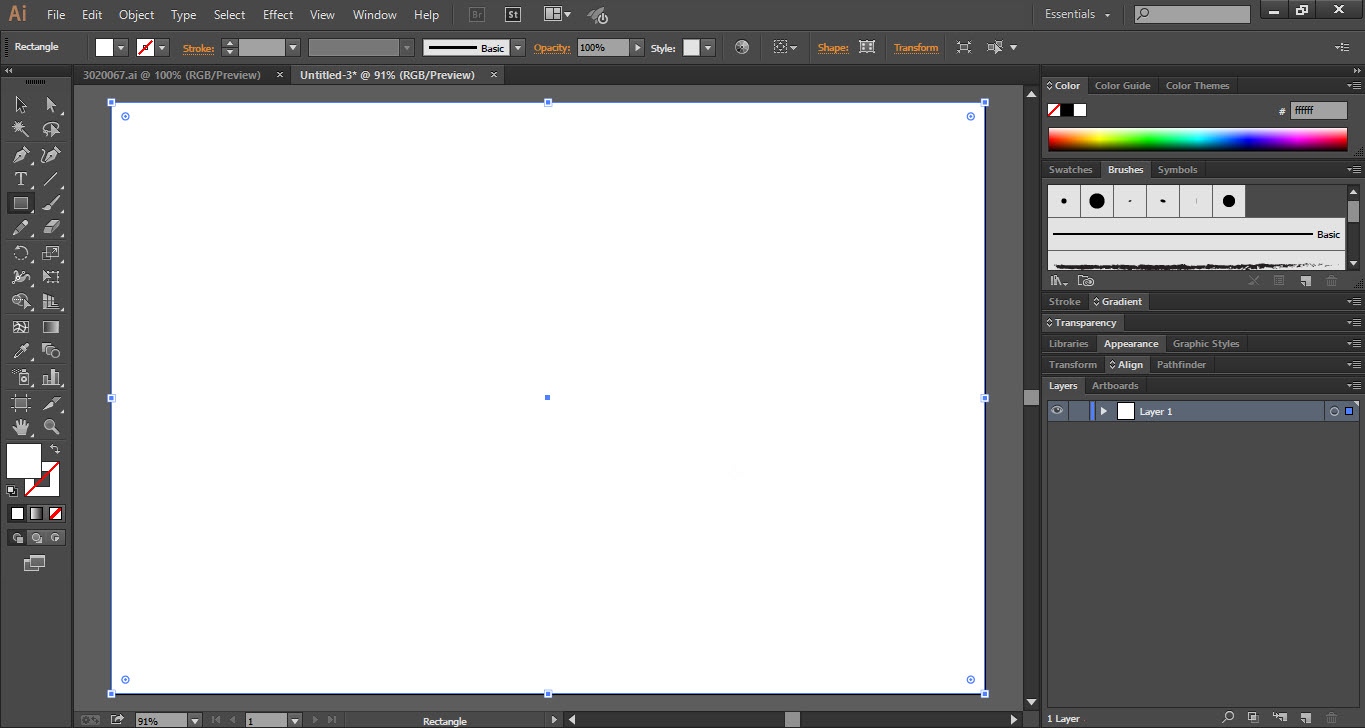
- Draw a “Rectangle” over the “Art Board”.
- Make sure that the “Stroke” option is off.
- Apply the “Gradient” to the “Rectangle”.
- You can find the “Gradient” option in both “Layers Panel” and “Tools Bar”.
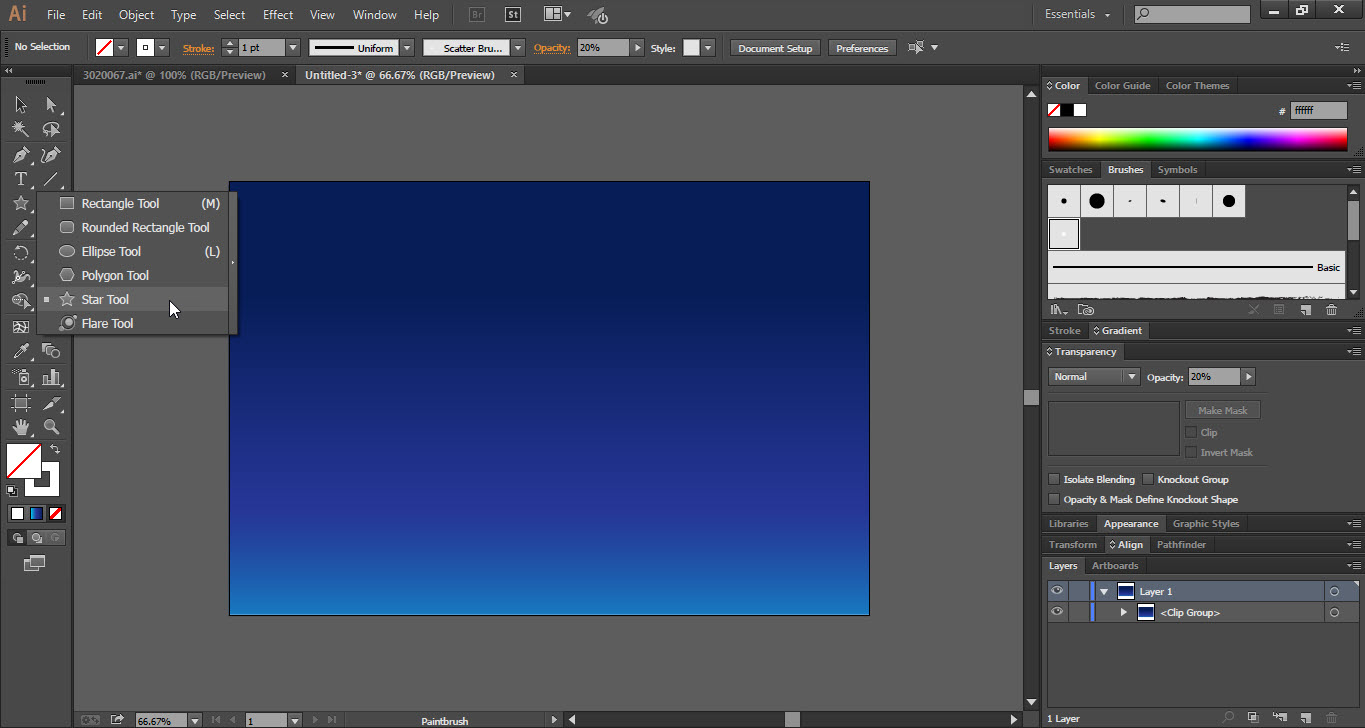
- Now take the “Star Tool” from the “Tools Bar”.
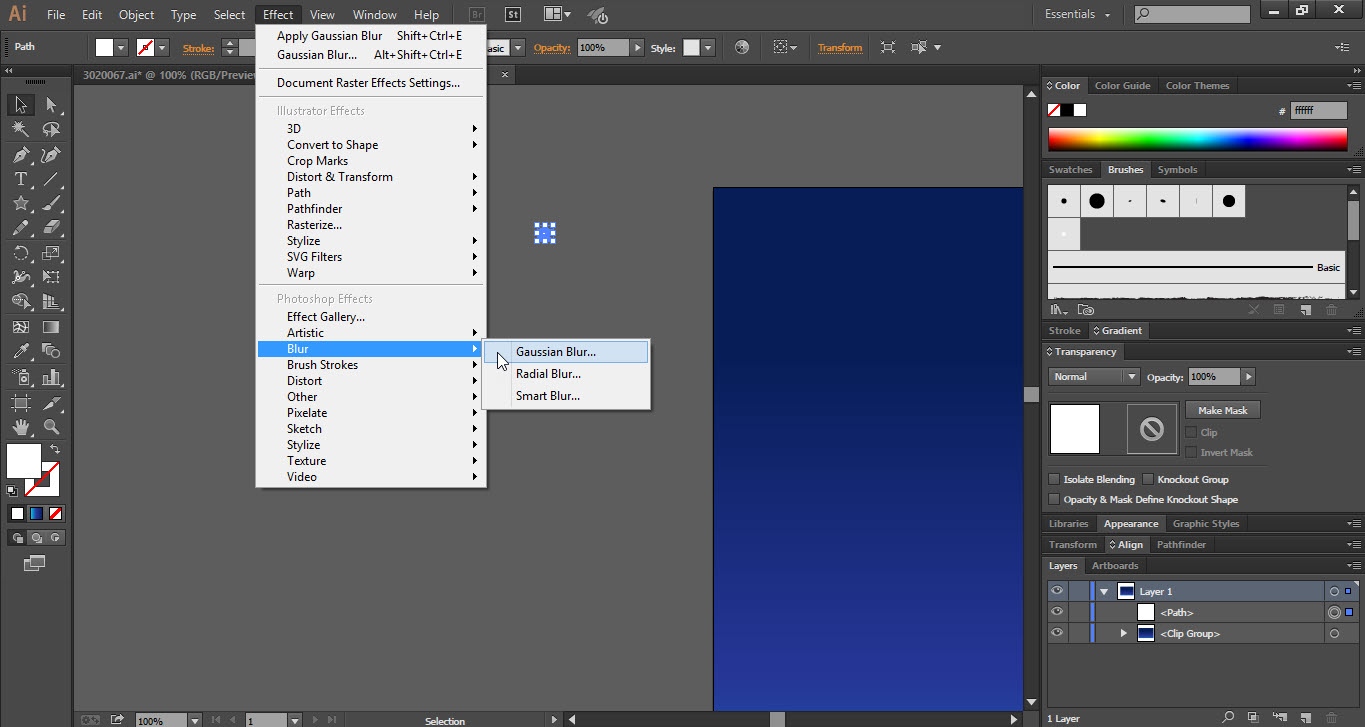
- Draw a “Star” and go to the “Effect” menu.
- In the “Effect” menu go to the “Blur” option and click on the “Gaussian Blur”.
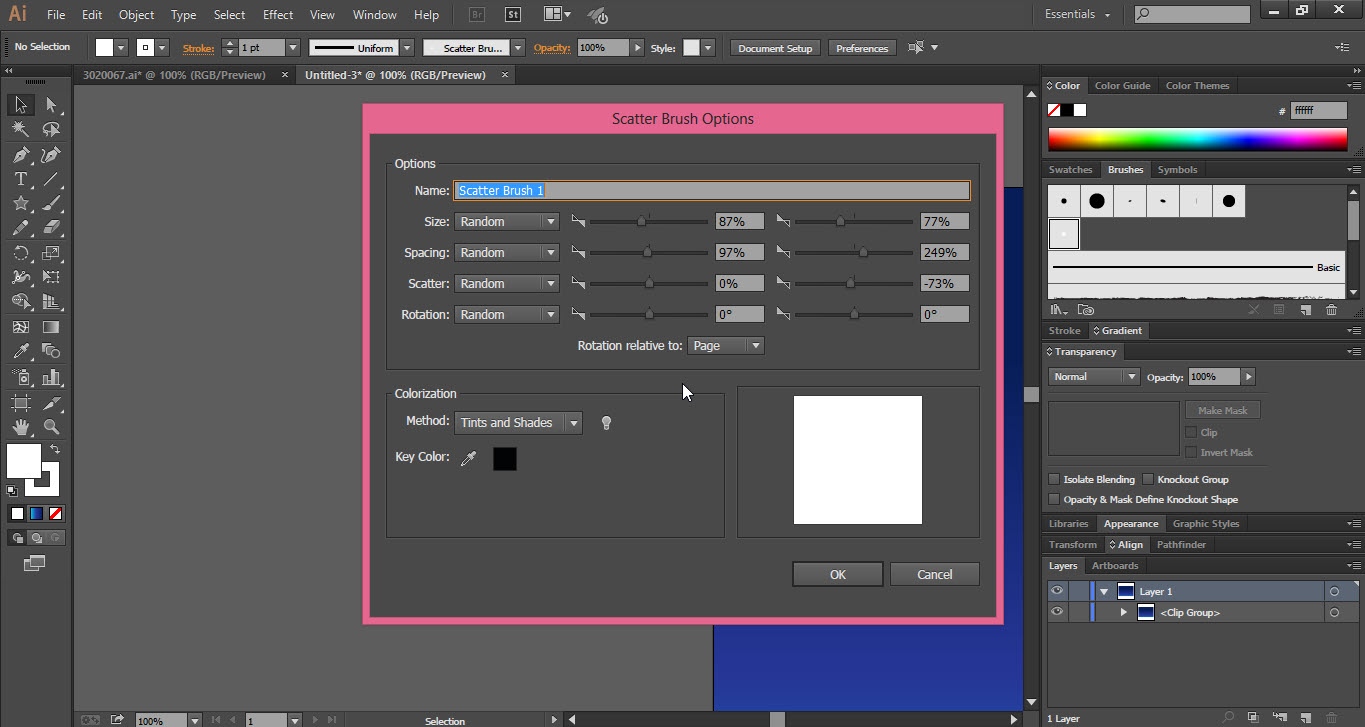
- Now hold and drag the “Star” to the “Brushes Panel”. A “Scatter Brush 1” will be added to the “Brushes Panel”.
- Double click the “Scatter Brush 1” in the brushes panel a “Scatter Brush Options” window will be opened.
- Do the setting exactly shown in screenshot 1.10.
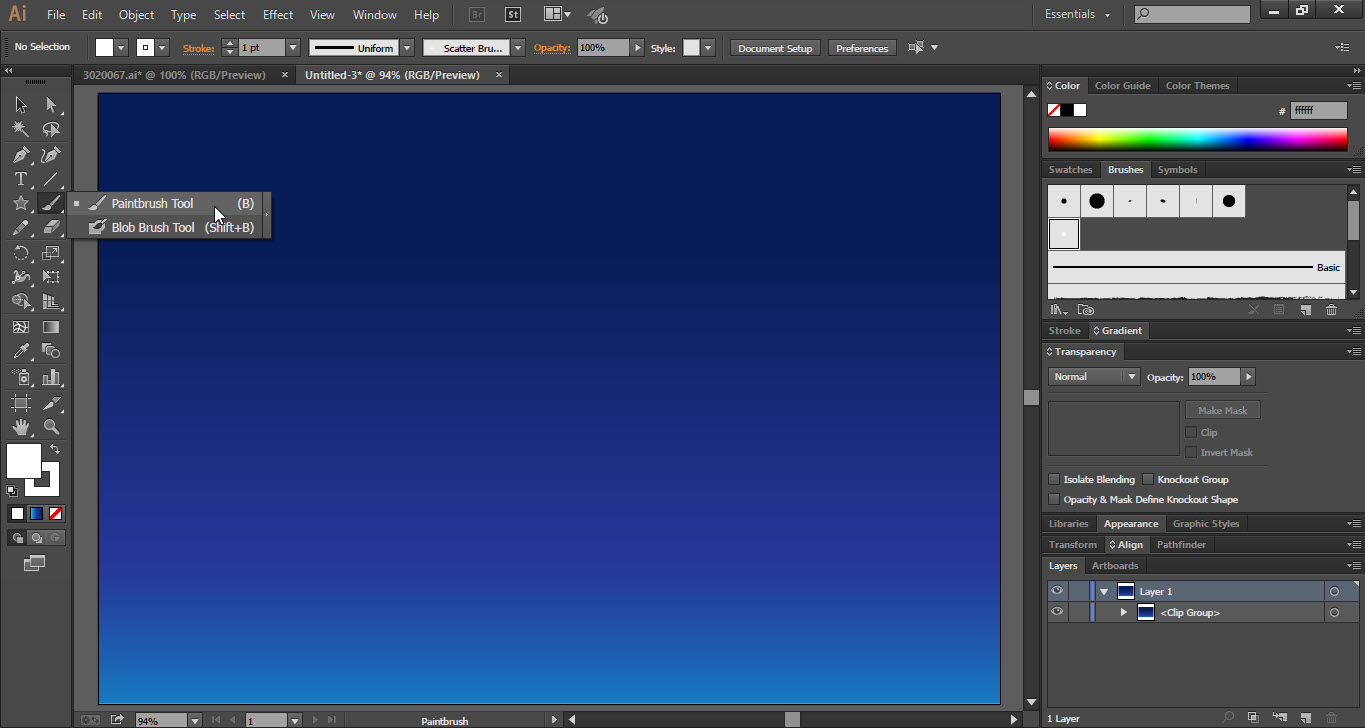
- Now take the “Paintbrush Tool” from the “Tools Bar” and draw randomly over the artboard.


Step 02
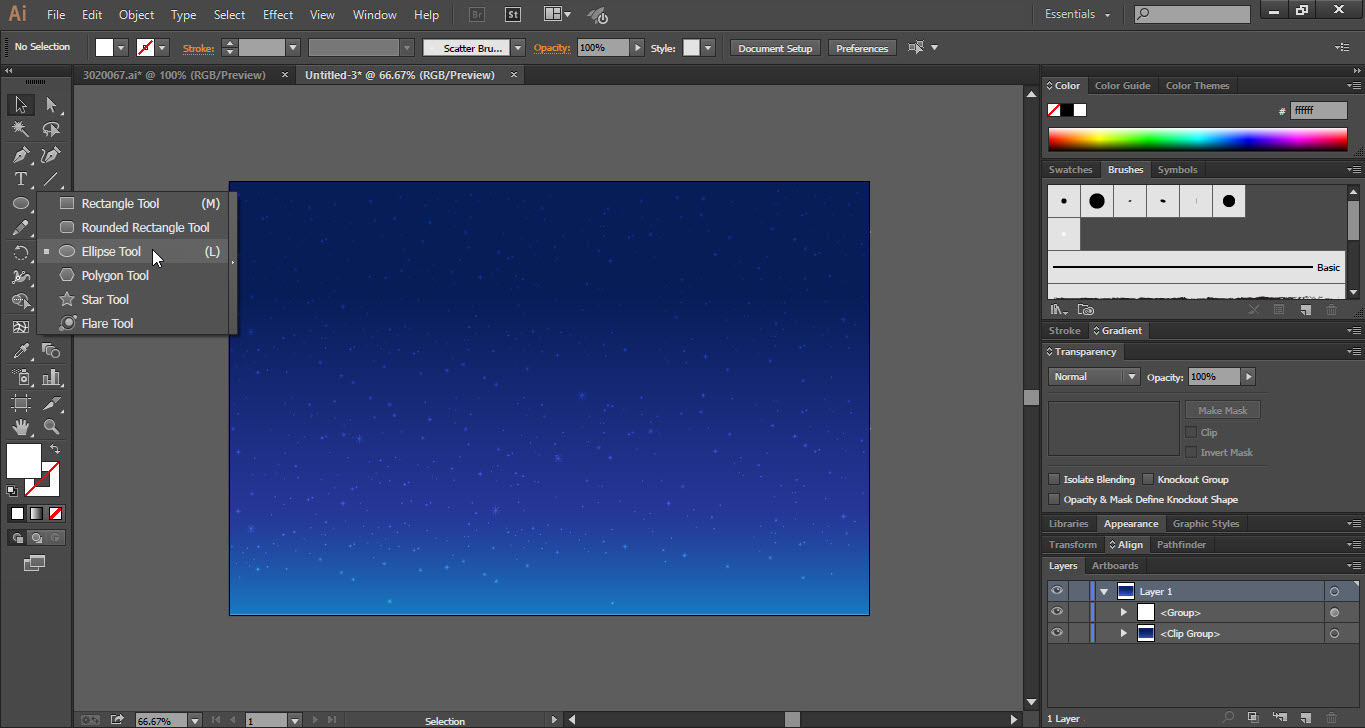
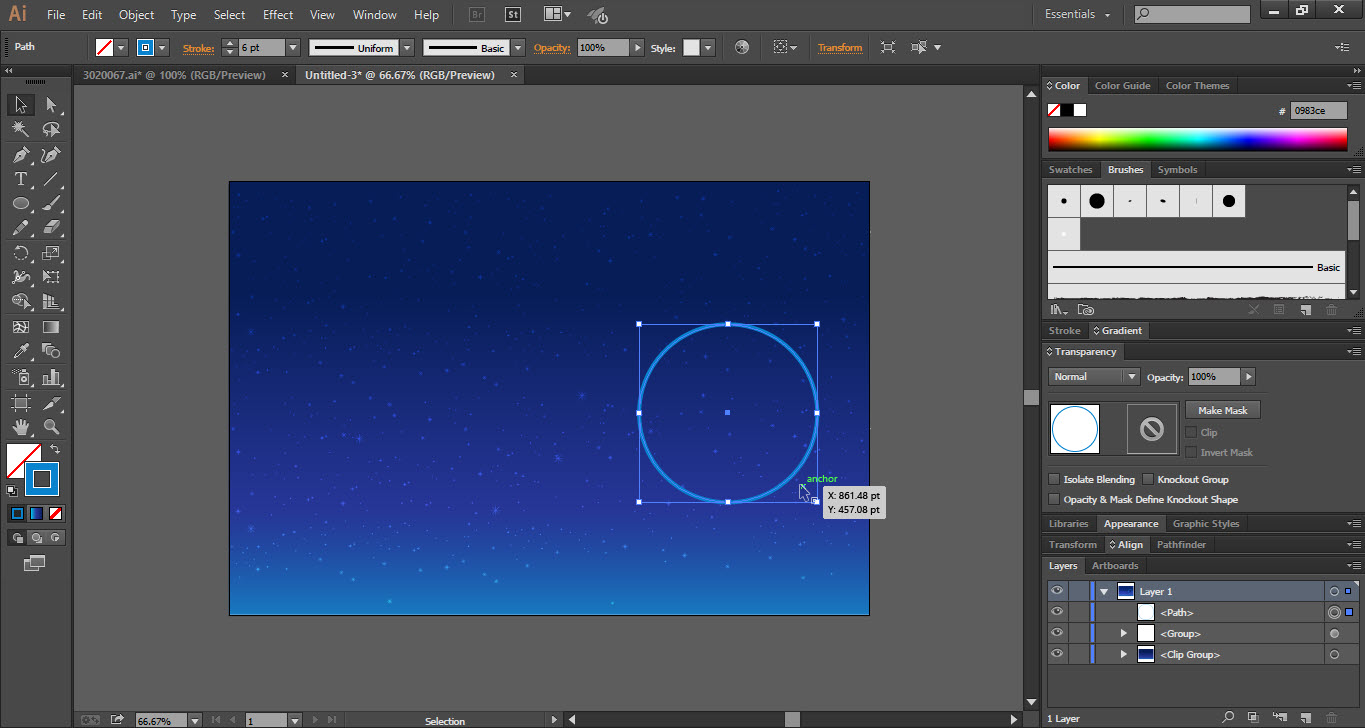
- Take the “Ellipse Tool” from the “Tools Bar”.
- Draw a circle and apply only “Stroke Color”.
- Now again draw a circle inside “Circle 1”.
- Apply both the “Fill & Stroke” color to the “Circle 2”.
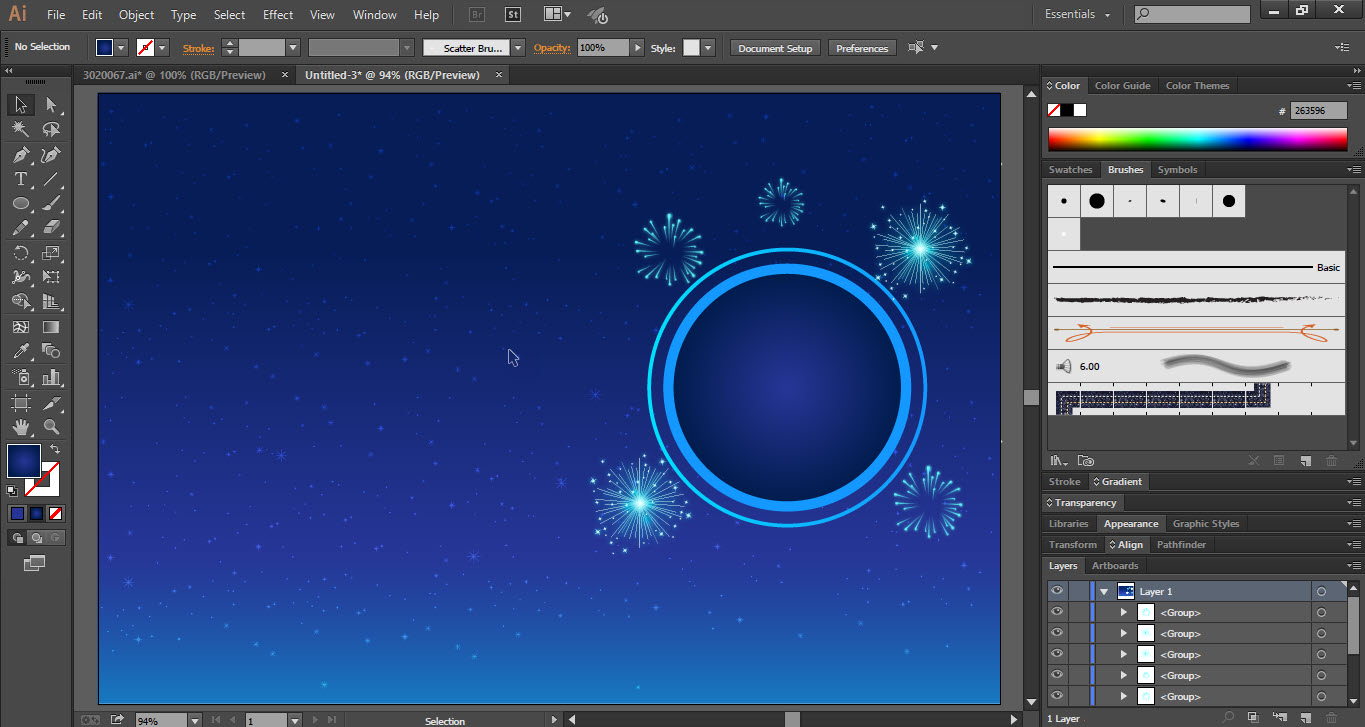
- Go to the “File” menu and click on the “Place” option.
- Place the “Fire Work” images around the circle.
- Now we have to create “Spark Effect” to do so take the “Ellipse Tool” from the “Tools Bar”.
- Draw a thin ellipse shape circle and go to the “Effect” menu.
- In the “Effect” menu go to the “Blur” option and click on the “Gaussian Blur”.
- And place this “Spark Effect” under the circle.
- Press “Ctrl+C” then press “Ctrl+F” to duplicate the “Spark Effect”.
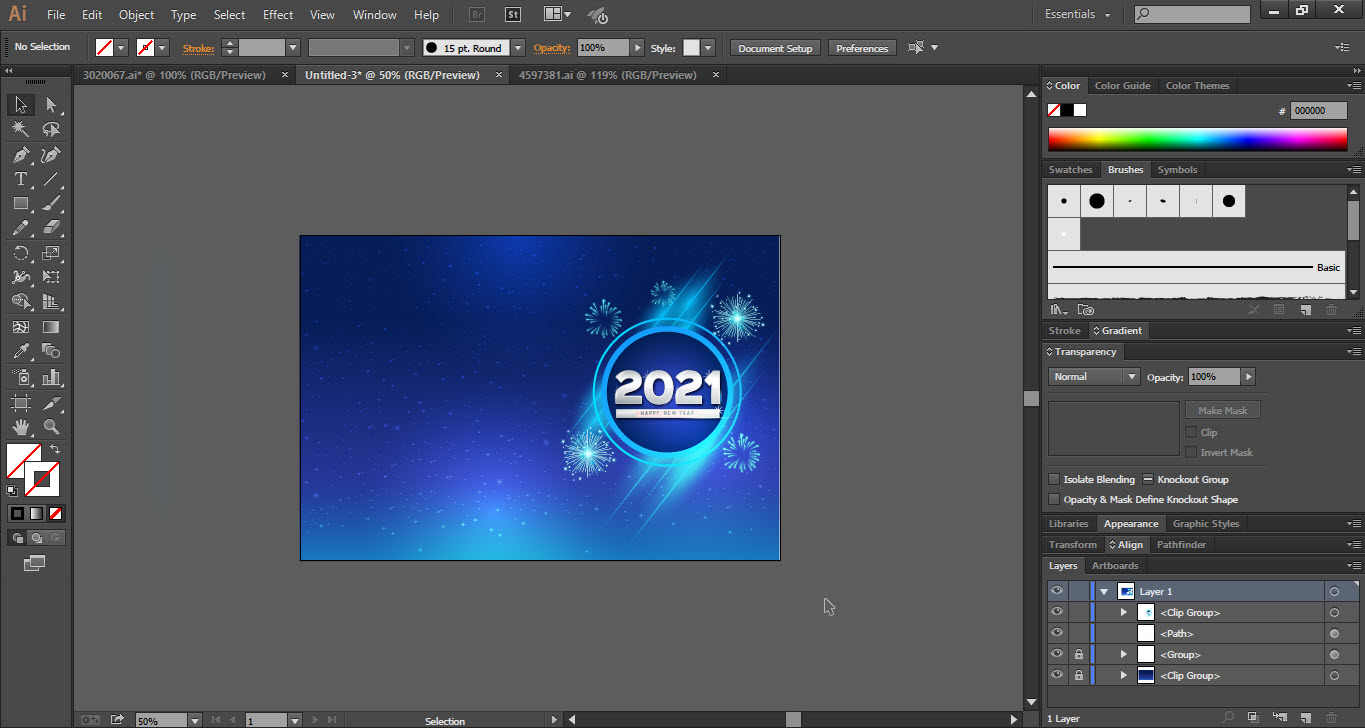
- Now the background is ready.


Step 03
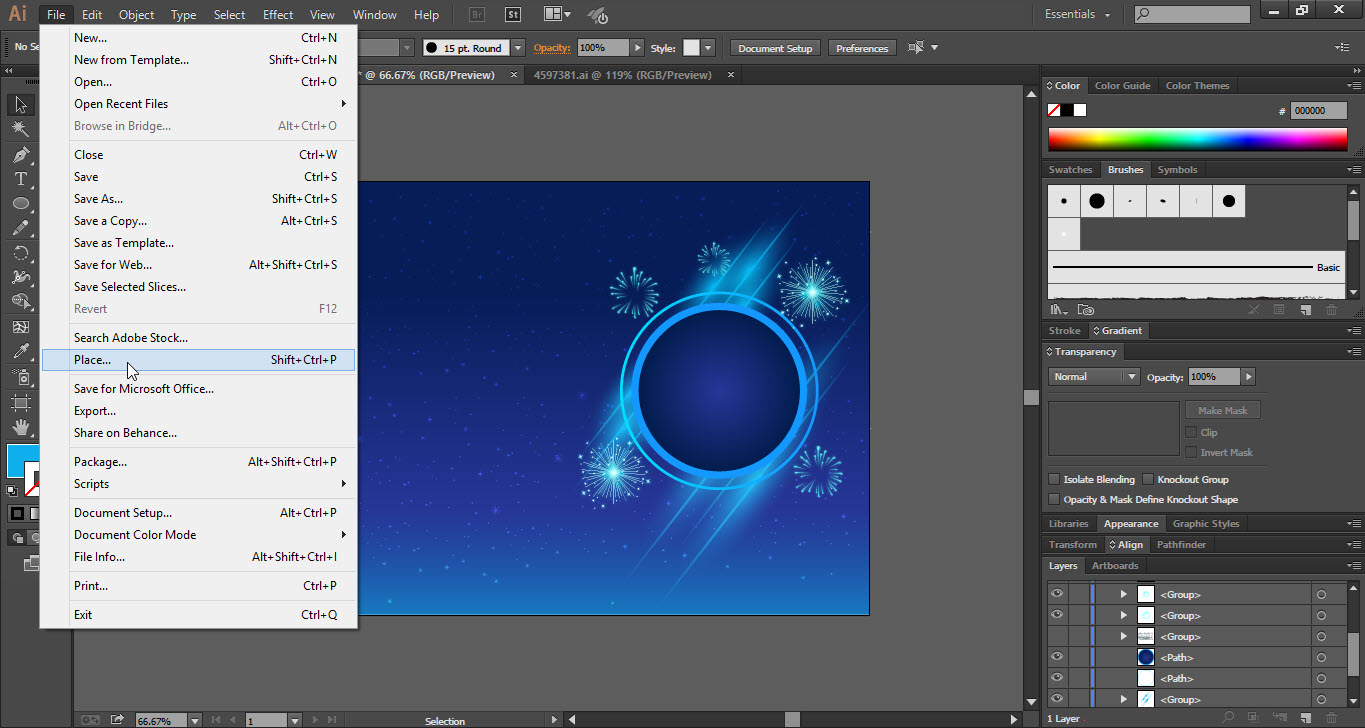
- Go to the “File” menu and click on the “Place” option.
- Place the 2021 image inside the circle.
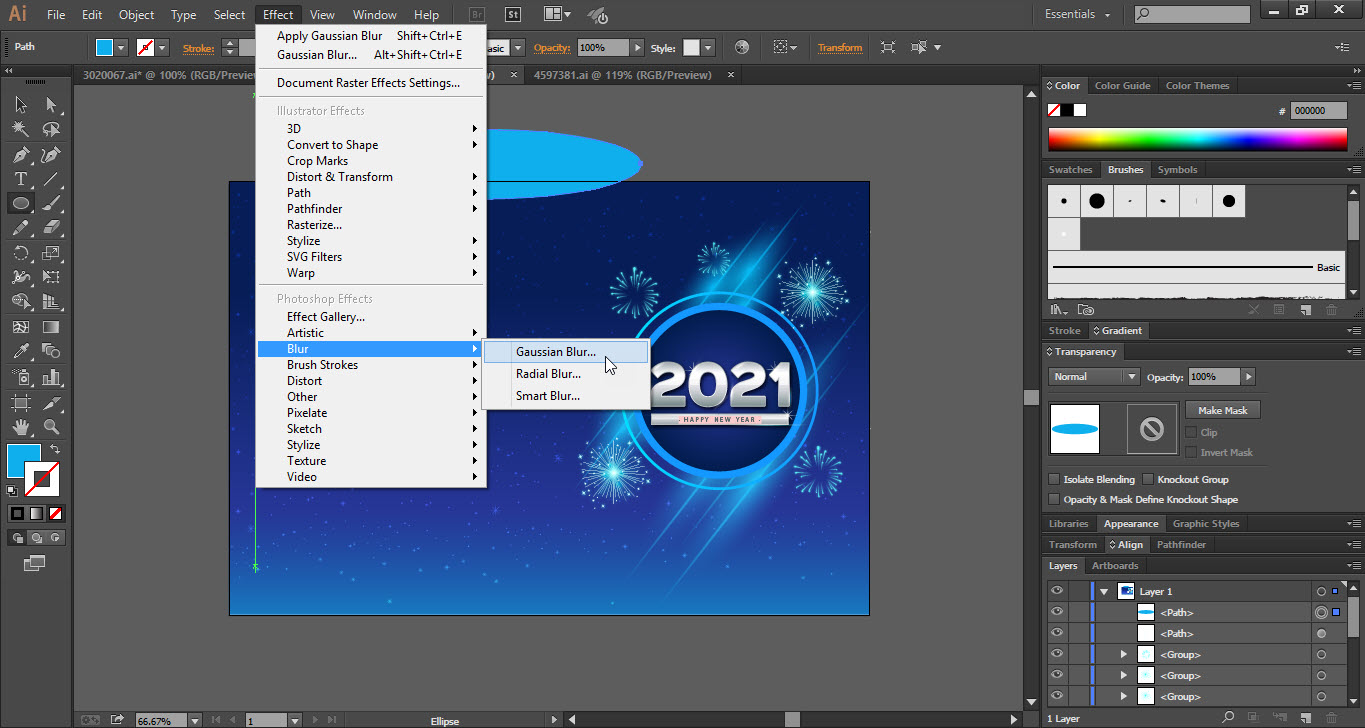
- Again take the “Ellipse Tool” from the “Tools Bar”.
- Draw an ellipse as shown in screenshot 3.4.
- Go to the “Effect” menu and click the “Gaussian Blur” option.
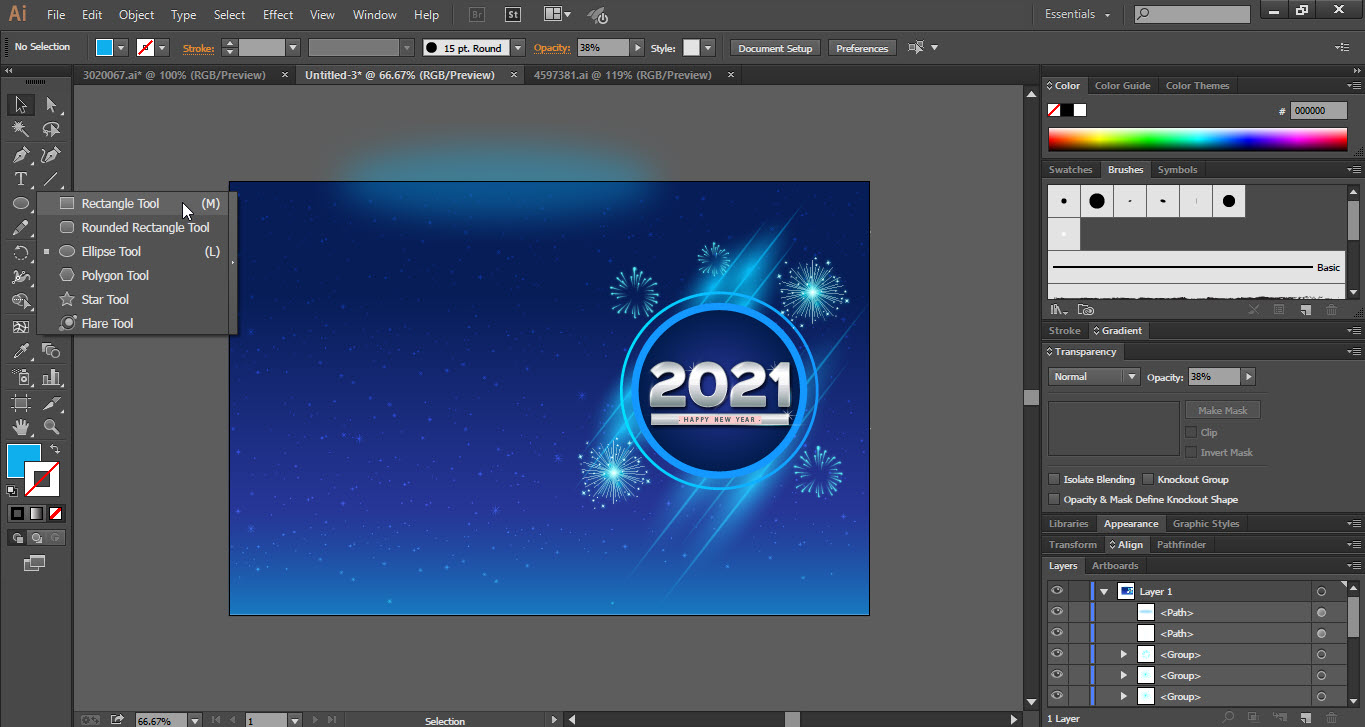
- Now take the “Rectangle Tool” from the “Tools Bar”.
- Draw a “Rectangle” over the artboard.
- Make sure that the “Fill & Stroke” option is off.
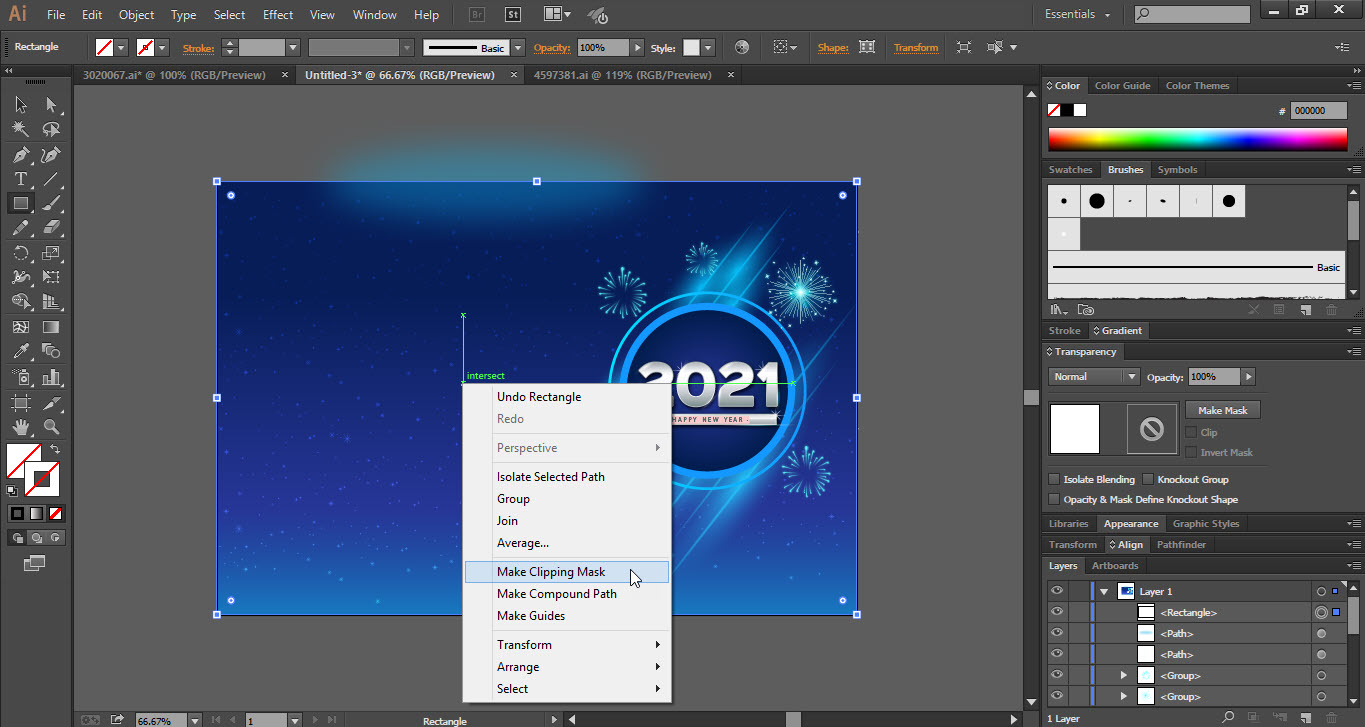
- Now select all the artboard then “Right Click” on the artboard and click on the “Make Clipping Mask” option.
- Now take the “Type Tool” from the “Tools Bar”.
- Add the landing page menu at the top and other text on the left side as shown.
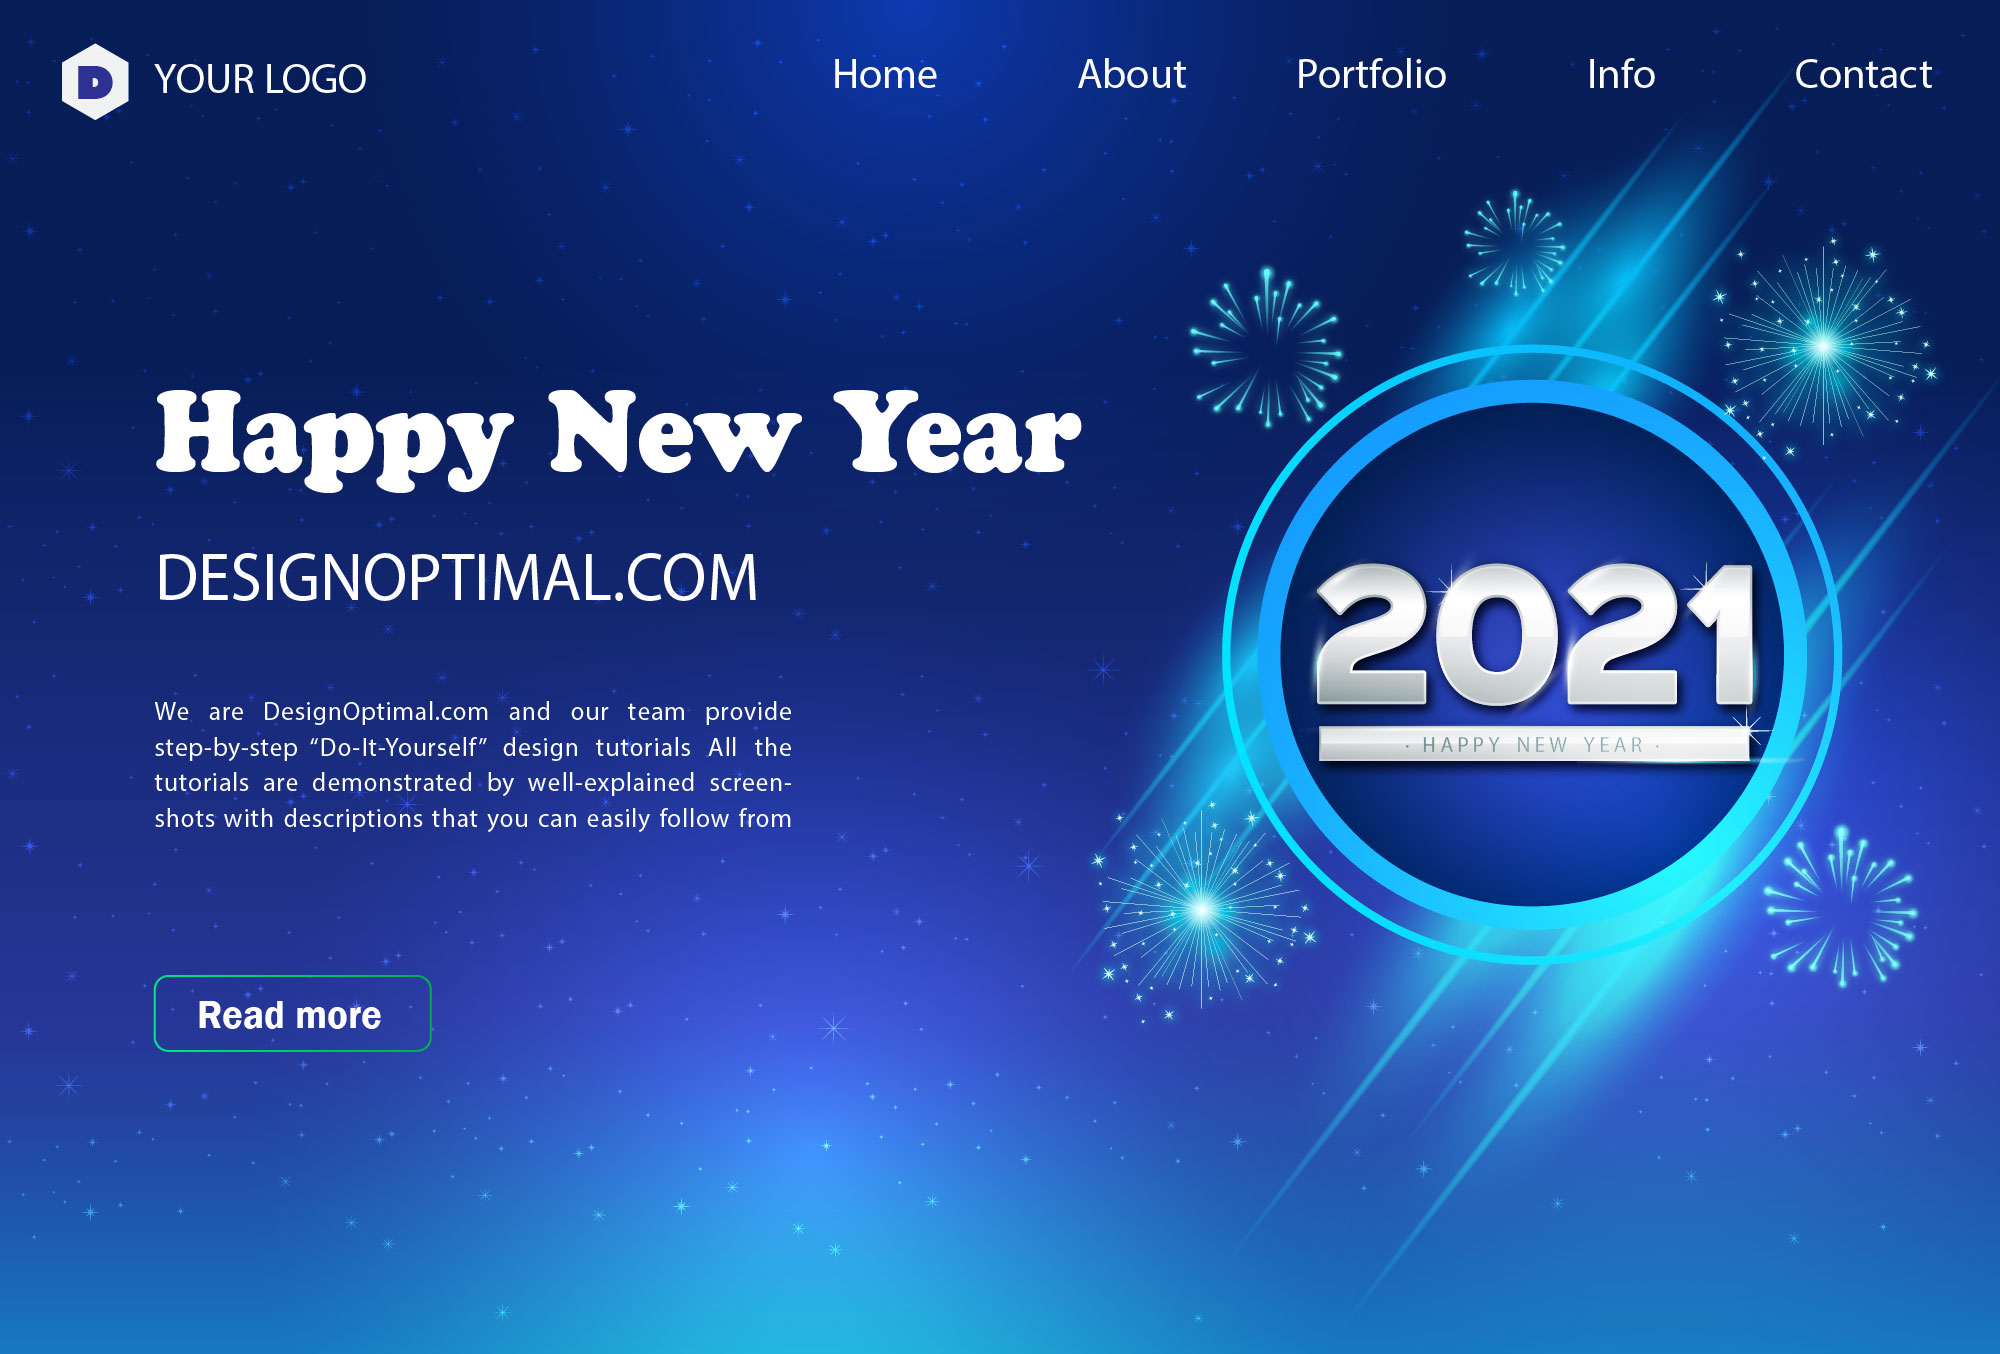
- Finally, your “New Year Landing Page” is ready.
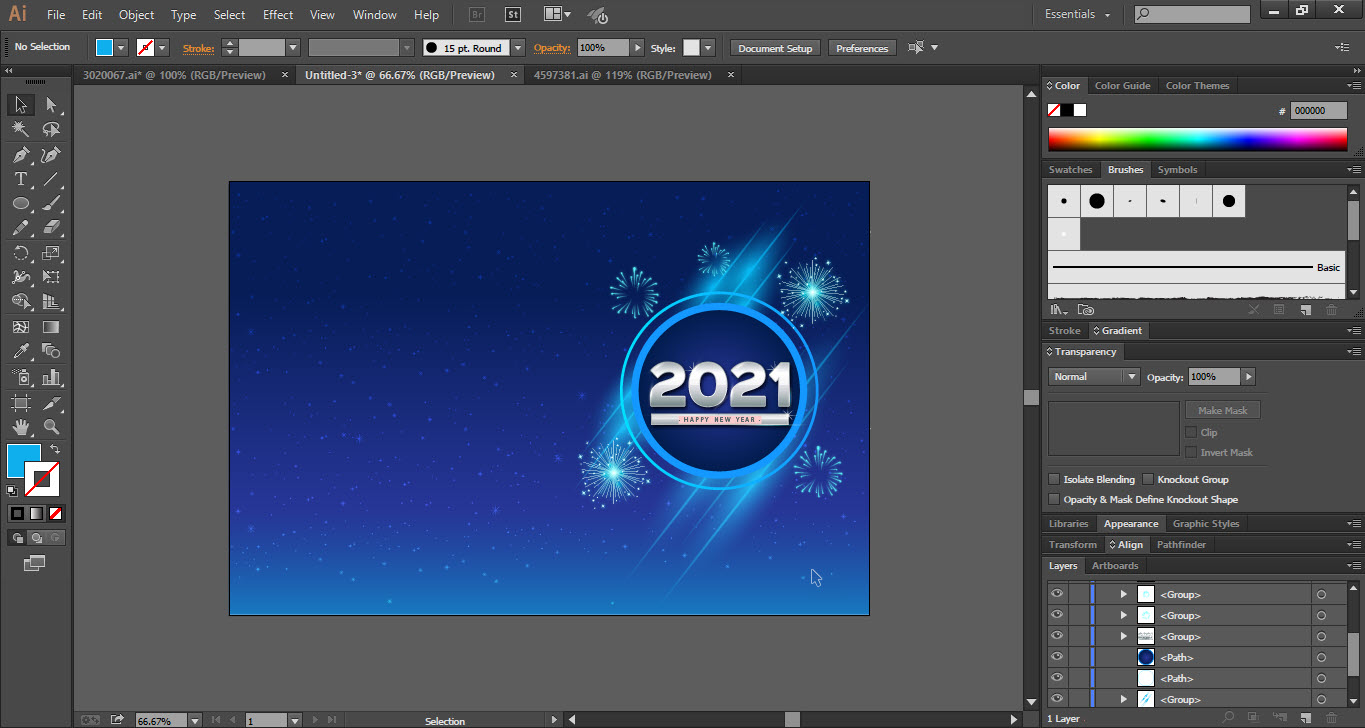


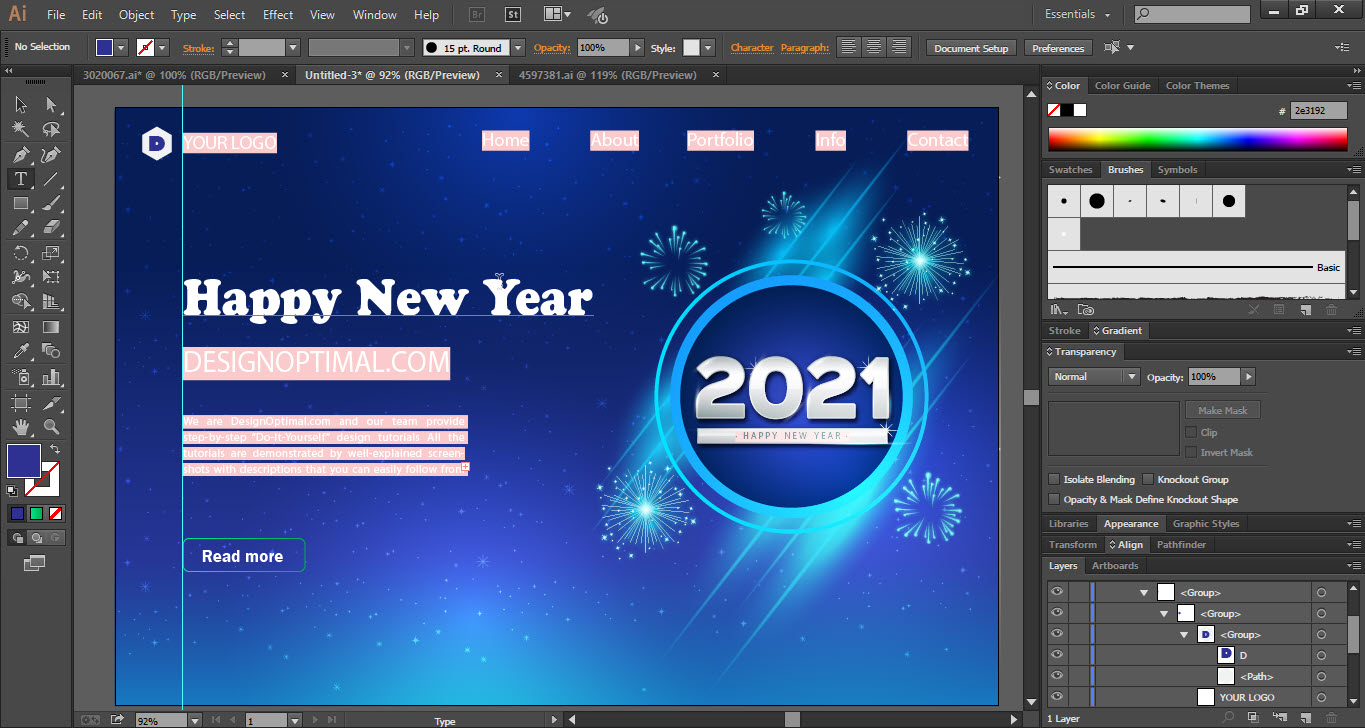
This is how the final result looks like