Hello, everyone today we are going to show you “How to Design Website Landing Page in Adobe Illustrator”. In this tutorial, you will learn how to design a website landing page. Don’t worry if you are new here this is a step by step tutorial also have a screenshot of each step so you can practice it by yourself by downloading the project PSD file.
Landing pages are critical in helping you to generate leads and convert them into prospects and customers. Studies show that marketers capture leads at a higher rate by sending them to dedicated landing pages, rather than sending traffic to the home page.
Resources
Images used:
- Shopping Cart Icon from Flaticon.com
- Facebook Icon from Flaticon.com
- Twitter Icon from Flaticon.com
- Search Icon from Flaticon.com
- Menu Icon from Flaticon.com
- Watches Image from Freepik.com
Fonts used:
- Raleway Family
Step 01
- Open the Adobe Illustrator software.
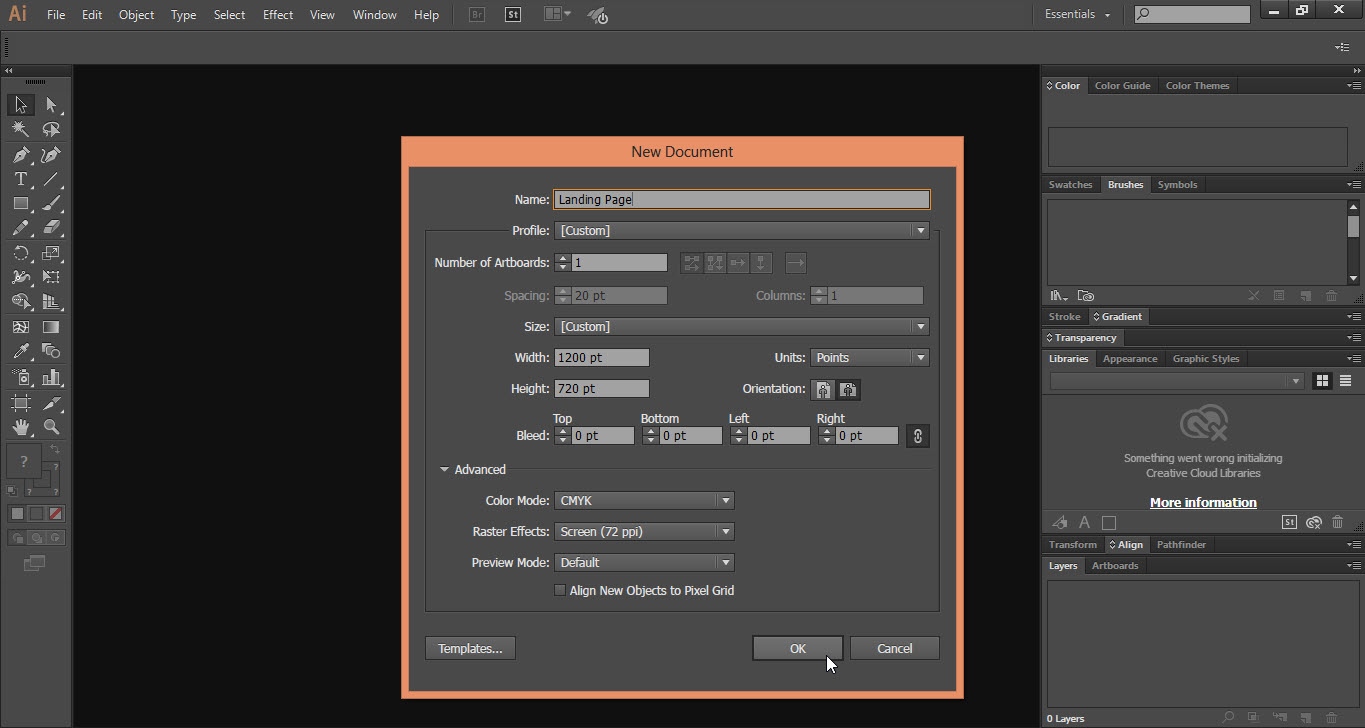
- Go to the “File” menu and click on the “New” option.
- Select the new document size and click on ok.
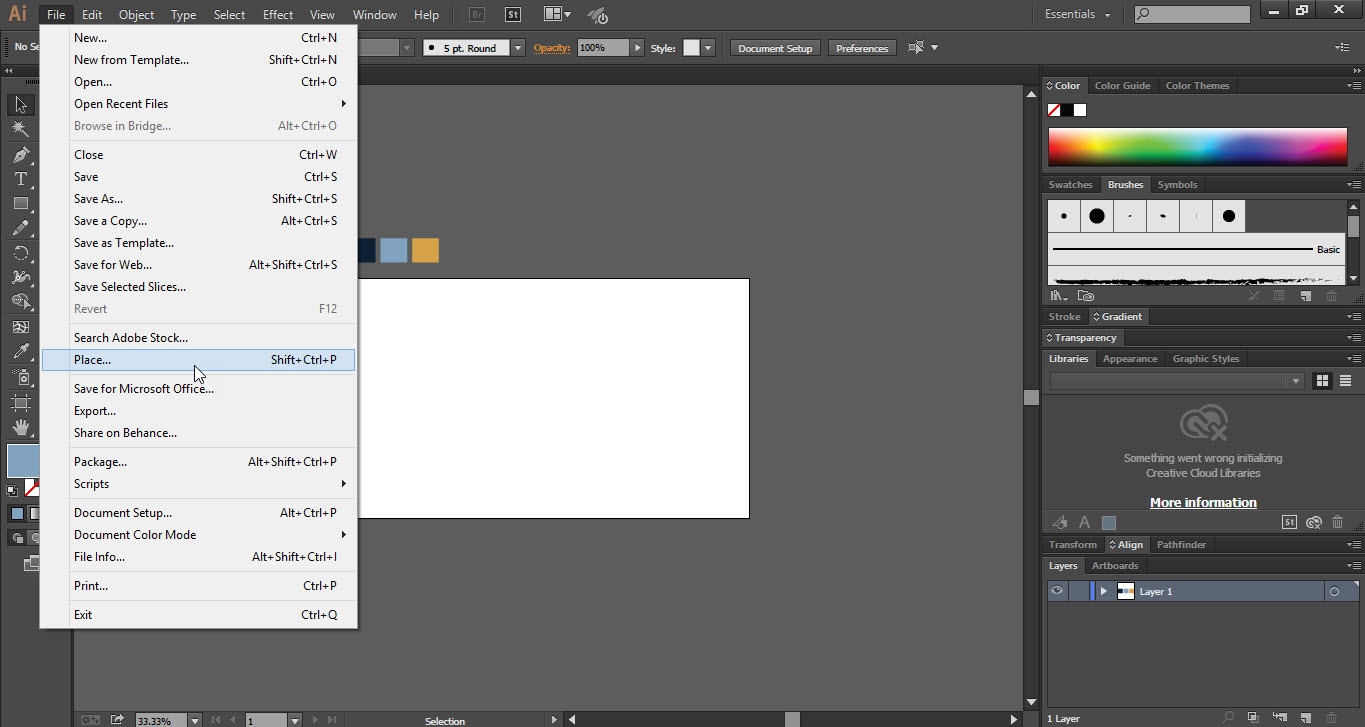
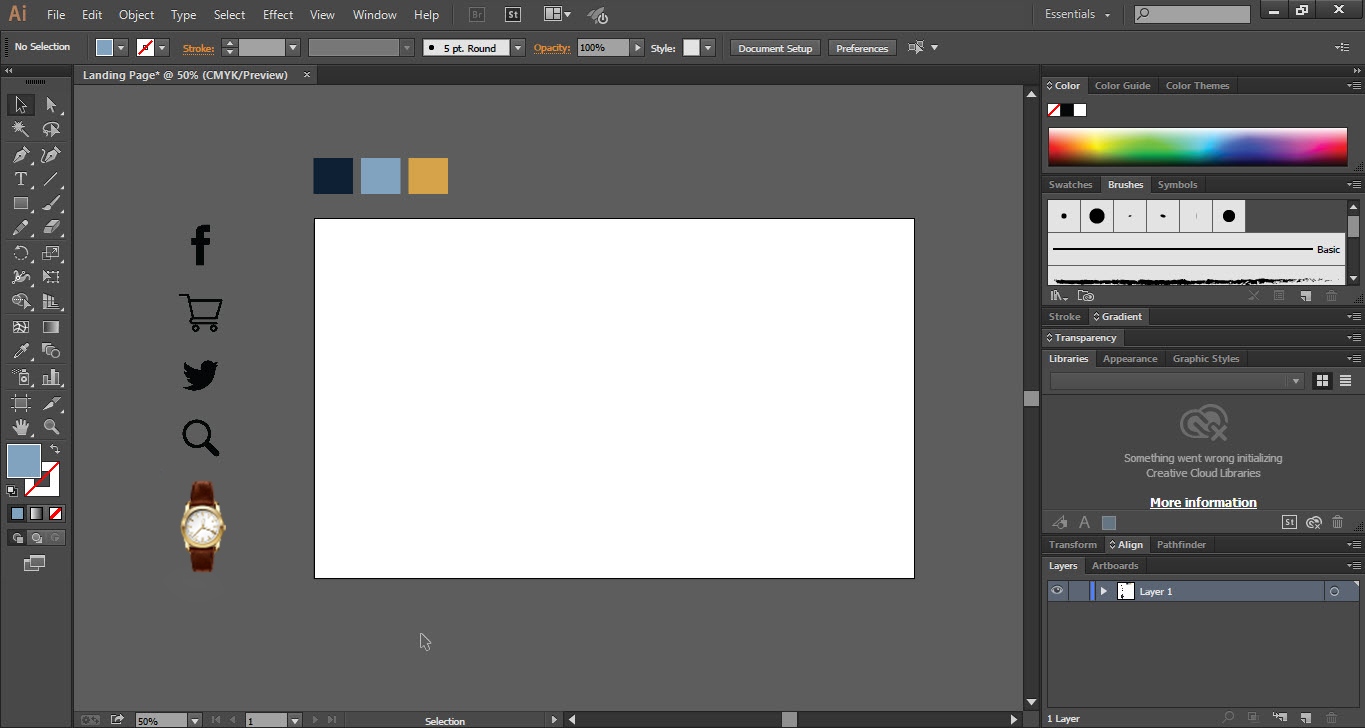
- First place all the icons and image which you want to use in your design.
- To do so go to the “File” menu and click on the “Place” option.
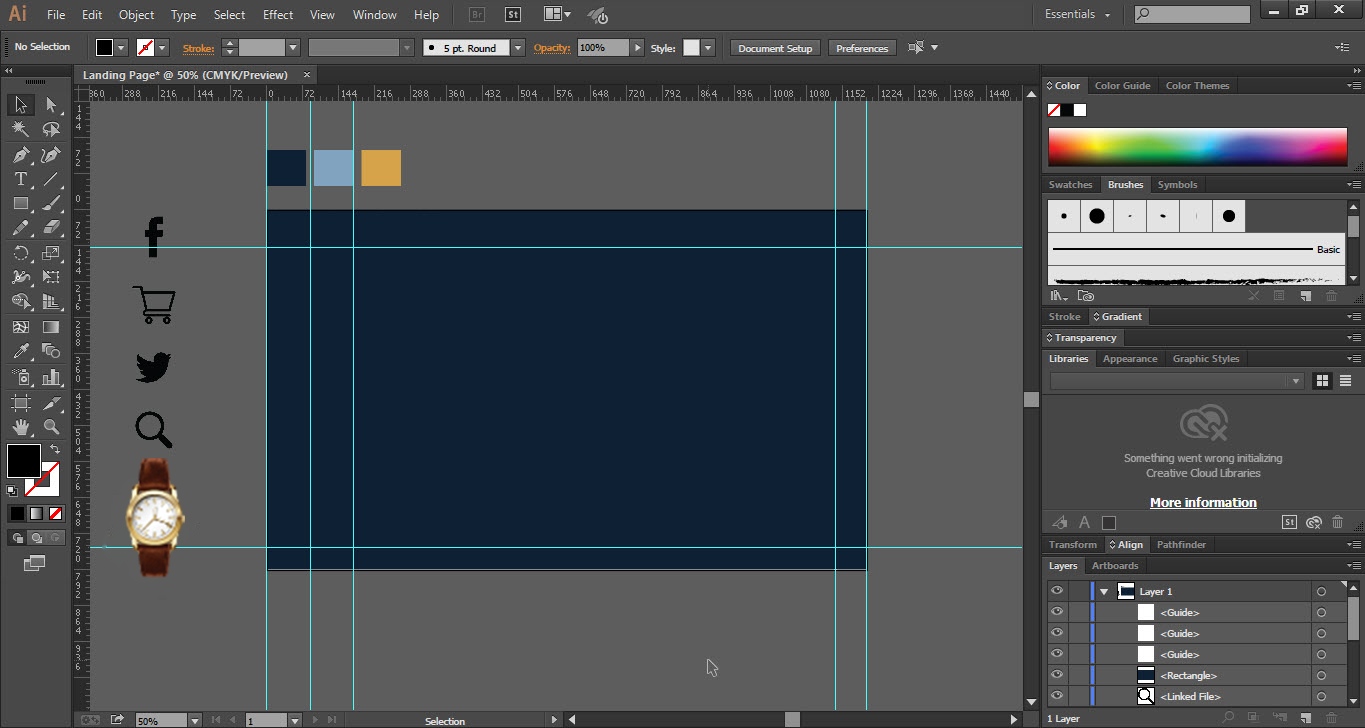
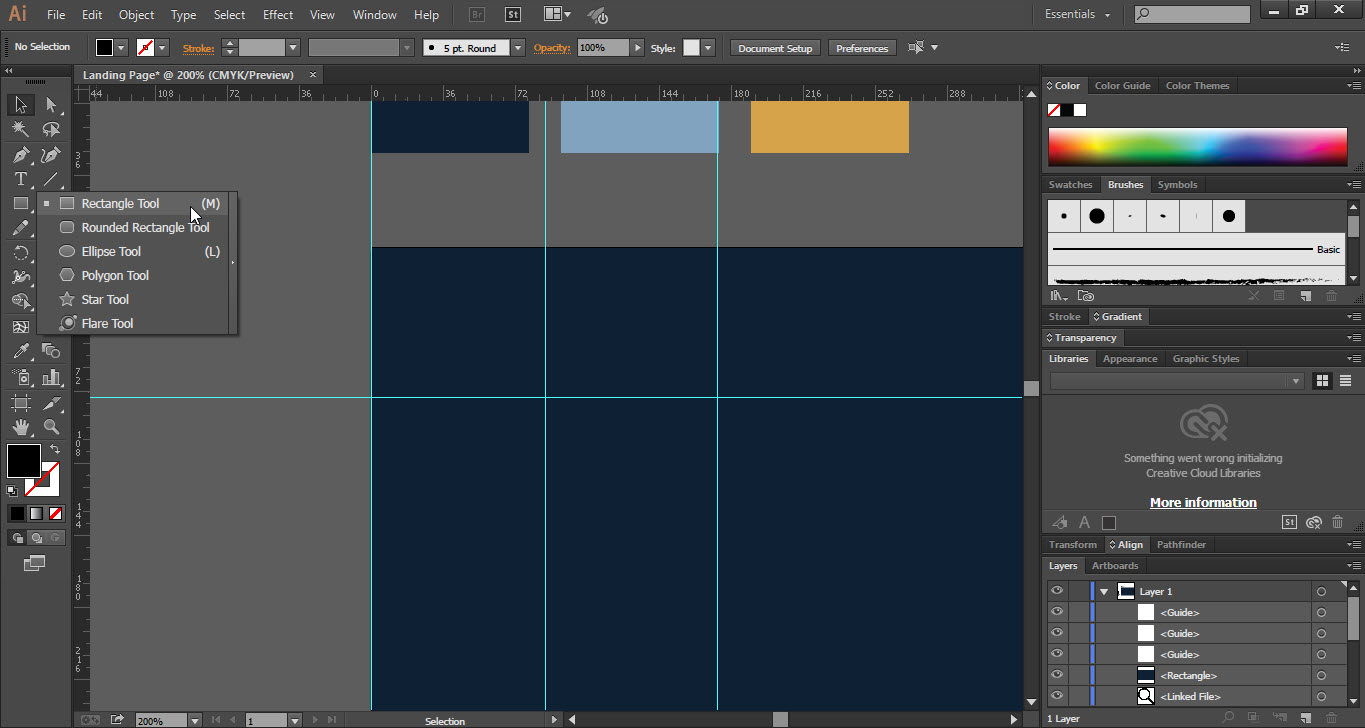
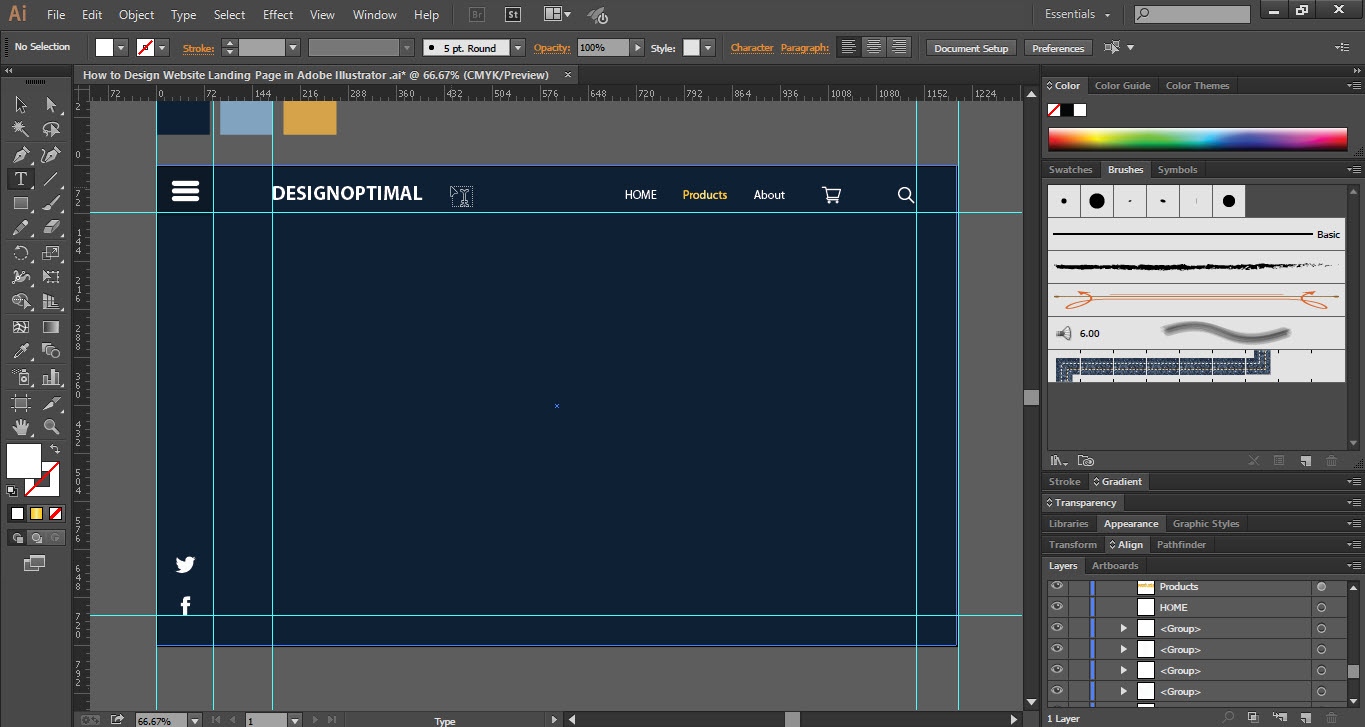
- Now take the “Rectangle Tool” from the “Tools Bar”.
- Draw a rectangle over the artboard and fill it with your desire color.


Step 02
- Use the “Ruler” option to make a guideline.
- If you can’t find a ruler simply press “Ctrl+R”.
- Now take the “Rectangle Tool” from “Tools Bar”.
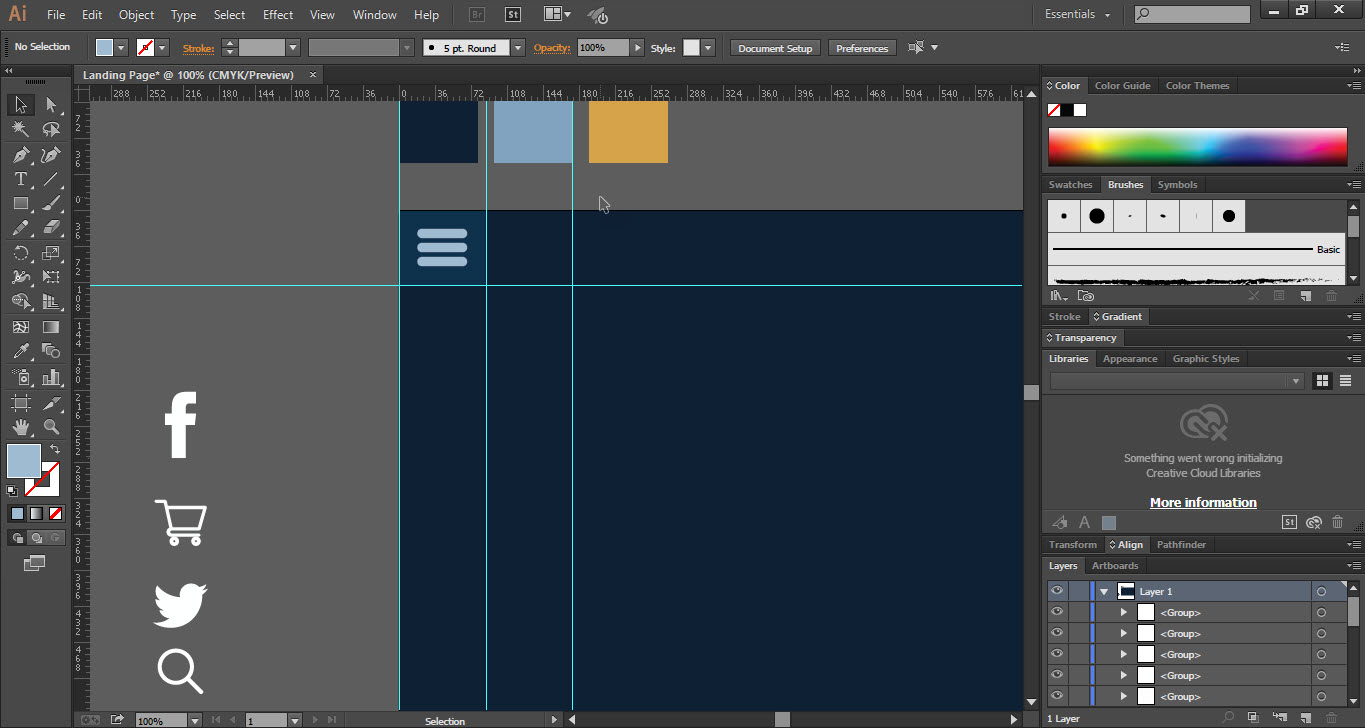
- Draw a small rectangle on the left side at the top.
- Make the color of the rectangle a little bit dark or light.
- Place the “Menu Icon” in the rectangle.
- Now place the “Social Media” icons at the lower-left corner.

Step 03
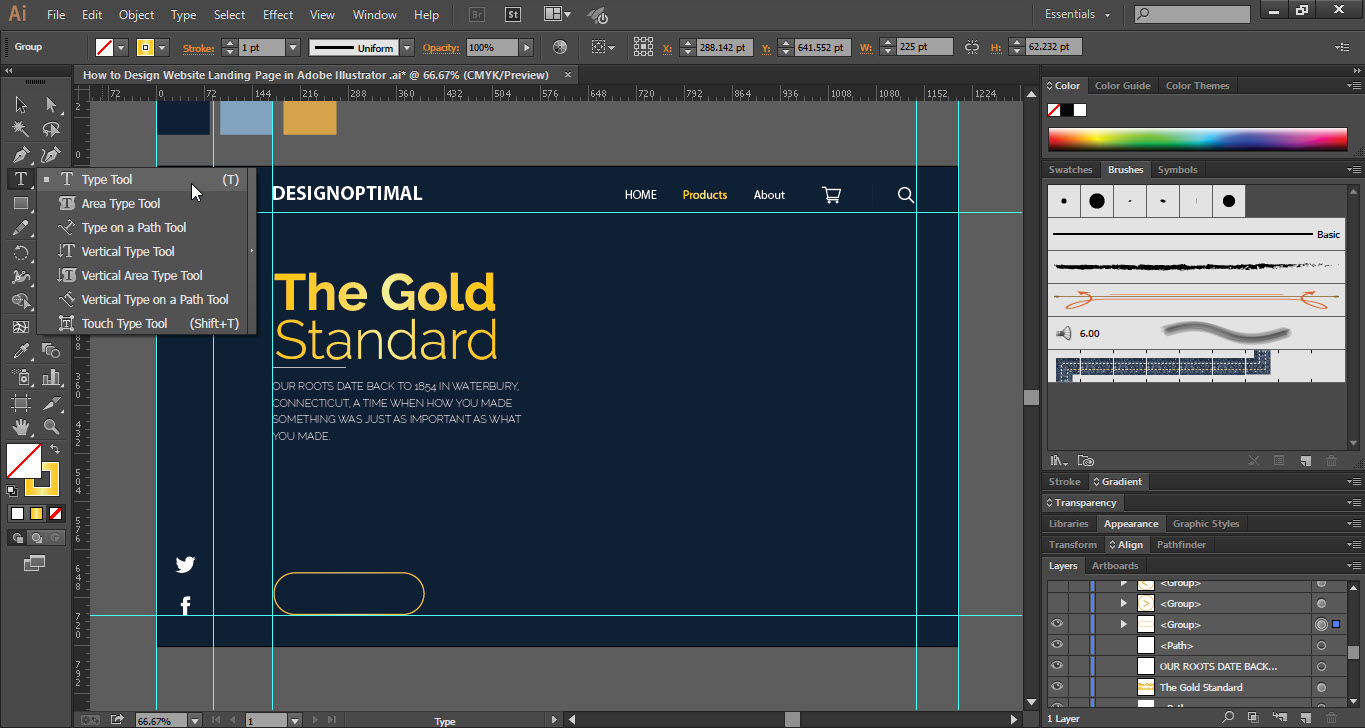
- Now take the “Type Tool” from “Tools Bar”.
- Add your website name and pages tab as shown.
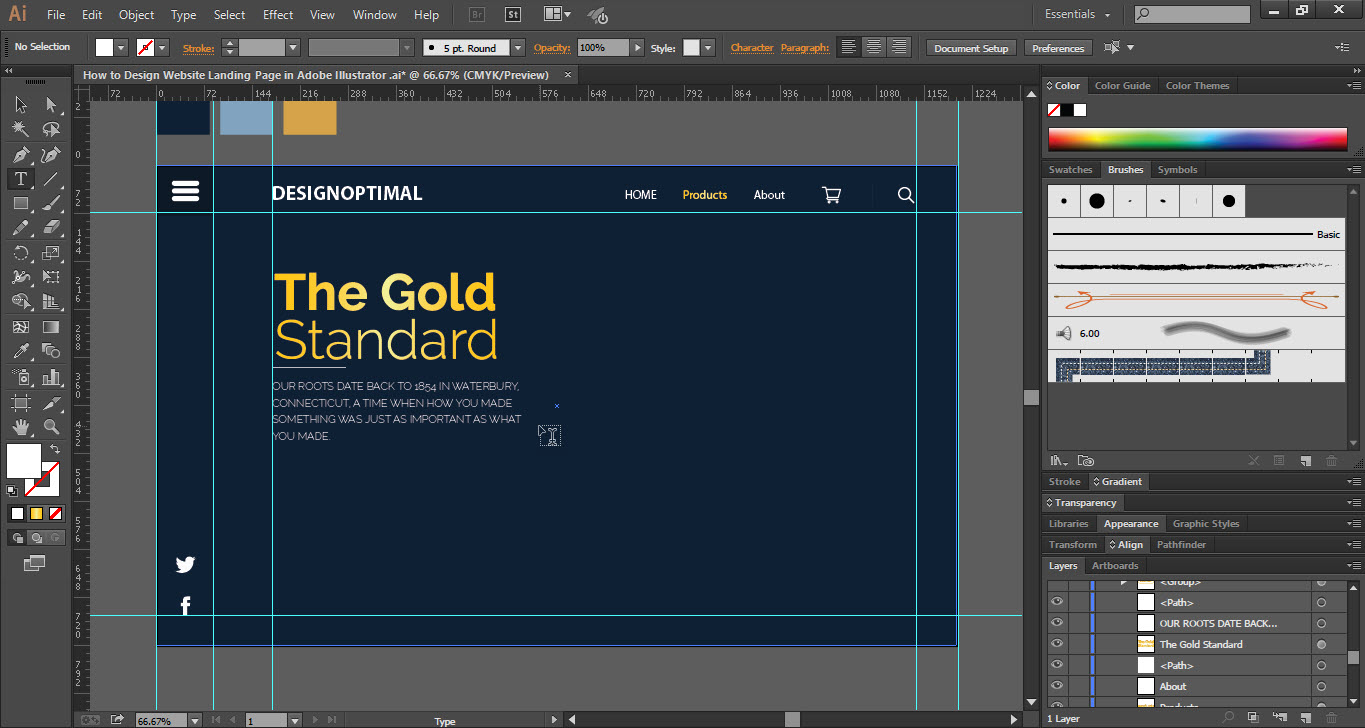
- Again take the “Type Tool” from “Tools Bar”.
- Add the main text according to your requirement.
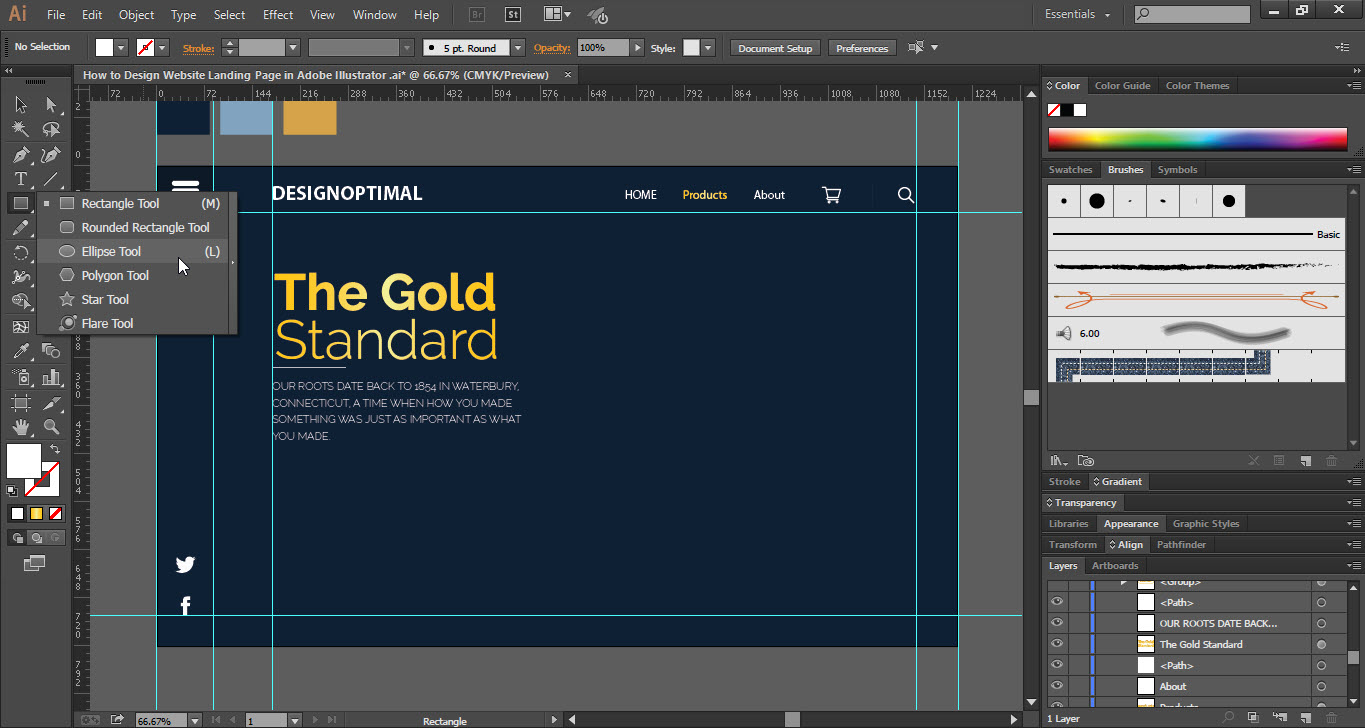
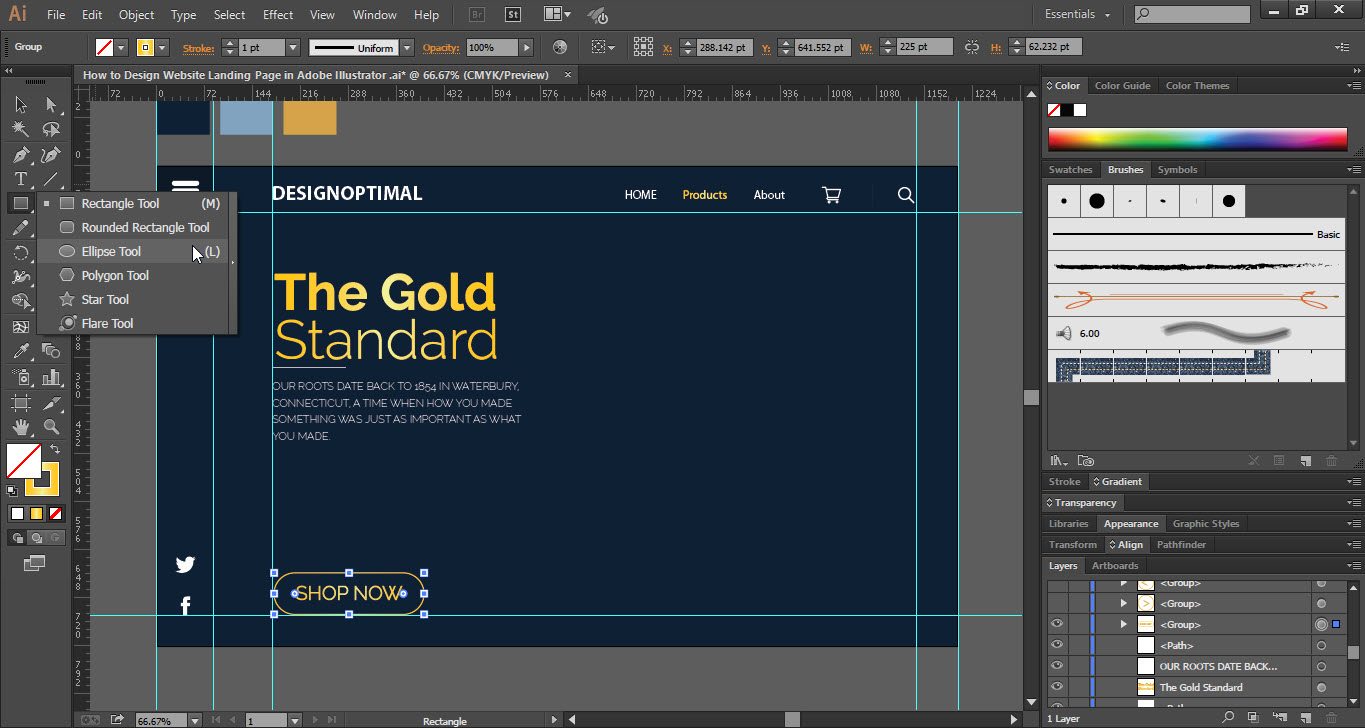
- Now we have to add “Shop Now Button”.
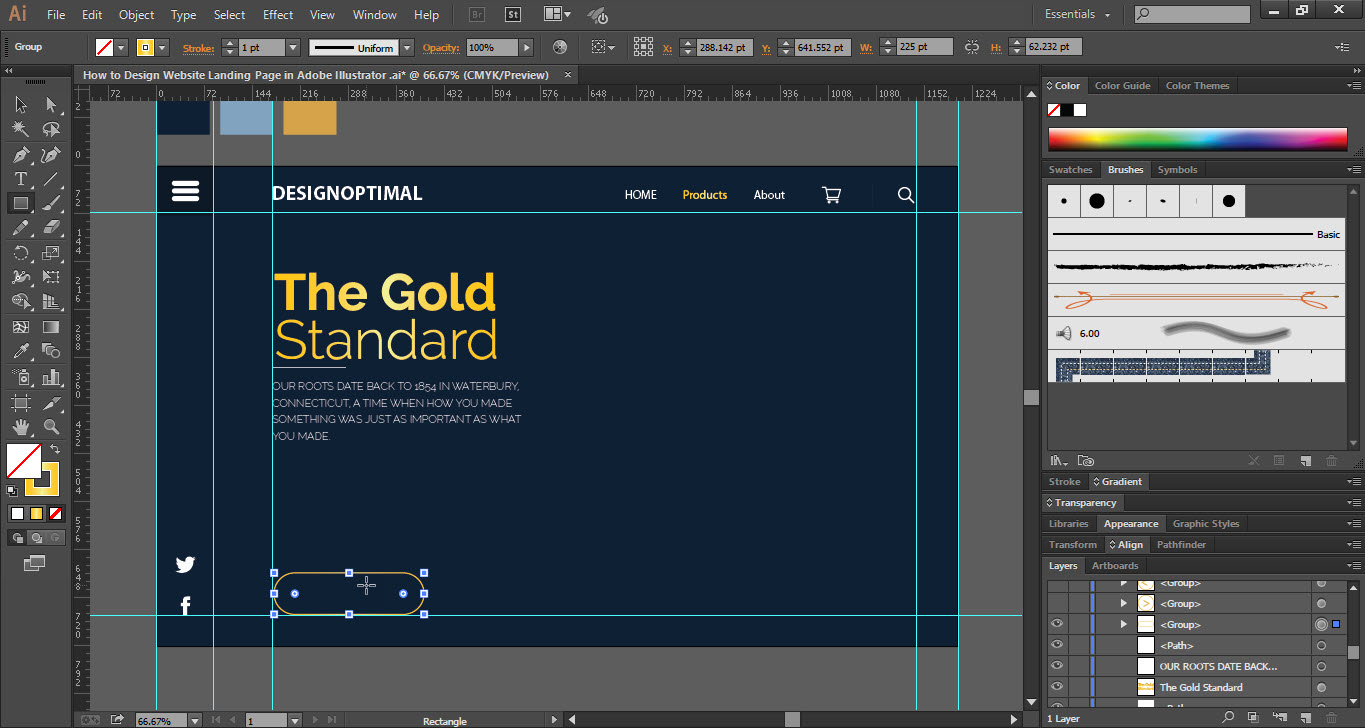
- So take the “Ellipse Tool” and draw a rounded rectangle shape.
- Add your “Stroke” color to the rounded rectangle.
- Take the “Type Tool” and add text to button as “Shop Now”.


Step 04
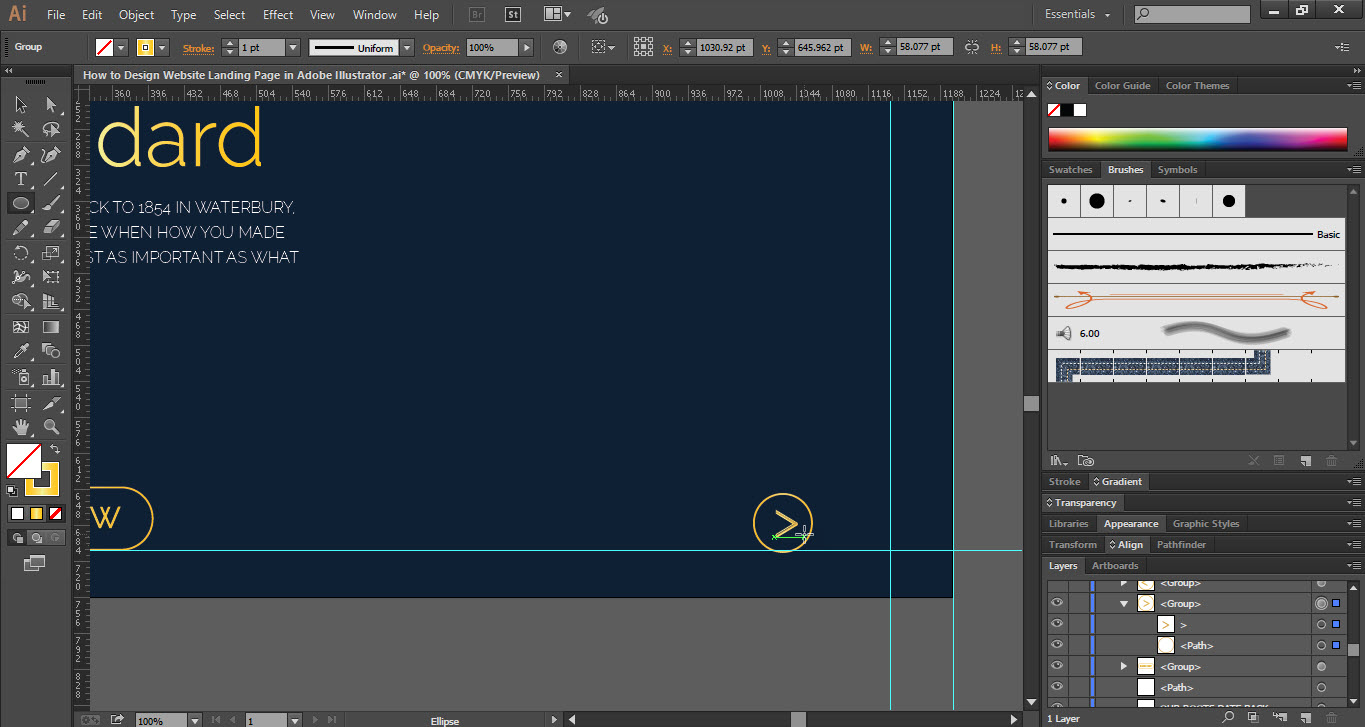
- Now we have to add “Next & Previous” Buttons.
- Take the “Ellipse Tool” from the “Tools Bar”.
- Draw a small circle and add an arrow inside the circle.
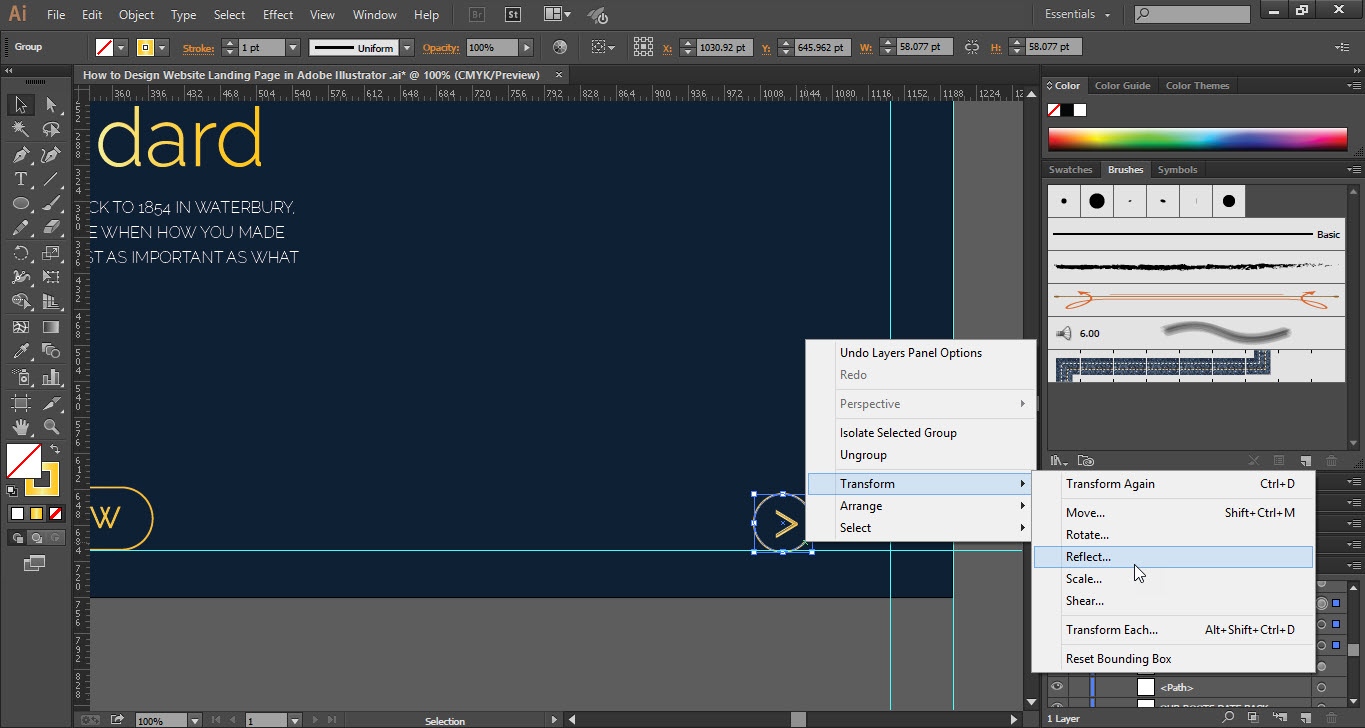
- Select the “Next Button” and right-click on it.
- Go to the “Transform” option and click on the “Reflect”.
- The “Reflect” window will be opened and click on the “Copy” option.
- Now use the arrow keys and place the previous button on the left side.


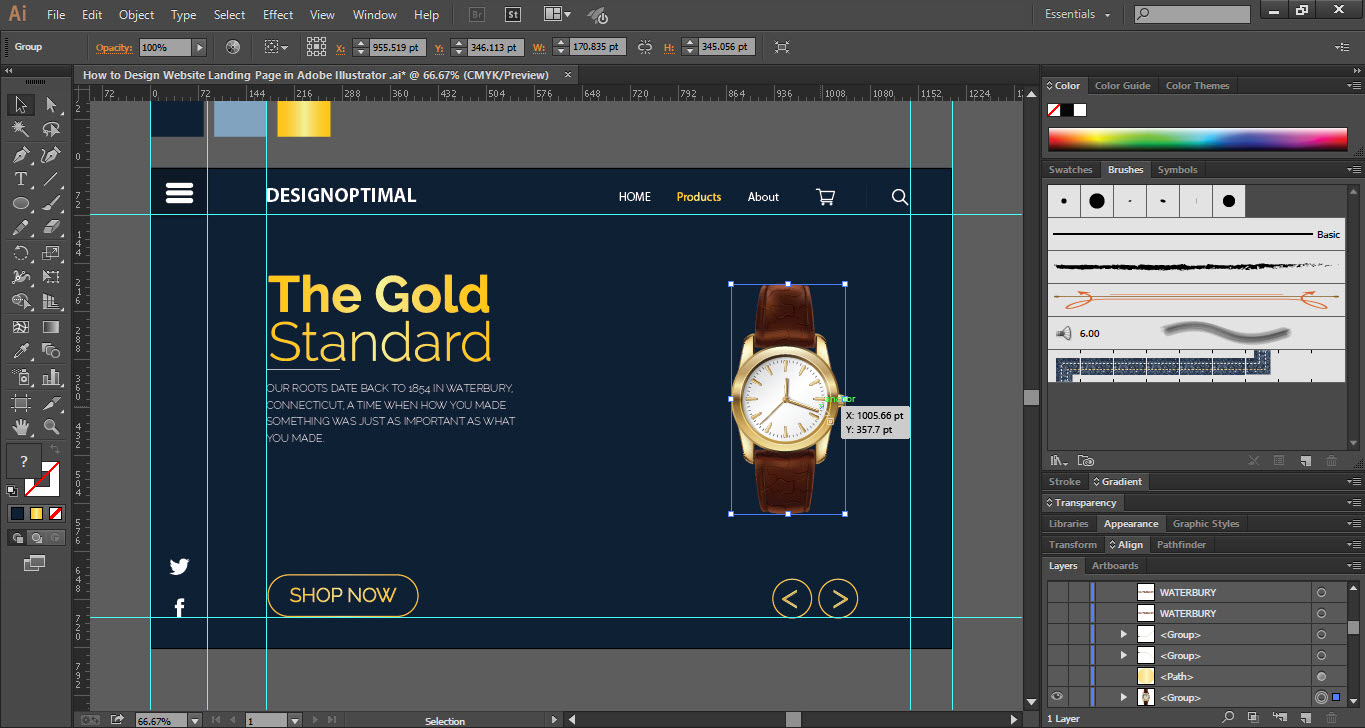
Step 05
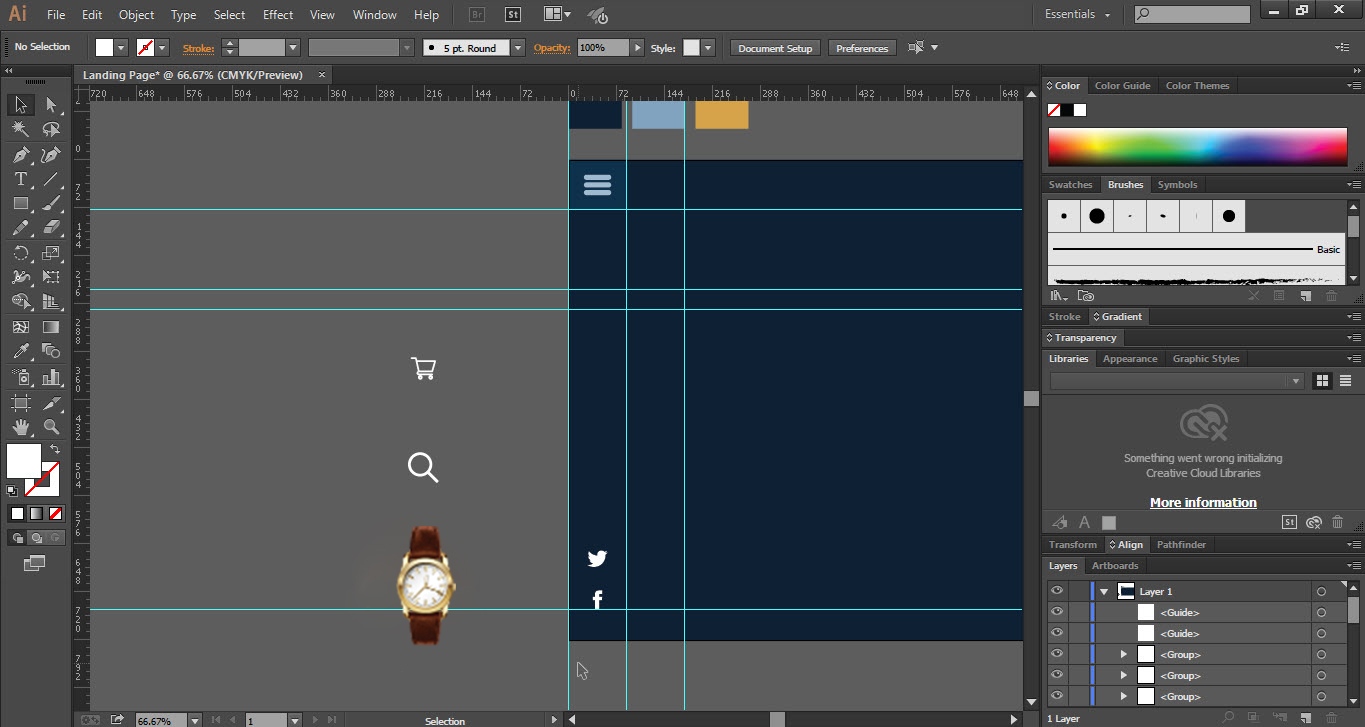
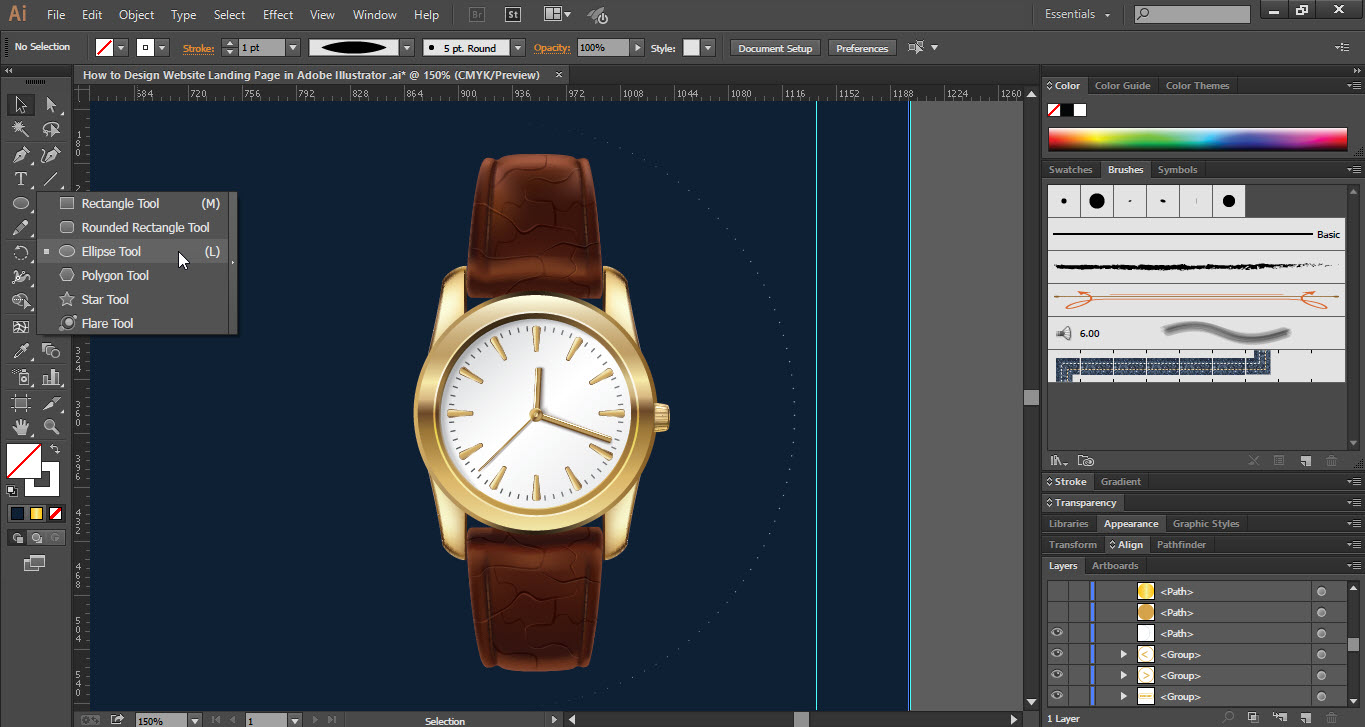
- Now place your product image as shown in screenshot 5.1.
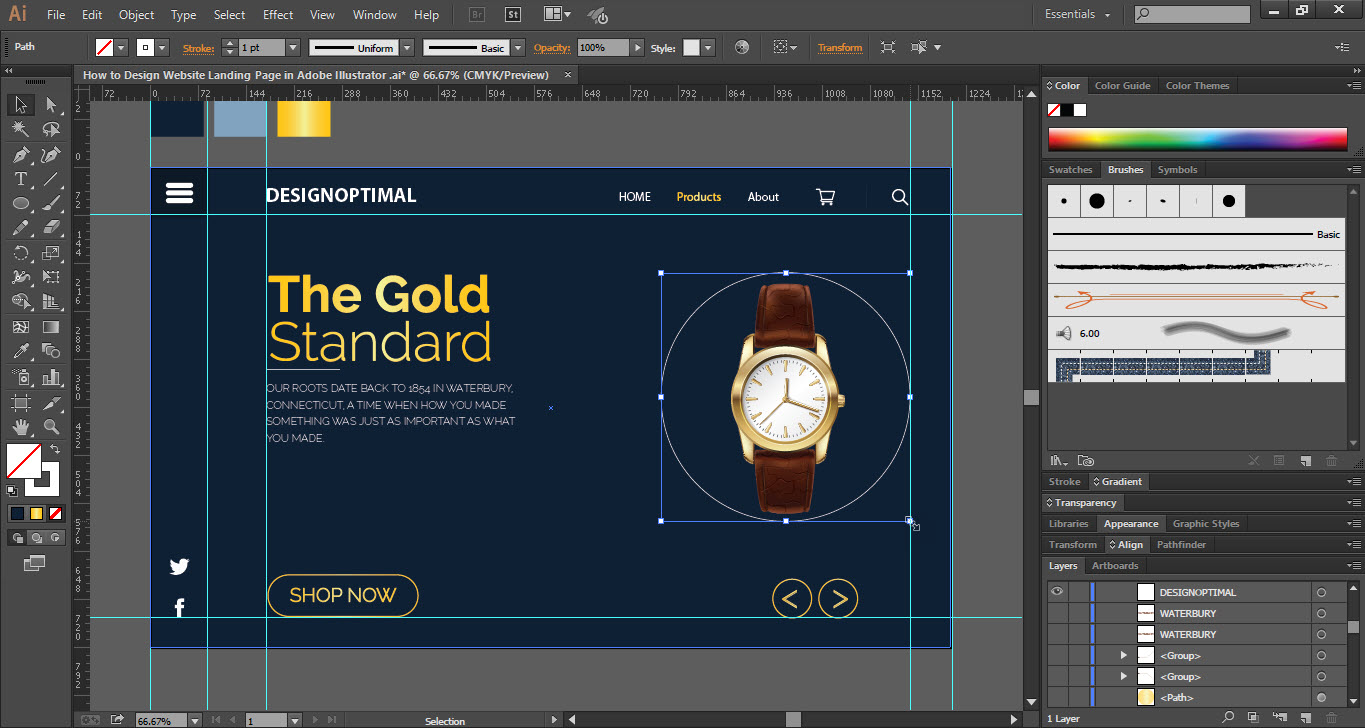
- Take the “Ellipse Tool” and draw a circle around the image.
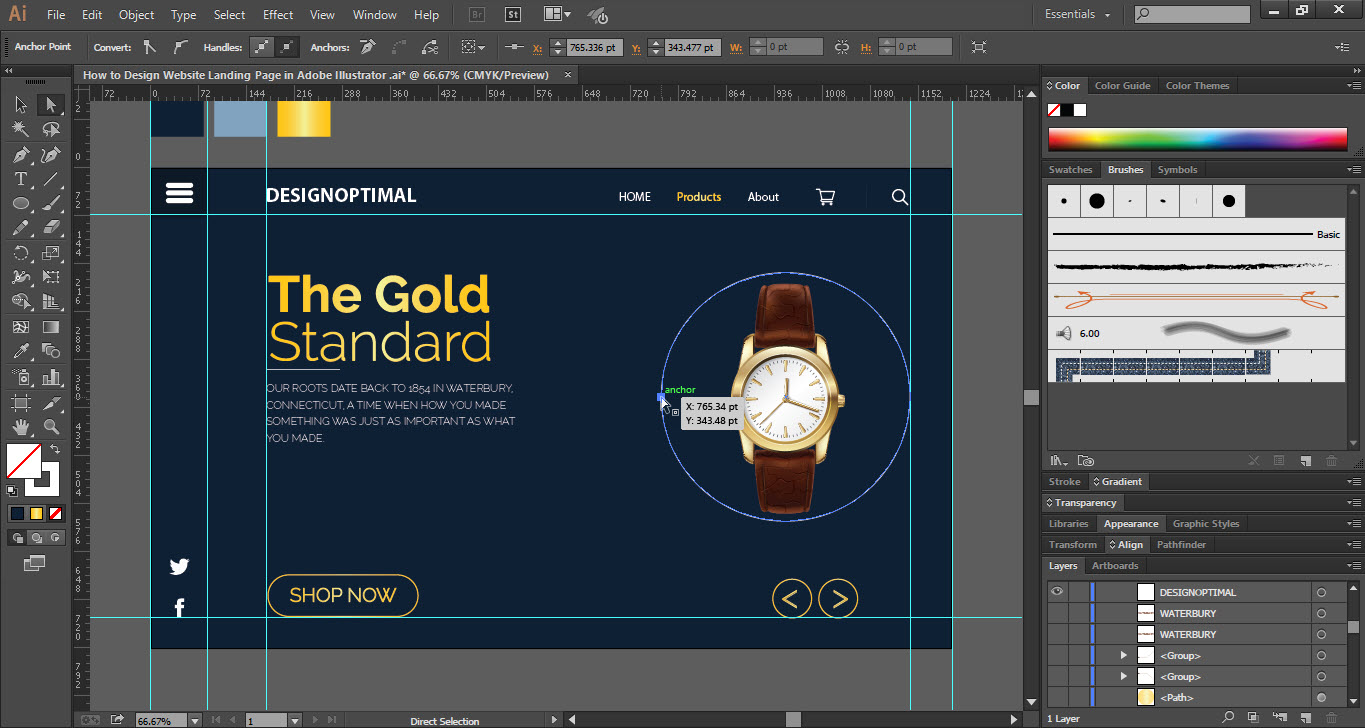
- Take the “Direct Selection Tool” from the “Tools Bar”.
- Click on the left side anchor point of the circle and press the “Delete” option on the keyboard.
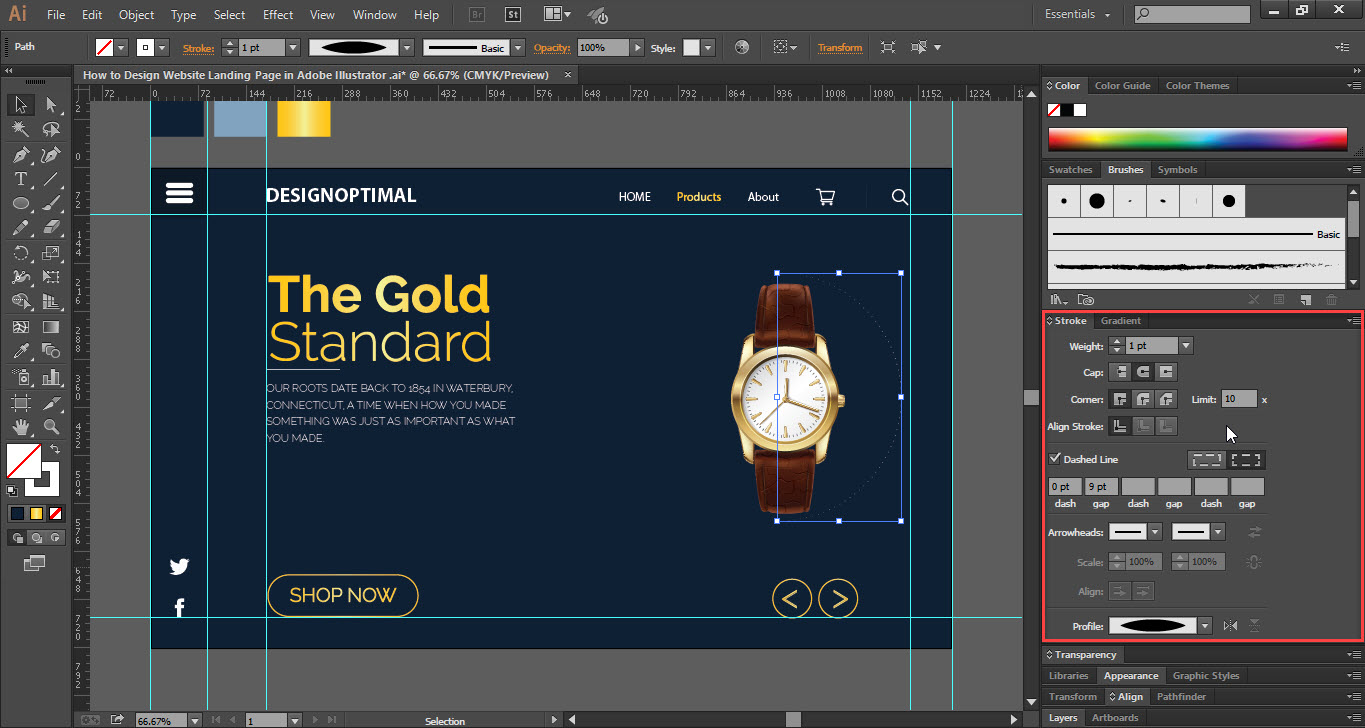
- Go to the “Stroke Panel” and do the exact setting as shown.
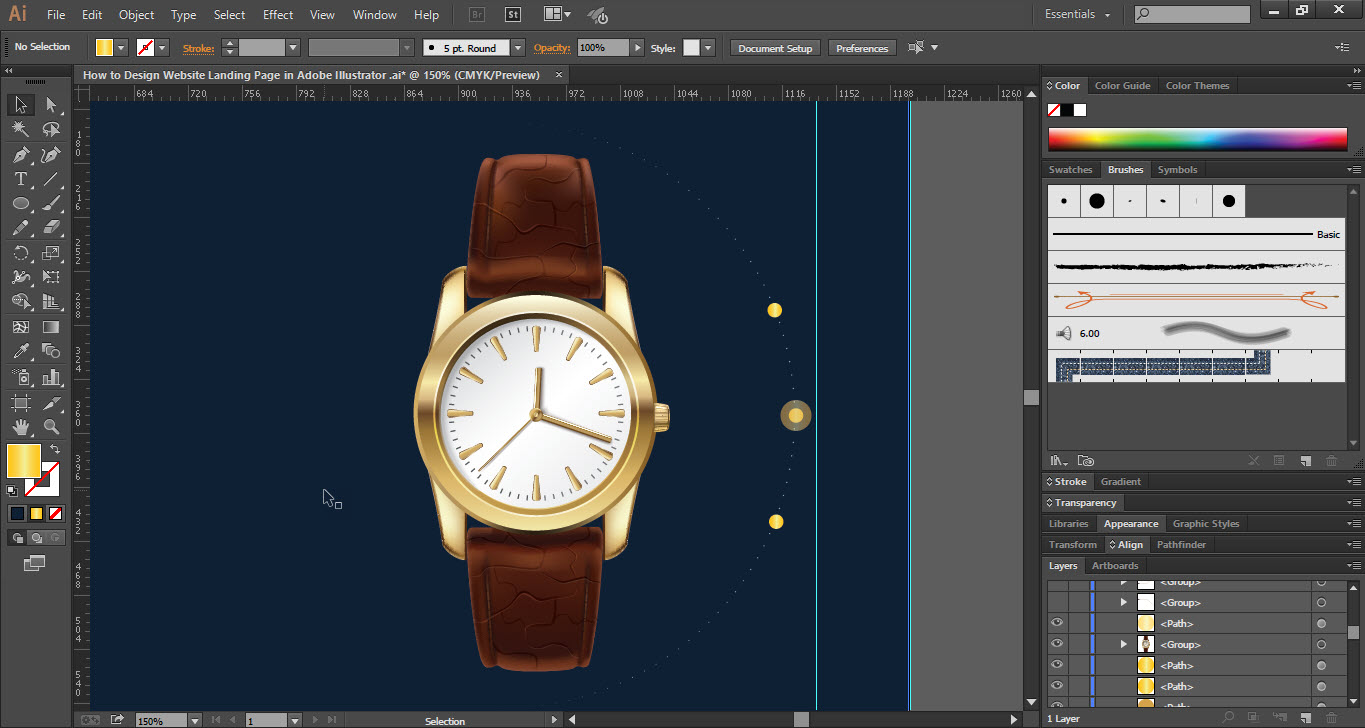
- Now take the “Ellipse Tool” and draw a small circle parallel to the watch.
- Press “Ctrl+C” then “Ctrl+F” and make a little bit large the copied circle and change the color.
- Make the same circle copy and place it where you want.
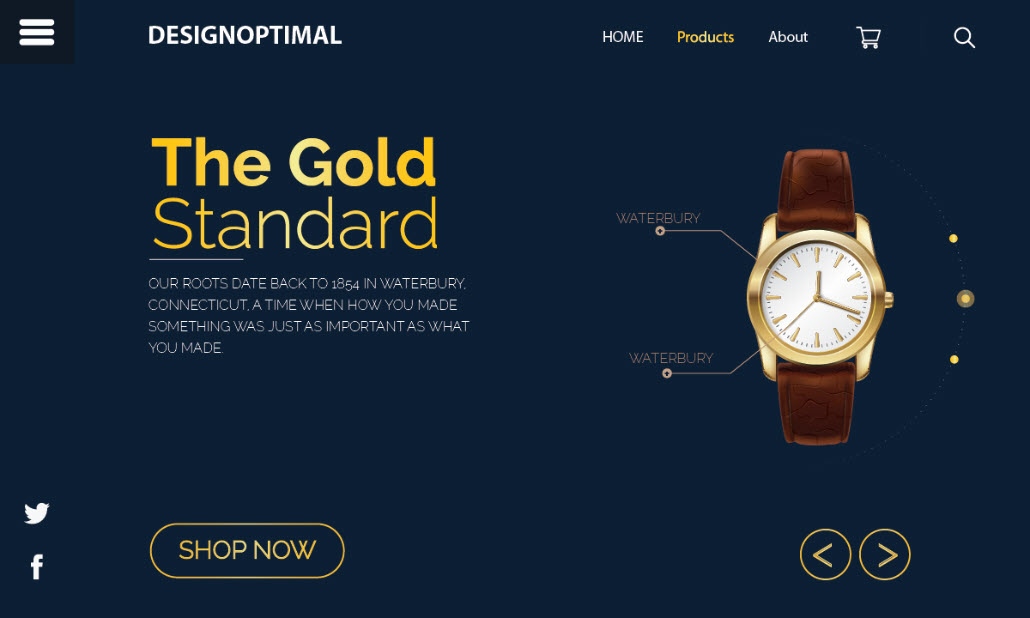
- Finally, your website landing page is ready.


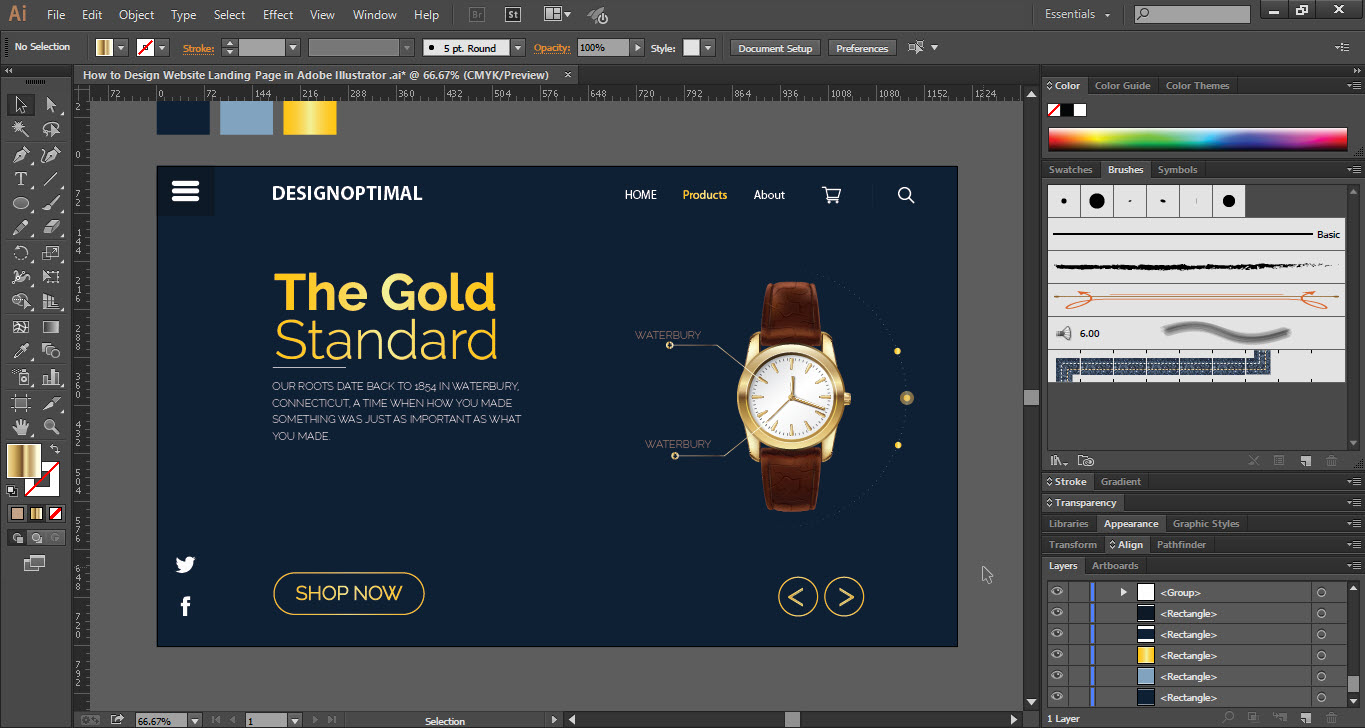
This is how the final result looks like