Hello, everyone today we are going to show you “How to design New Year Party Banner in Adobe Photoshop”. In this tutorial, you will learn how to design a new year’s celebration banner. Don’t worry if you are new here this is a step by step tutorial also have a screenshot of each step so you can practice it by yourself by downloading the project PSD file.
Resources
Images used:
- Balloons from CITYPNG.com
- Golden Ribbon from Tech-IT.com
Fonts used:
- Raleway Family
Step 01
- Open the Adobe Photoshop software.
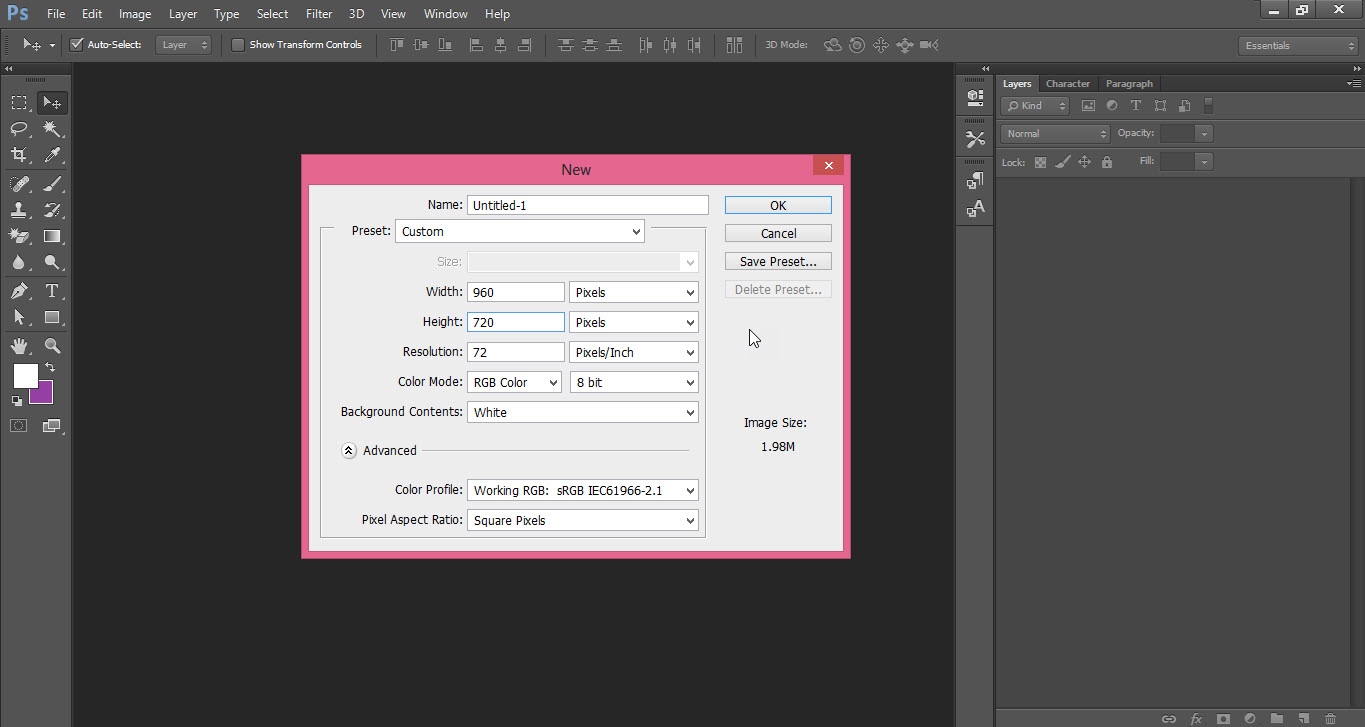
- Go to the “File” menu and click on the “New” option.
- The “New” window will be opened.
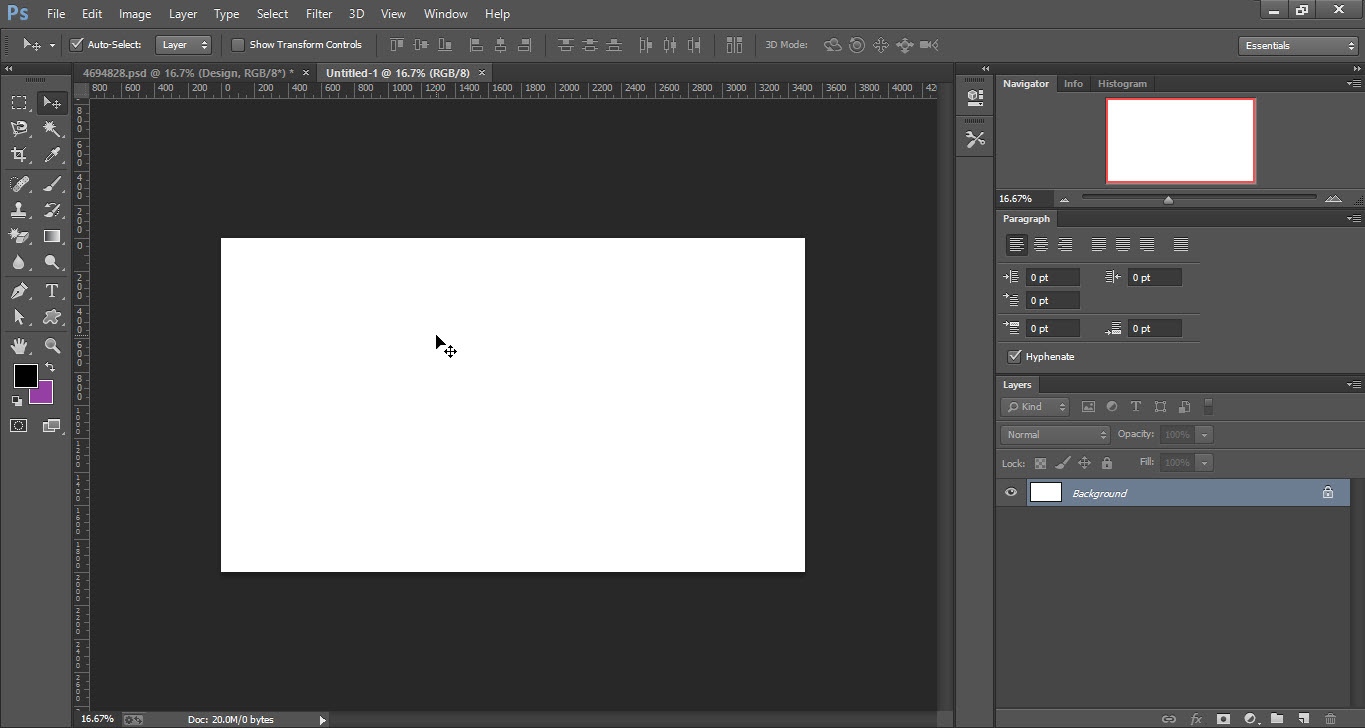
- Select the “Size & Color Mode” of your document and click on ok.
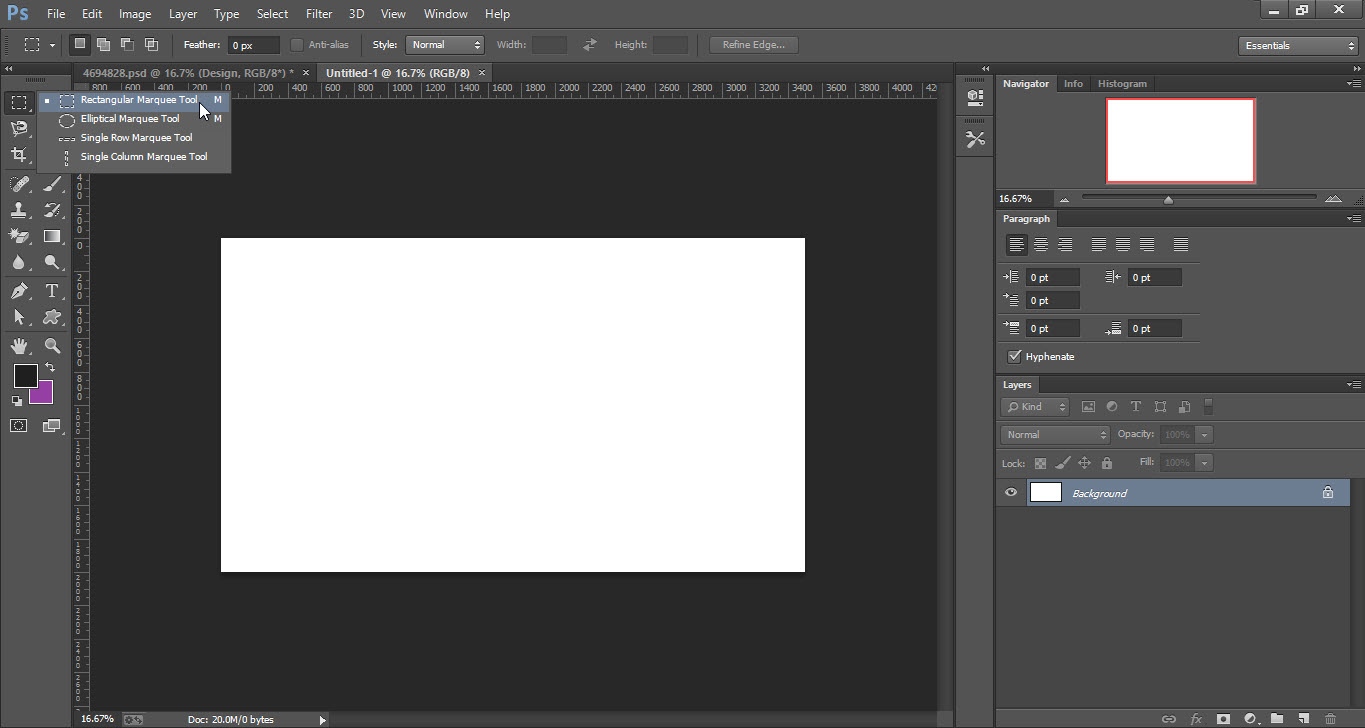
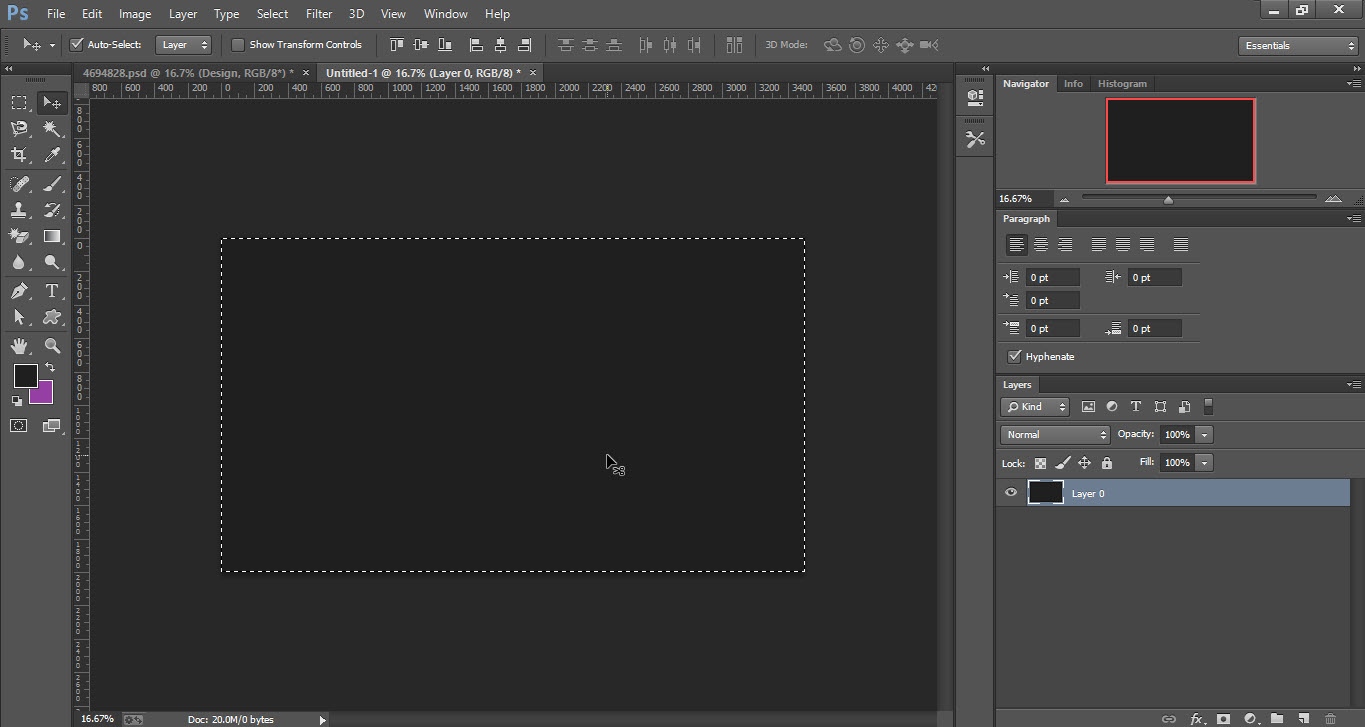
- Take the “Rectangular Marquee Tool” from the “Tools Bar”.
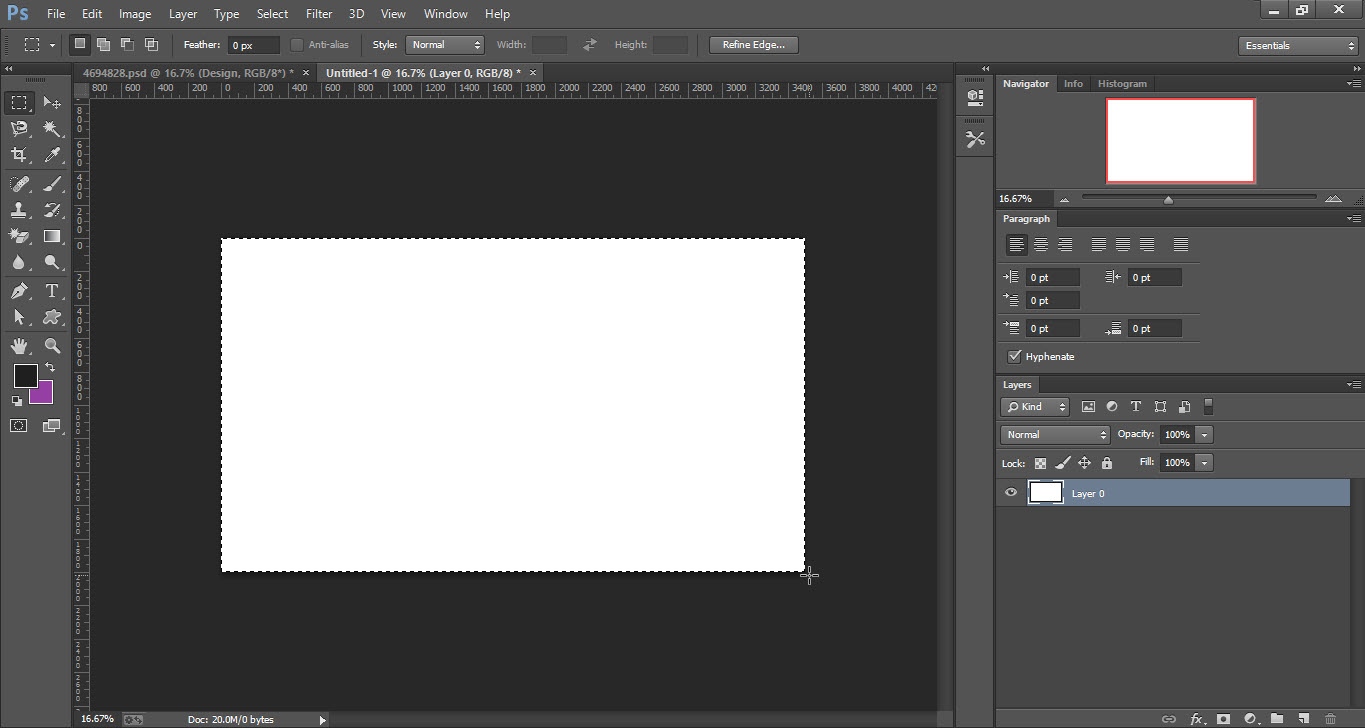
- Draw a “Rectangle” around the canvas.
- Double click on the “Foreground” color option and select the black color.
- Now press the “Alt + Backspace” keys to fill the canvas with black color.
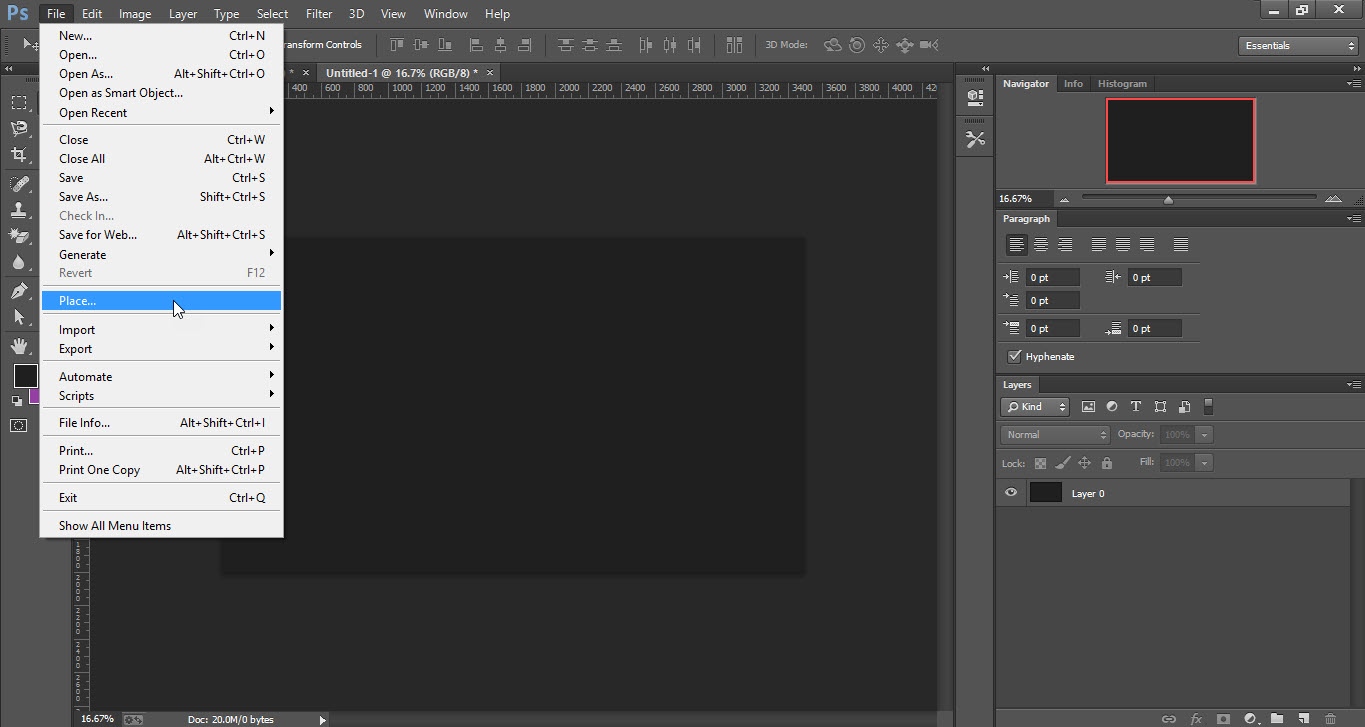
- Add some “Decoration Ribbons” to the banner look more attractive.
- To do so, go to the “File” menu and click on the “Place” option.
- Place the ribbons on the upper left side as shown.
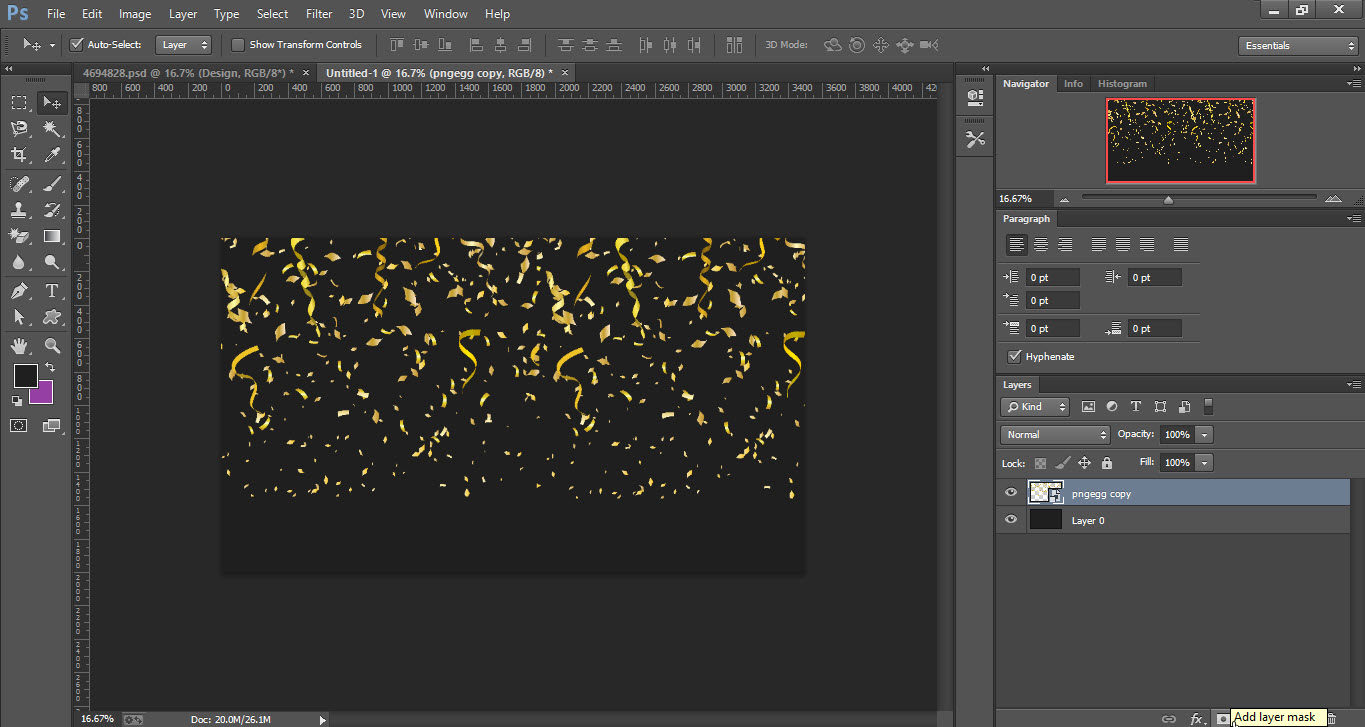
- Now press “Ctrl+J” to duplicate the ribbons layer.
- Select both the ribbons layer and “Right” click on the layers.
- Click on the “Convert to Smart Object” option.


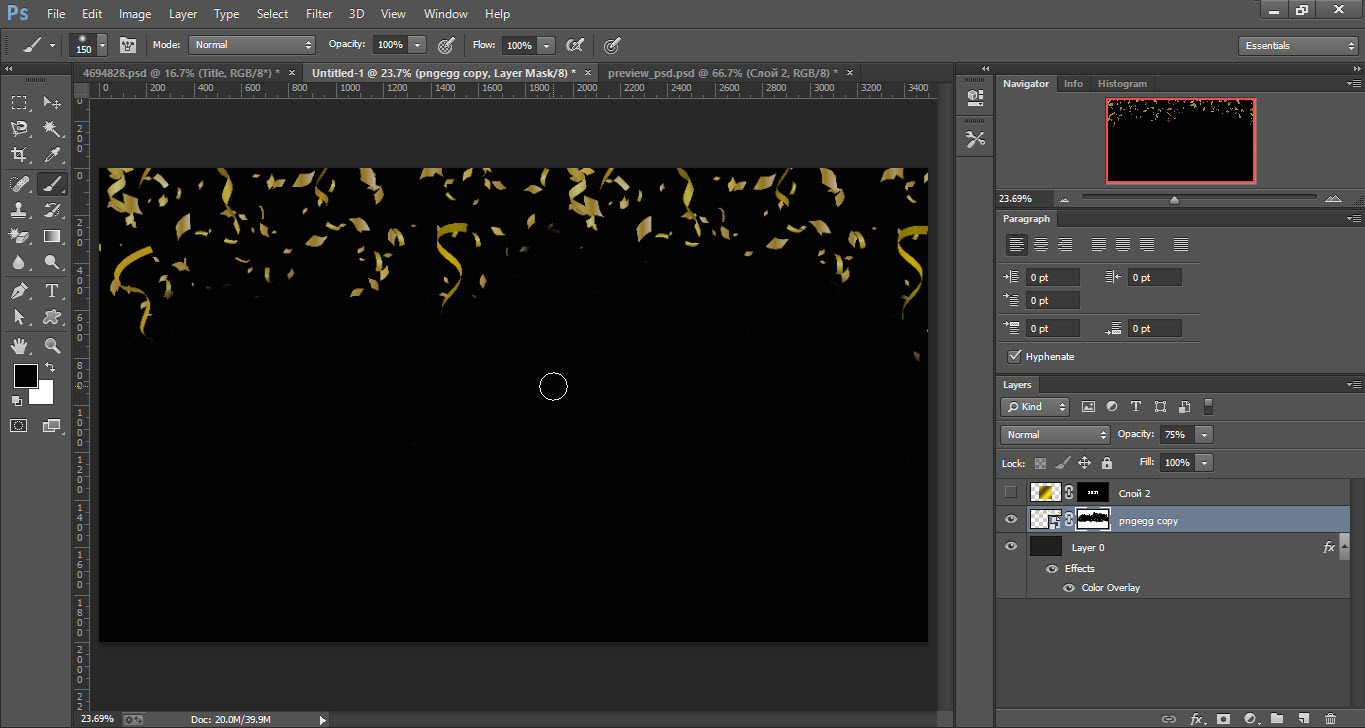
Step 02
- Click on the “Add Layer Mask” option in the “Layer Panel”.
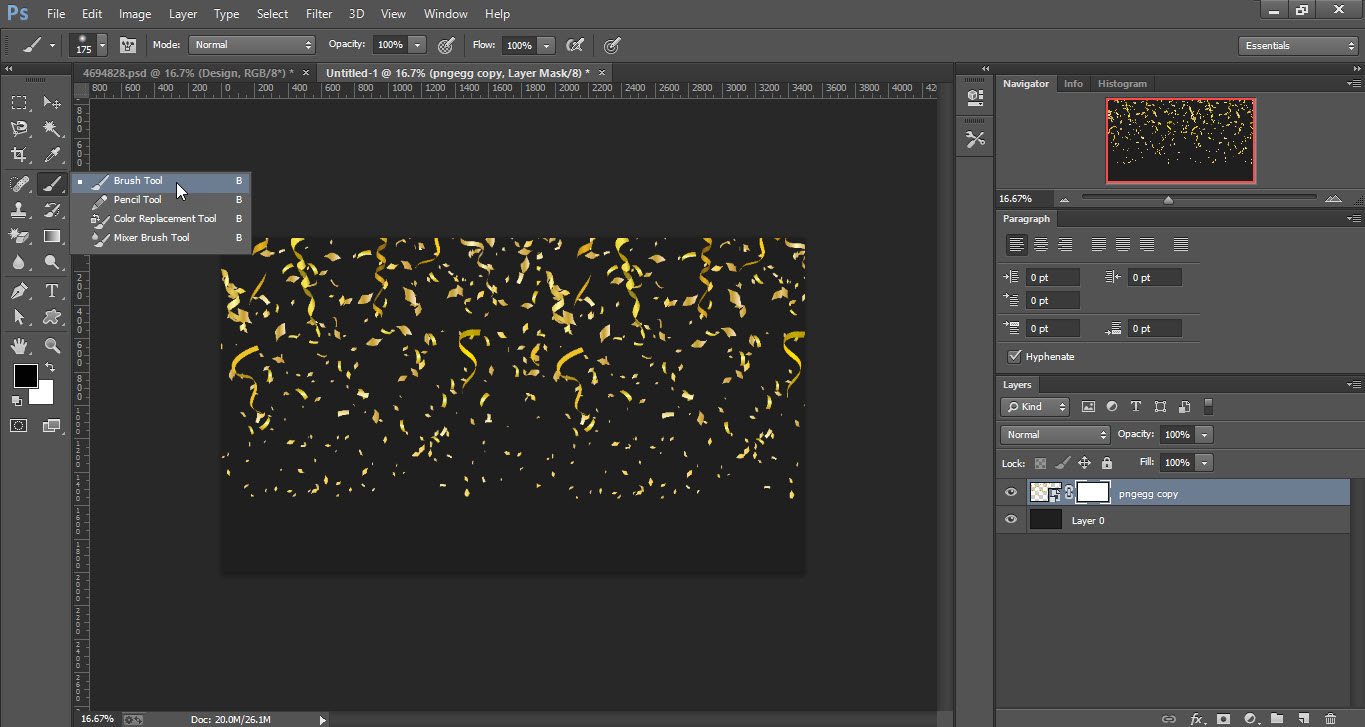
- Take the “Brush Tool” from the “Tools Bar”.
- Paint over the brush on the canvas to clean up some areas as shown in 2.3.
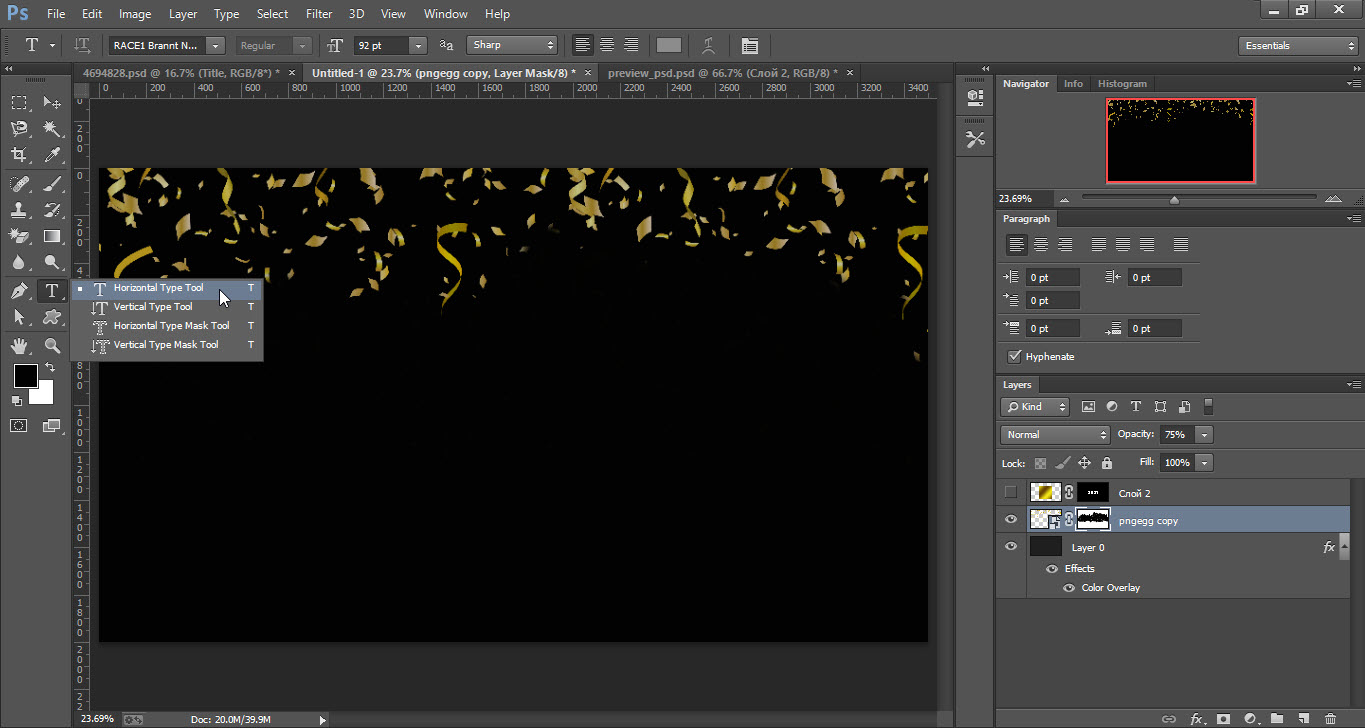
- Now take the “Horizontal Type Tool” from the “Tools Bar”.
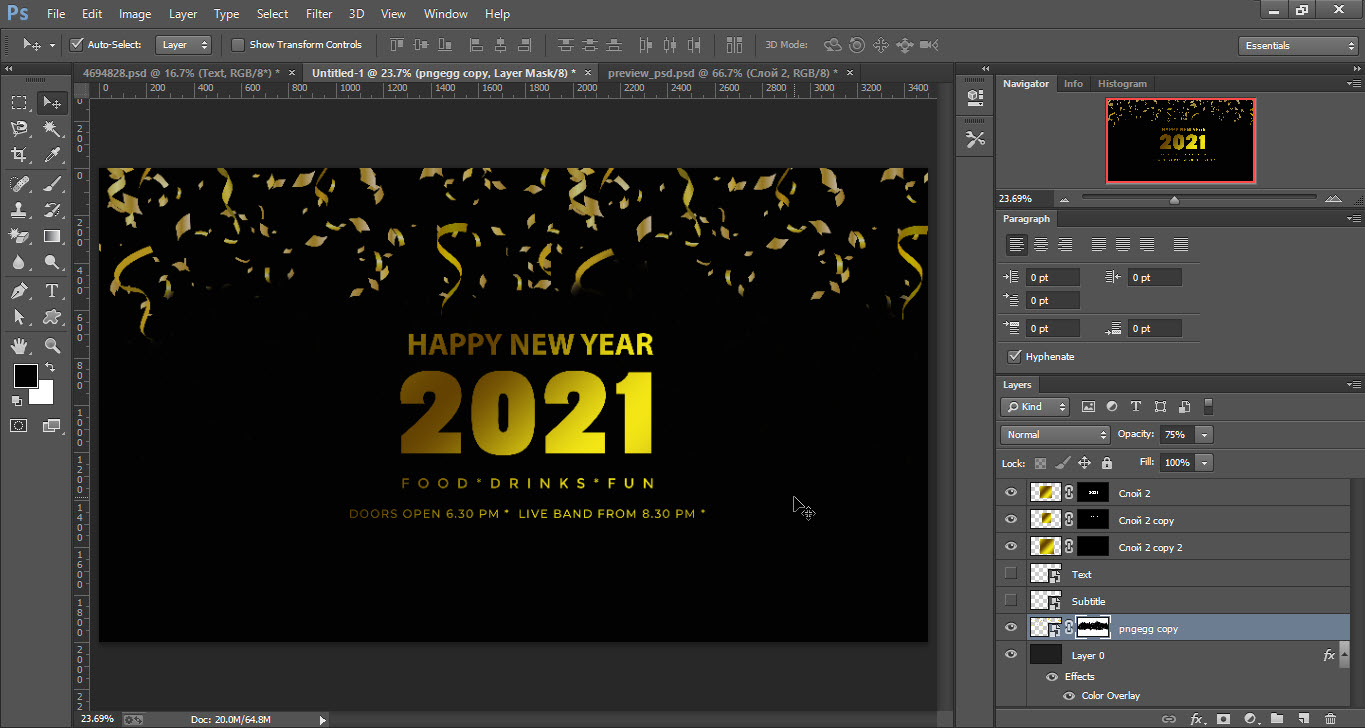
- Type the text and apply the “Golden” gradient to the text.
- If you don’t know how to apply the gradient to the text simply double click on the right side of the text layer.
- A “Layer Style” window will be opened then click on the “Gradient” option.
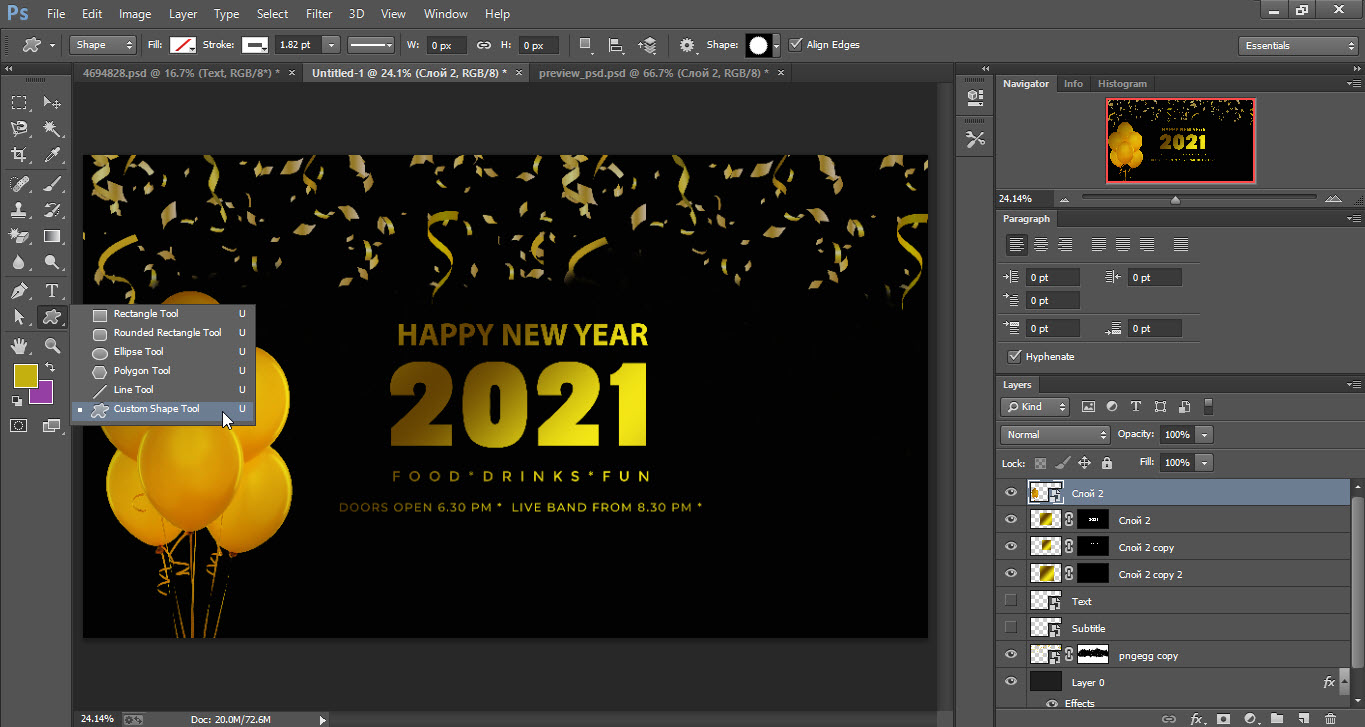
- Now go to the “File” menu and click on the “Place” option.
- Place the “Golden Balloons” on the left side of the banner.
- Now we have to add the date to the banner so take the “Custom Shape Tool” from “Tools Bar”.
- Select the shape from the “Shape” menu and draw it on the canvas.
- Add the golden gradient to the shape and add text to it.
- Select the “Balloons Layer” and press “Ctrl+J” to make another copy of the “Balloons Layer”.
- Place the duplicate balloons on the right side.
- Finally, your new year’s party banner is ready.


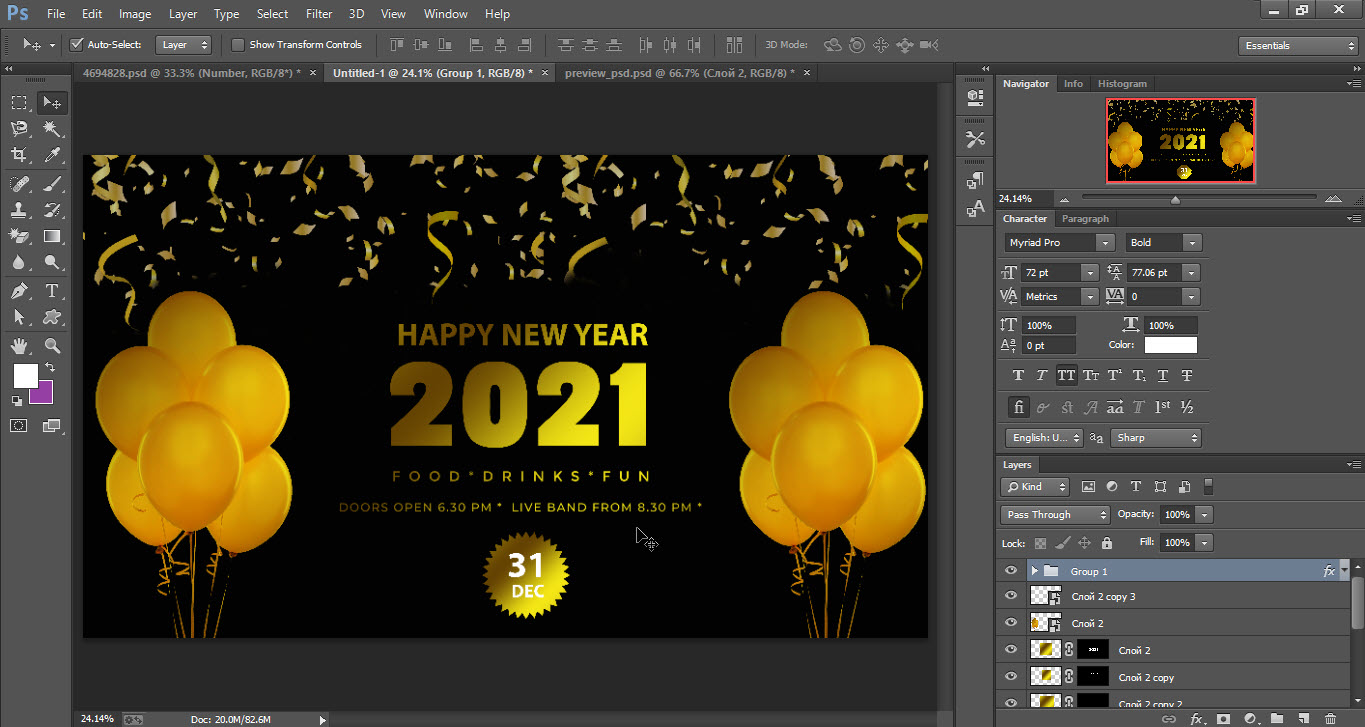
This is how the final result looks like