Hello friends! Today we are going to show you how to create a simple and creepy photo manipulation using Adobe Photoshop.
I will name it as Scream because its consist with some screaming mouth and stuff like that.
You can access the project file at the end of the tutorial in case if you are interested, but we recommend going through the tutorial first and gain some skills. You can search for similar free stock images that you can use for designing purposes to follow this tutorial.
Resources
- Fonts Used :
Step 01
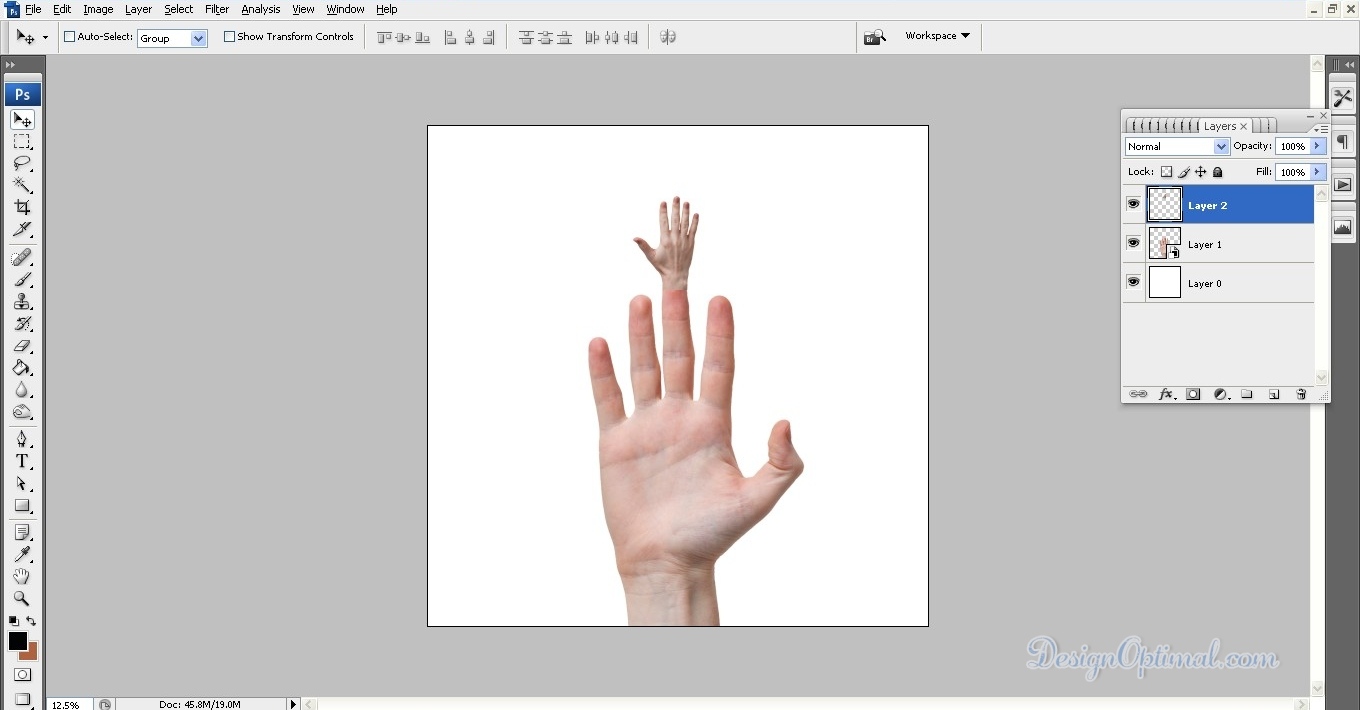
- Open Adobe Photoshop and create a new document of 5000px x5000px, and make it a Landscape mode save it as Scream.psd. Now for our main design, we are going to use the Human-hands.png. Now open it in Ps and Crop the hand front view and place it on the newly created document you named as Scream.

Step 02
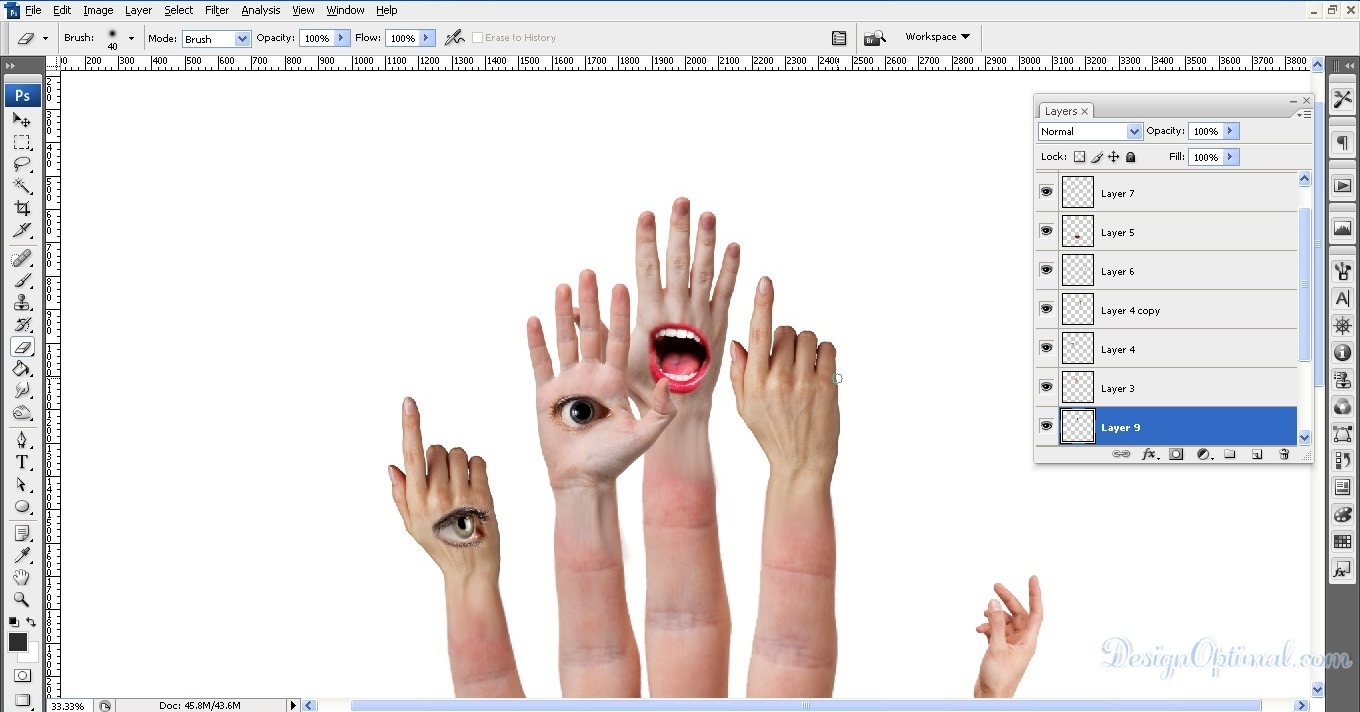
- Now we are going to add a second hand in to the first hand but this should look like it has grown from the top of the finger and we will continue this for few more fingers. For this, we are going to use the same hand and other images named as Pointy Hand and Human Hand _02. So after that we are going to place those hands as the below image.
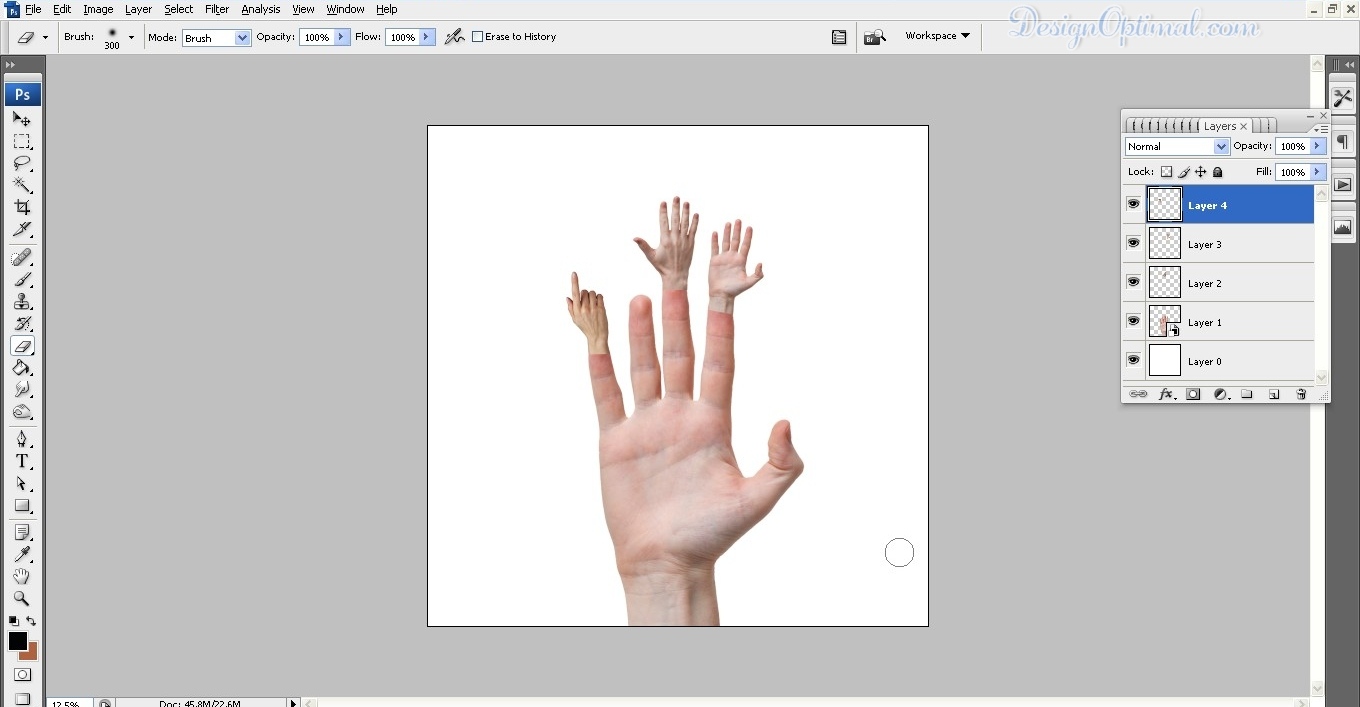
Step 03
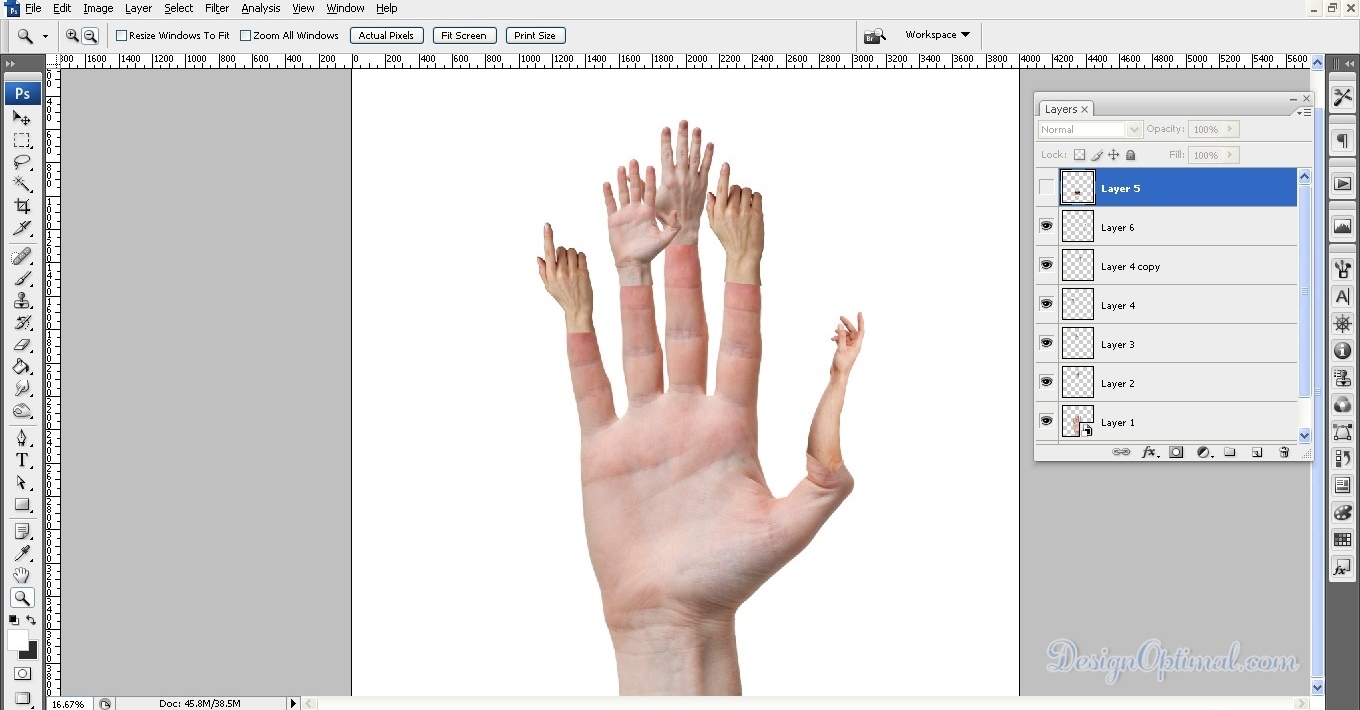
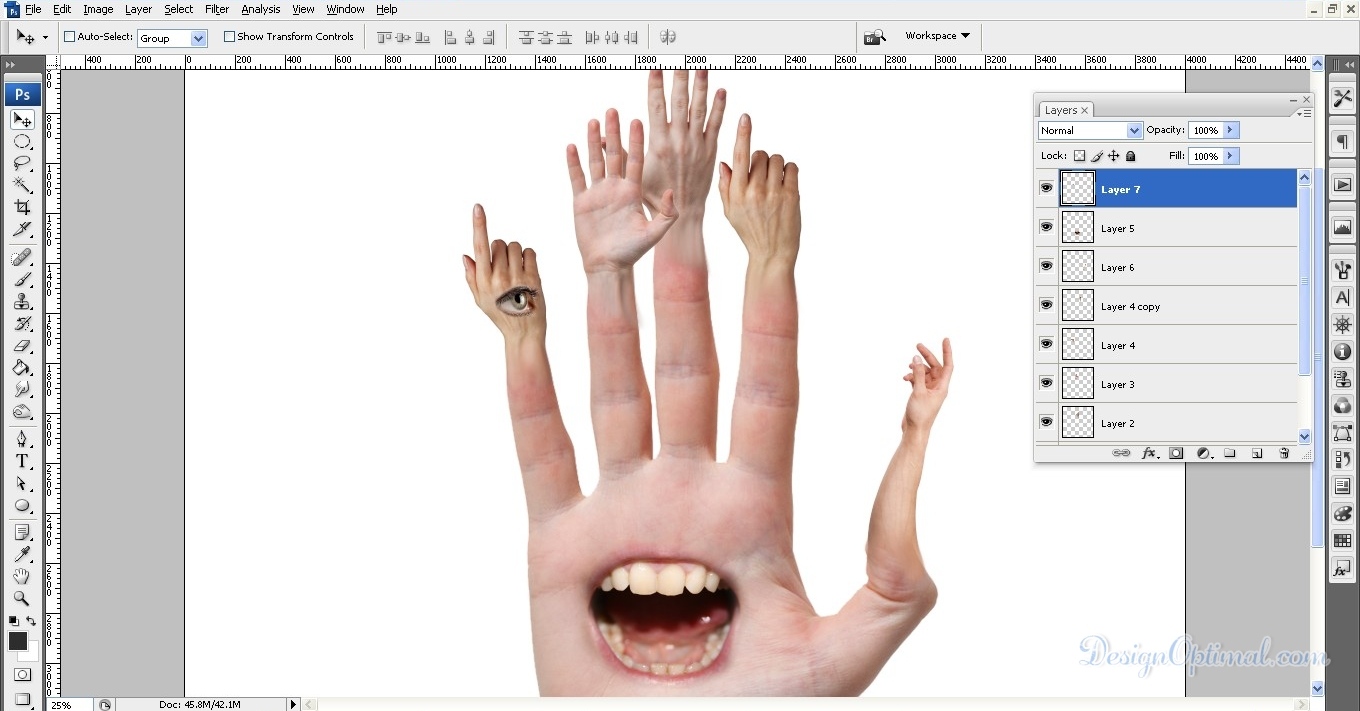
- We are duplicating more of the hand that has been used and the end result would look like the image shown below.
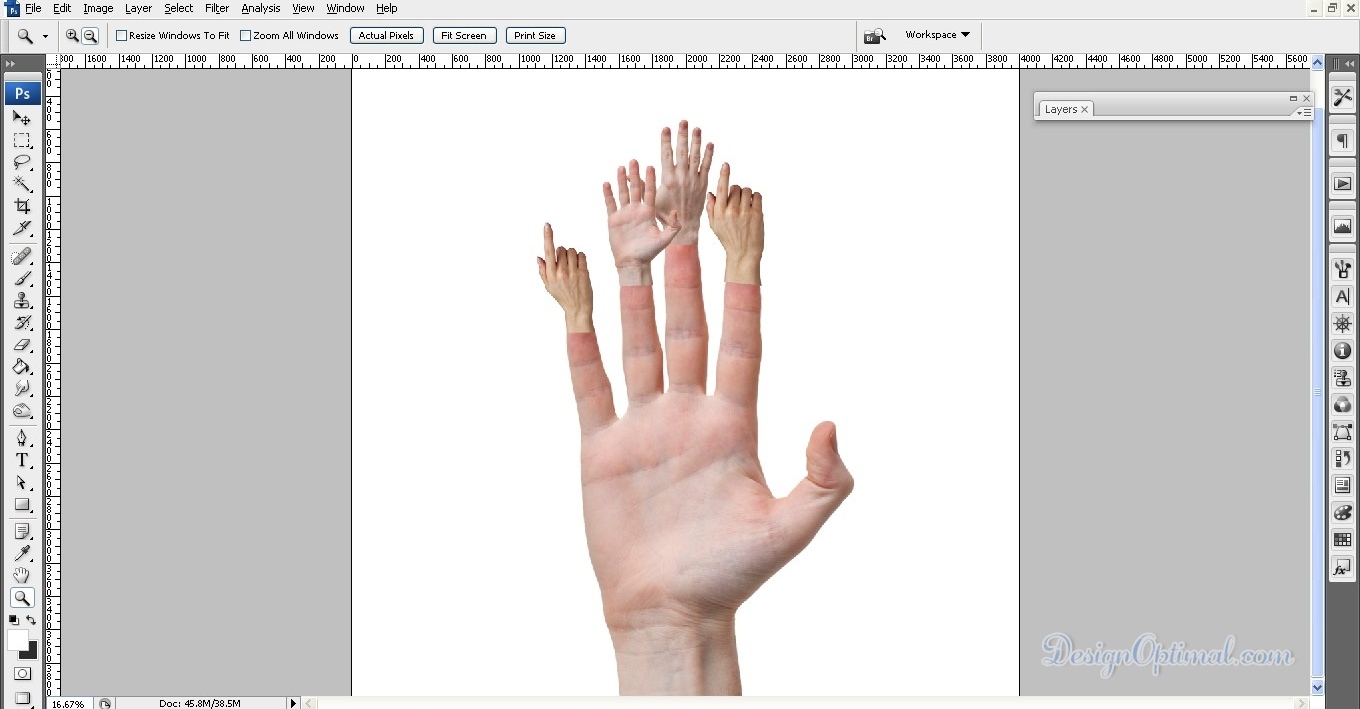
- Now after that we will use the image called Human_hand_02 and we will merge it like the image shown below
Step 04
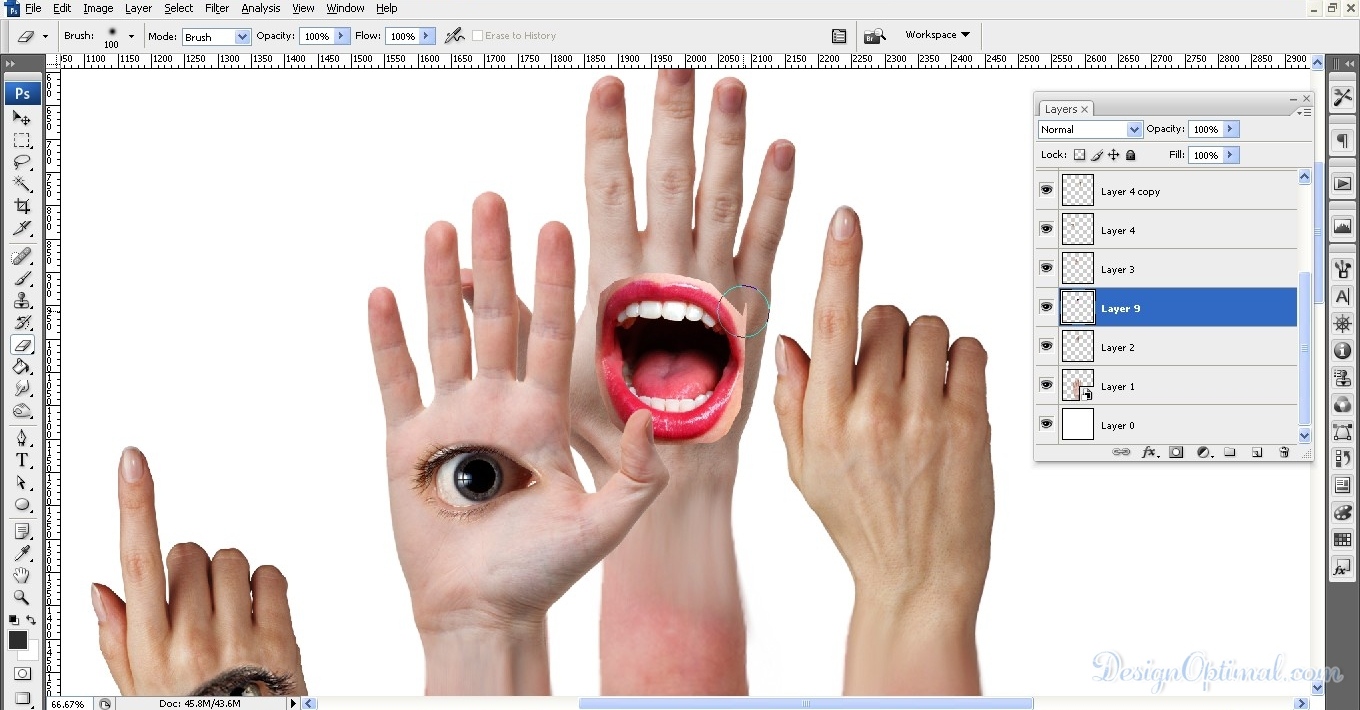
- Now it is time to add mouth to the palm of the main hand, we will use the image called Mouth 02 and position it as shown in the next image.
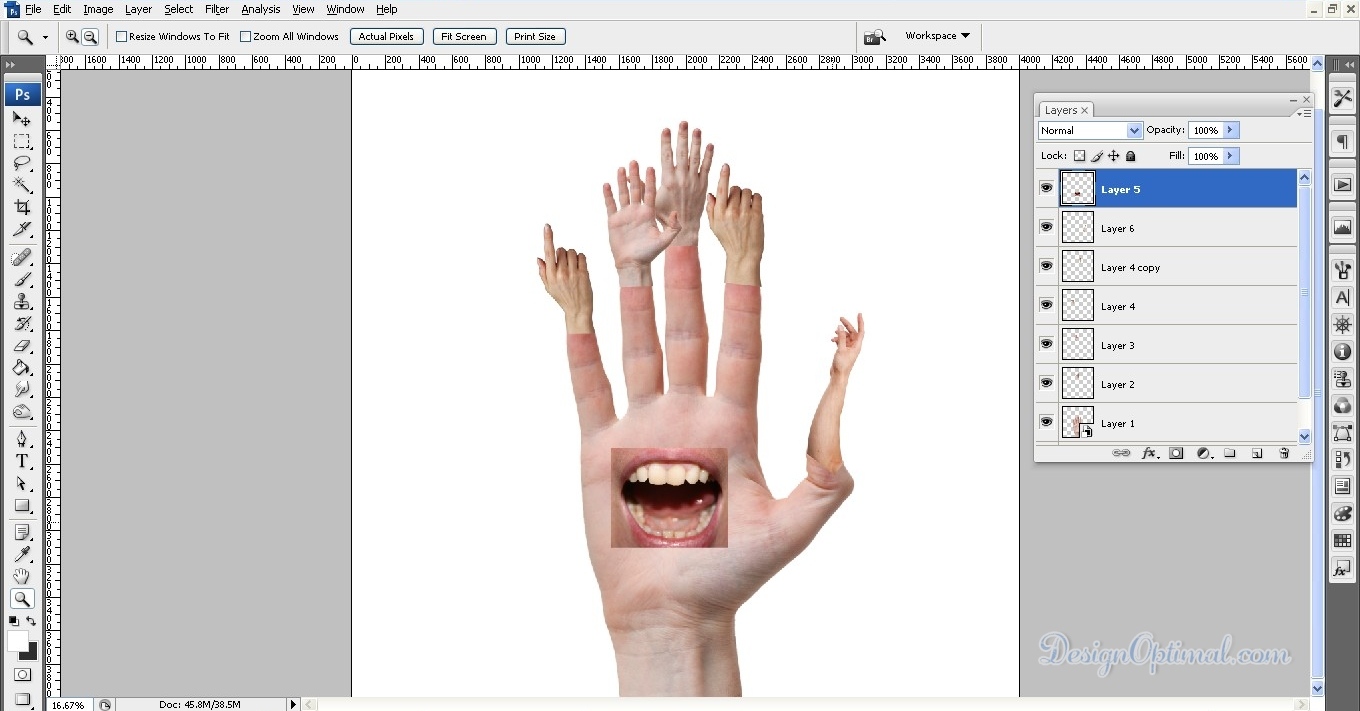
Step 05
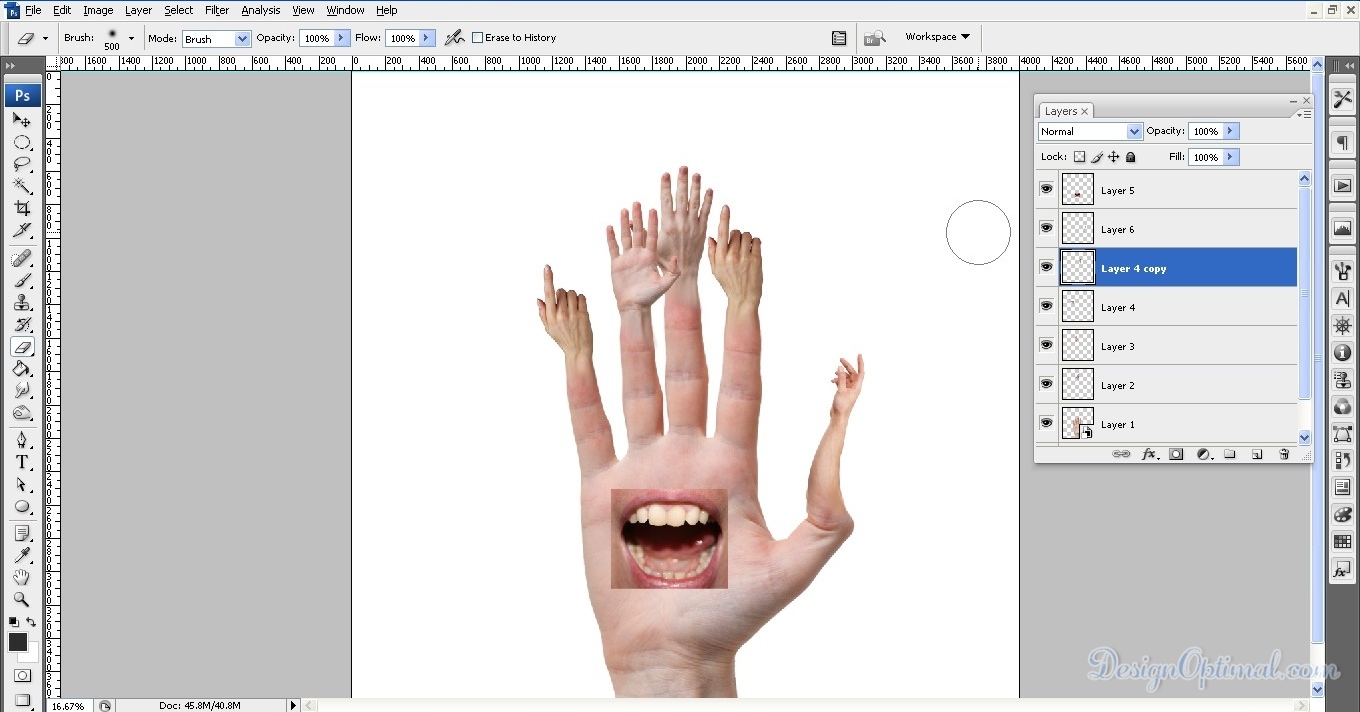
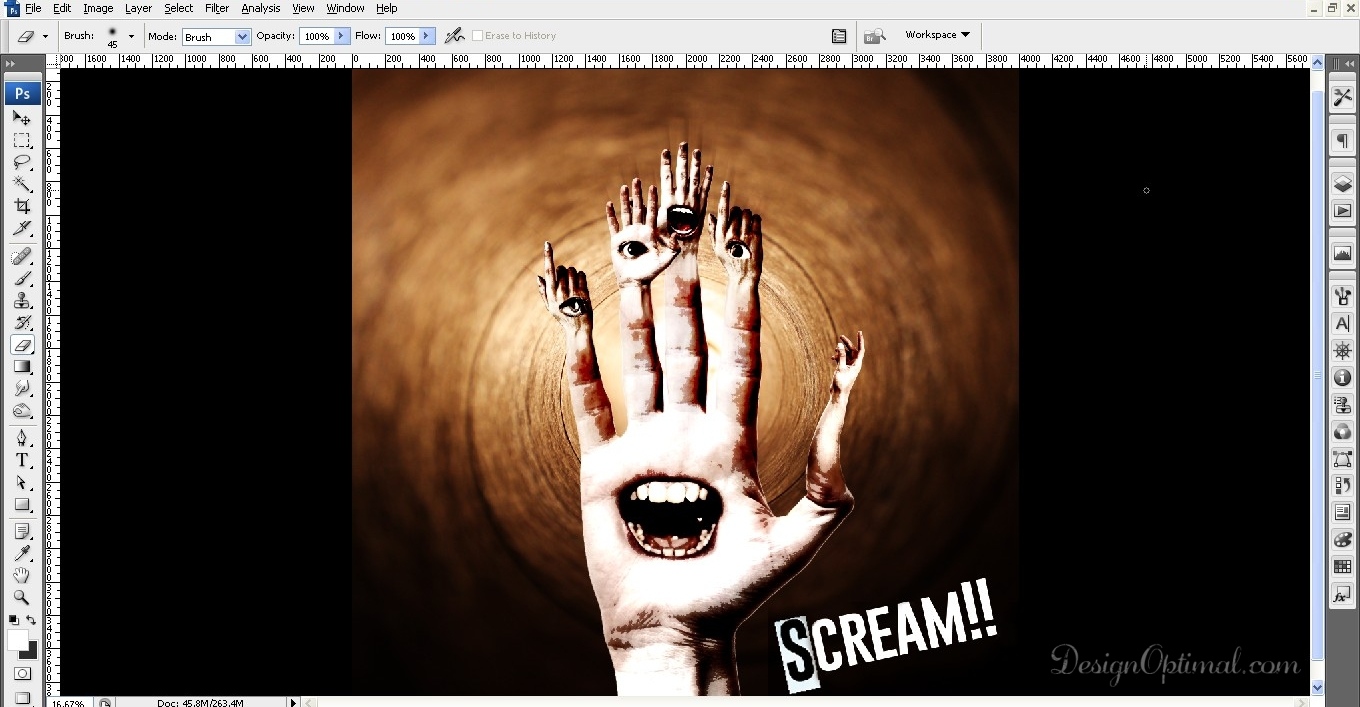
- As the next step, we will be making these added hands as if they were actually grown from the fingers. For that, we will be using the eraser tool and smudge tool. Now take a blur brush around 300px and start erasing away bottom parts of the added hands to the main arm. The process has been shown in the next images shown below.
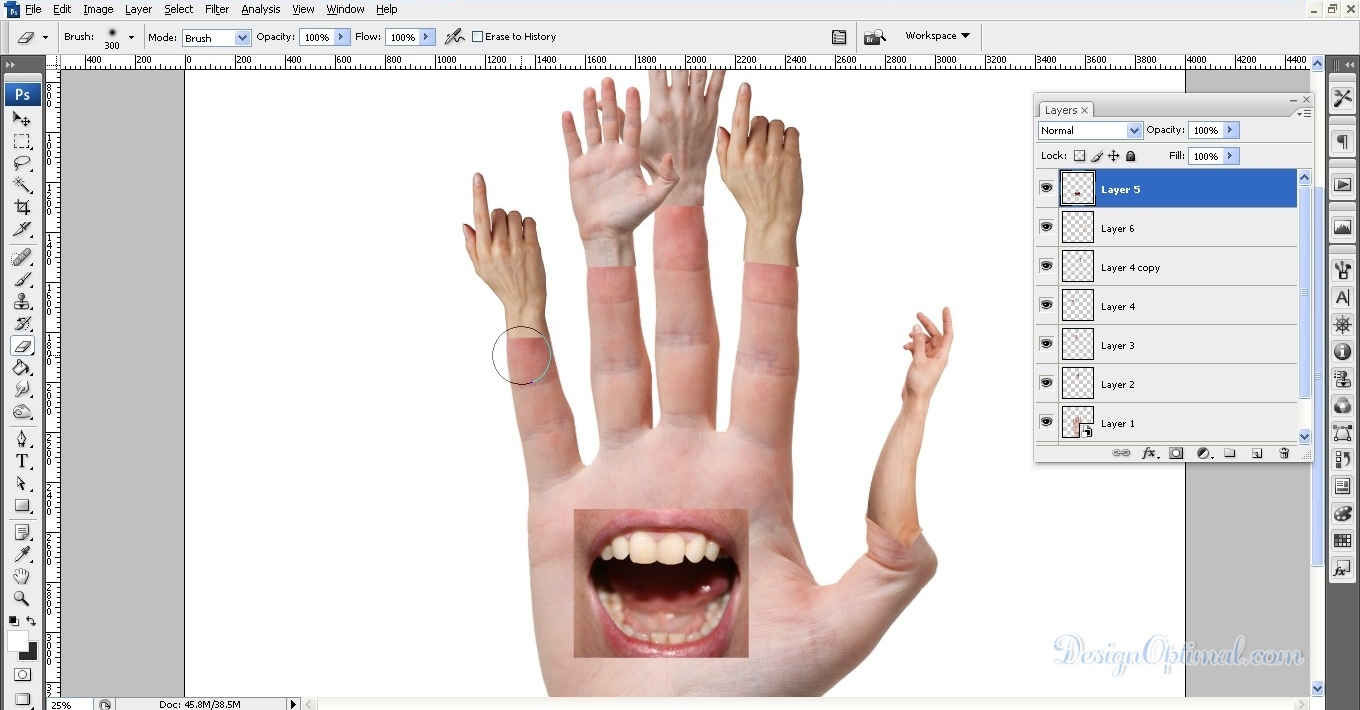
Step 06
- Now we will have to repeat the same thing to the other hands as well note: according to the way other hands are positioned in the main arm, you will have to increase or reduce the eraser Brush size.
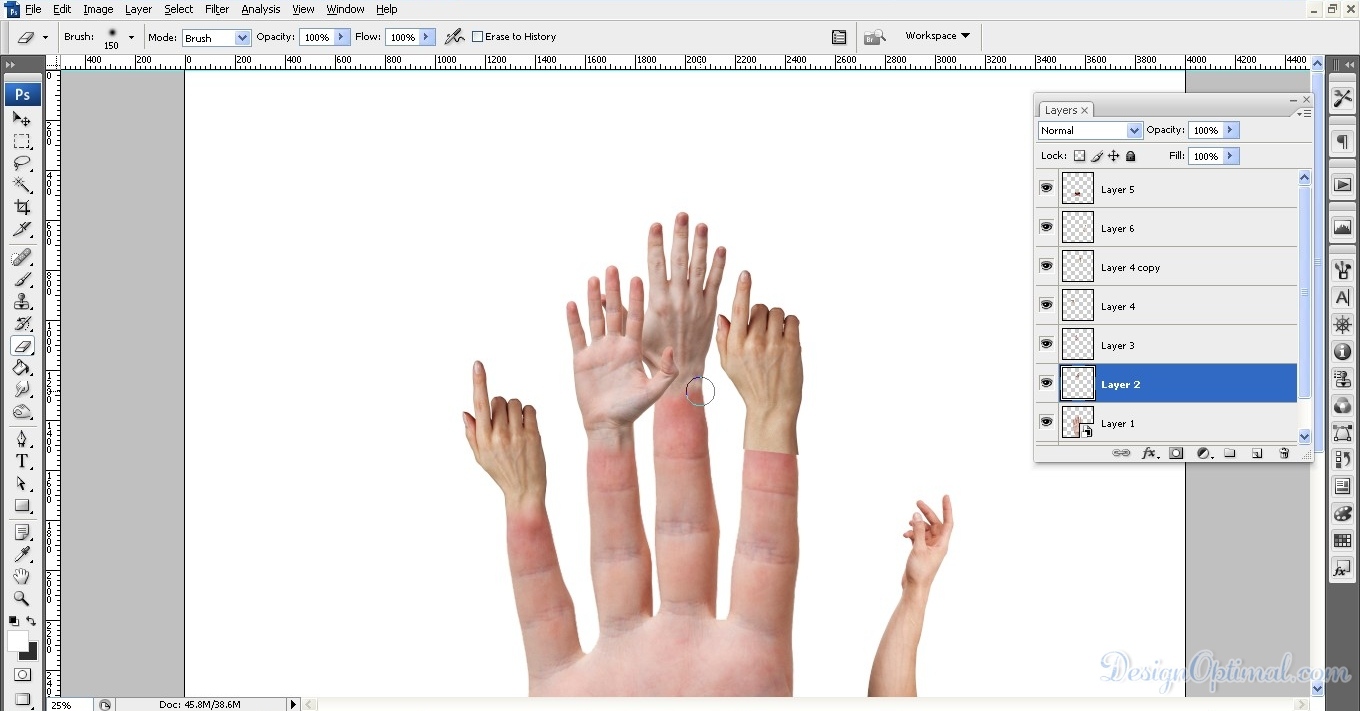
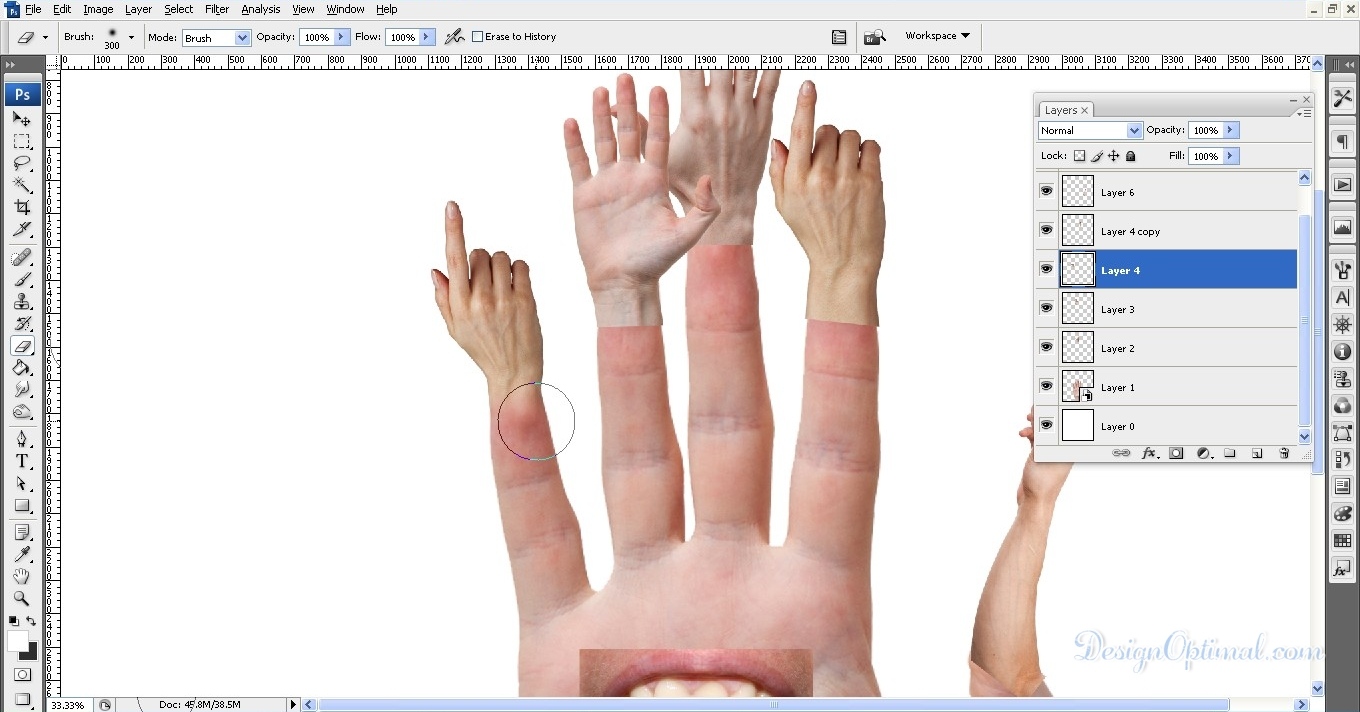
Step 07
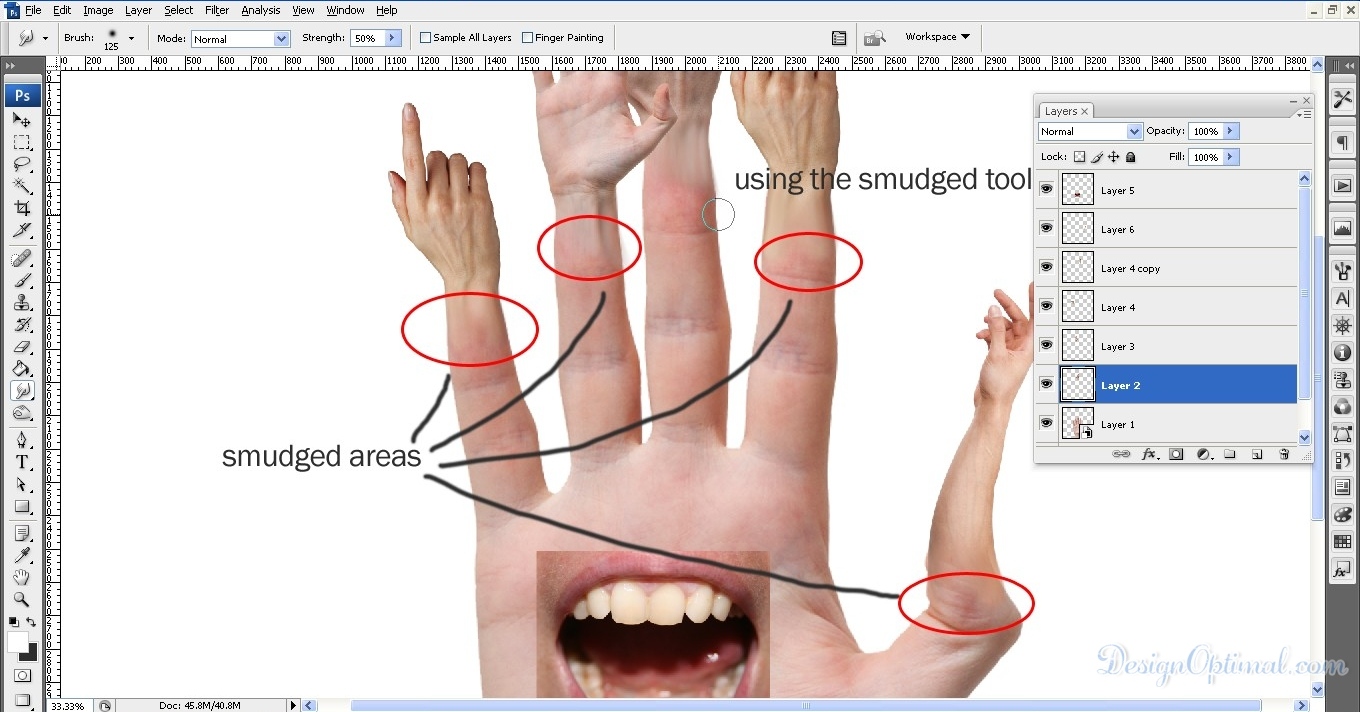
- After erasing the unwanted areas of the hands, we will have to use the smudge tool to reduce differences between added hands and the main arm. the process is shown below. Make the smudge tool brush size around 125px blurry. Now using the tool, smudge the bottom parts of the erased hands until it look like that those hands are actually growing out of the fingers.
Step 08
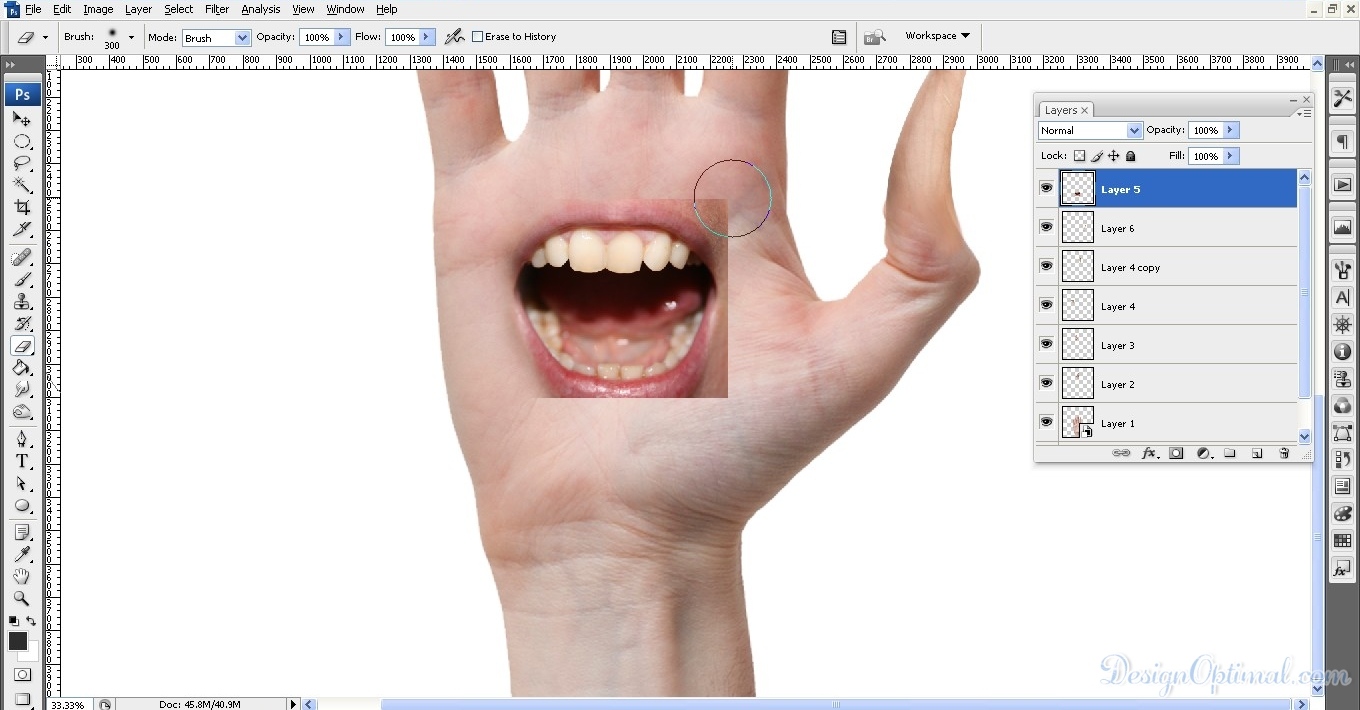
- Now repeat the same process with mouth that has been pasted on top of the palm. Make sure it looks like as its actually form out of the Palm.

Step 09
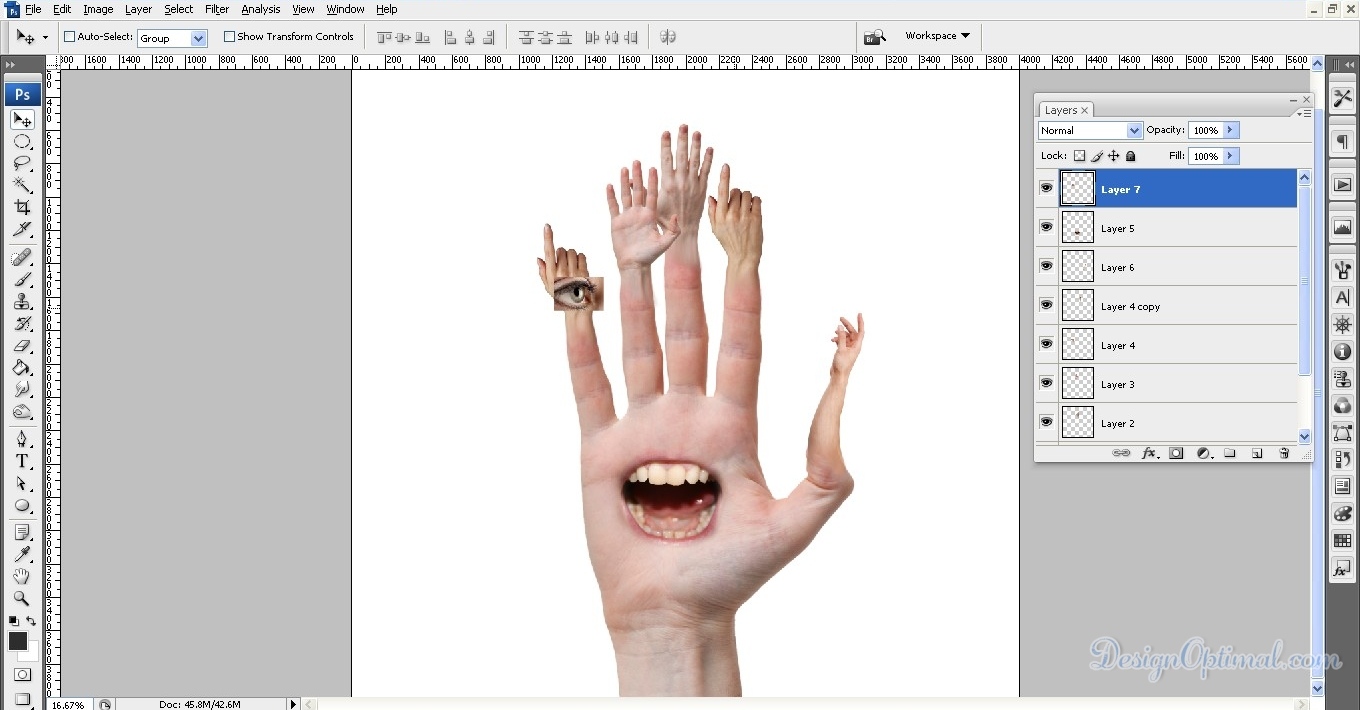
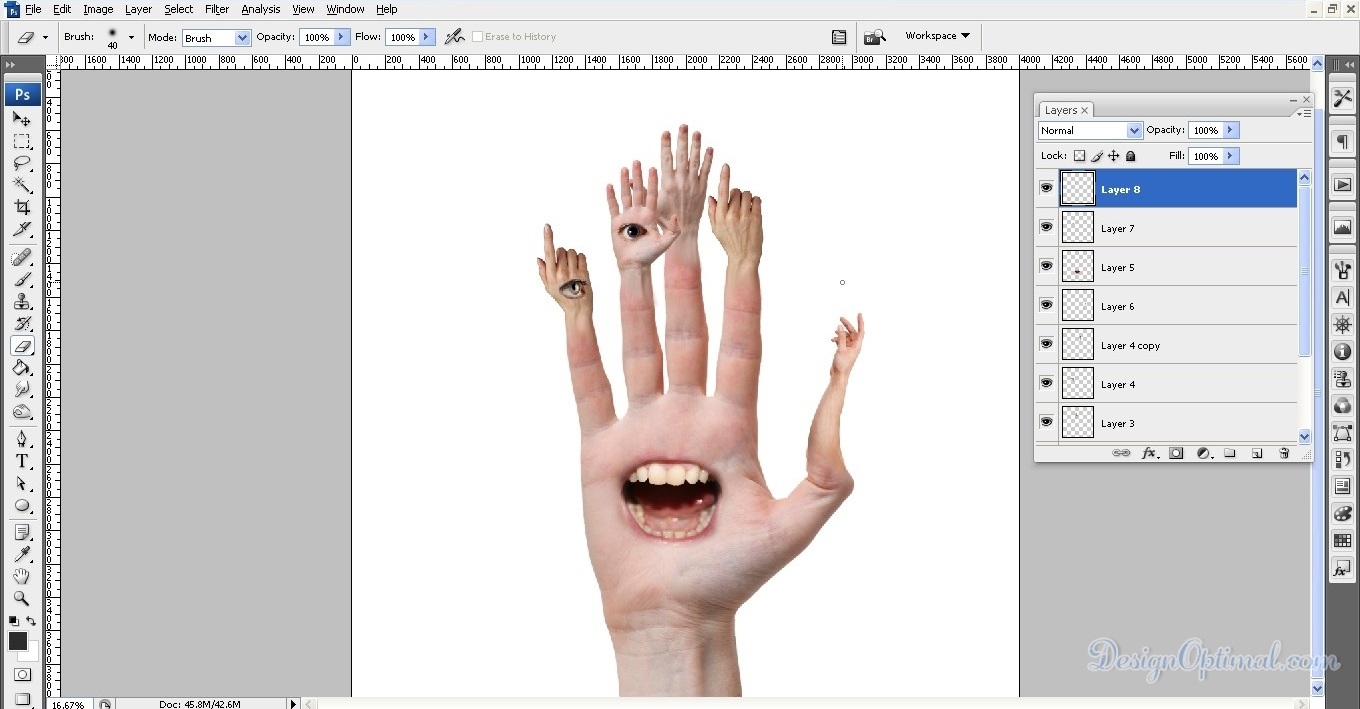
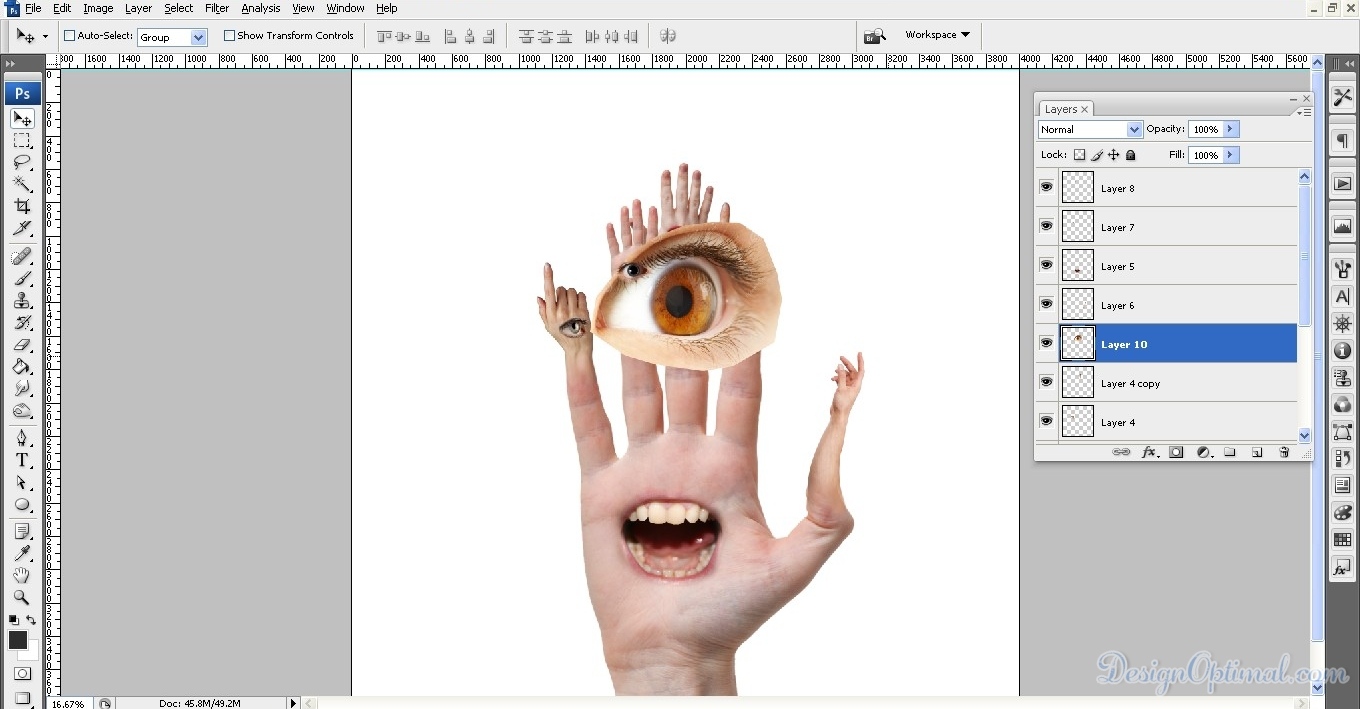
- For the next step of the design, we will be adding some eyes to the hands that we have connected to the fingers .for this we will be using Human_eye_01 and Human_eye_02. This will make those hands look livelier. Now take the Human_eye_02 image and flip it horizontally, now resize it and fit it in to the hand that has been shown in the next image.
- Now take the eraser tool and like before erase off the unwanted parts. Then by using the smudge tool make it more connected to the hand as it is formed out from the hand originally.
Step 10
- Repeat the same process to the other hand shown in the next image but this time use Human _Eye_01 as the used eye for the process.
Step 11
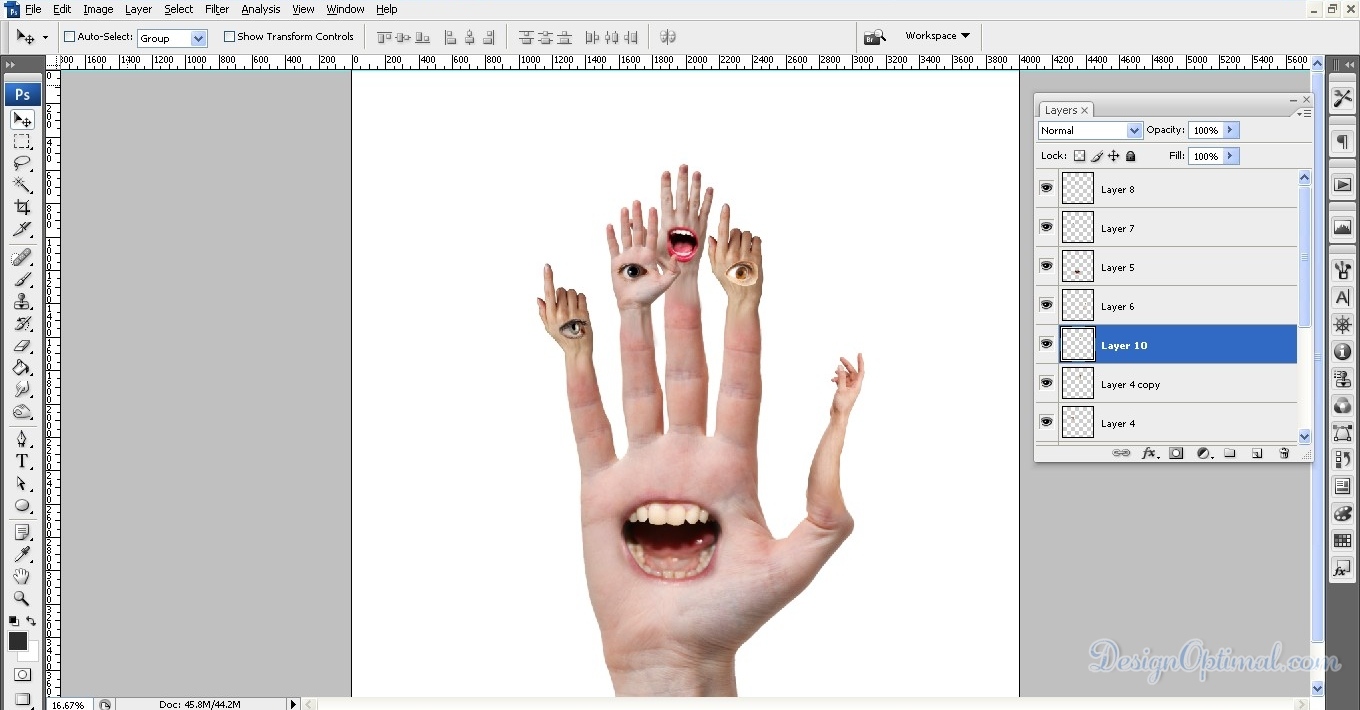
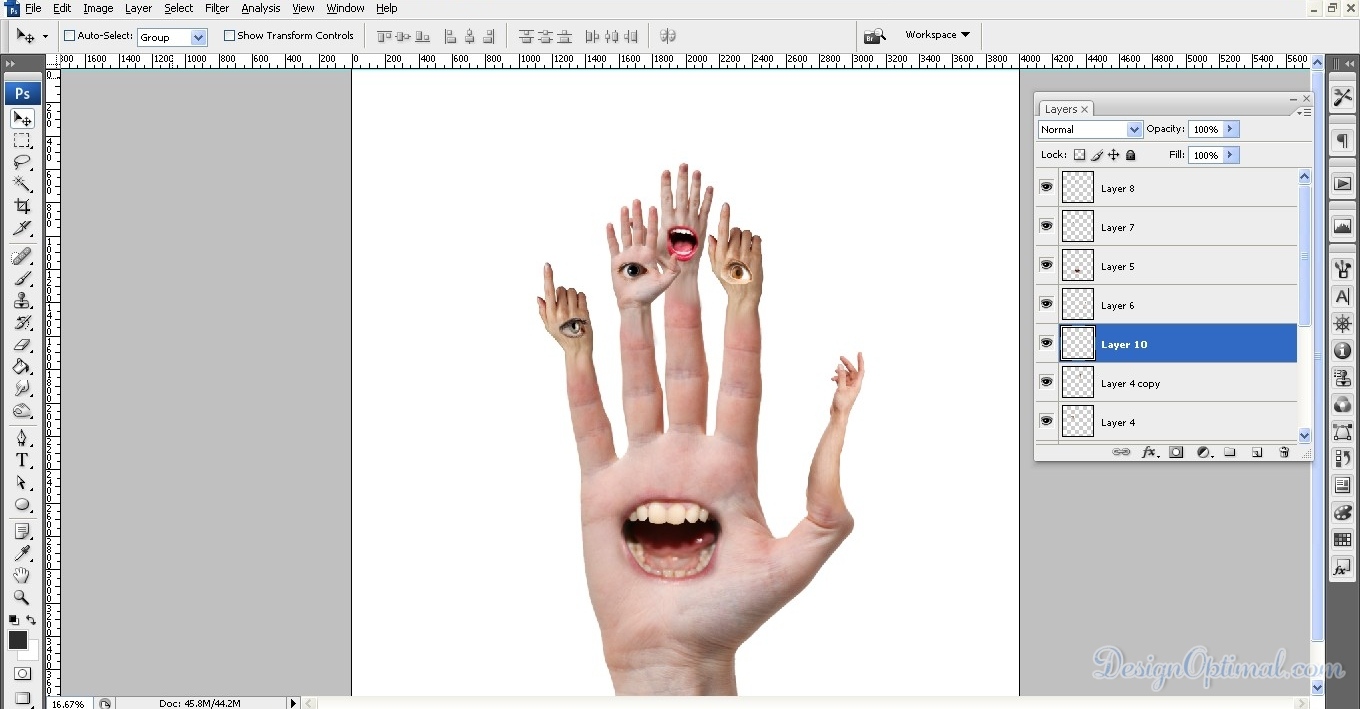
- As the next step we will add a another mouth to the next hand in the row. The process has been shown below. It basically like the other manipulations that we did for the previous hands. But this time use the image called mouth_01.
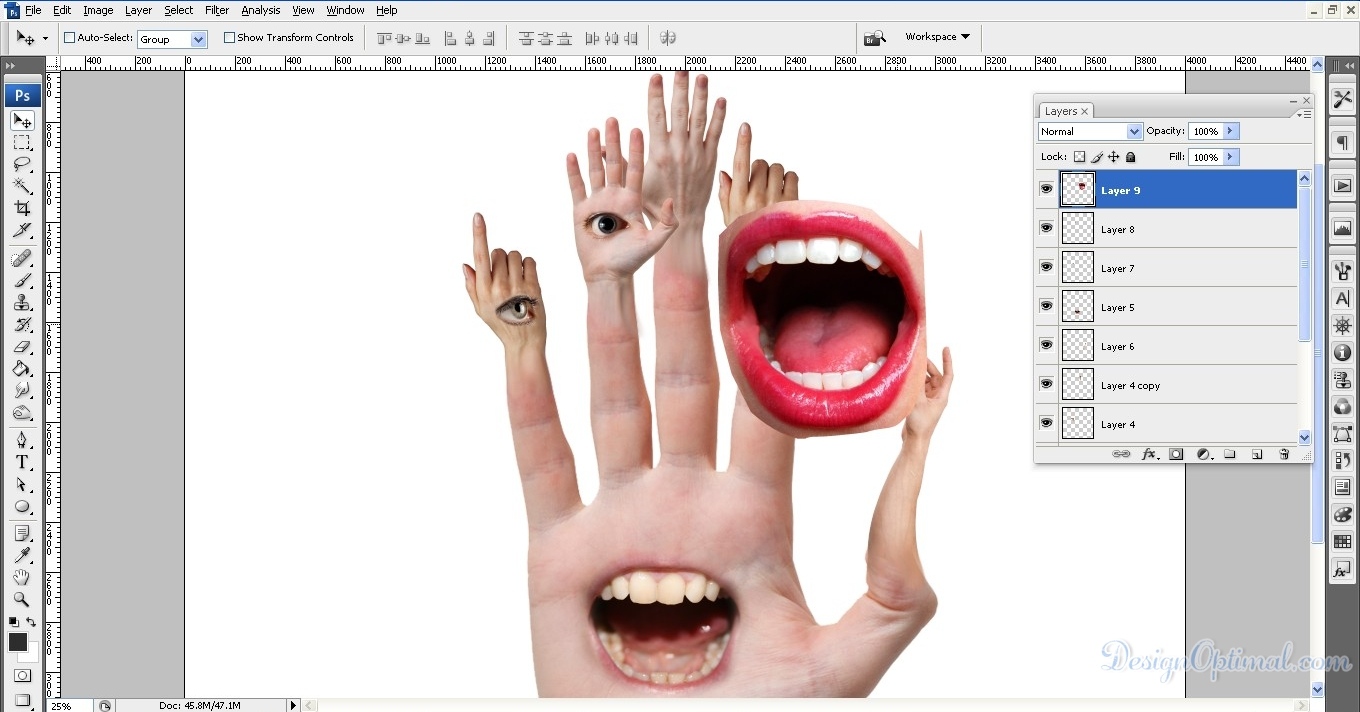
- For the final detail, we are going to add another eye to the next hand. This time we will use Human_eye_03. The process is shown below. Finally erase off the unwanted parts as before.
Step 12
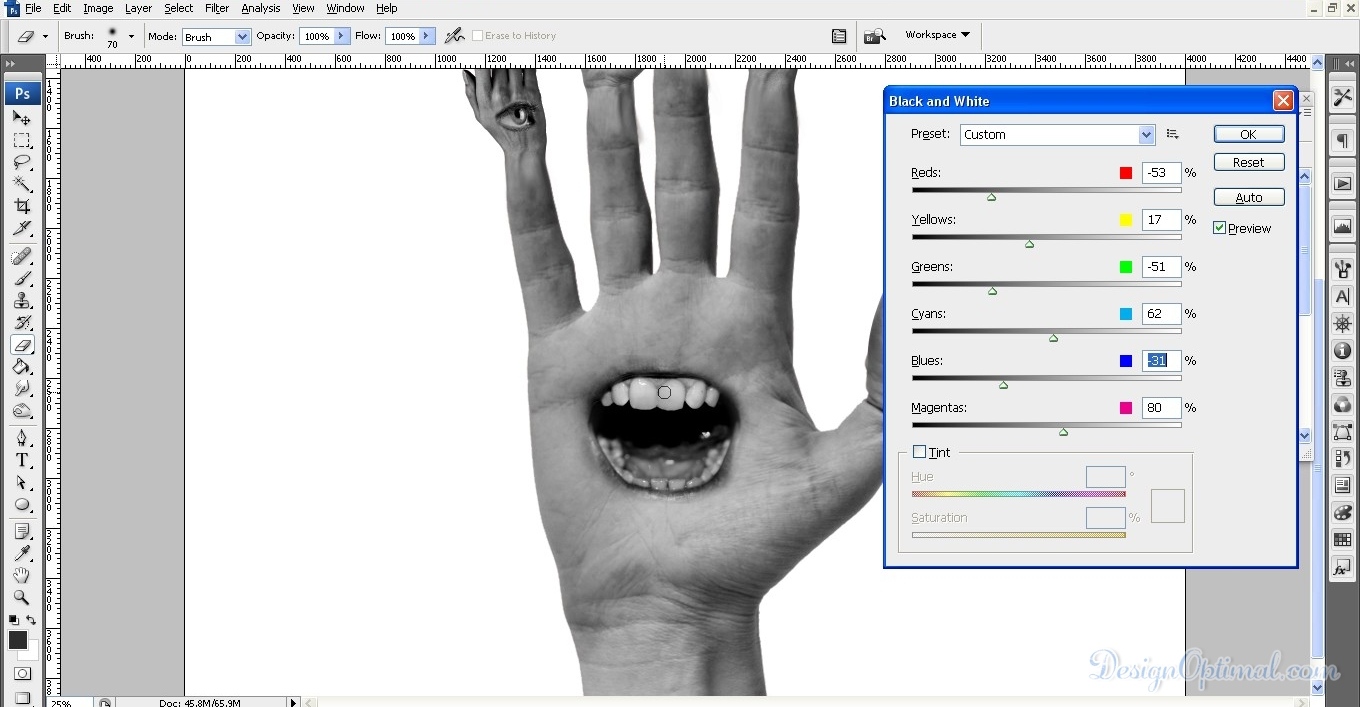
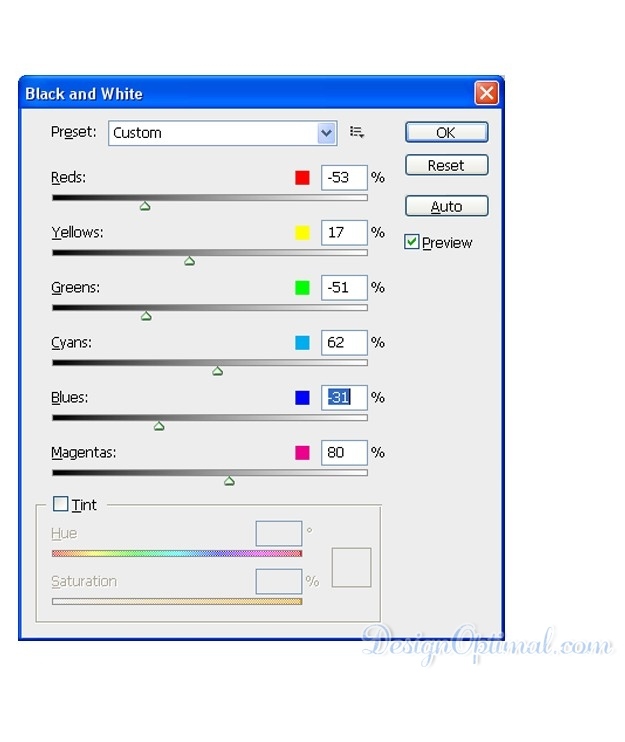
- Now select all the layers that contain artwork and merge them in to one single layer now go to Image >adjustment>black and white and give the below mentioned parameters.
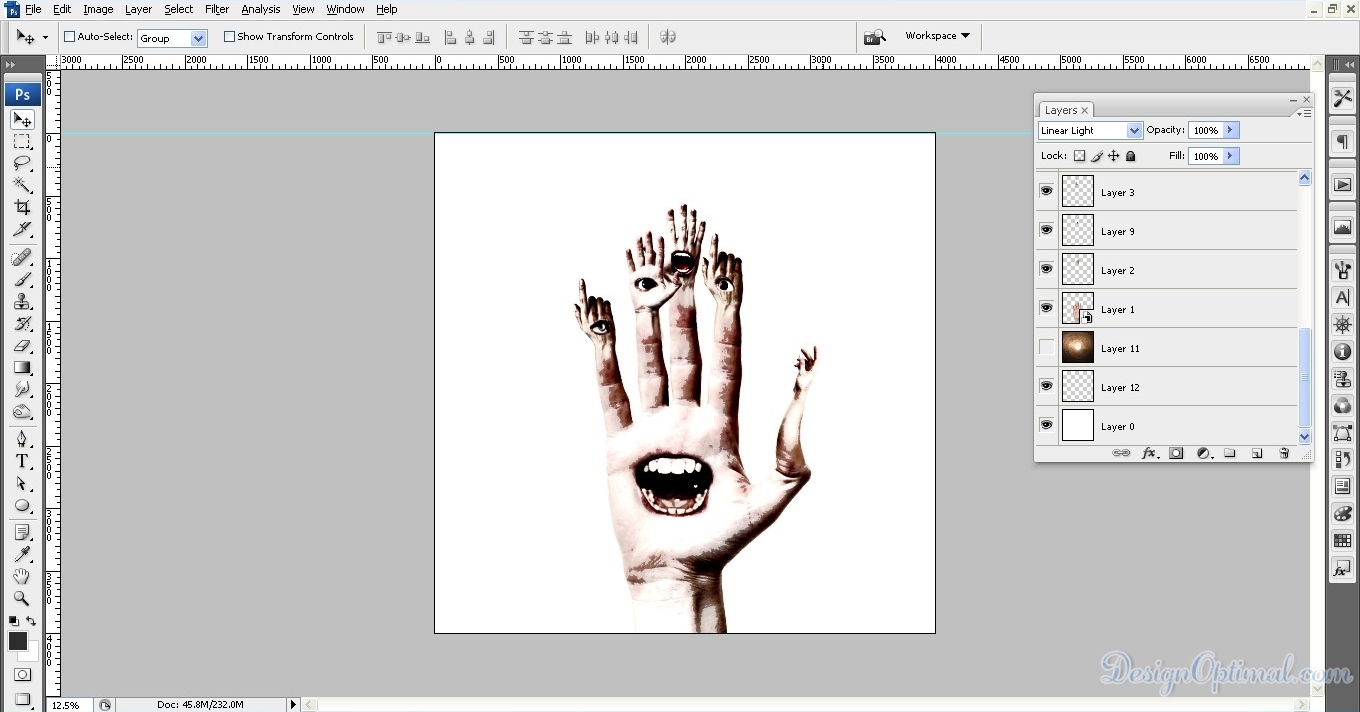
- Now change the layer blending option in to liner light the result will be like the below. Now again duplicate the same layer go to Image >Adjustment>threshold and give 128 as the level and blend it in to Lighten and reduce the opacity in to 50%.

Step 13
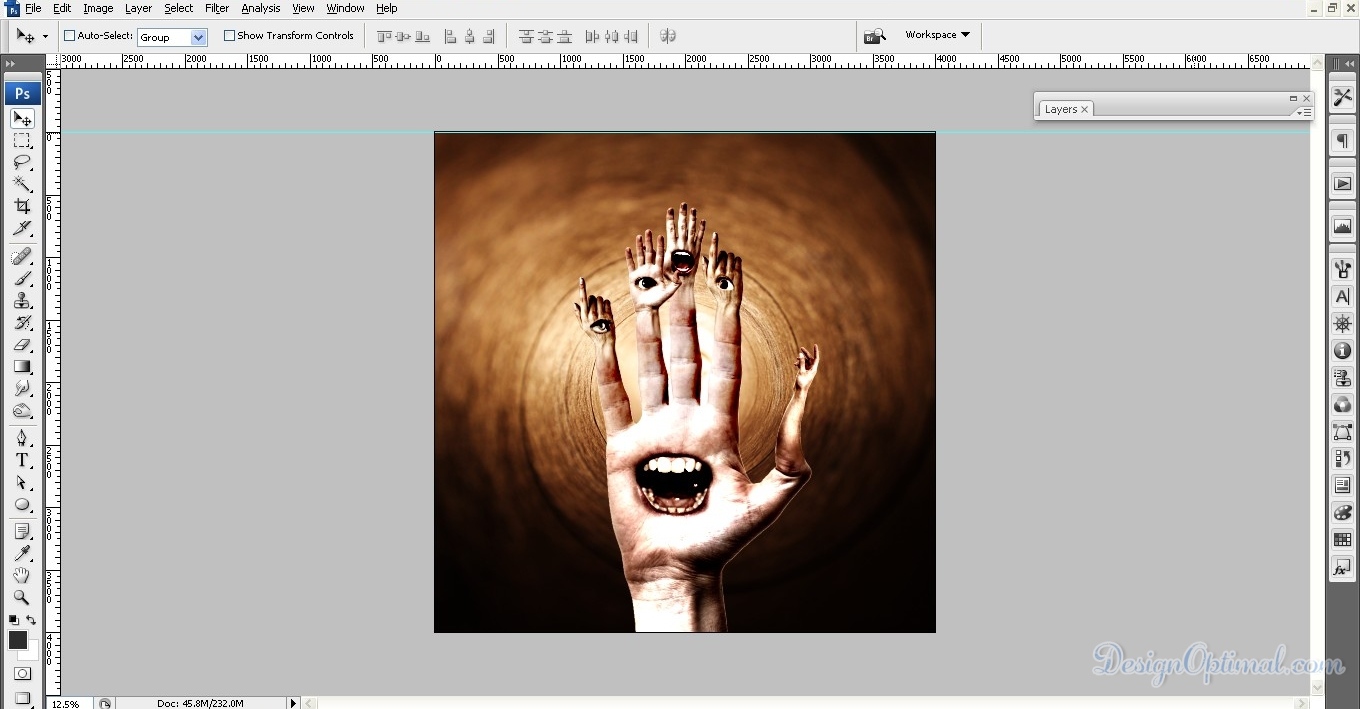
- Now to work on the background. We used the image named as the Bg for the background and place it in the bottom of the layers in the PSD. Now duplicate it, drag it to the top of all the layers and position it there. Then make the blending mode in to Soft Light the end result will be the image below.
Step 14
- Now to add proper text for the Graphic we newly created as before, I hoped to name it as Scream. So I will type it as the title of the Graphic. I used the Gobold font for the Title of this Graphic to make the text more attractive.
- I have used an image with a huge fireball to get the end result as shown below.
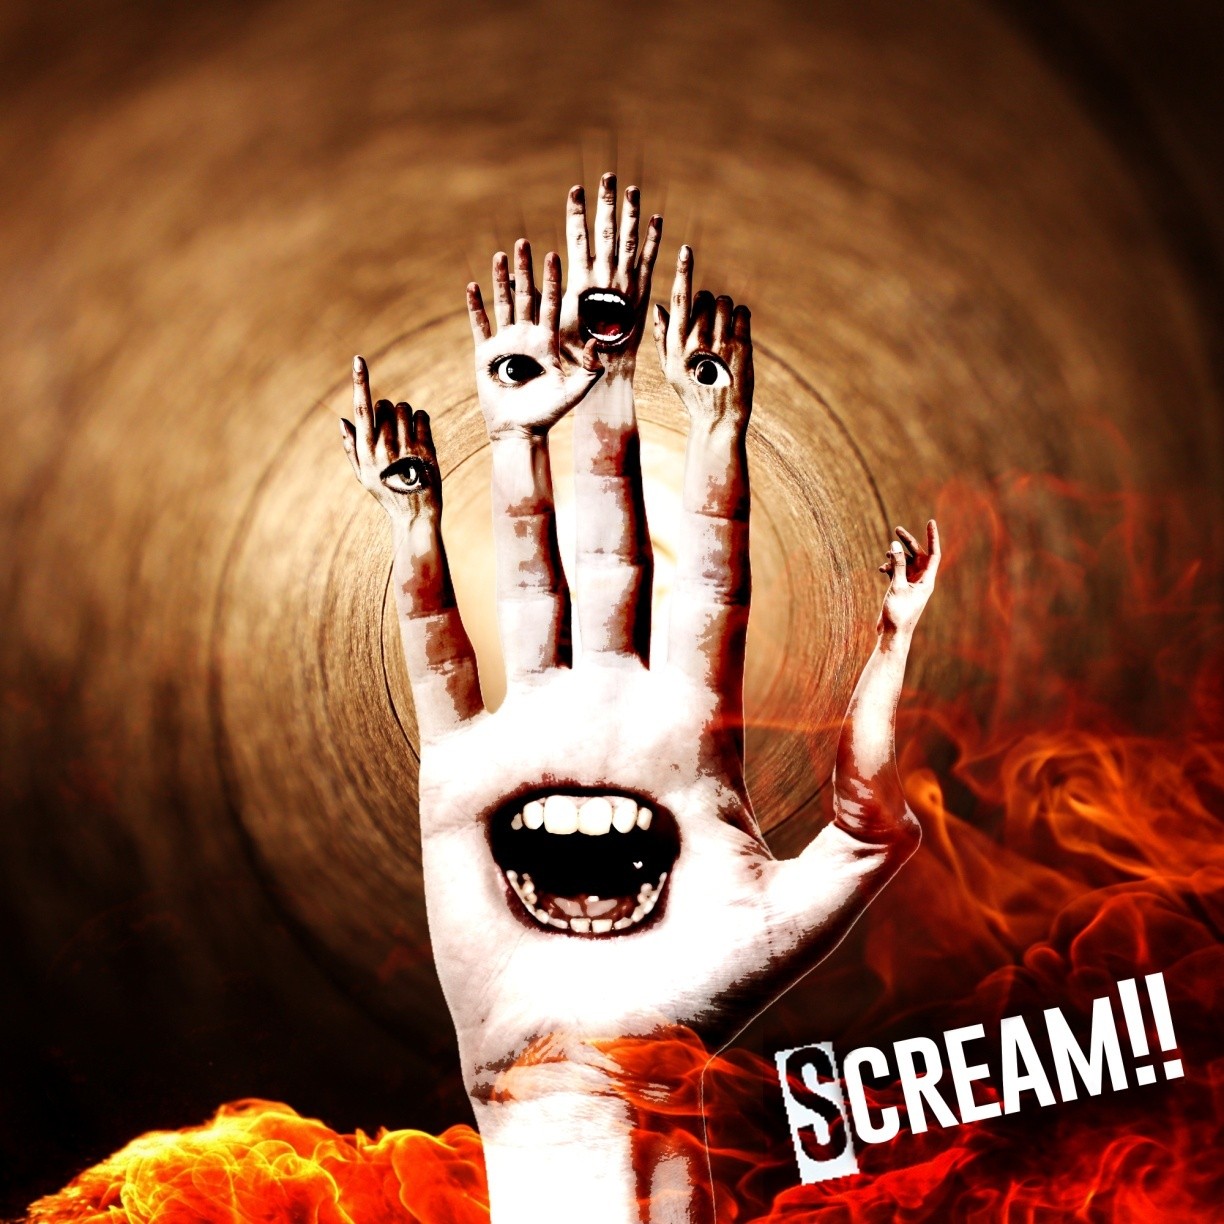
Feel free to play around with the design to gain more experience.
