Hello!! Everybody we are DesignOptimal.com and welcome to our site, we are pleased to bring you new tutorials in Photoshop and keep you informed about new trends about Graphics/Digital Art designs. So stay tuned with us for new tutorials. Today we are going to discuss about Discuss about how to create easy dispersion effect in Photoshop.
Giving an image a dispersion or splatter effect can create an awesome dynamic image. And it’s very quick and easy to do with a few Photoshop brushes, but the final output can look very complex as if it took you hours to create. In this tutorial, I’m going to show you through some easy steps to create the dispersion effect.
Step 1
- First open the image Guy _looking _up that has been supplied, it will look like this when it’s been opened in Photoshop.
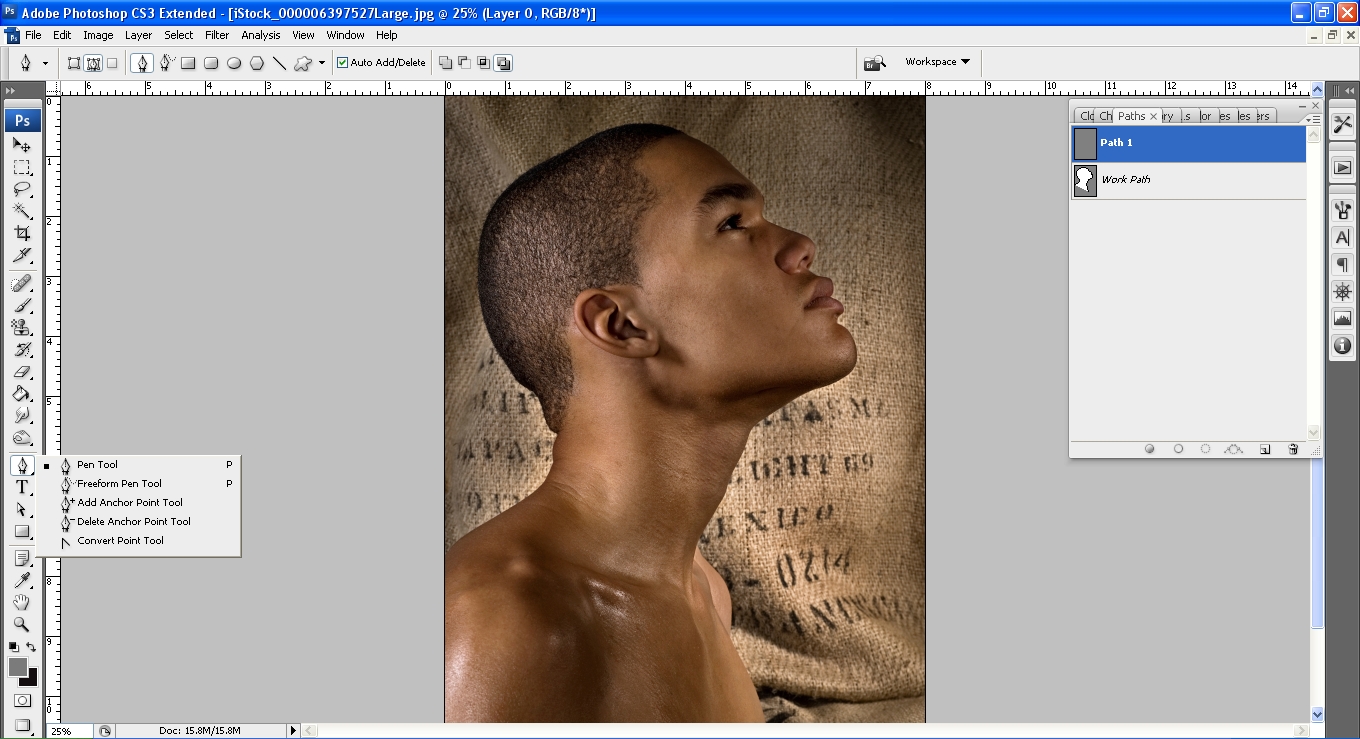
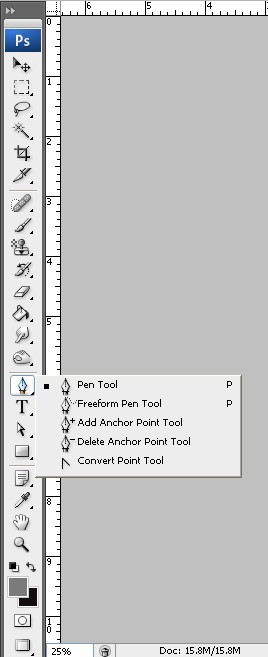
- And select the pen tool from the Ps tool section
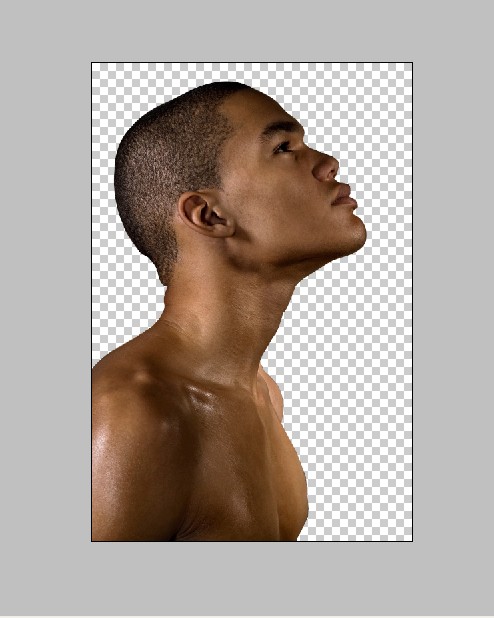
- Then start selecting the background around the Guy using the pen tool like I have shown below,

- Then after selecting around the Guy right click and make selection as I have show below image

- After selecting the background delete it. Then it should look like this .
Step 2
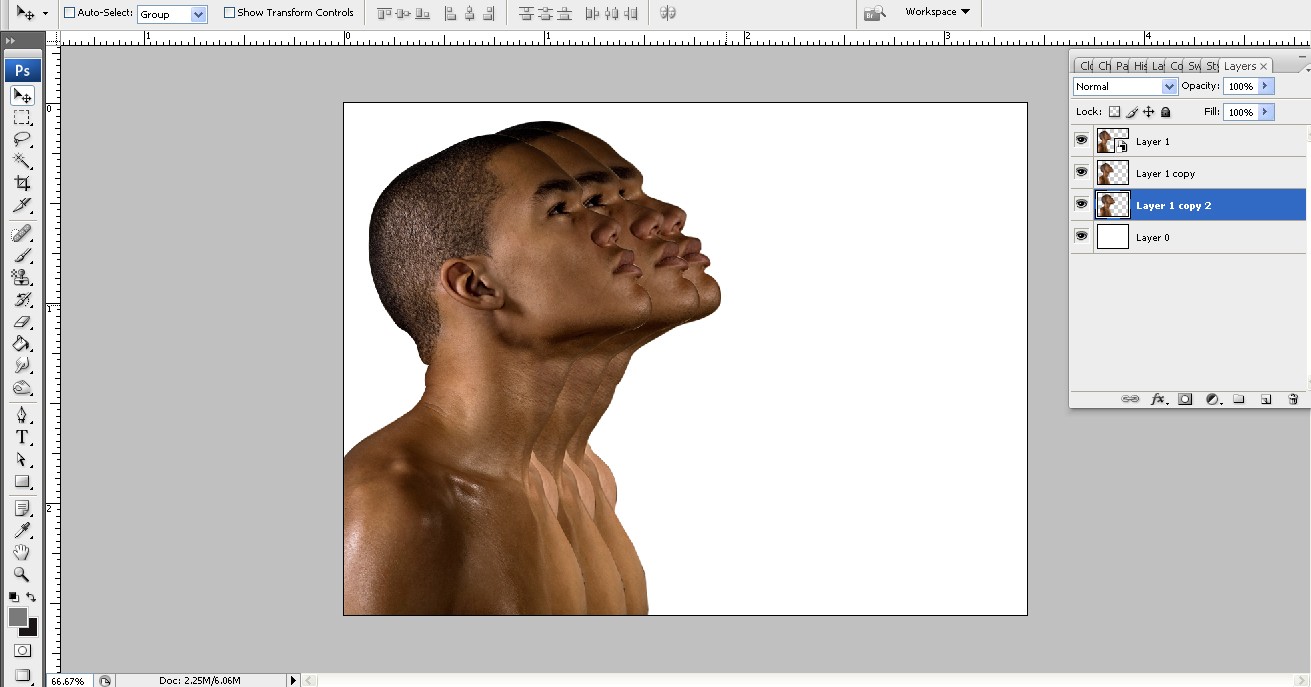
- Make a new Ps document it can be any size as you like. I prefer the 1024x768px for this project, and save it in a preferred name by you, mine is dispersion_effect.psd. Drag and drop the Guy looking up image that you removed the background to the new Ps document that you have made recently (Dispersion_effect.psd) and resize the image to fit into the document area.
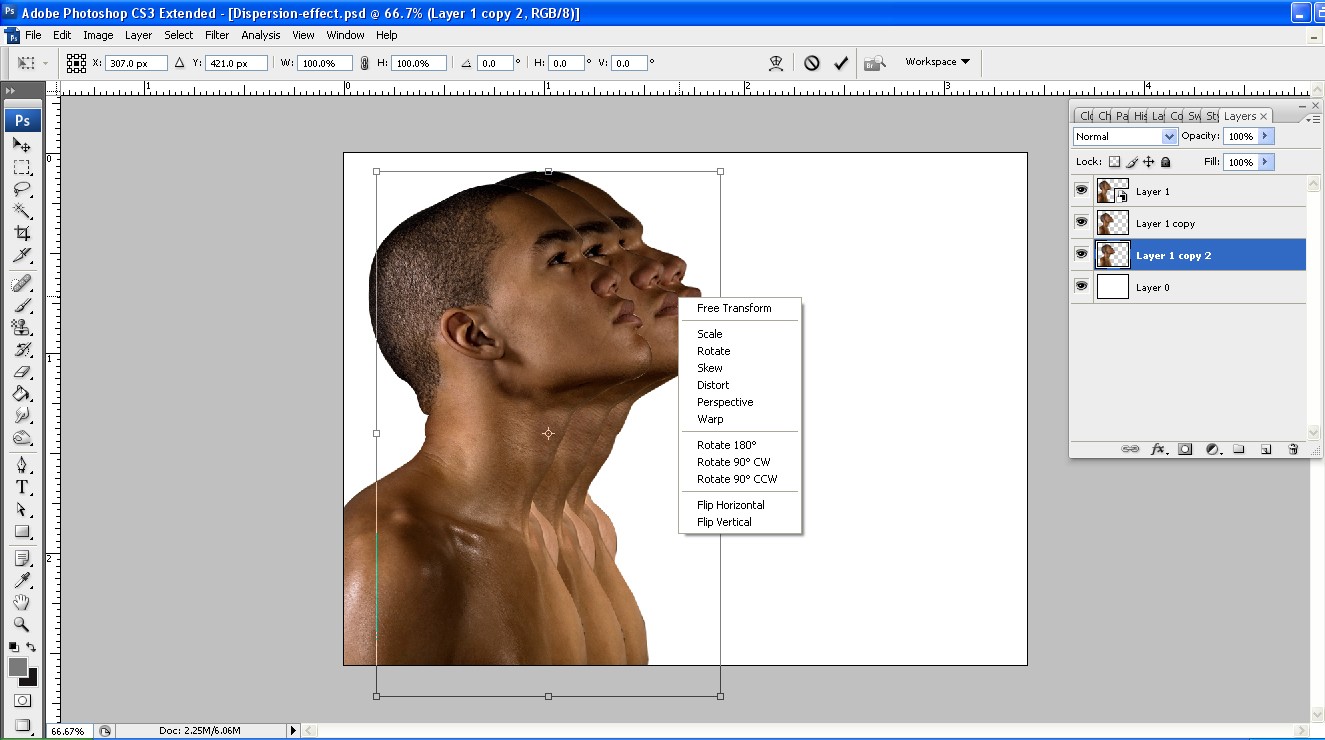
Step 3
- Duplicate the image for around two more times (image-duplicate) and distort image using free transform (Ctrl+T) option right click the image that is selected to transform and you’ll get list of Transform methods (image_duplicate_transform)
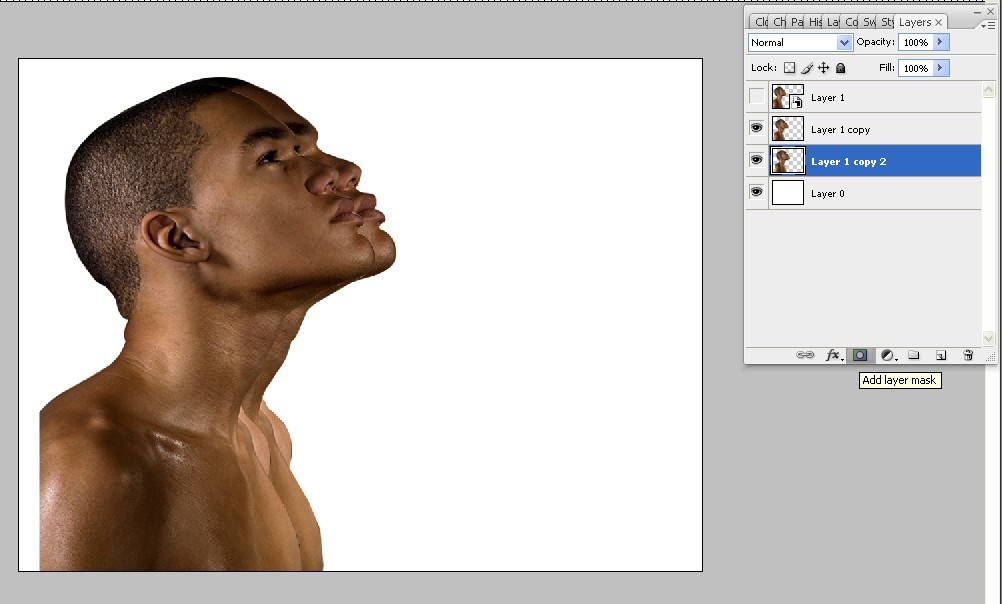
Step 4
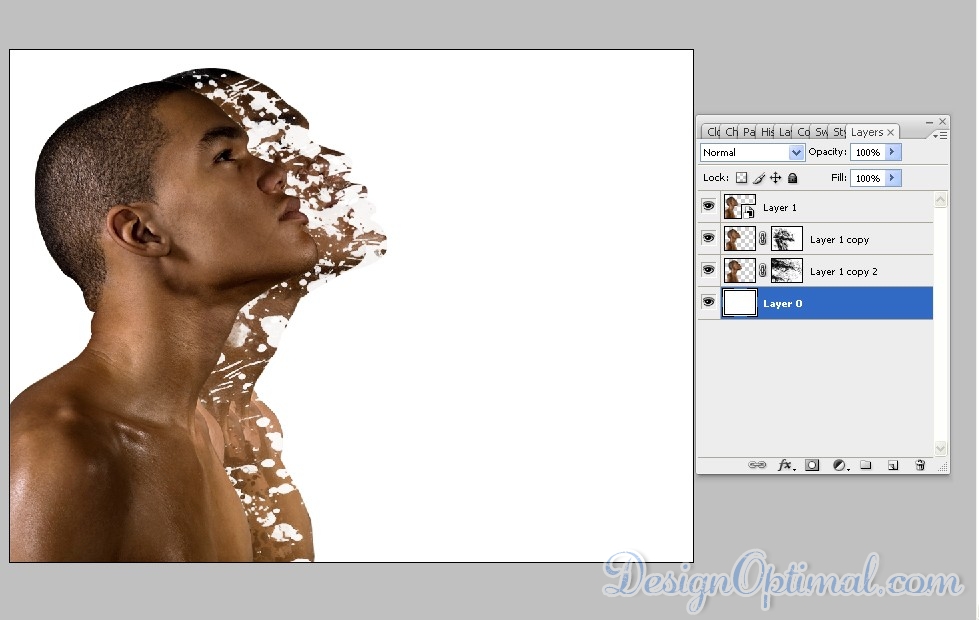
- Select the bottom layer that we duplicated and add a layer mask and fill it in black (add-layer_mask_01)
- After adding the layer masks select the Splatter_Brushes_by_Sonic_Gal007. Now use the splatter brushes to reveal portions of the layer by clicking the mask using solid white as the foreground color. (Splatter-brush-layer-mask).
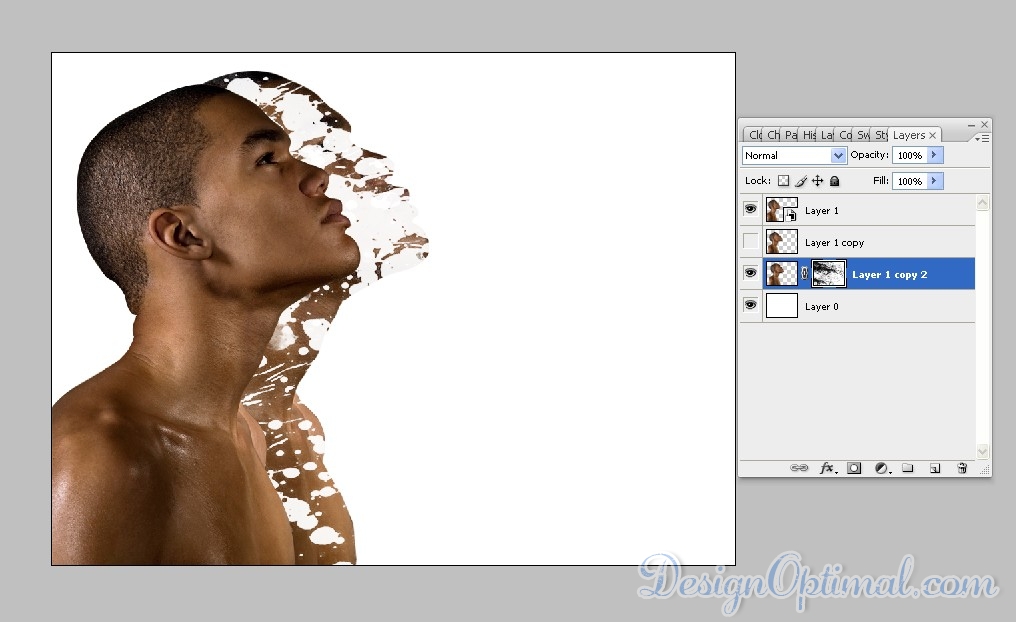
- Repeat the same thing with the second duplicate layer but this time keep fill color for the mask as white. And use a different kind of splatter brush to reveal the portions inside the layer mask. (Splatter-brush-layer-_mask_02)
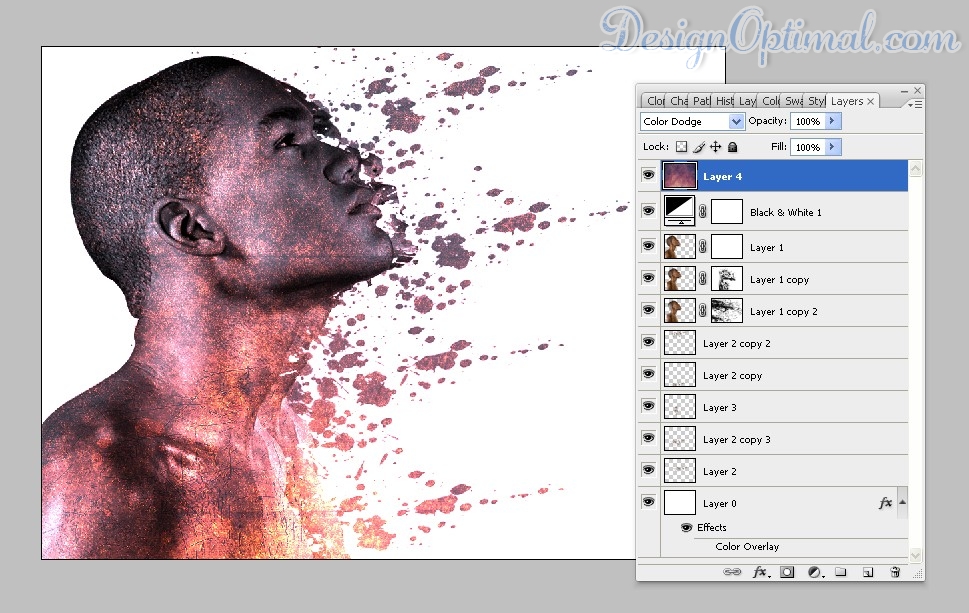
Step 05
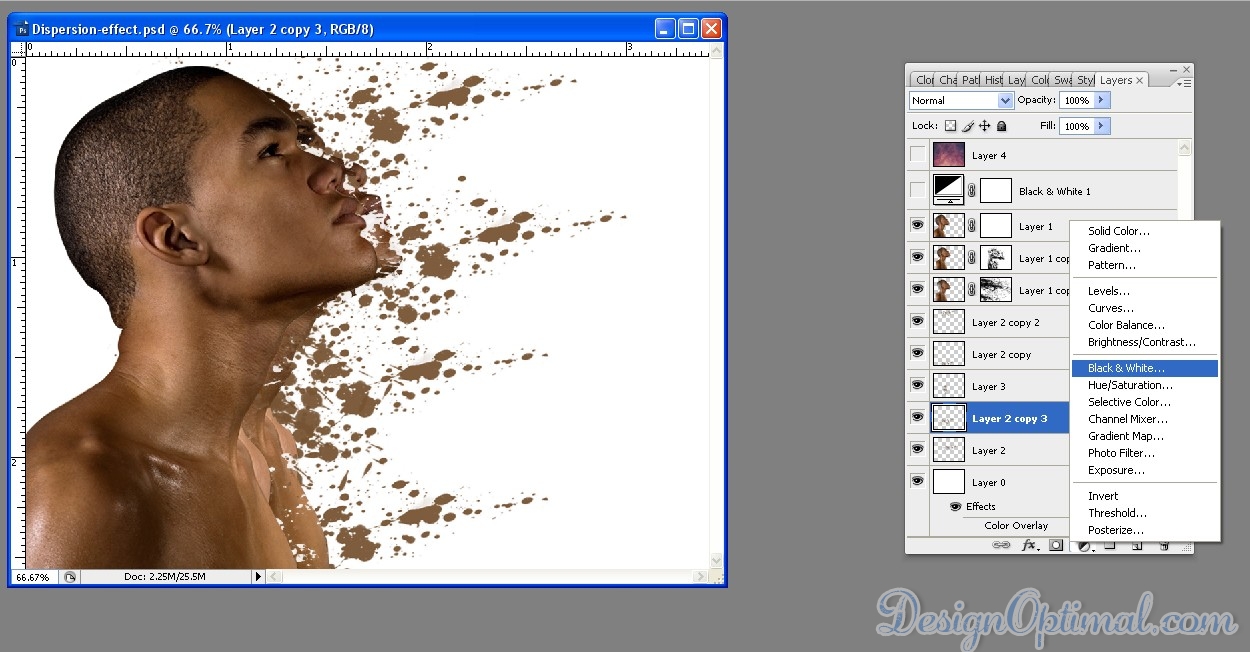
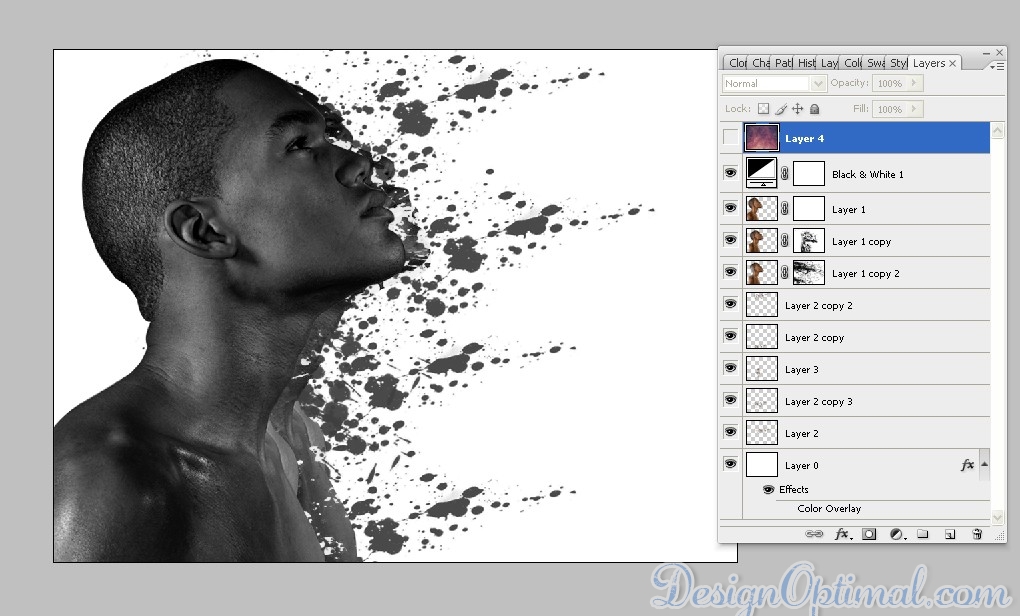
- After those steps, the image should look like the below. You can play around with the layer masked images as you please, resize them or move them front or back, you can repeat the layer mask effect with more layers by duplicating the original image and reveling the portions by different splatter brushes. It depends on your creative point of view, for my design I choose to add a black and white channel.
Step 06
- Now it is almost complete but to get the design more eye catchy effect you can use the other supplied image in the resources folder that you have downloaded (Stay_by_MadhoshiStock). Add it on the top of all the layers and from the blending options make it in to Color Dodge then your design should look like the image given below.