Hello, Thanks for joining with us again guys (gals too :P). Today we are going to show you how to create a simple Mobile UI design Using Adobe Illustrator based on some metro style icons.
Resources
- Fonts Used :
- Roboto Condensed
- Images used :
- 1000Dorians by fogke
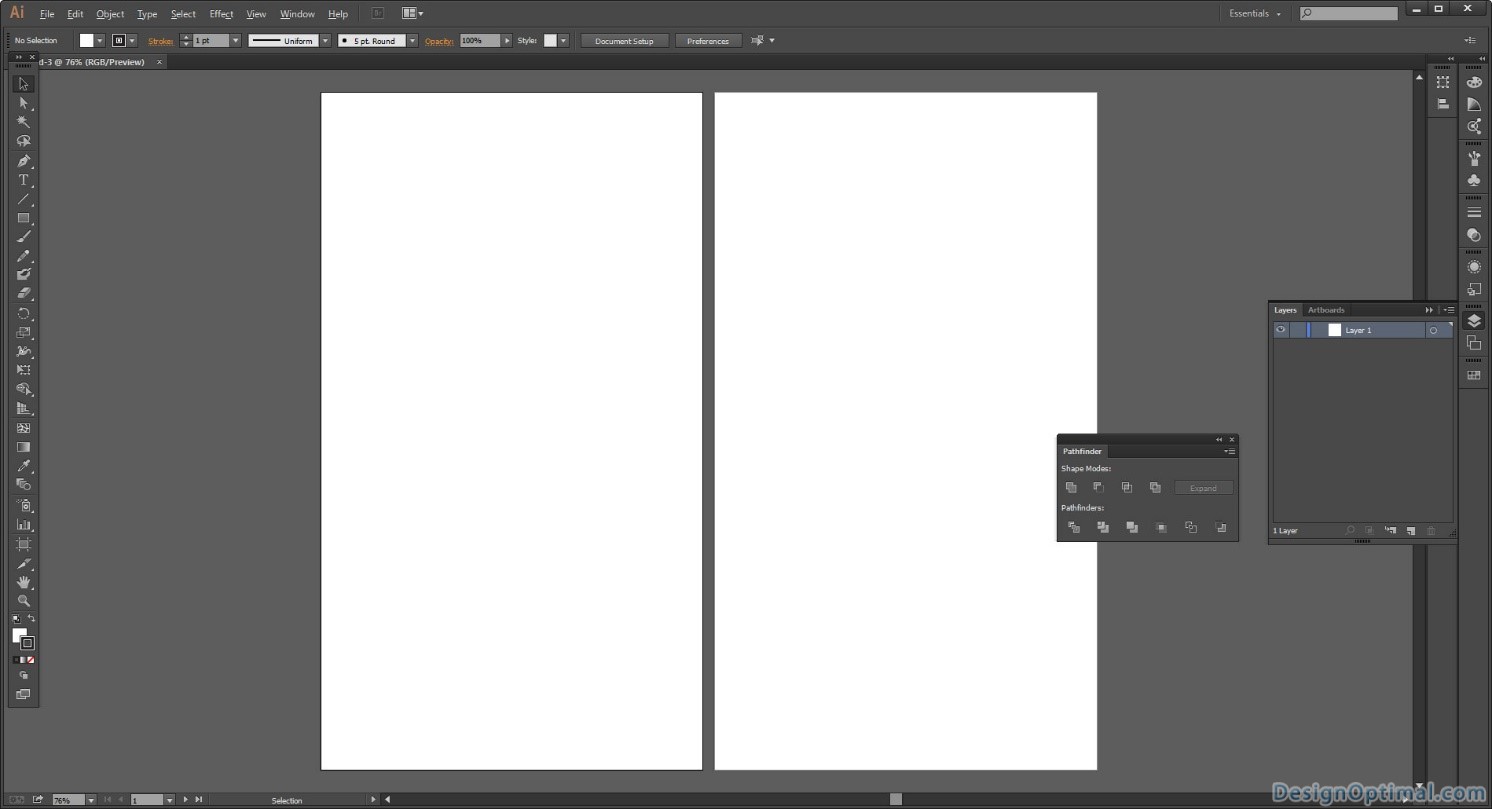
Step 01
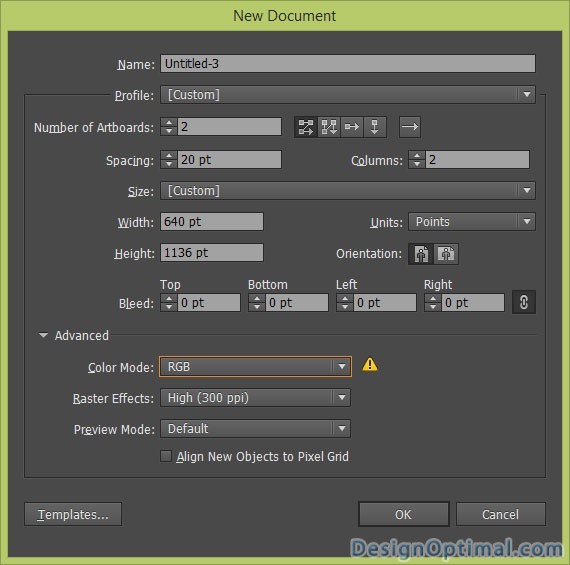
- Open Adobe Illustrator and create a new document of 640x1136px art board. This will be the default size of iPhone 6 and give the number of art boards as 2. Set color mode as RGB because we are not doing this UI design for print materials.
Step 02
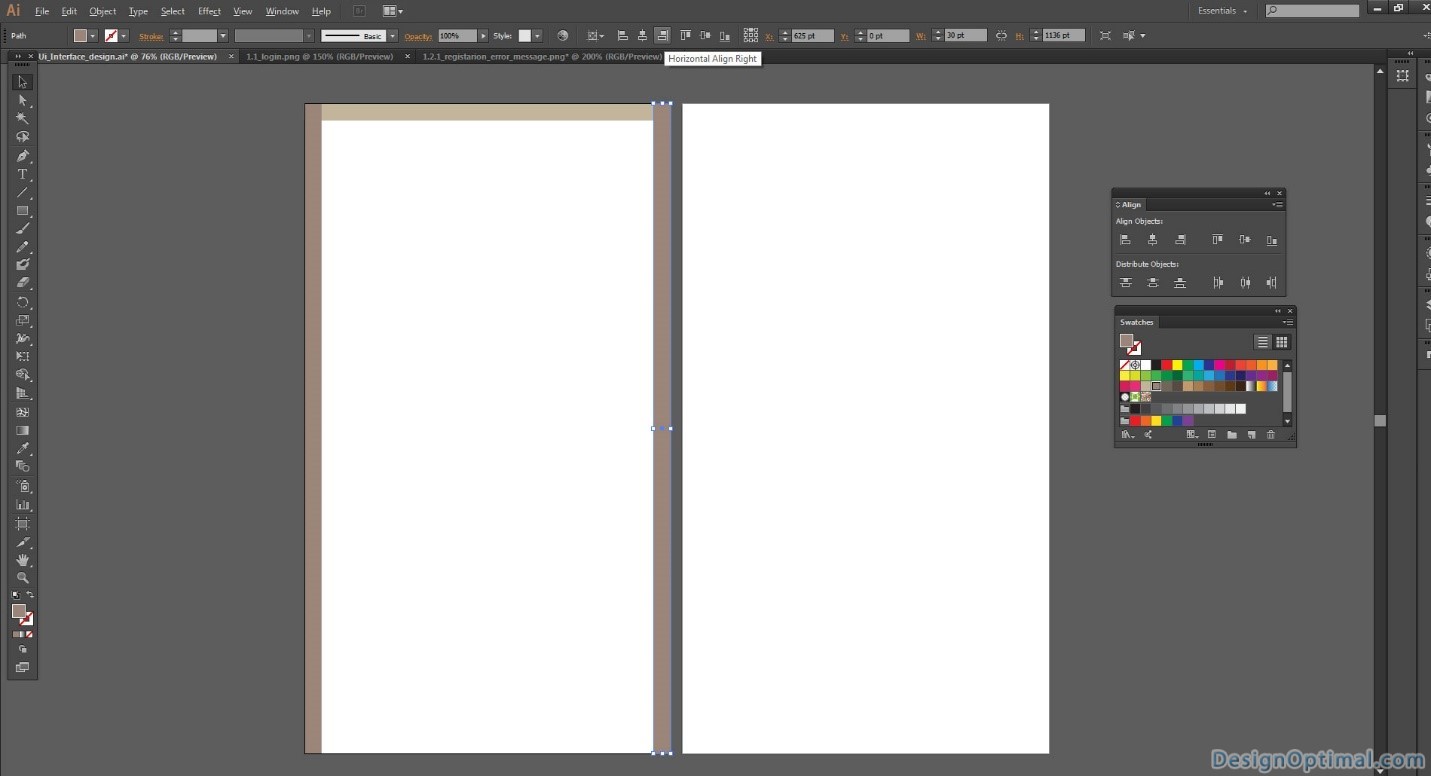
- Now after creating the art board the document will look like this, now save it as Mobile UI Interface design.ai. After that we will start designing the main login page first.
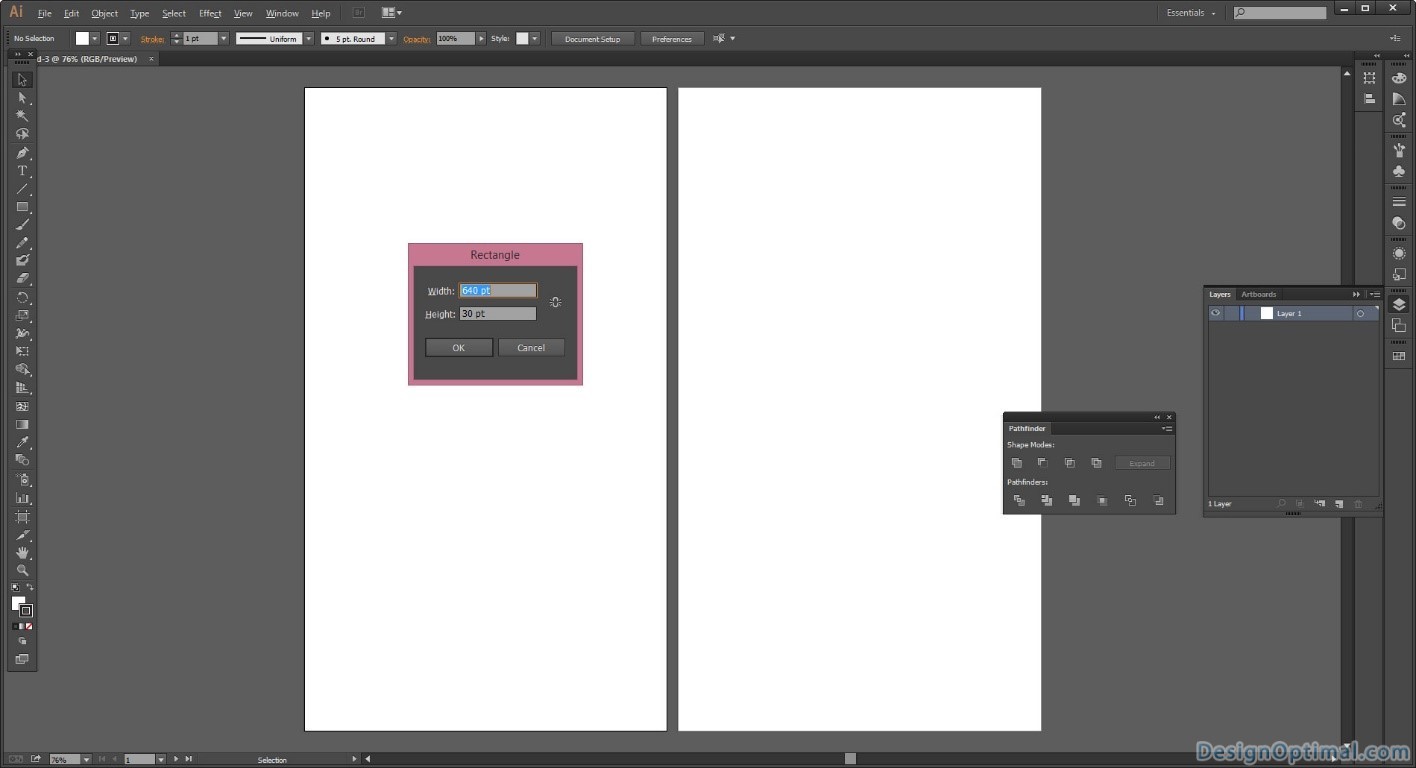
Step 03
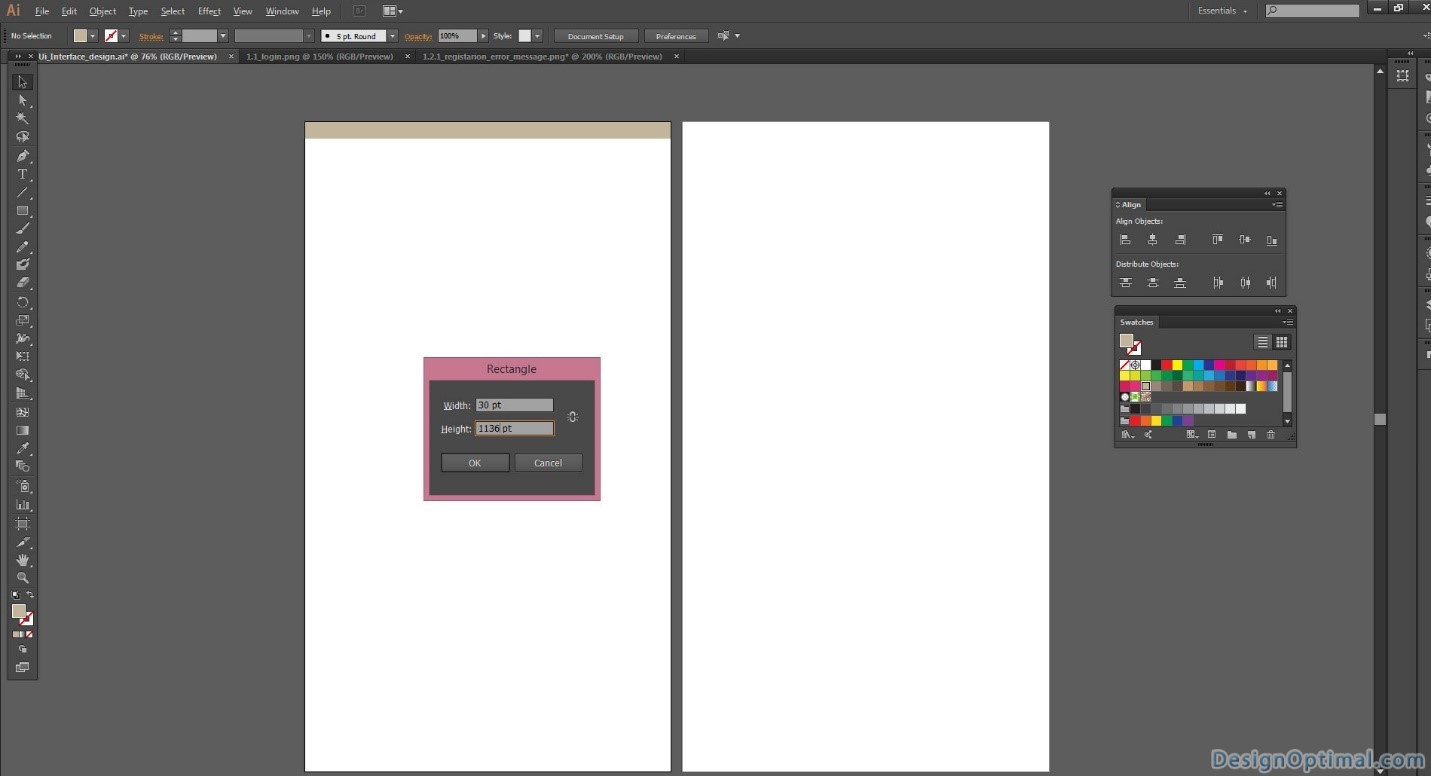
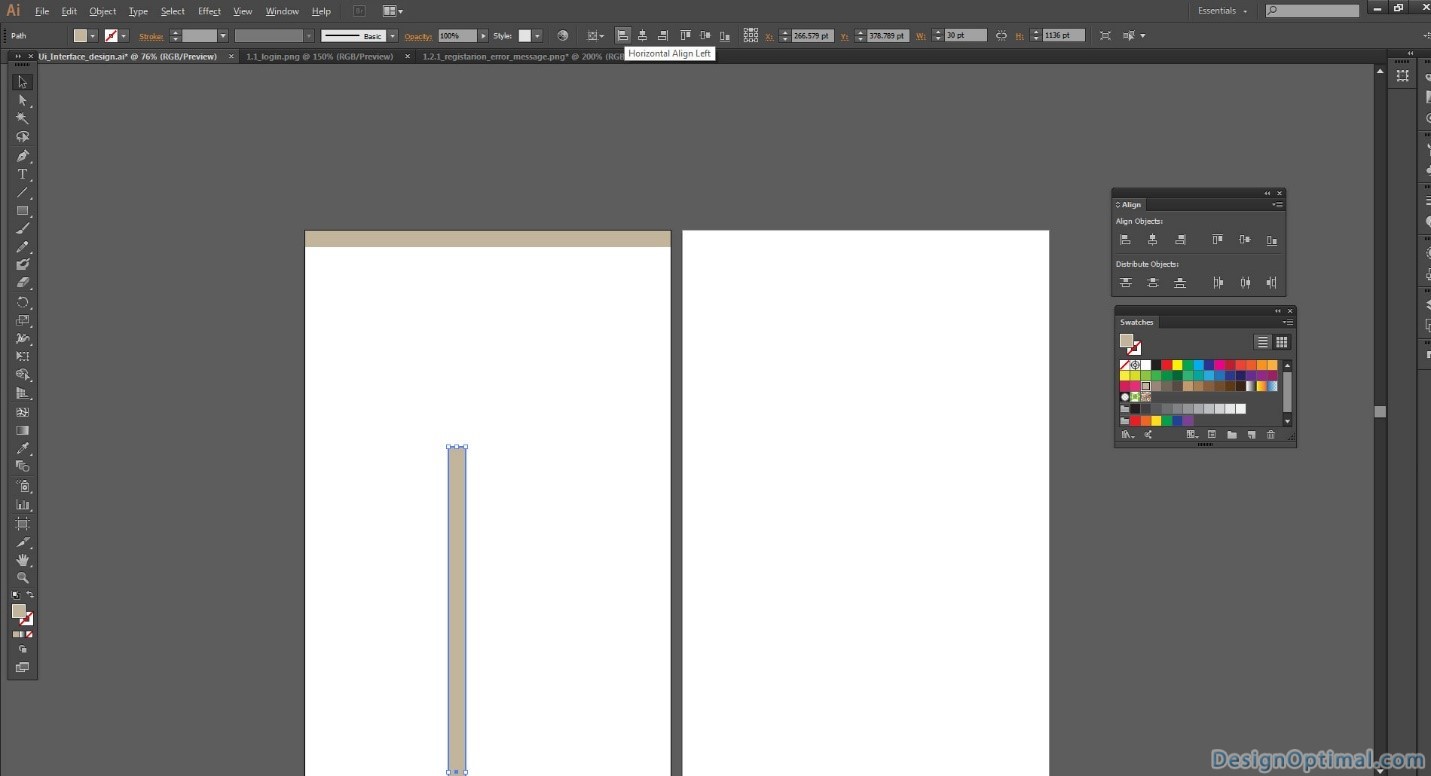
- Before we create a login page concept we will have to do some measurements in the artwork area, this will make the final out put a clean and quality design.
- So for that we will have to leave a margin area of 30px without any text or any other artwork related stuff.
- Top and bottom margin – 640px x 30px
- Left and right margin – 30px x 1136px
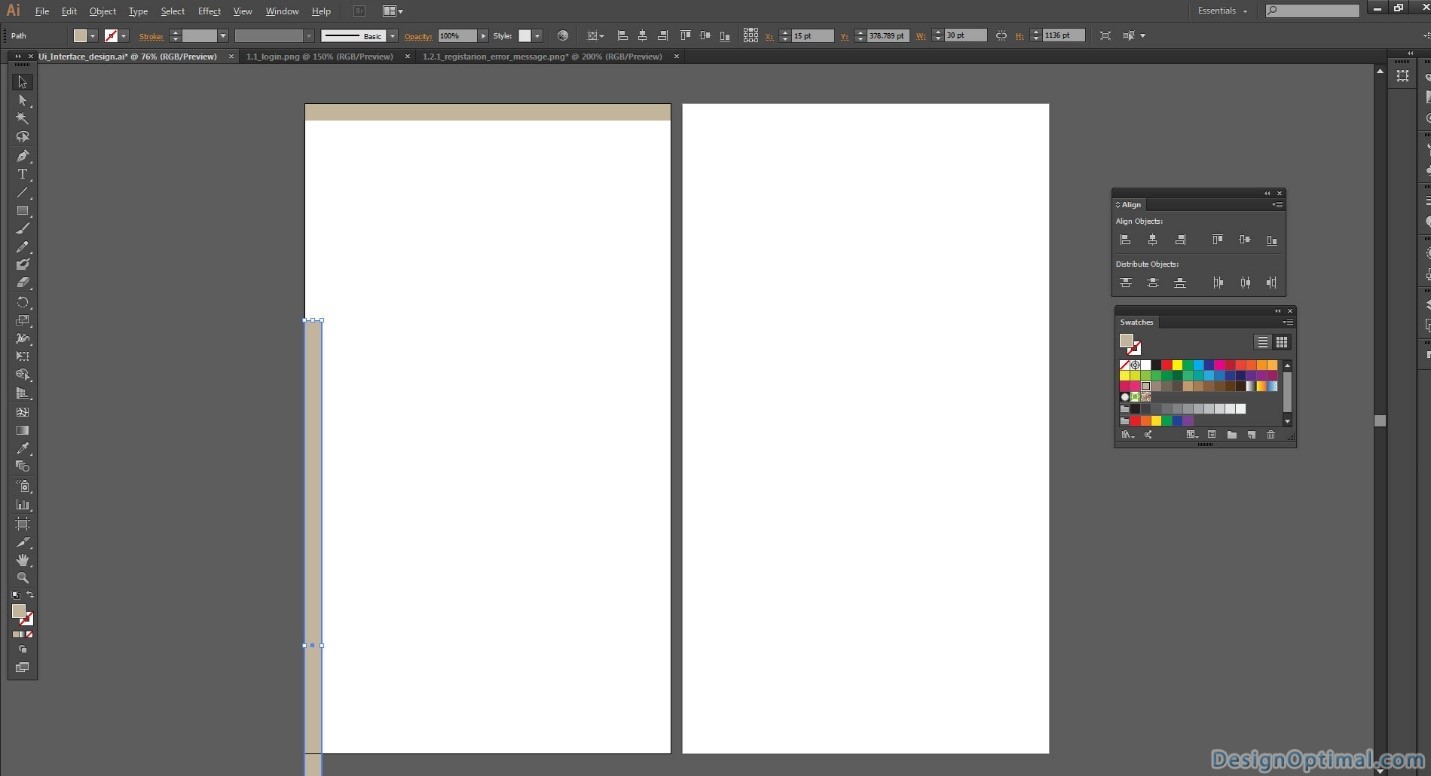
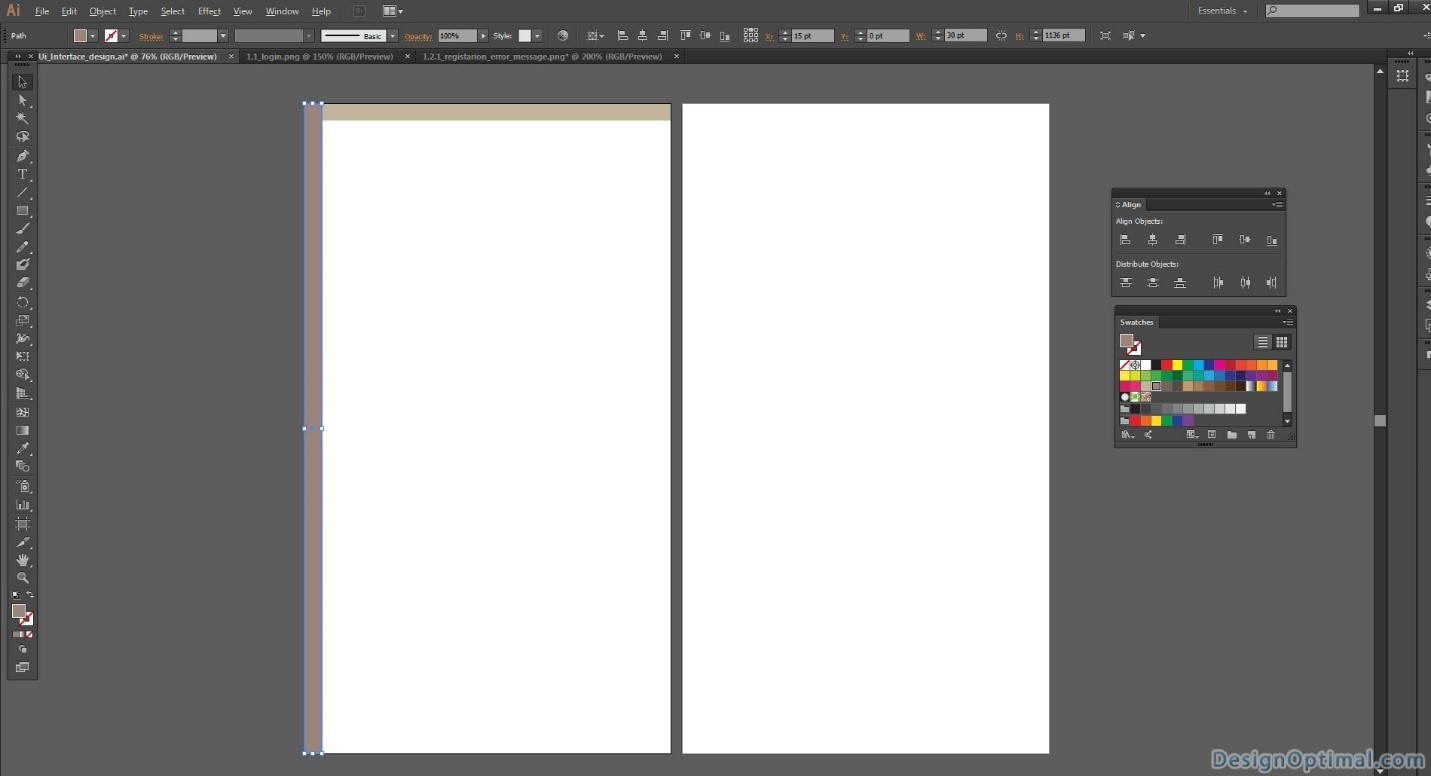
- To keep these areas in proper places we will select the option called align to art board in illustrator, it is more accurate an easy to place those objects in proper place.
- The process is shown below.


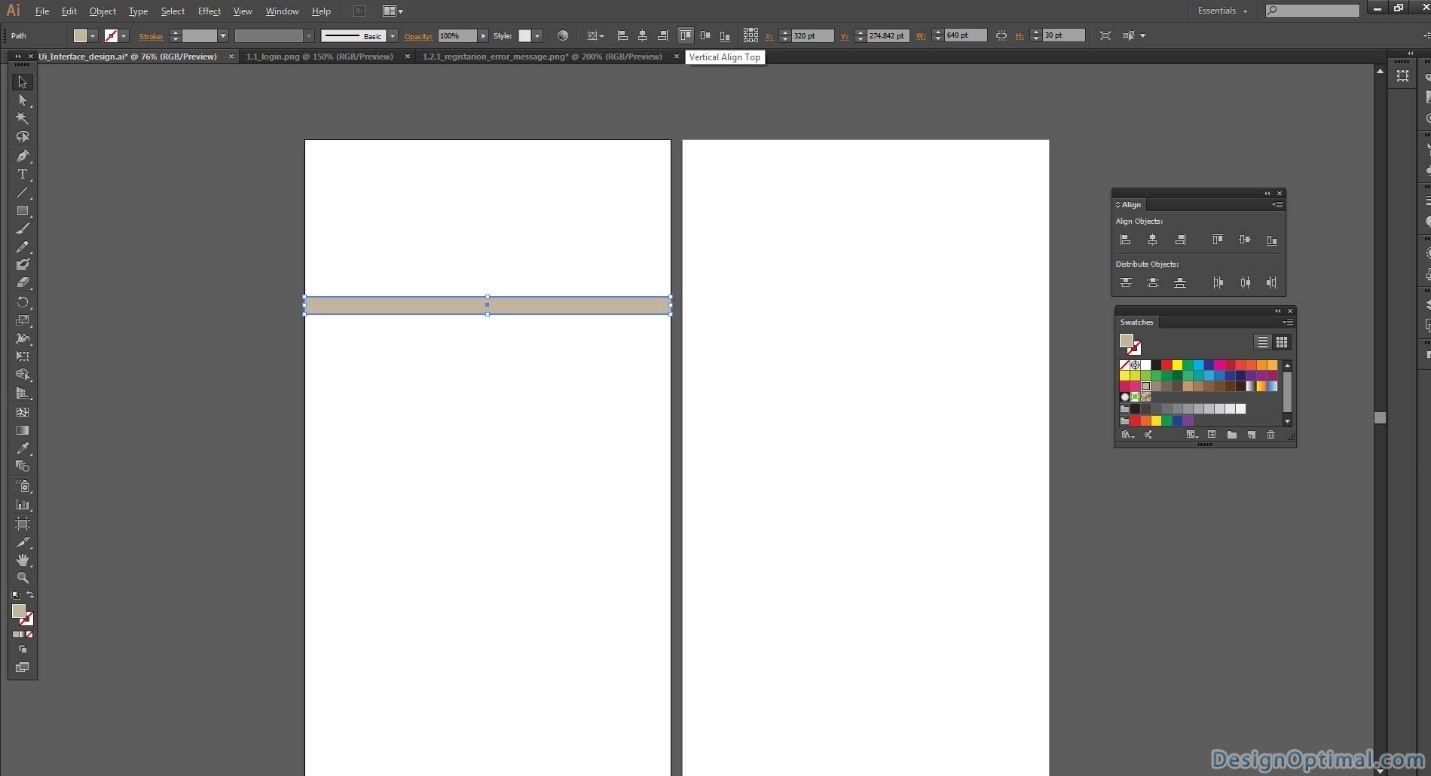
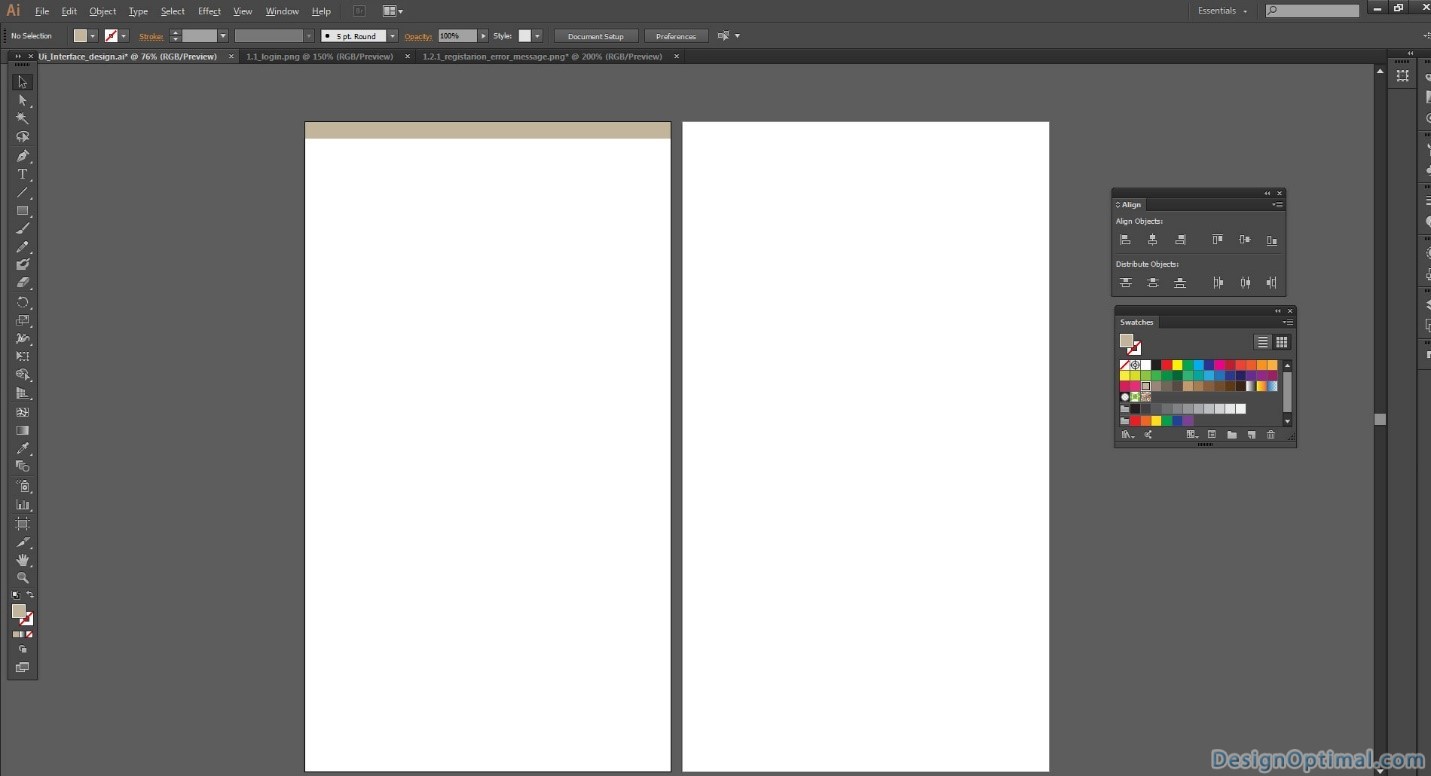

Step 04
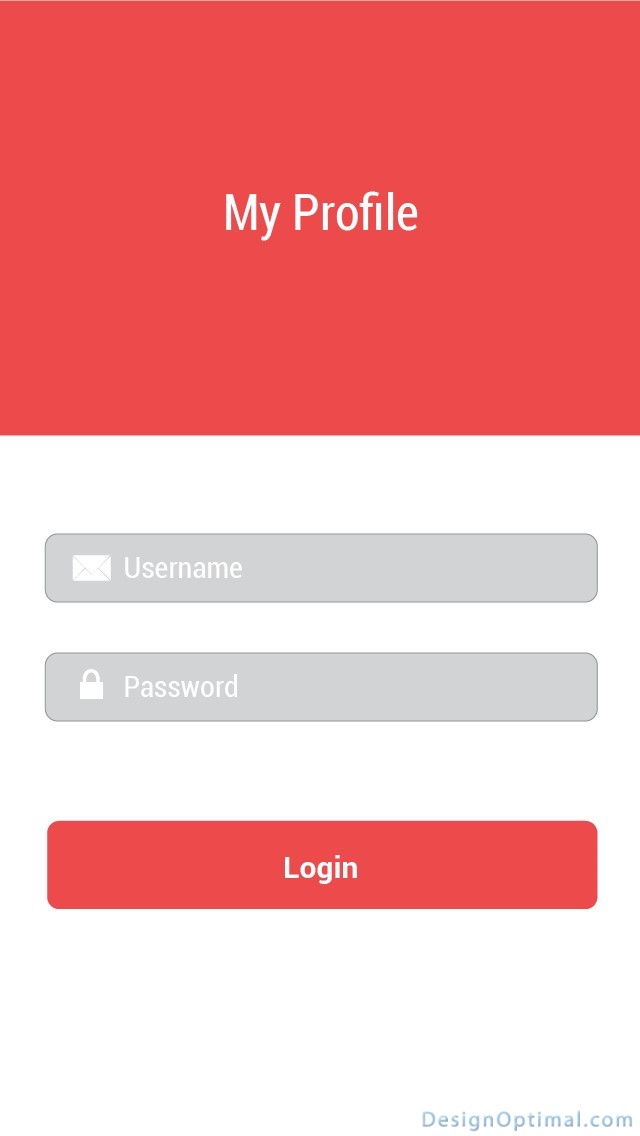
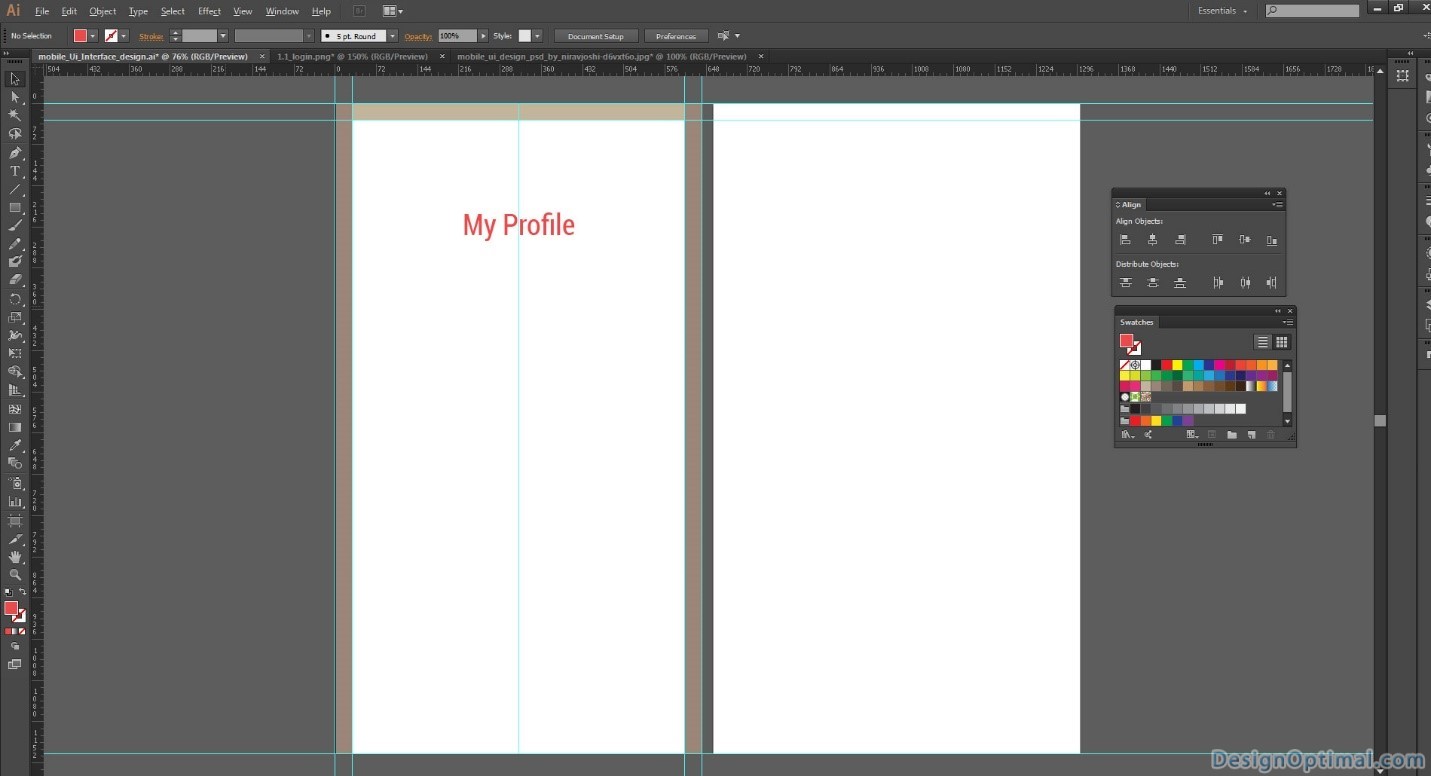
- Now we will add a main title to the login page. So we choose the title called the MY Profile (You can use whatever you prefer as it is suitable for your requirement). We choose the font as Roboto and the size is 50px.
Step 05
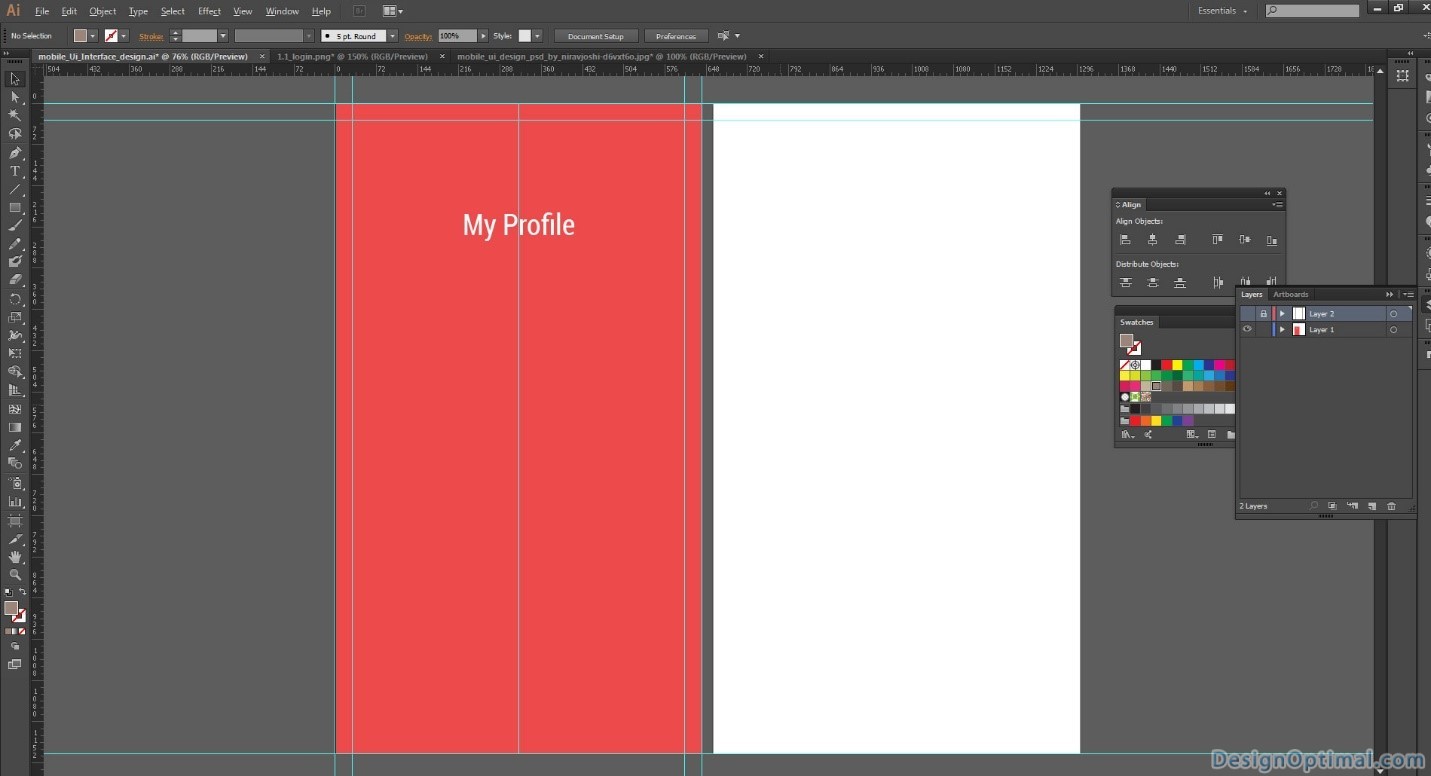
- Now we will add a small light red color to the background of the main login screen of the “My Profile” app .The color code will be #ED4A4B.
Step 06
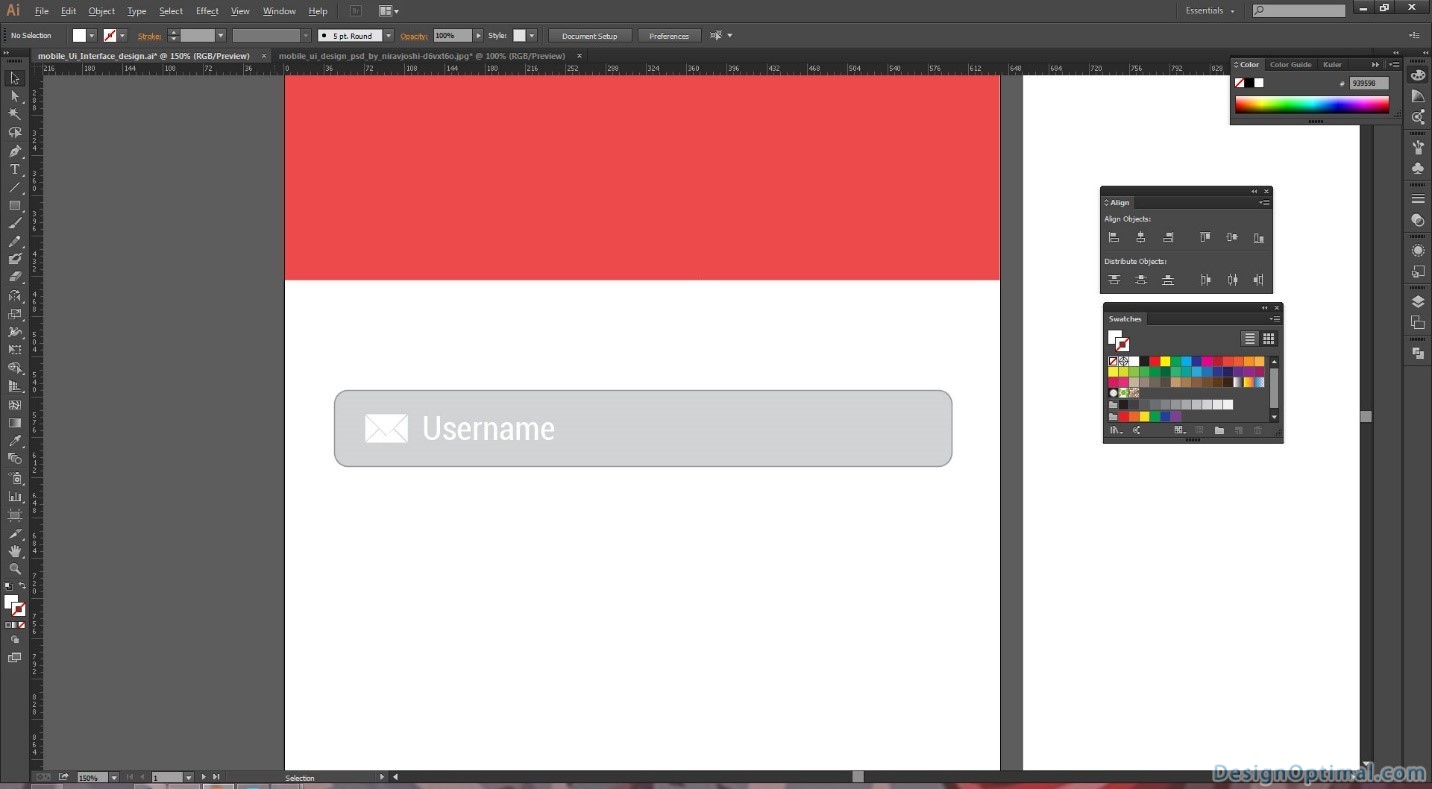
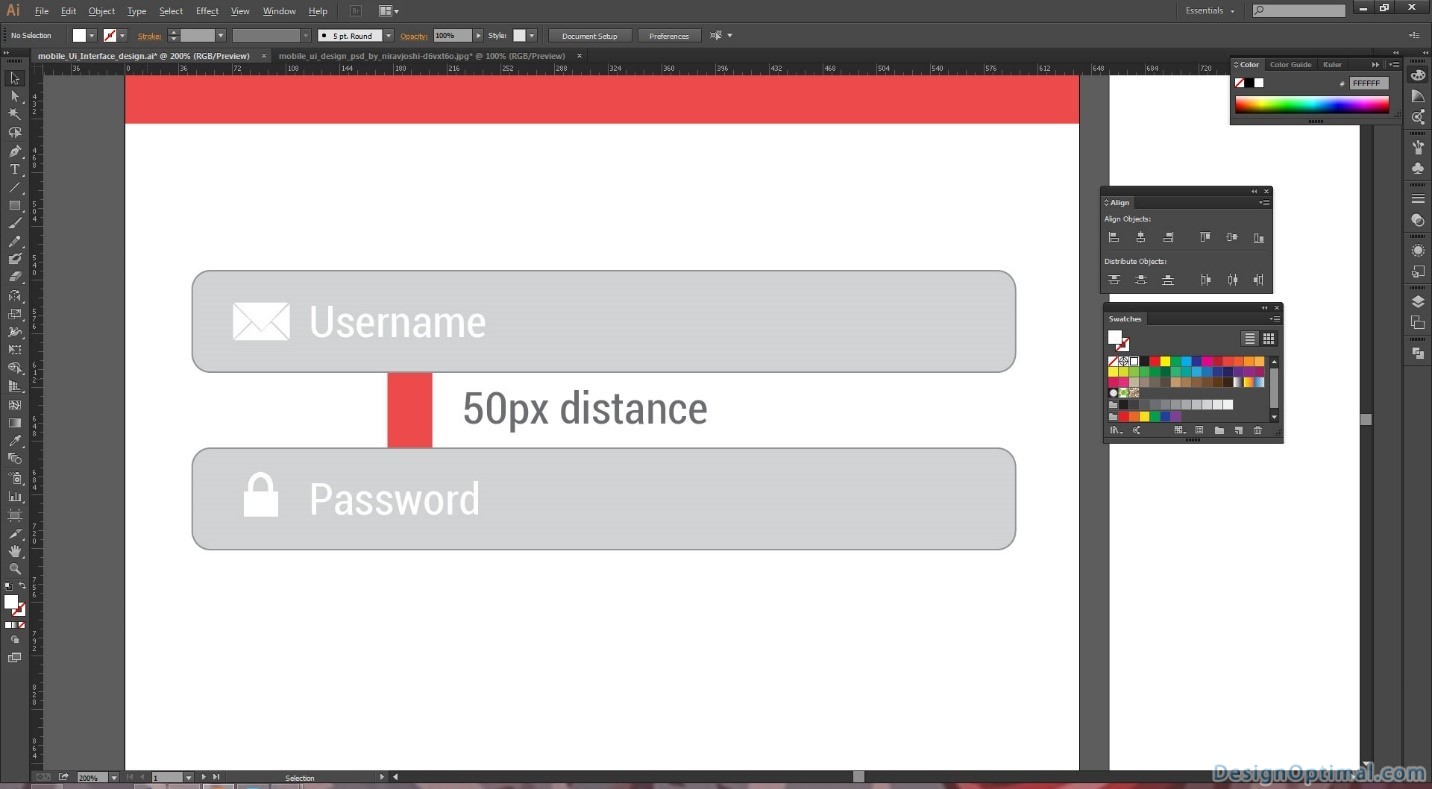
- Now we will have to add a text area to the email, password and login buttons.
- So the default email and password text areas will be 552px x 68px.
- And the login button size will be 550px x 88px.


Step 07
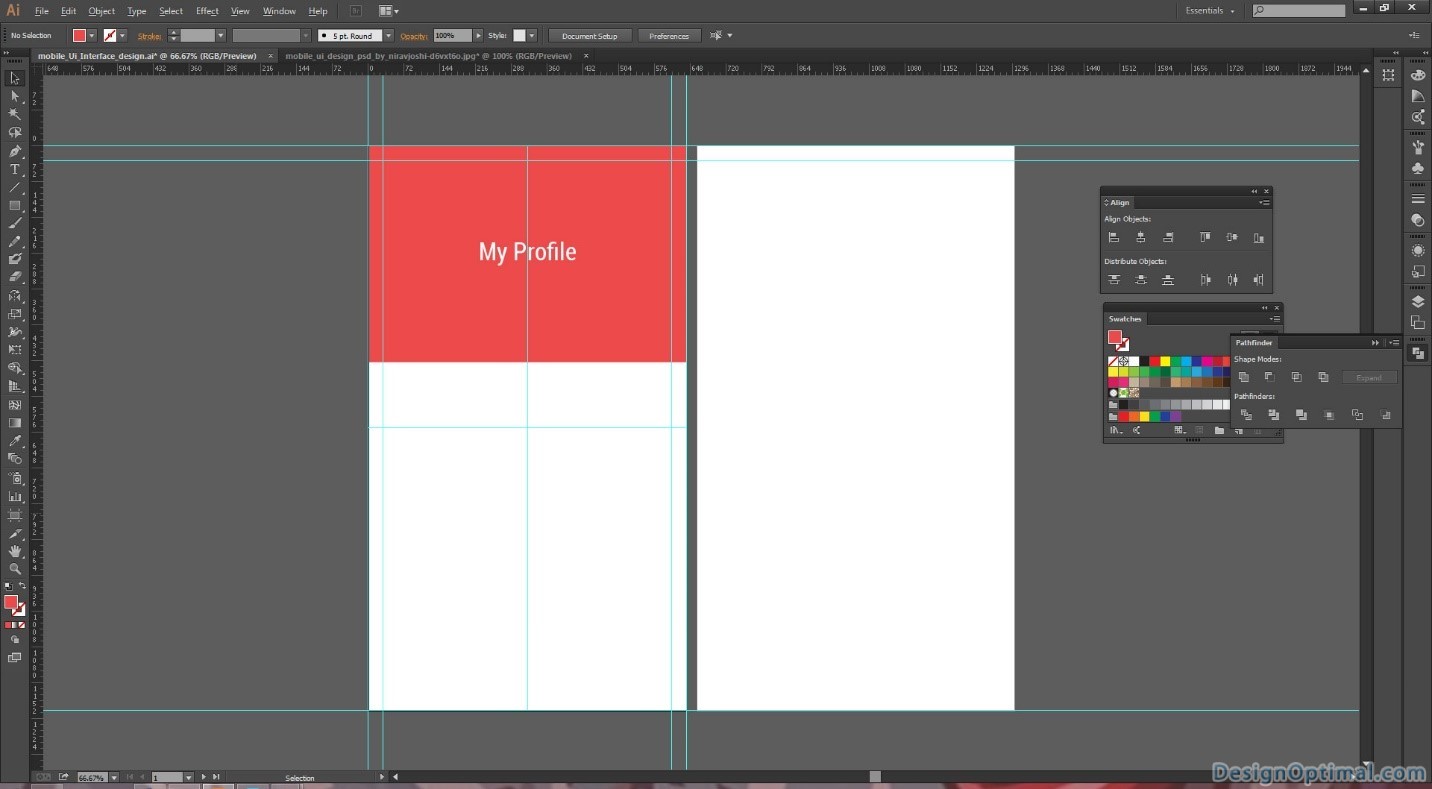
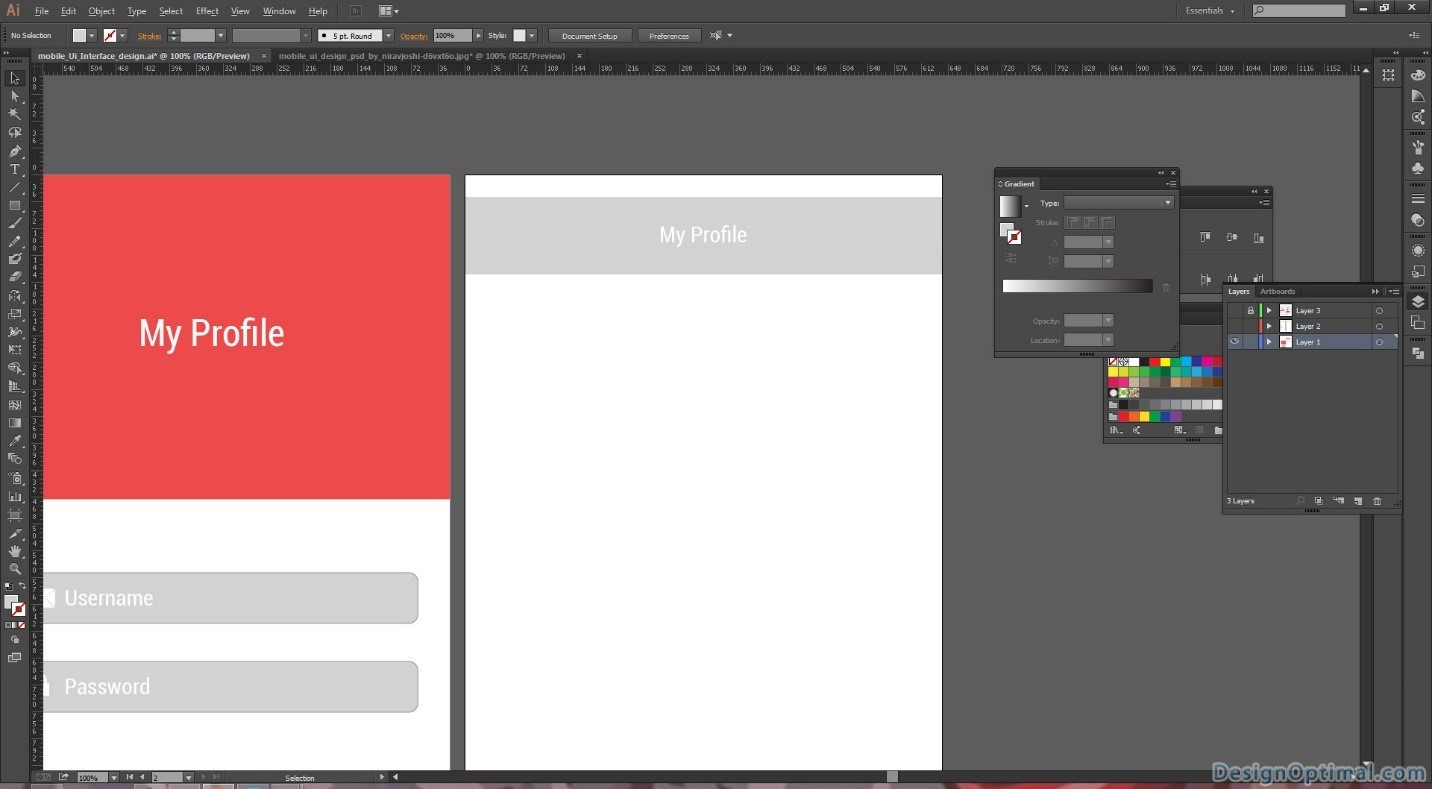
- Now for the next step, we will have make some small amendments for the login screen, earlier we add a light red color to the whole are of the login screen. But now we will add it only to the 1/3 of the screen of the login screen.
- Now we will add a text areas to the username and password areas. The text area color will be #D1D3D4 the font will be the same we used to the Main title called My Profile (Roboto – Condense 30pt). The process is shown below.
- Now we will add the Login button. The font will be Roboto- Bold 30px.

Step 08
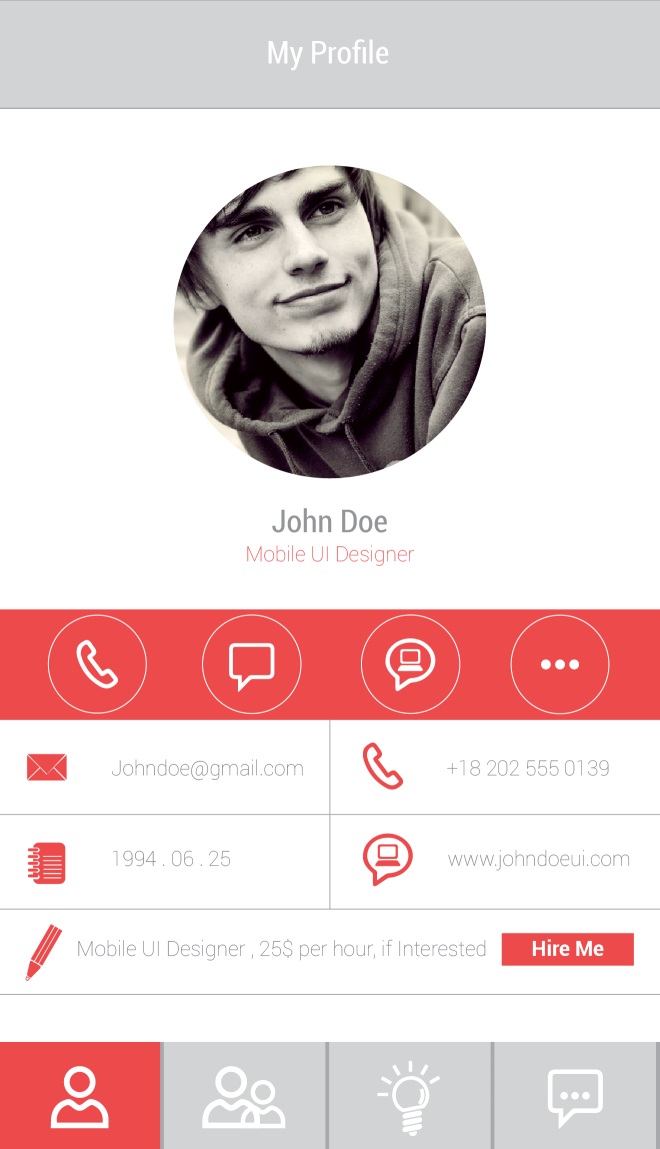
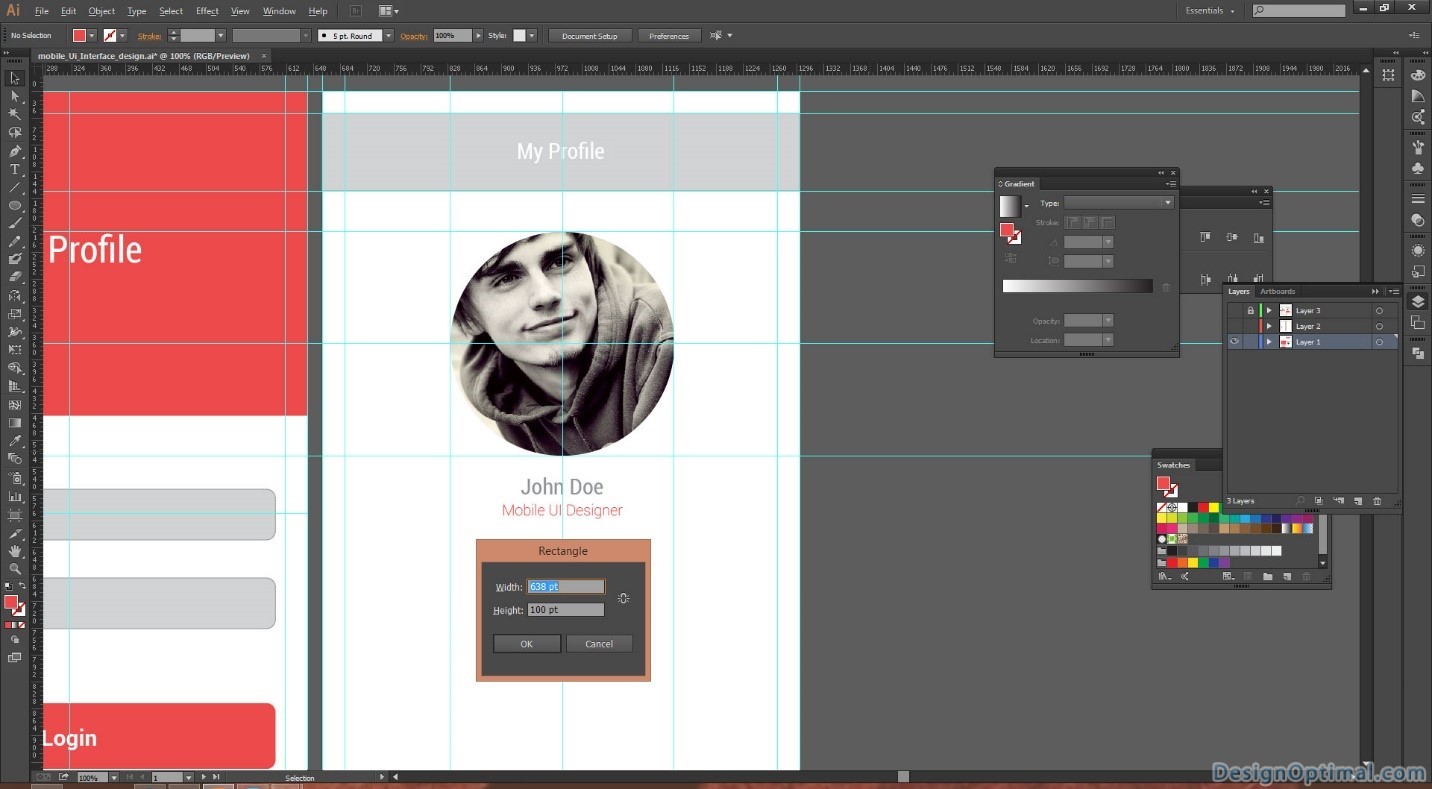
- We will now start working on the inner page with more details, this will be the main profile page.
- So as the first step we will add a top bar with heading with my profile. The width and height of the bar will be 640px x 104px.
- The font will be Roboto –Condensed 30px.
Step 09
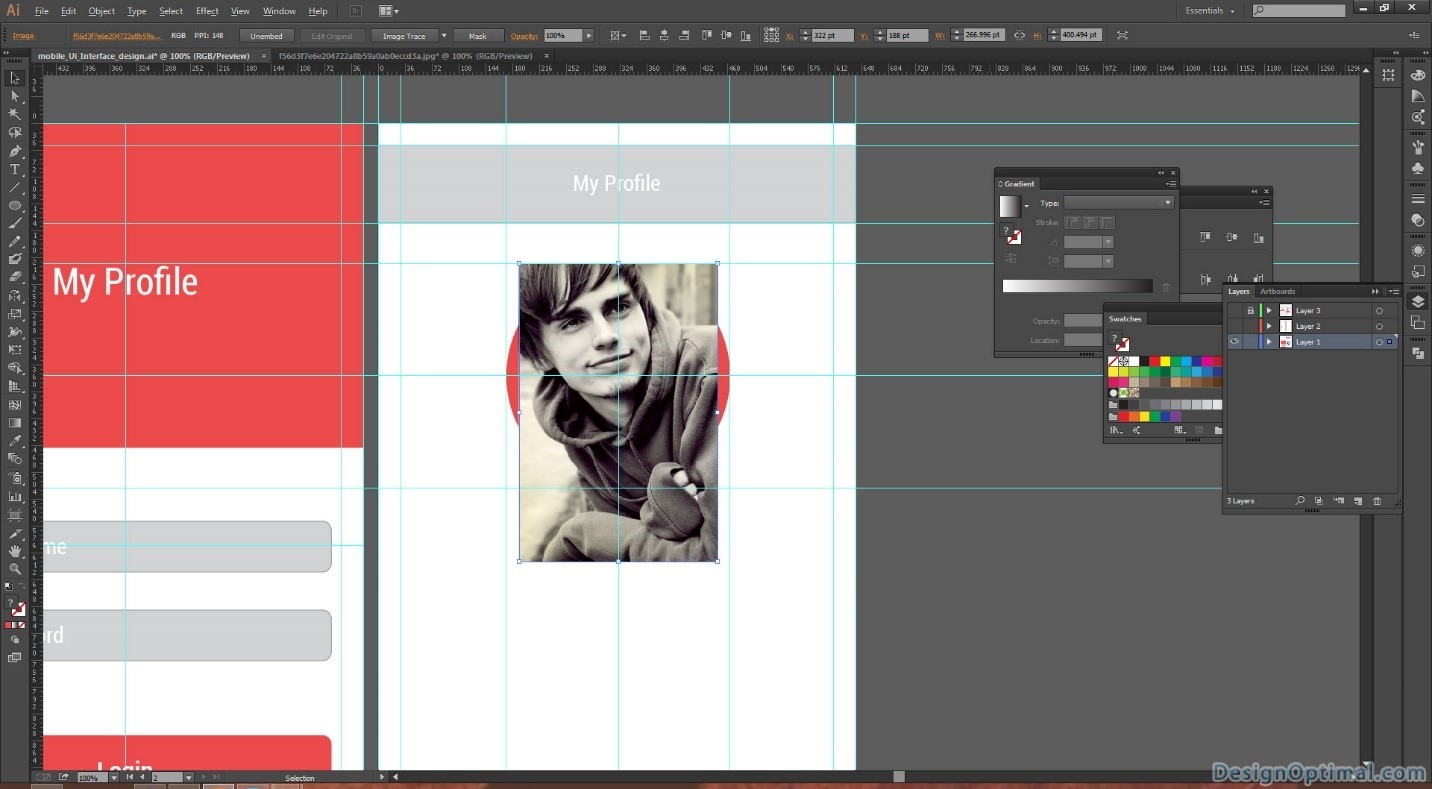
- As for the next step we will add a Profile picture to the top of the art board. The sample profile picture used for this screen can be seen at the Resources Section at the beginning of the tutorial.
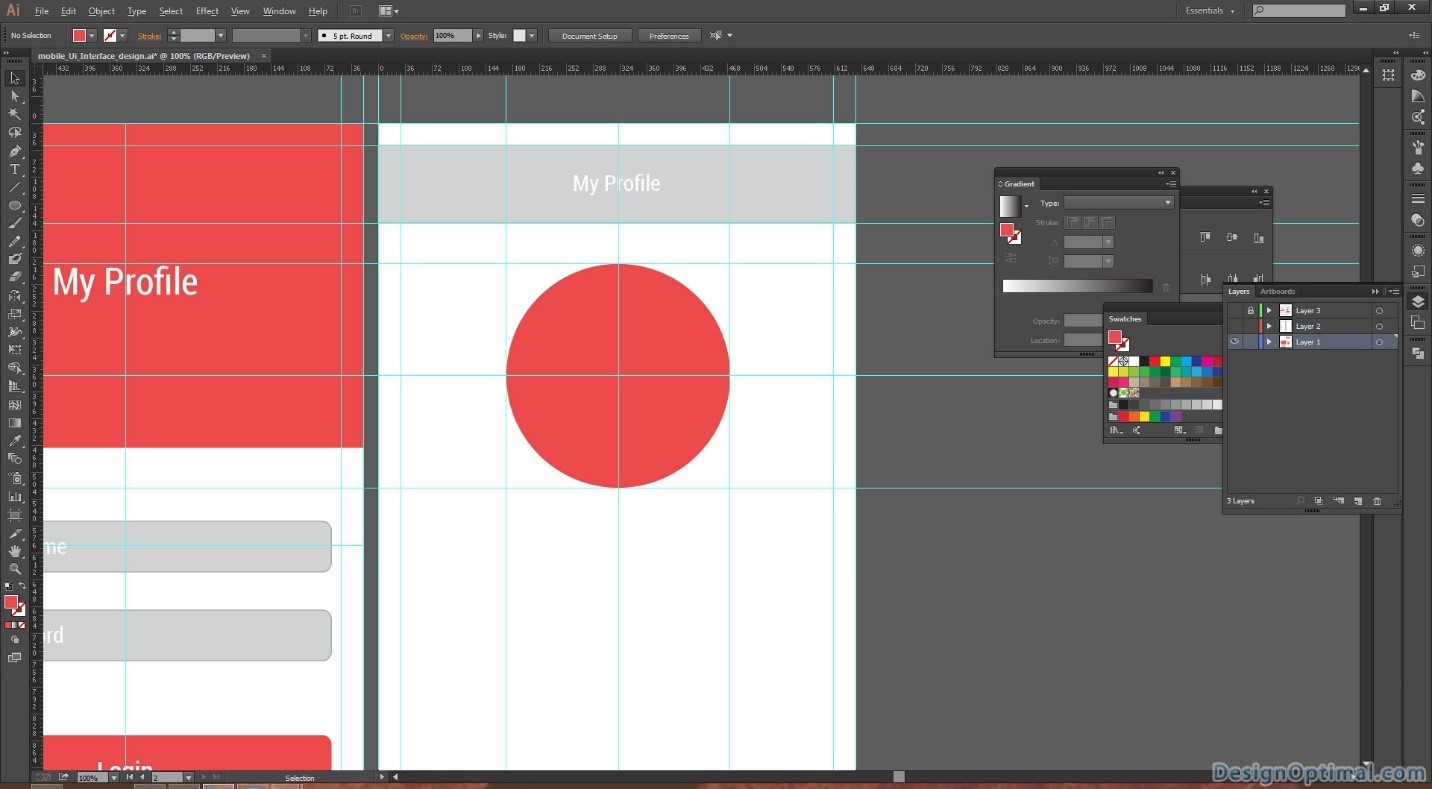
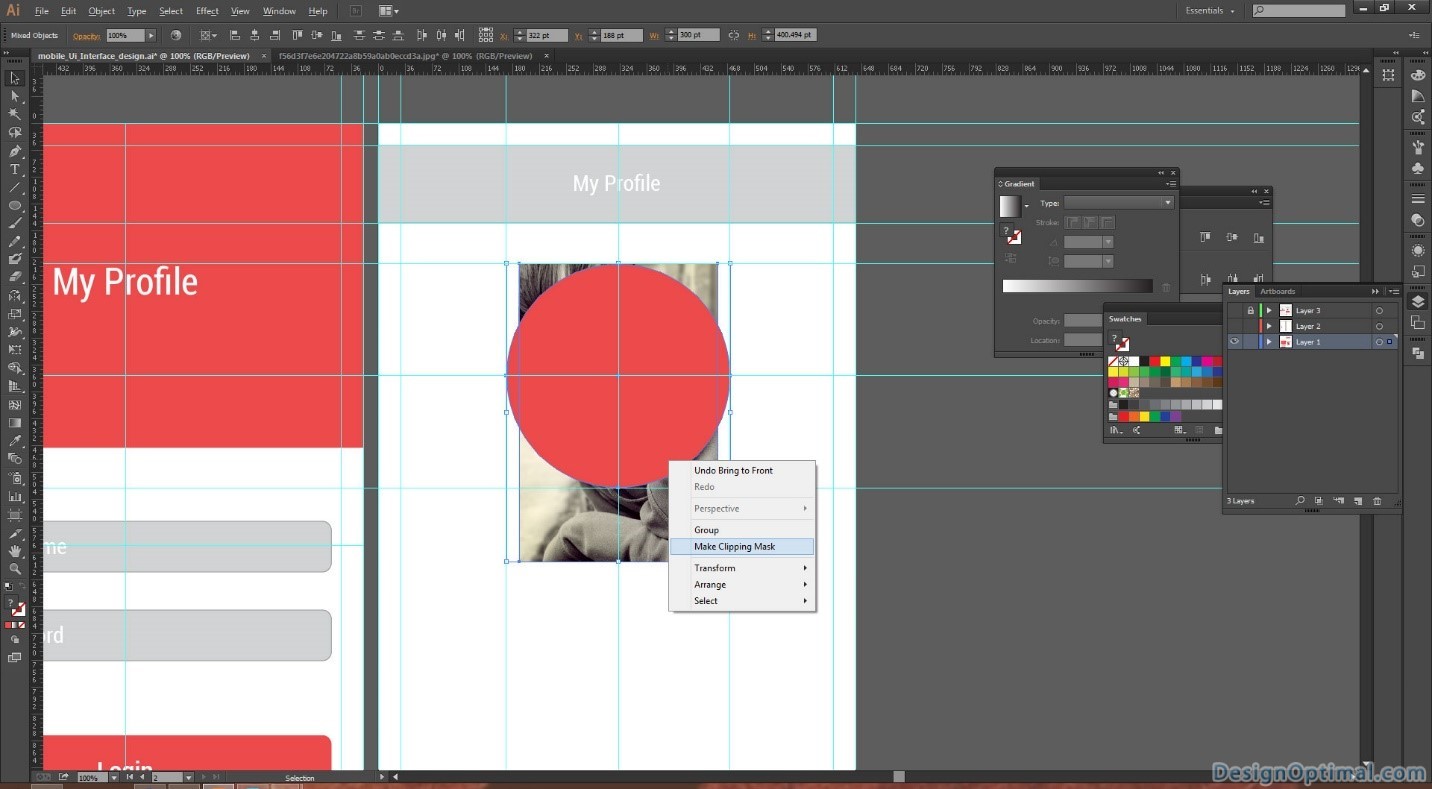
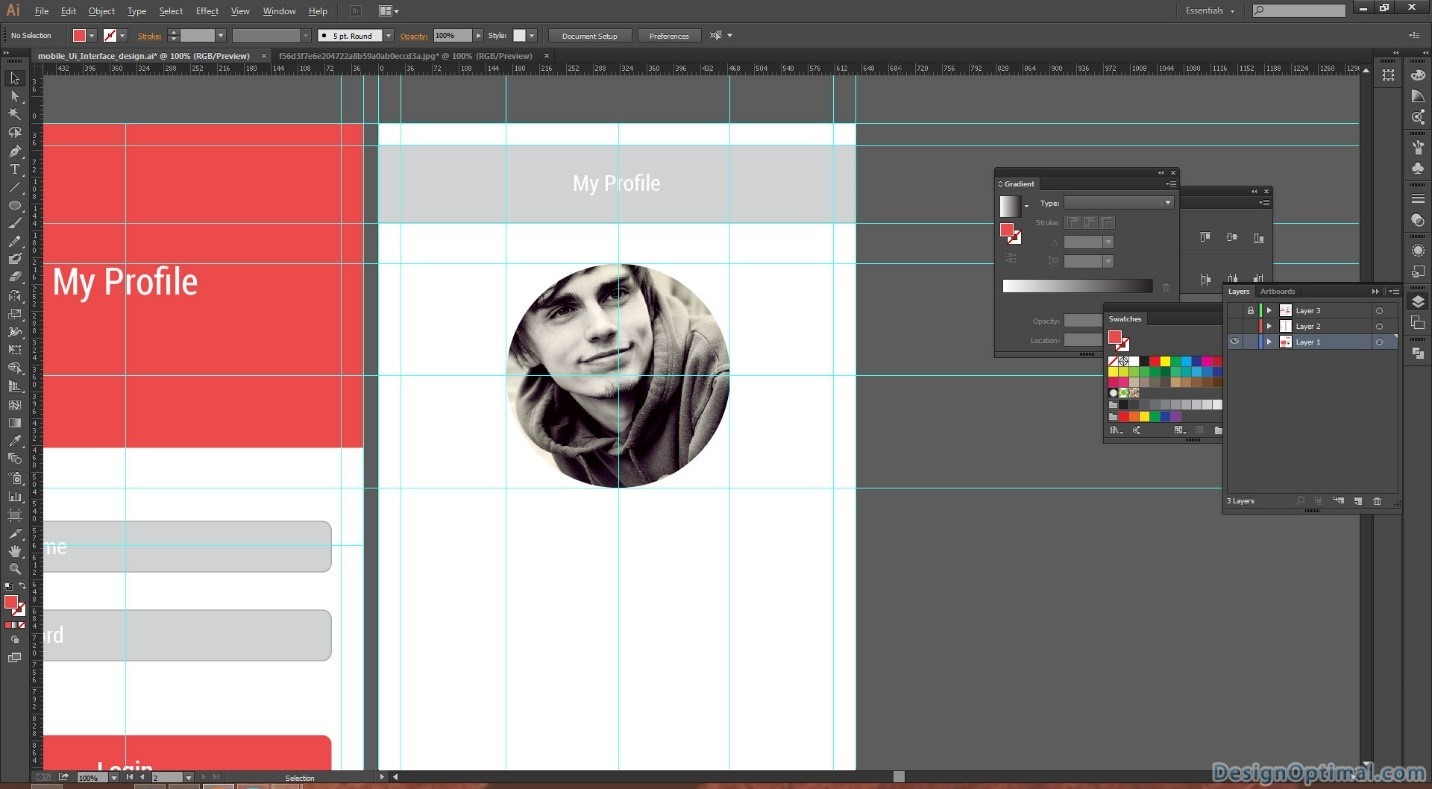
- We will now mask the profile icon area with the sample image as the finalized profile picture.
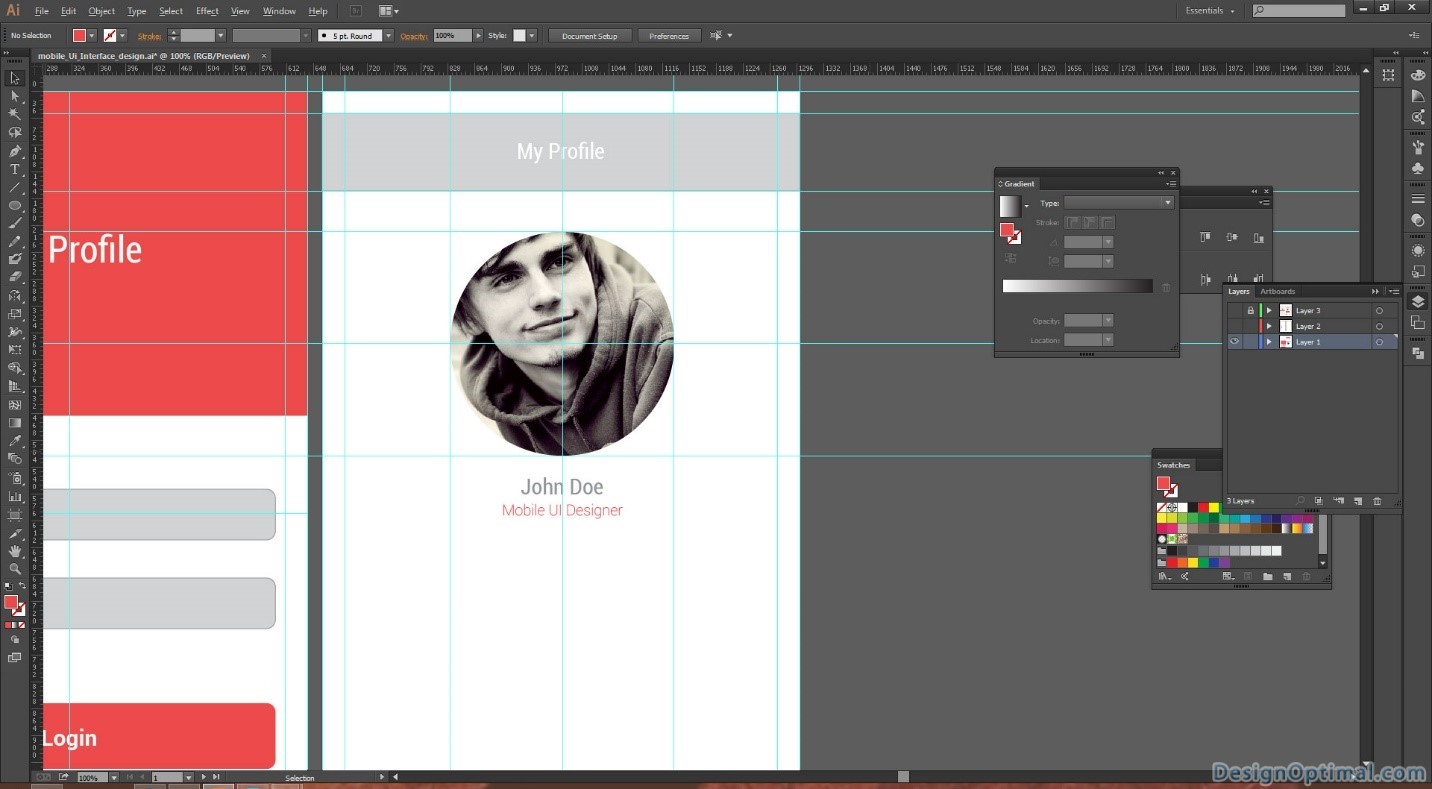
- After that we will add a Profile name and a designation below the Profile icon. This will help other people that logs in to this app to search a particular profile. So as an example we will add as John Doe – Mobile UI Designer.
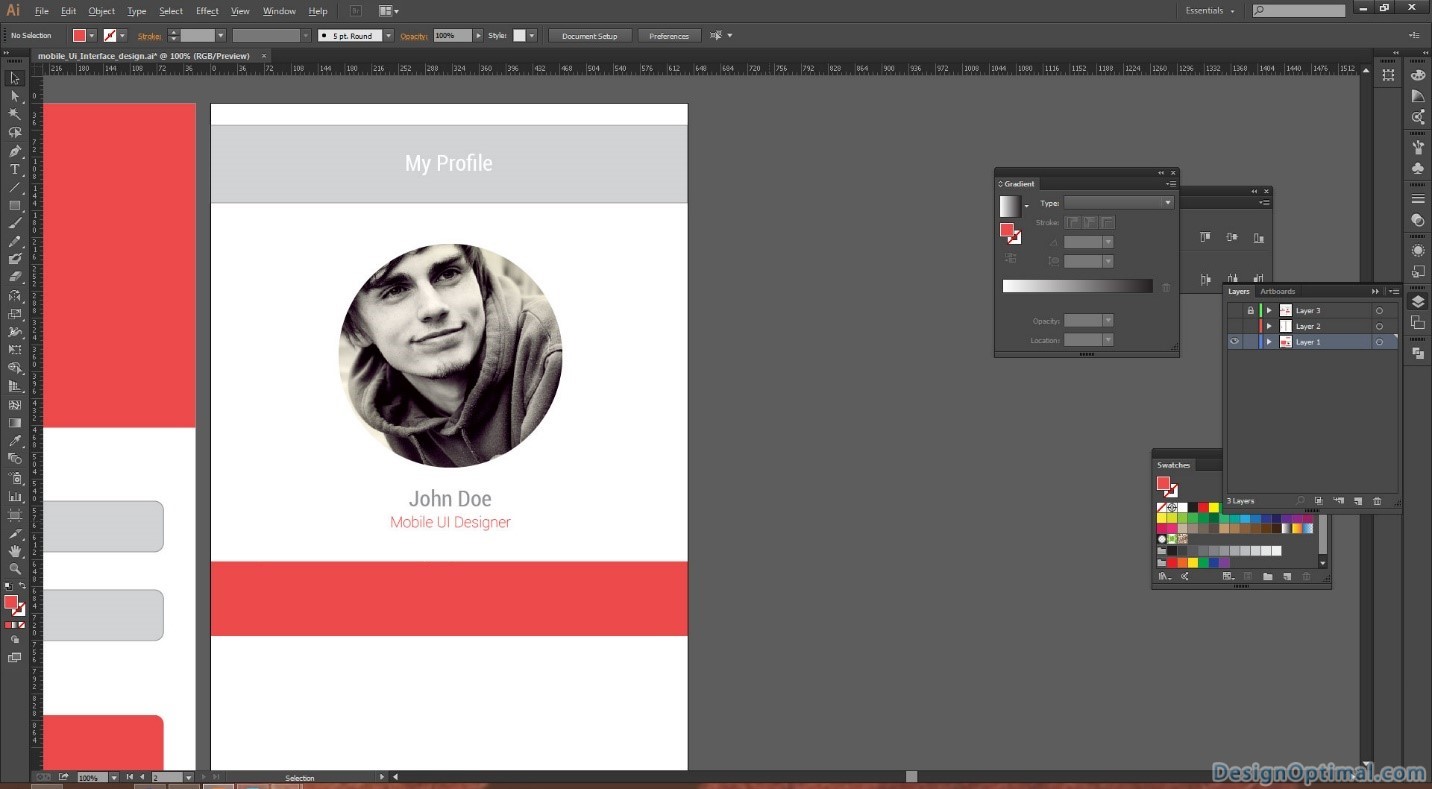
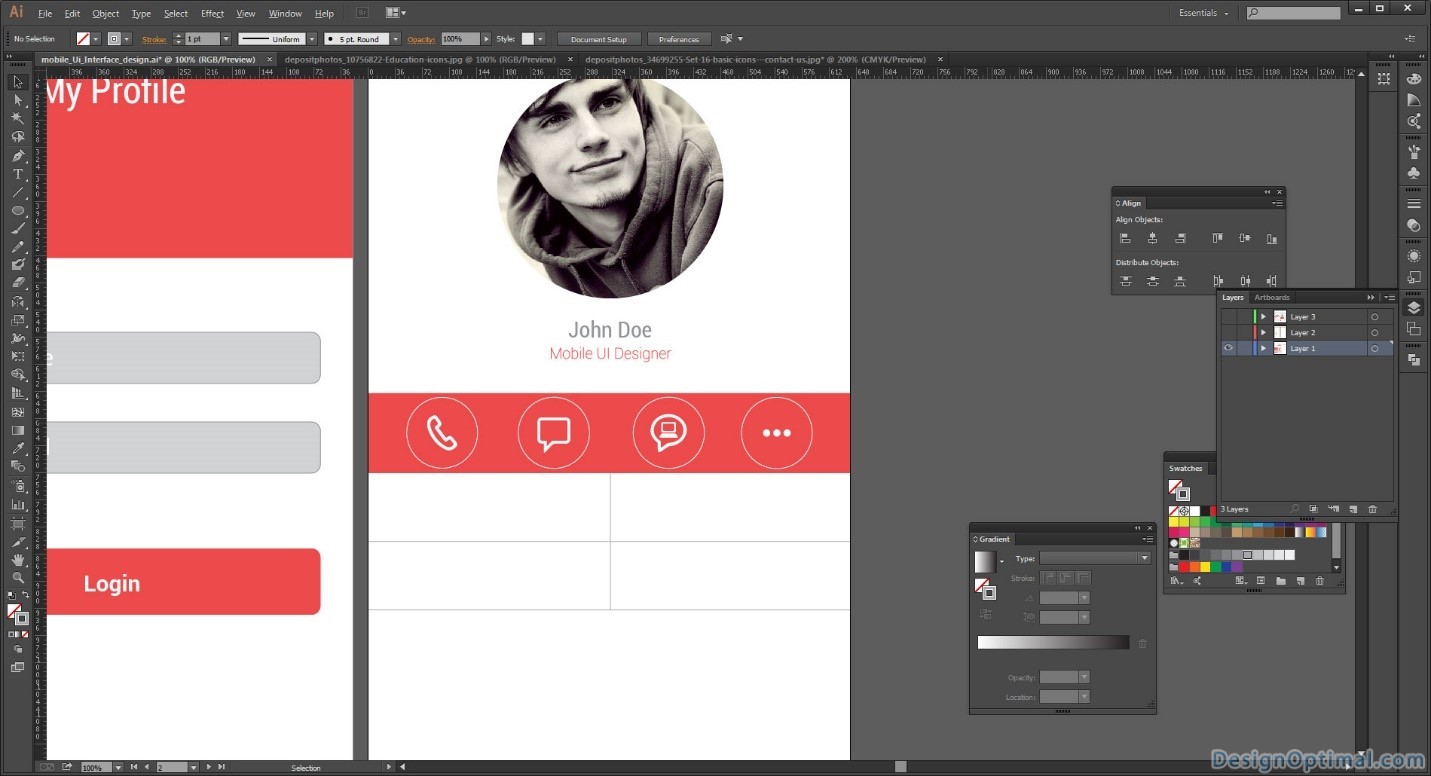
Step 10
- As the next step we will add icons bar with some functions on it. These buttons will help the users of this app to interact with other people who uses this app.
- The width and height of this bar will be 640px x 106px and the color will be same red color we have used in the app so far. And the icons on the top will be coming in white.
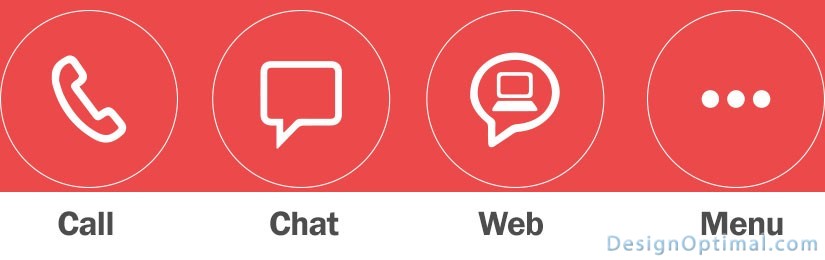
Step 11
- For the icons we will be having Call/Chat/Web and menu icons. You can search on Google for similar icon packs.
- So we will add these icons to the red icon bar. The sizes will be 94px x 94px.
Step 12
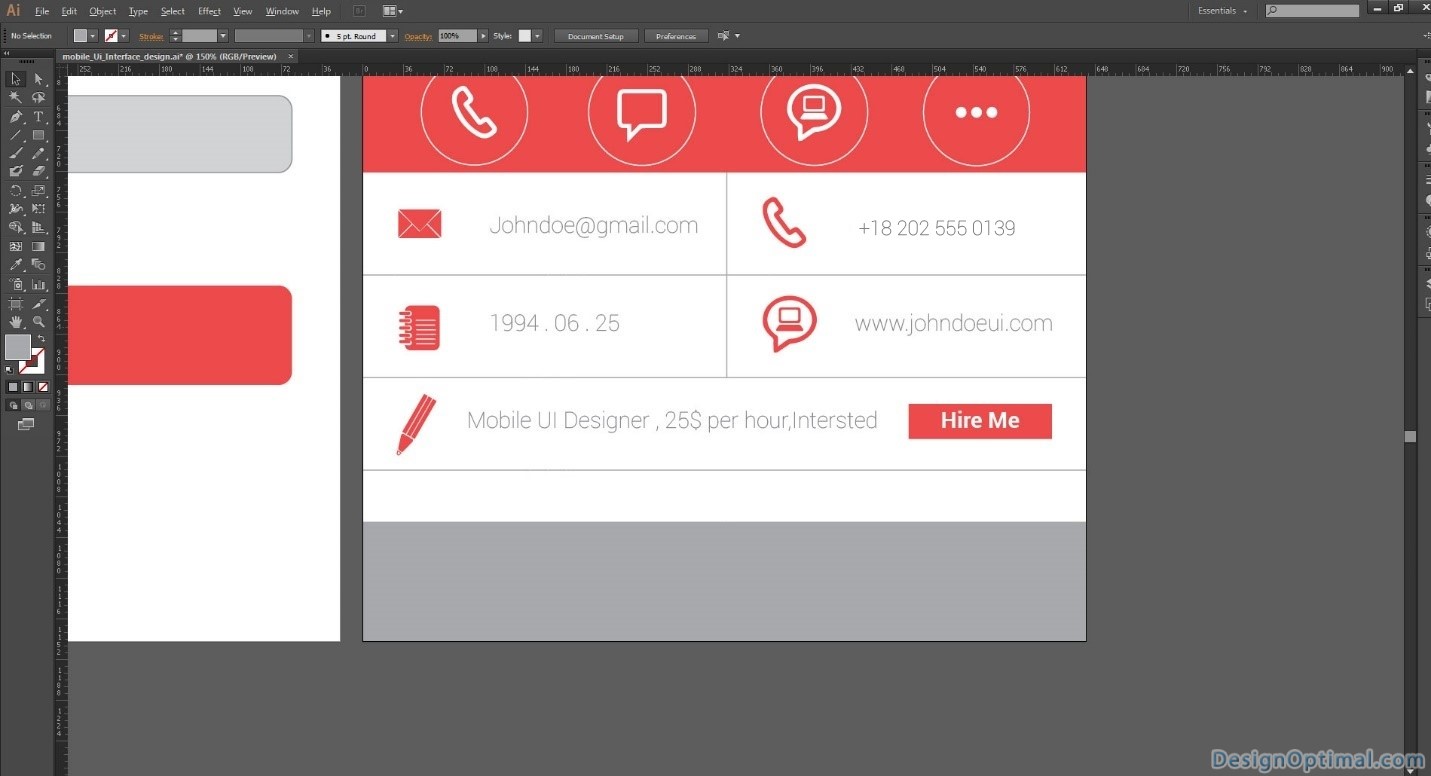
- After that, we will have to add some more details of the particular user. In order to do that we will add more buttons to the below of the icons bar.
- These buttons will be consisting of Email /Mobile No /Date of Birth and Web site URL etc.
- For this we will have to divide the bottom part right below the icons bar to 4 parts.
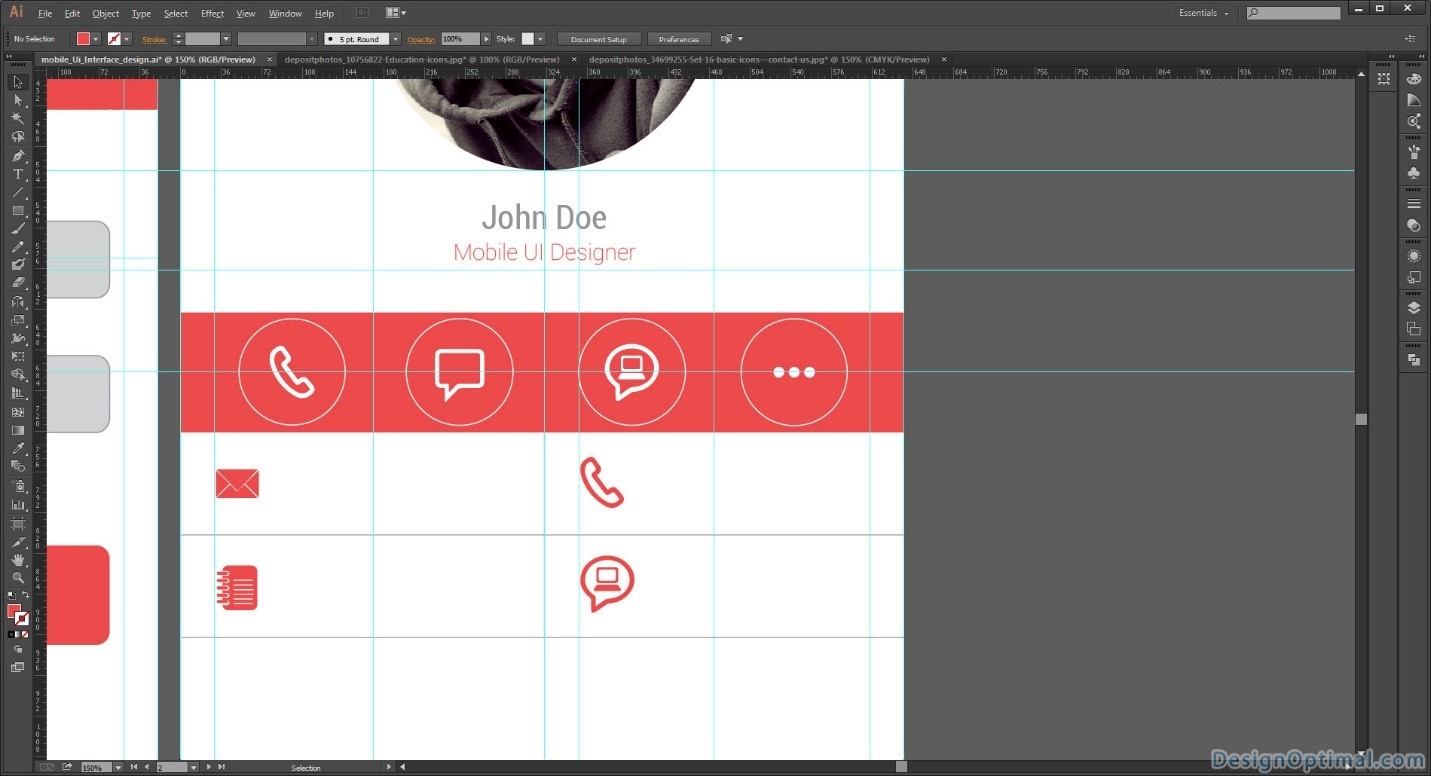
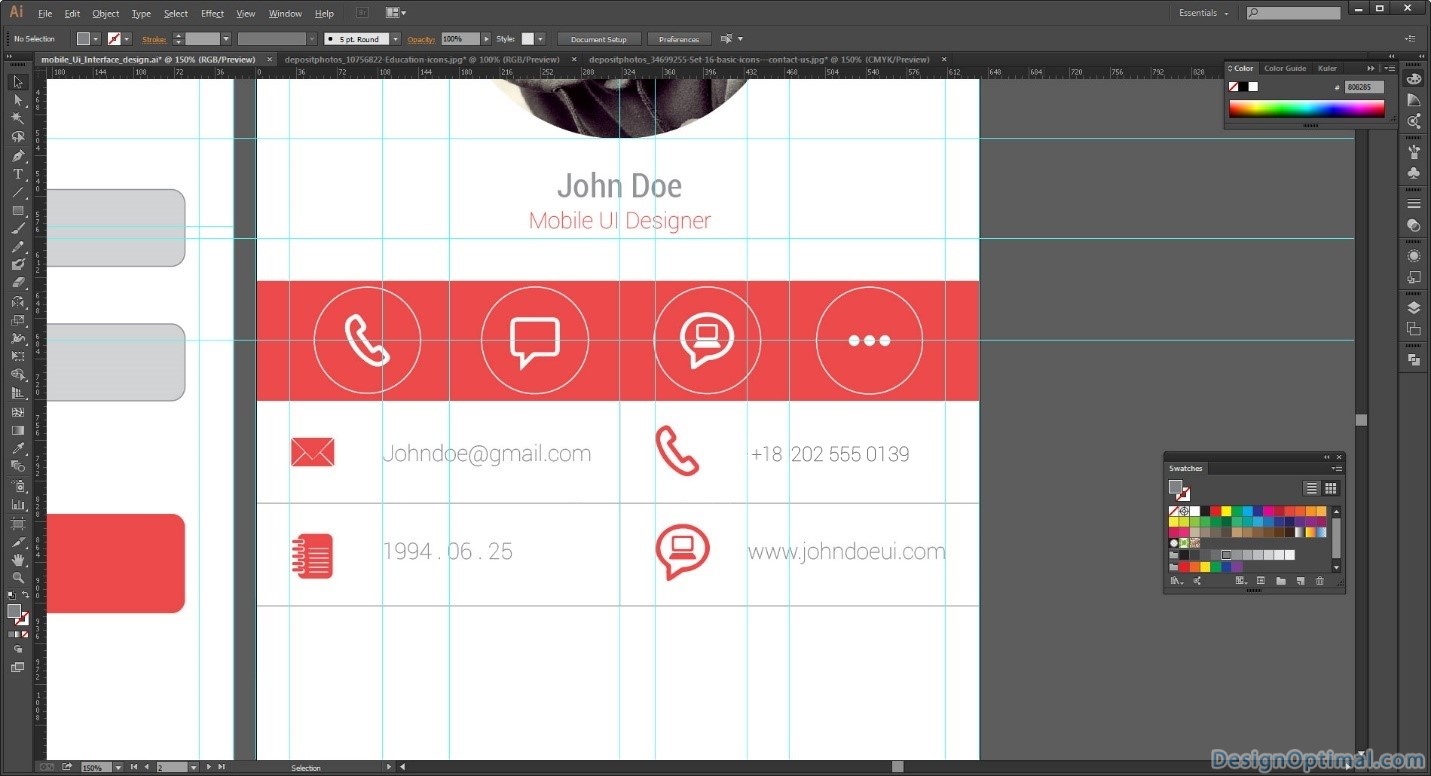
- Now again we will have add another feature this will be about the rates of this particular mobile UI designer and there will be a Hire Me Button in the far right corner.
Step 13
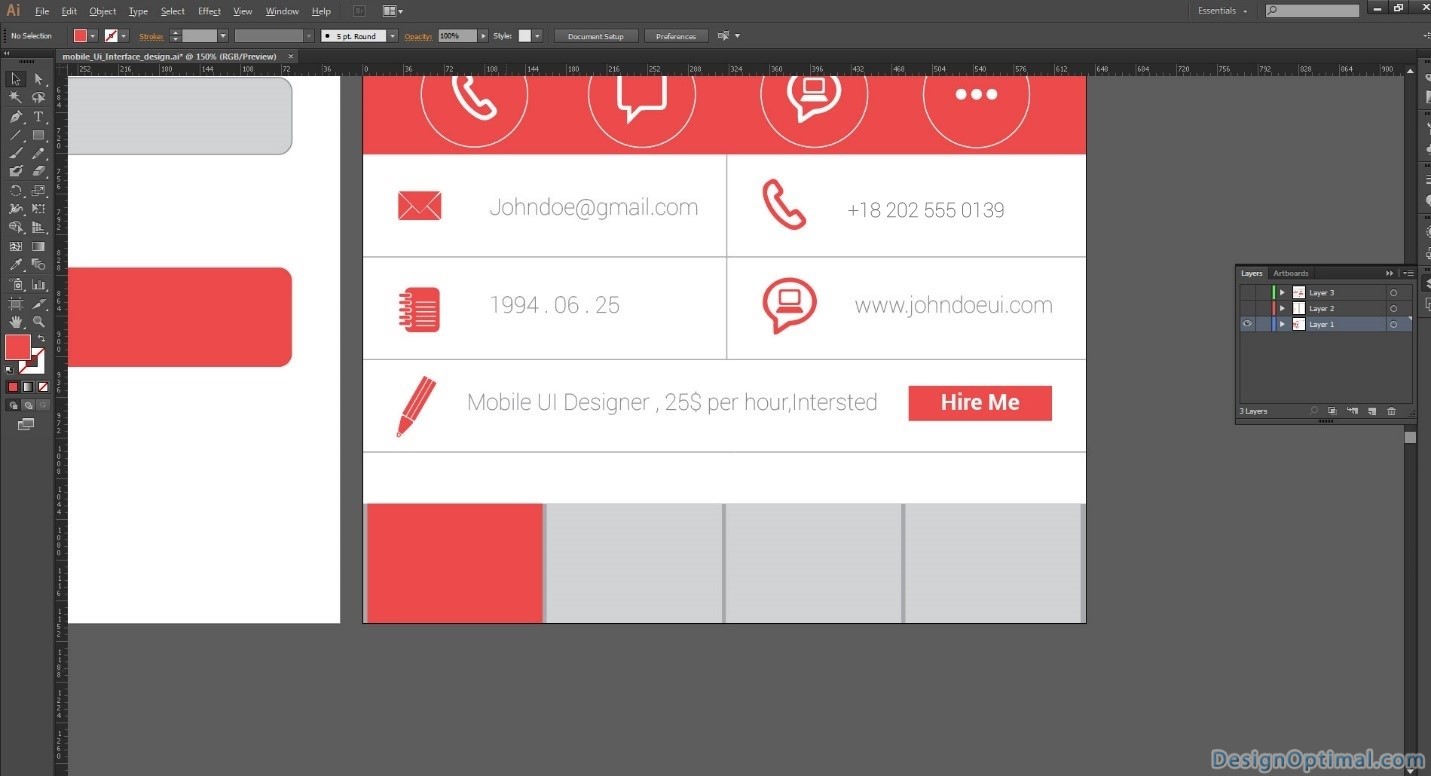
- Now we will have to add a bottom controller’s bar to the Mobile UI that we have completed so far.
- This controller will be consisting with four buttons with profile, About, Edit and Settings.
- So we will make another bar in the bottom of the art board the size will be 640px x 106px the background color will be #A7A9AC.
- Now we will add another 4 boxes the size of 155px x 106px. We will place them in a same distance from one another.
- Currently we are in the profile page so the box with the profile icon with in it, we will keep it in red color.

Step 14
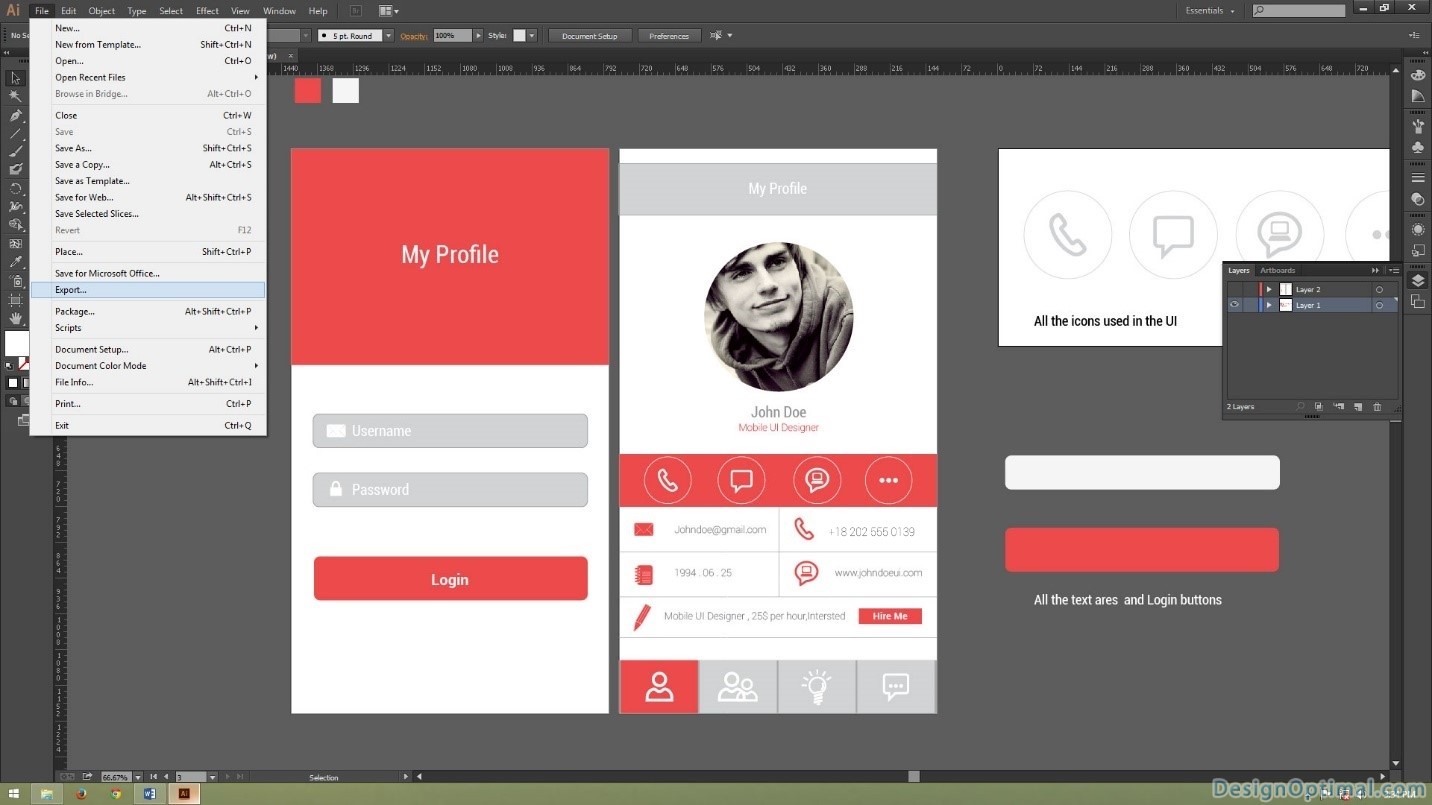
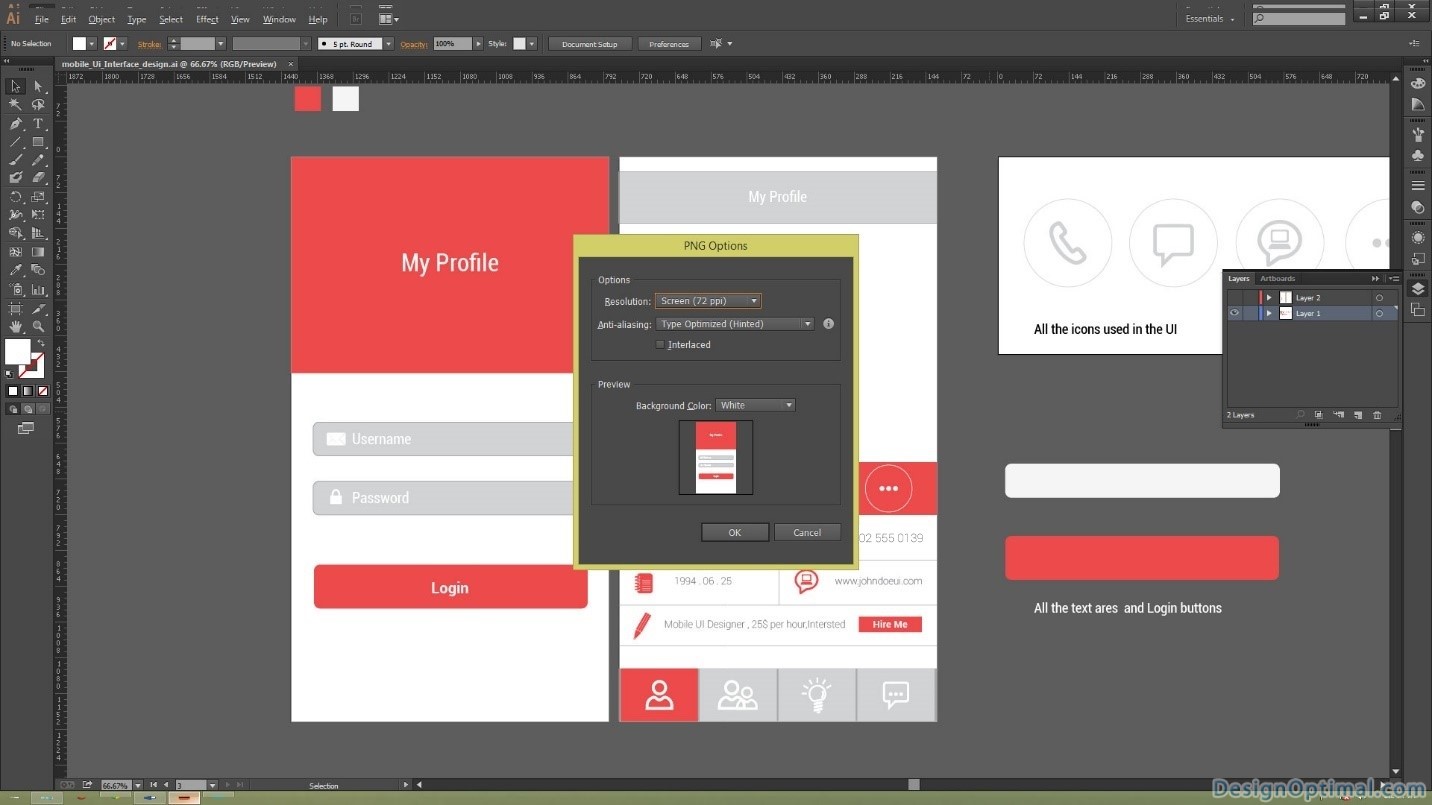
- Now we have completed the mobile UI for about 99%, and now as for the final step you will have export the Mobile UI screens that you have created just now.
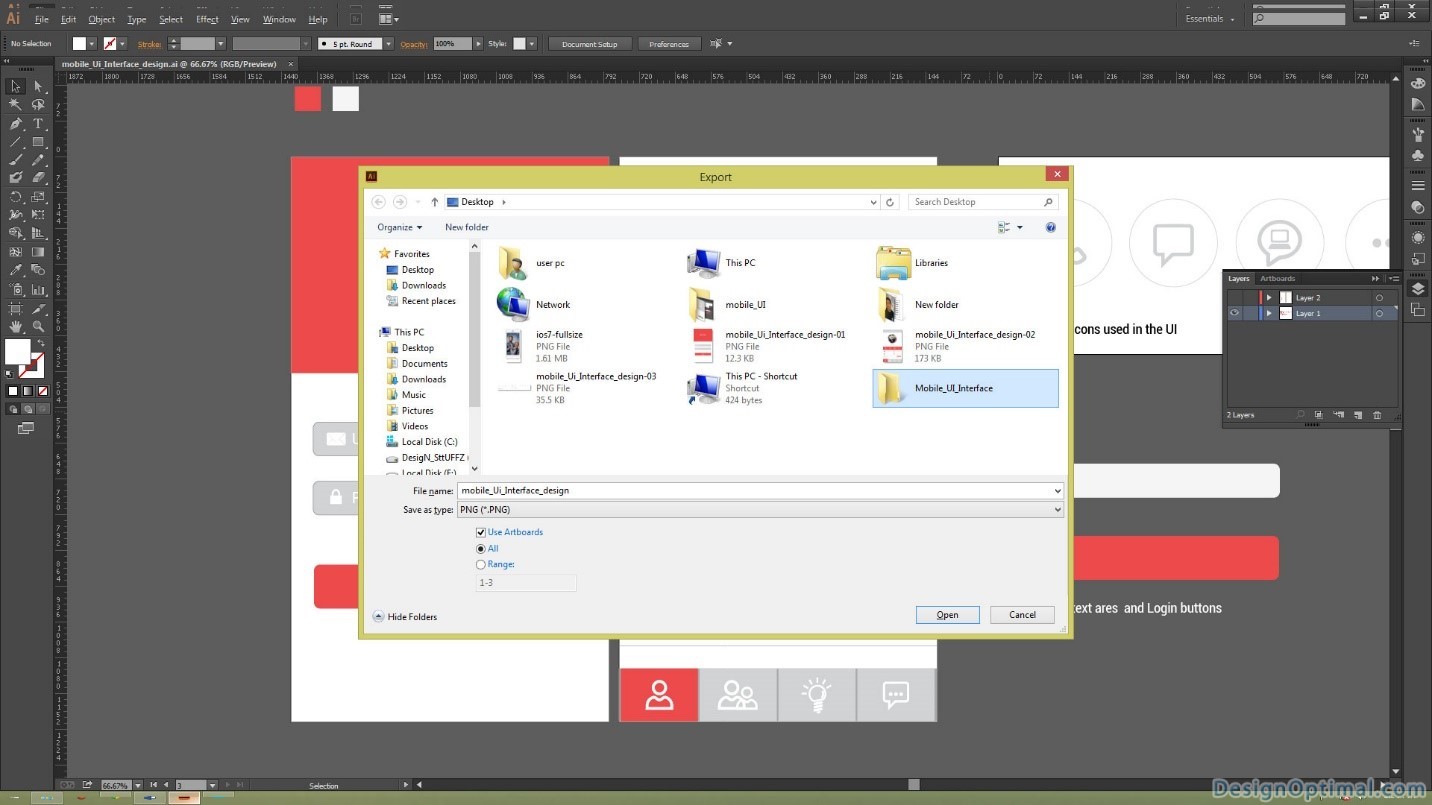
- So go to File >Export and give save as a PNG and then select Art boards. For the saving destination, in my Scenario I selected desktop and created an new folder named Mobile UI Interface.
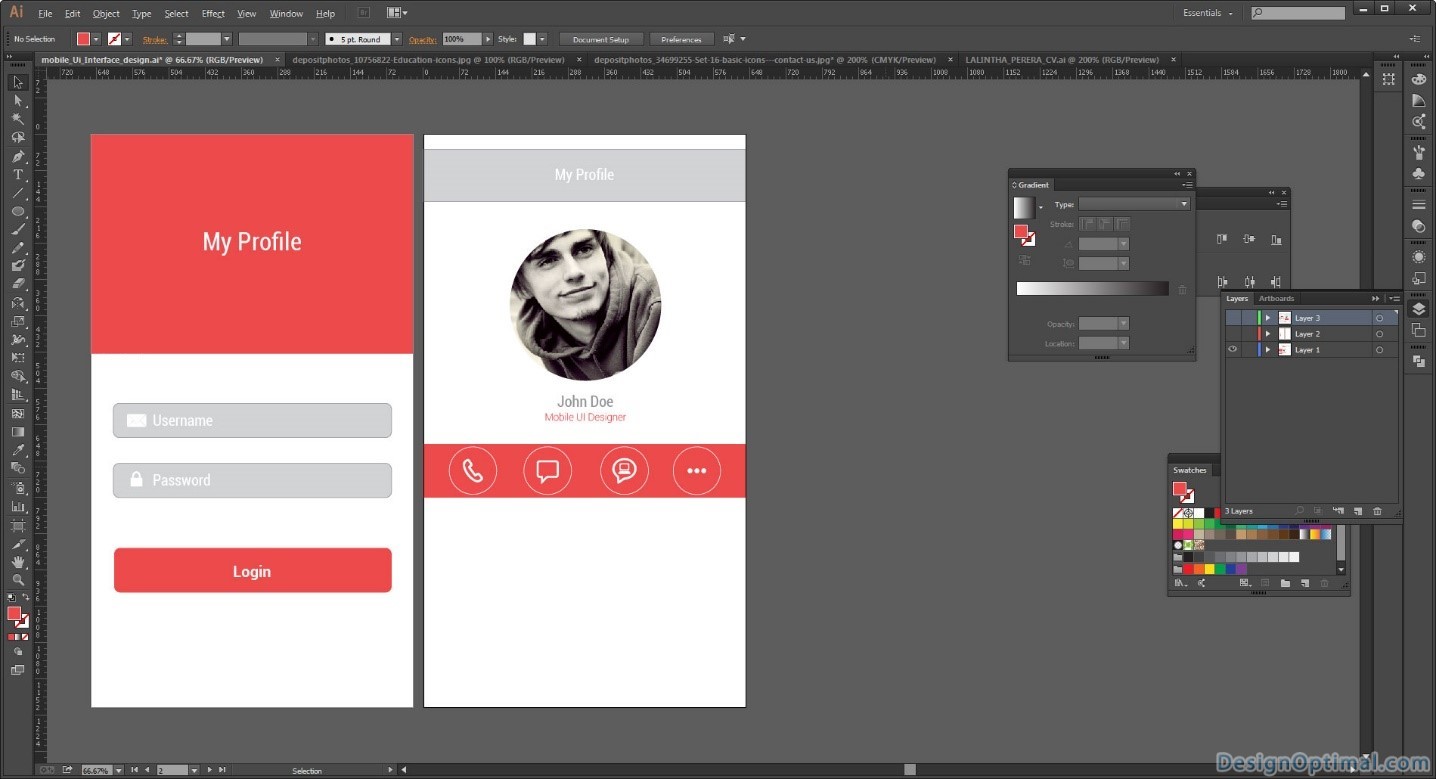
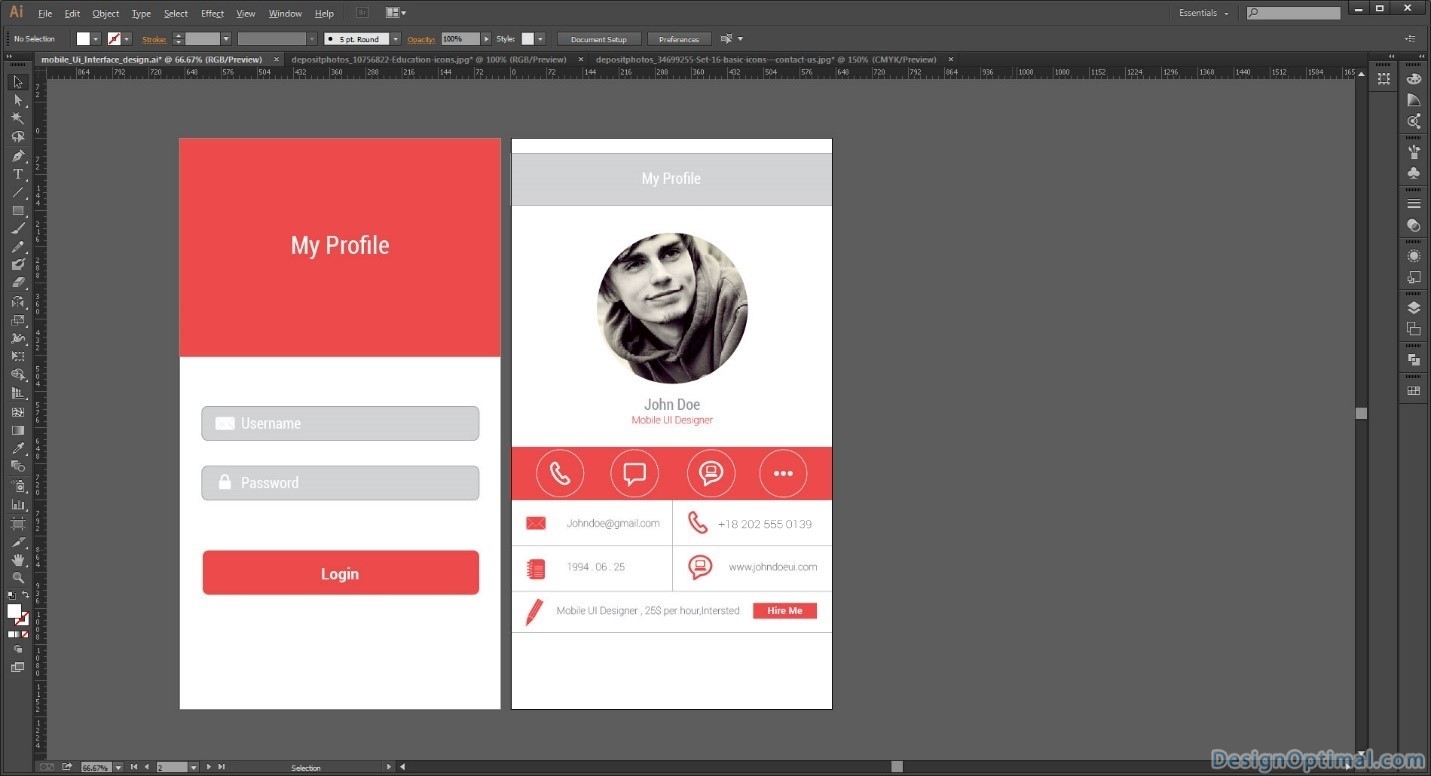
Step 15
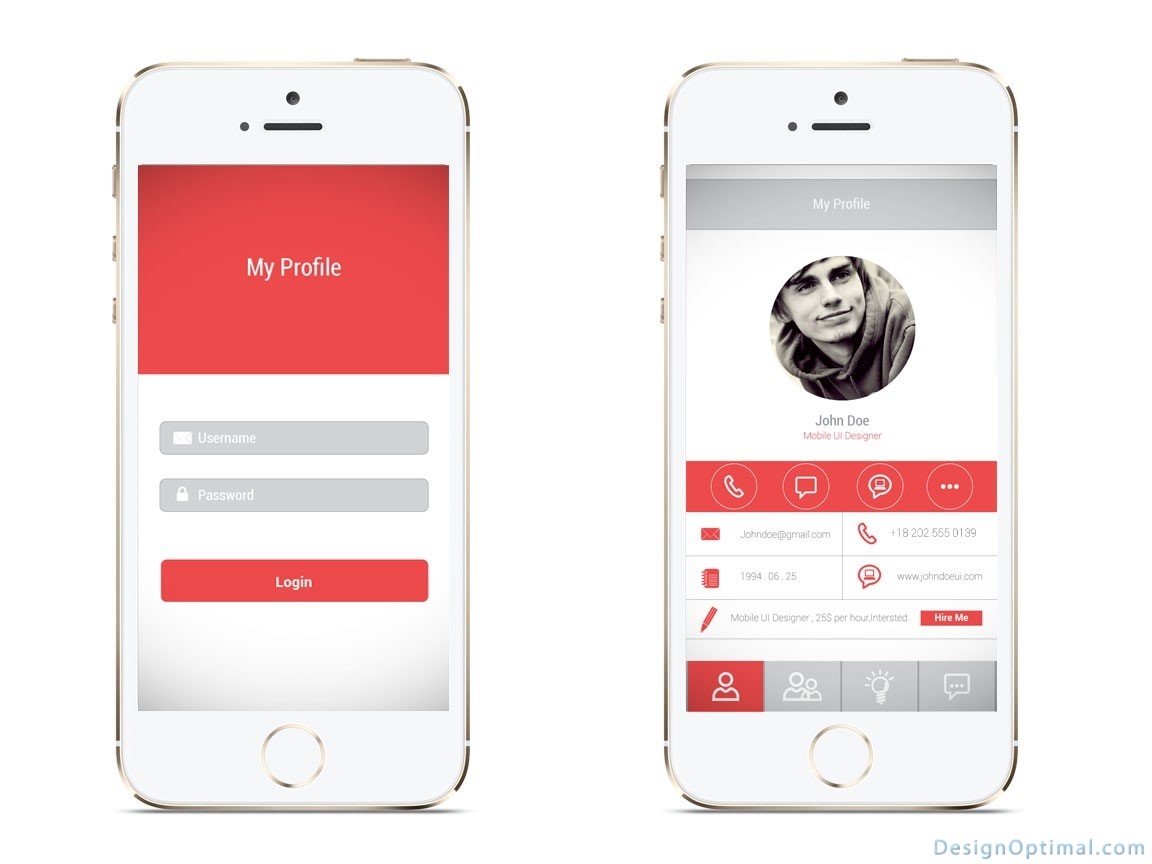
- The final Outcome of the artwork.