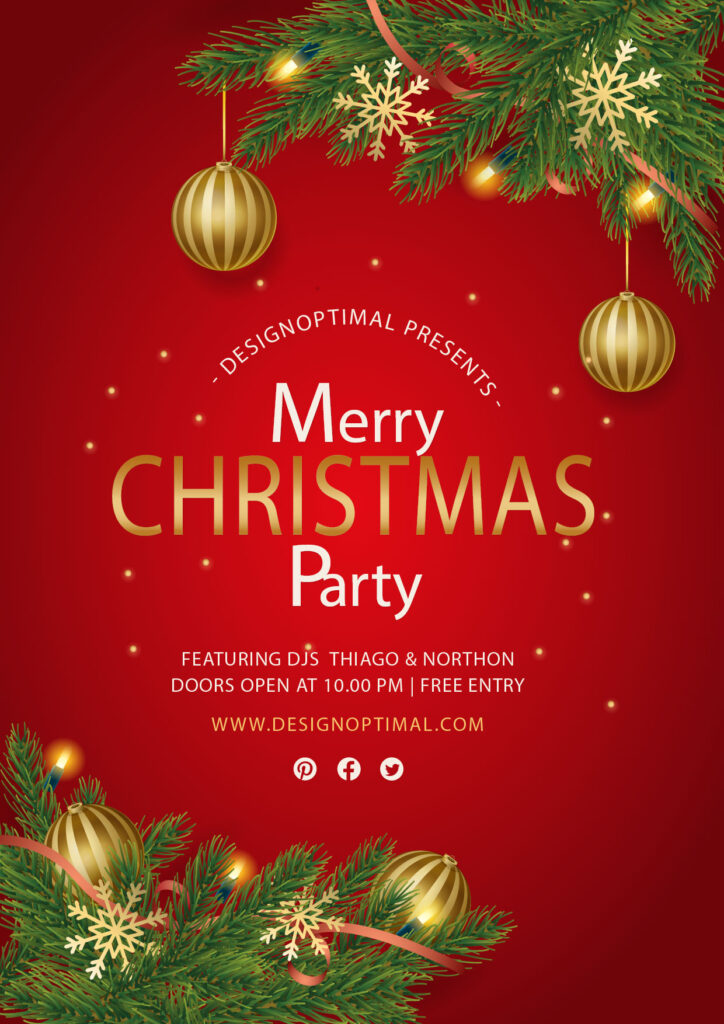
Hello, everyone today we are going to show you “How to design Christmas Party Flyer in Adobe Illustrator”. In this tutorial, you will learn how to design a merry Christmas sale banner. Don’t worry if you are new here this is a step by step tutorial also have a screenshot of each step so you can practice it by yourself by downloading the project Ai file.
Flyers provide away as well as a platform of reaching the audience in many ways, for example, inserting them in newspapers, on peoples doorsteps, distributing them at popular stores and supermarkets, on famous streets as well as attaching them on the cars of people.
Resources
Images used:
- Decoration Material from Freepik.com
Fonts used:
- Arial font Family
Step 01
- Open the Adobe Illustrator software.
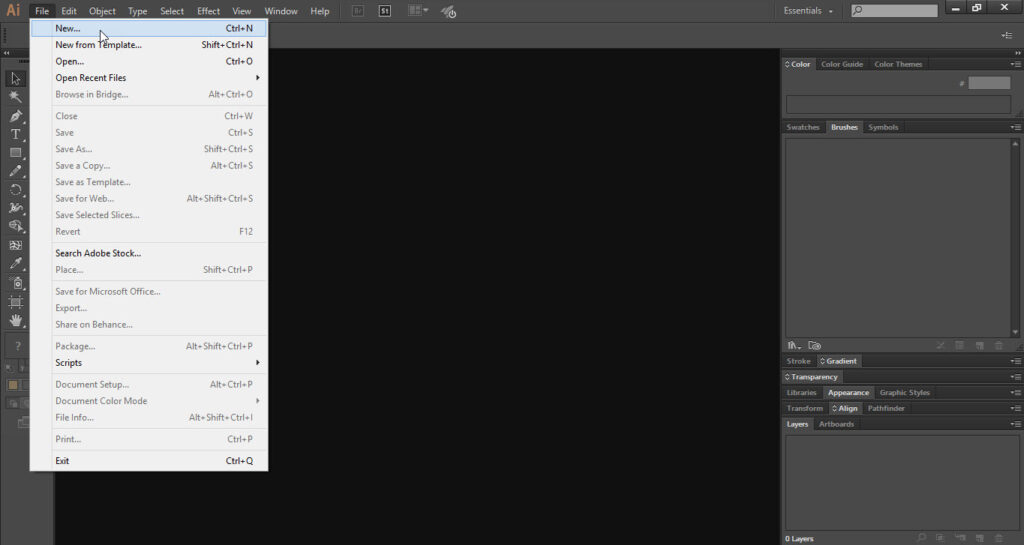
- Go to the “File” menu and click on the “New” option.
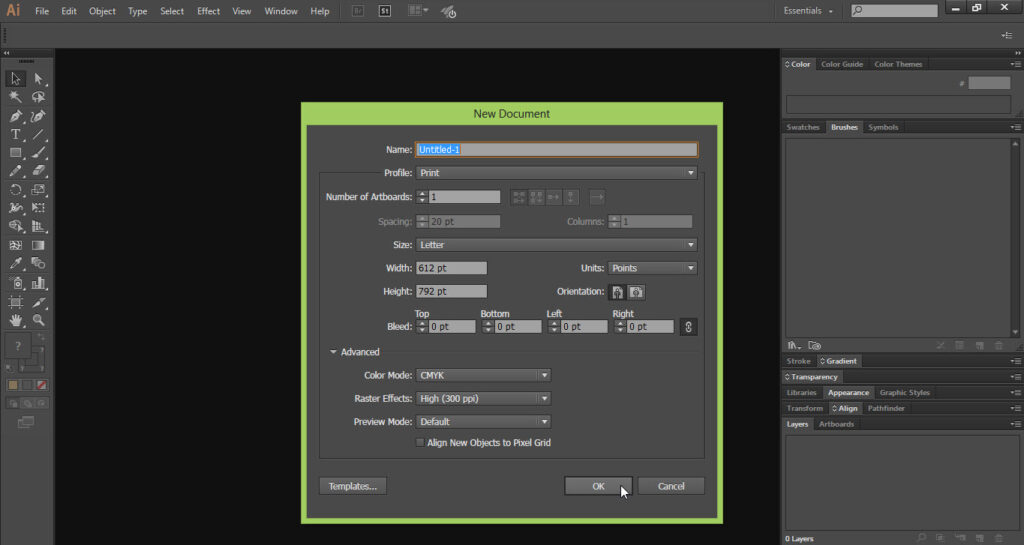
- Select the “Size” of the “New Document”.
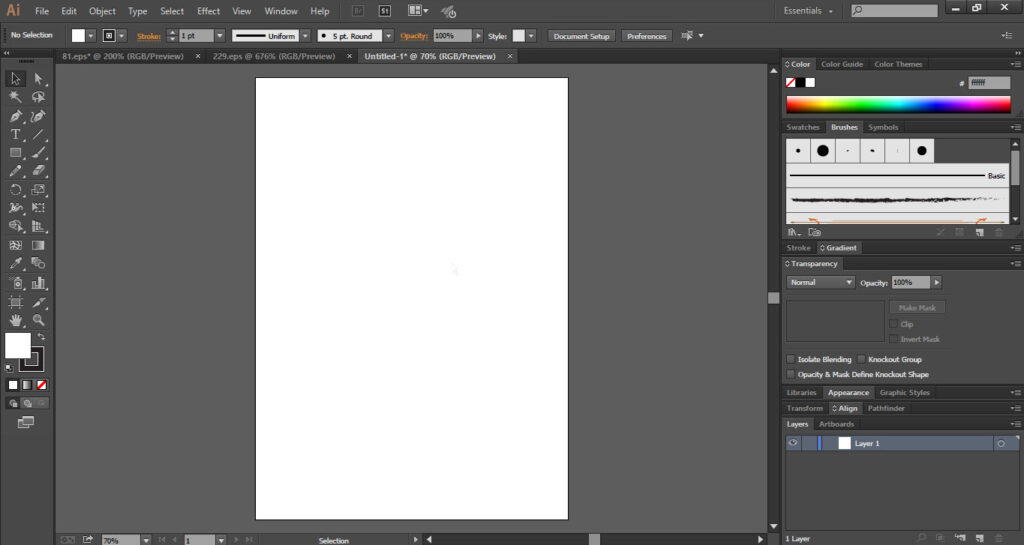
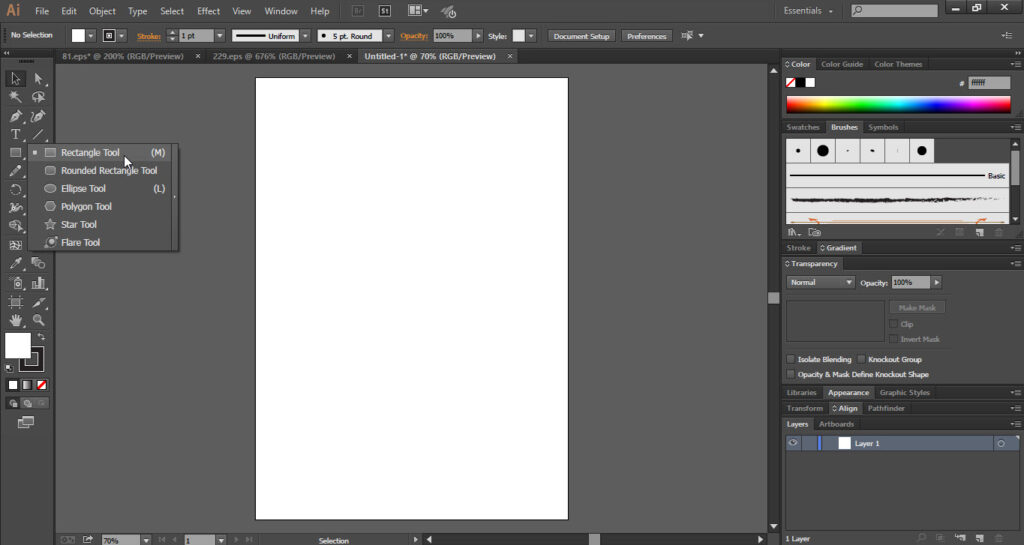
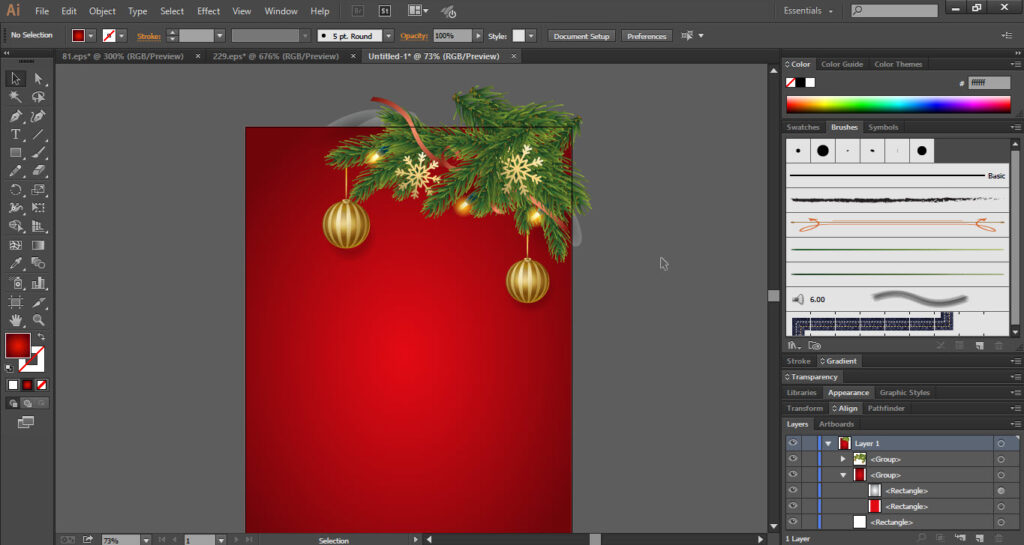
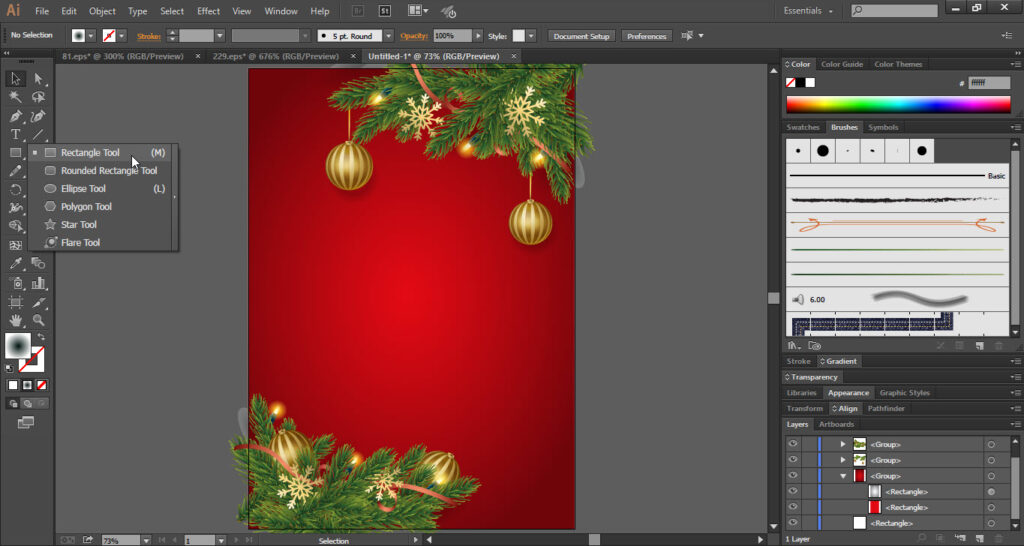
- Take the “Rectangle Tool” from the “Tools Bar”.
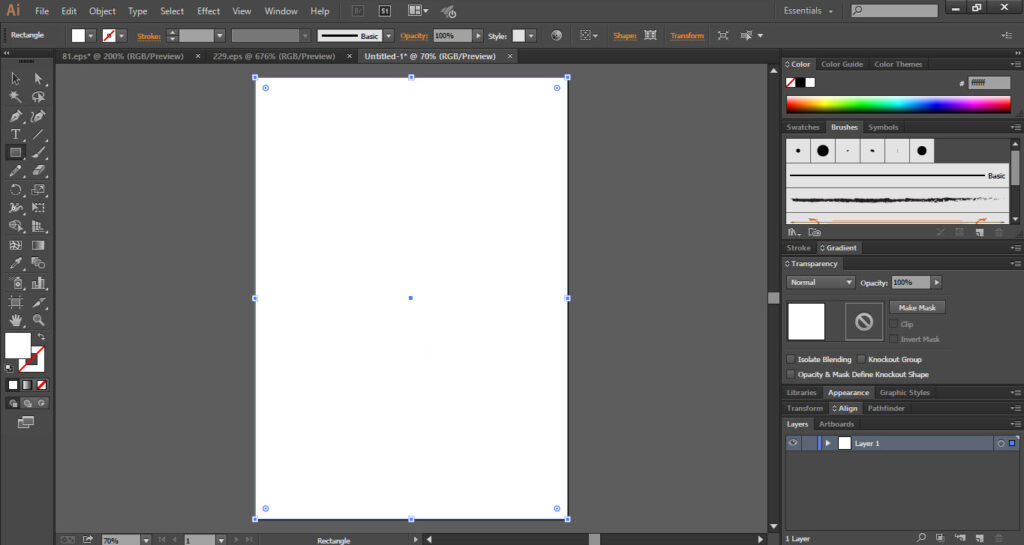
- Draw a rectangle over the “Art Board” and “Fill” it with a “White” color.
- Make sure that the “Stroke” option is “Off”.
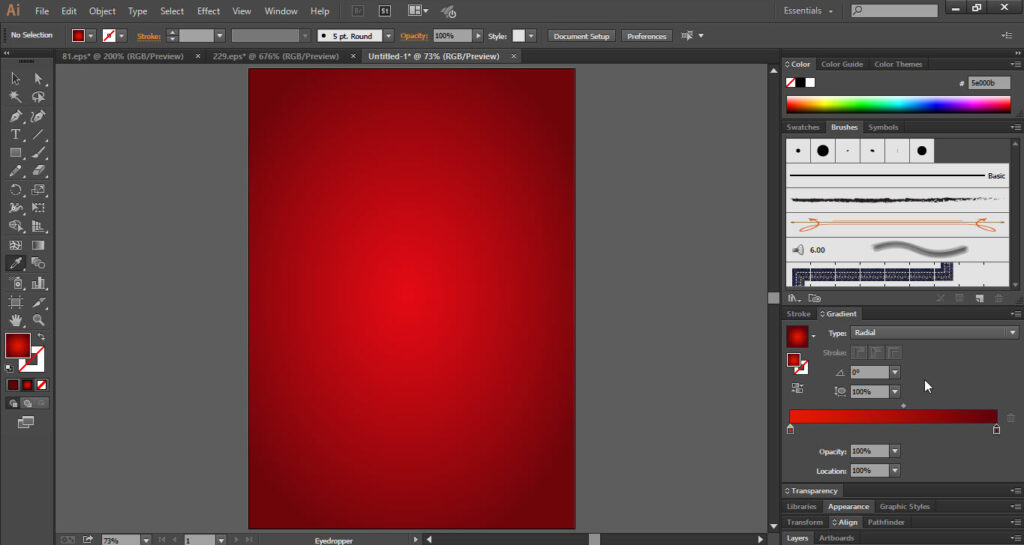
- Apply the “Gradient” to the artboard or you can also use simple color.
- Here the “Background” is ready.
Step 02
- Now we have to add some “Decoration” material to the flyer.
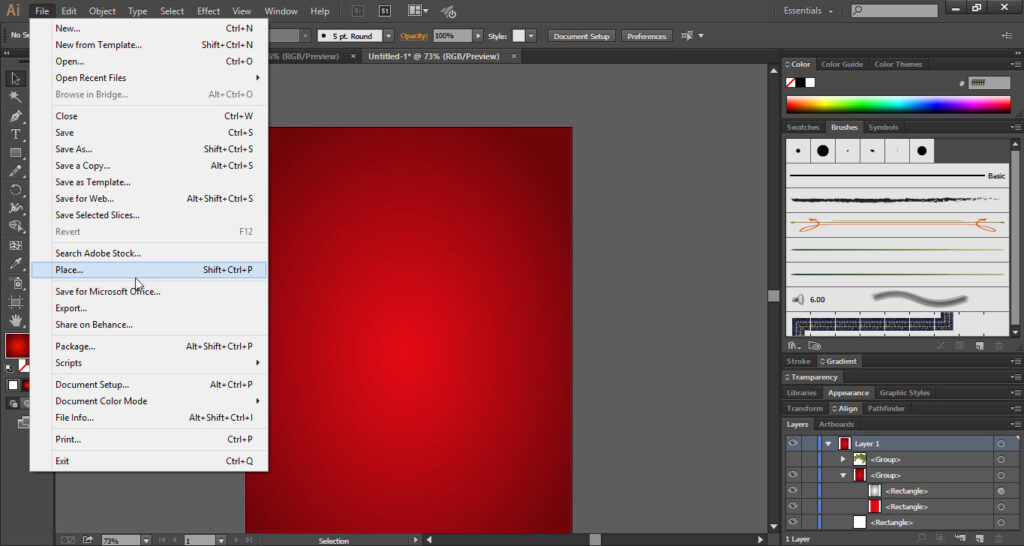
- To do so, go to the “File” menu and click on the “Place” option.
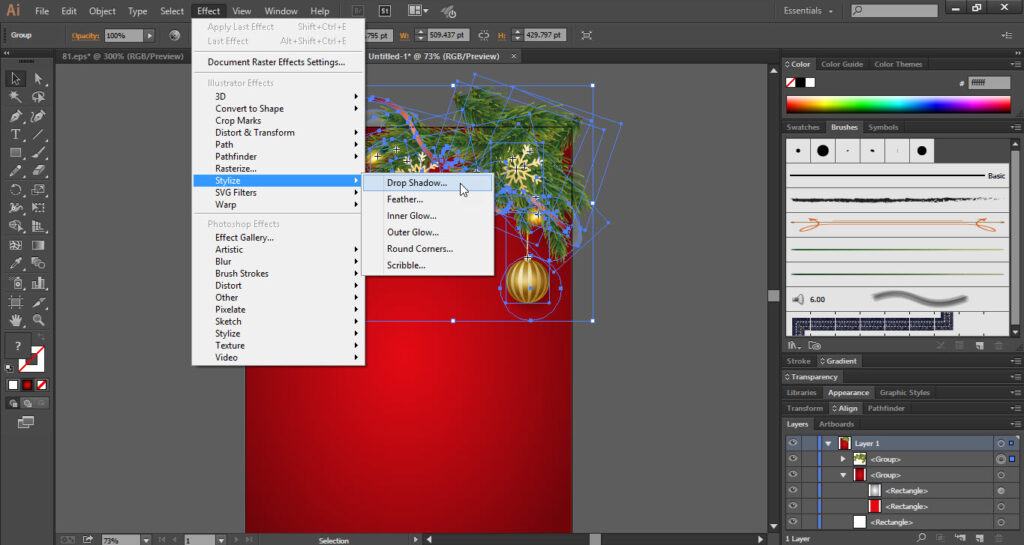
- Place the “Decoration Material” on the upper right side corner.
- Now select the decoration material and go to the “Effect” menu.
- Go to the “Stylize” option and click on the “Drop Shadow”.
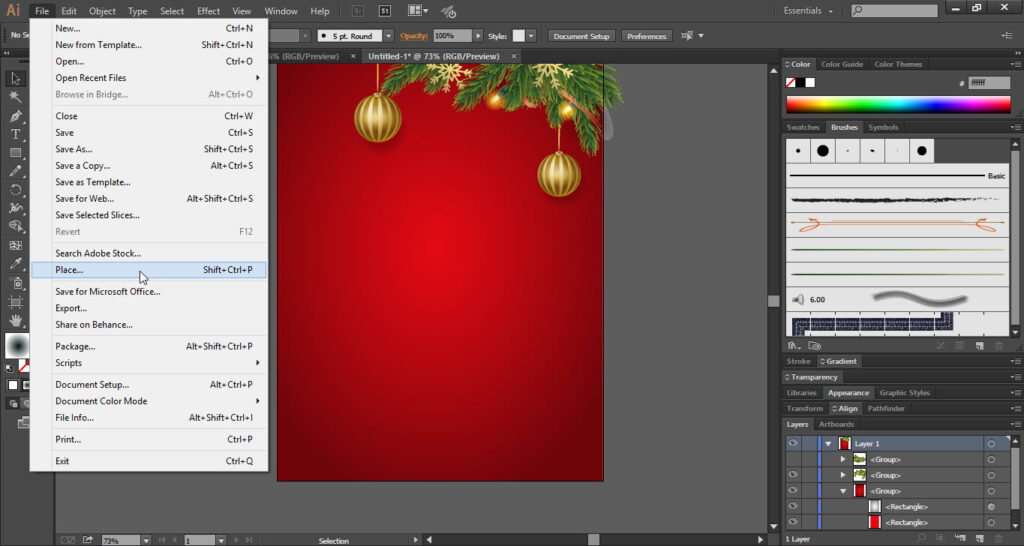
- Again go to the “File” menu and click on the “Place” option.
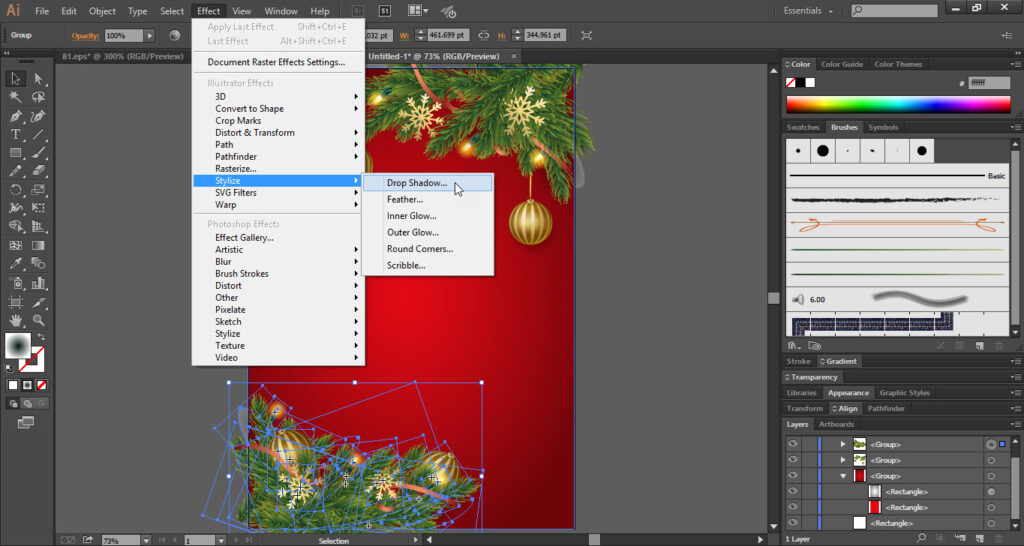
- Place the 2nd “Decoration Material” on the left lower side of the artboard.
- Again go to the “Effect” menu and apply the “Drop Shadow” effect.
- Now take the “Rectangle Tool” from the “Tools Bar”.
- Draw a “Rectangle” over the artboard.
- Make sure that the “Fill & Stroke” options are off.
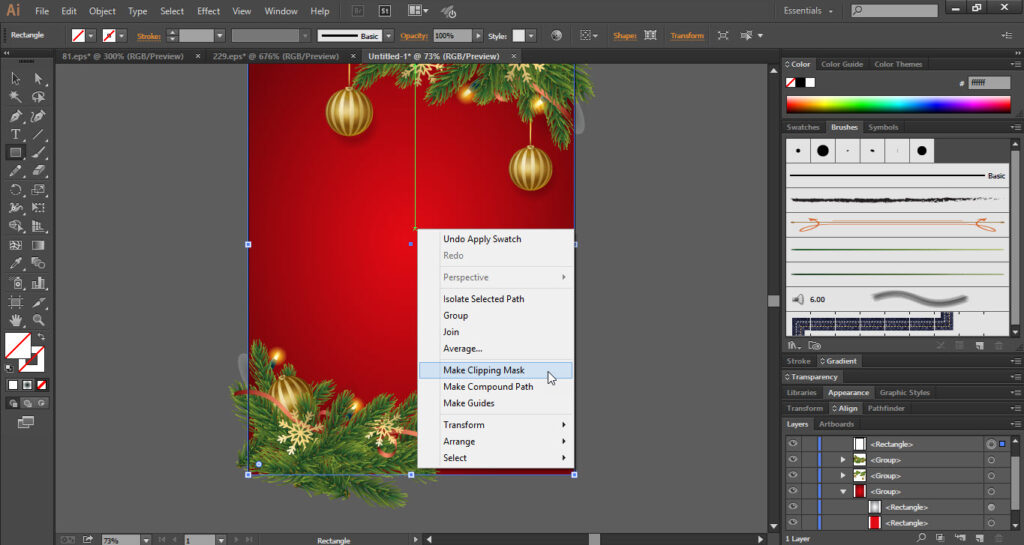
- Now select all and right-click on the artboard.
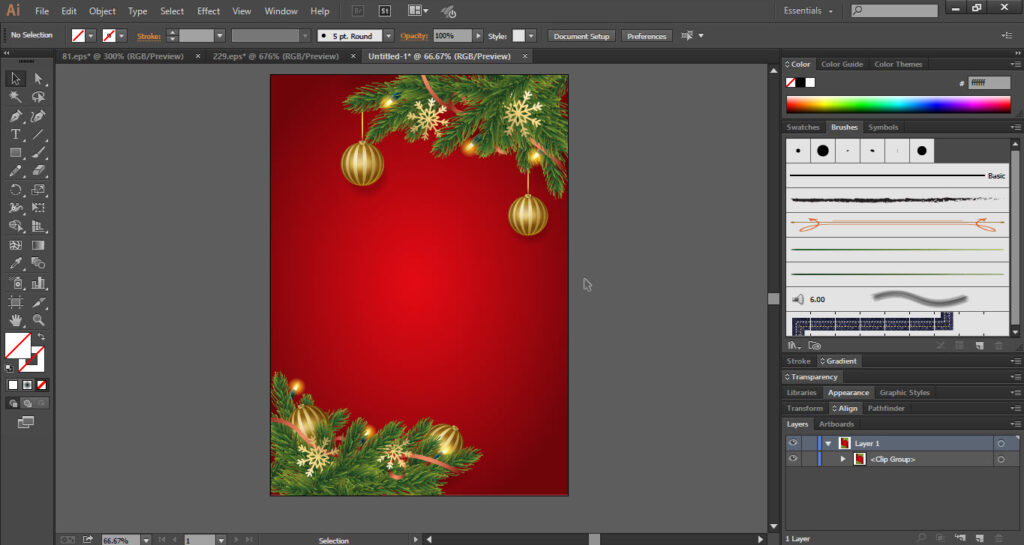
- Click on the “Make Clipping Mask” option.
Step 03
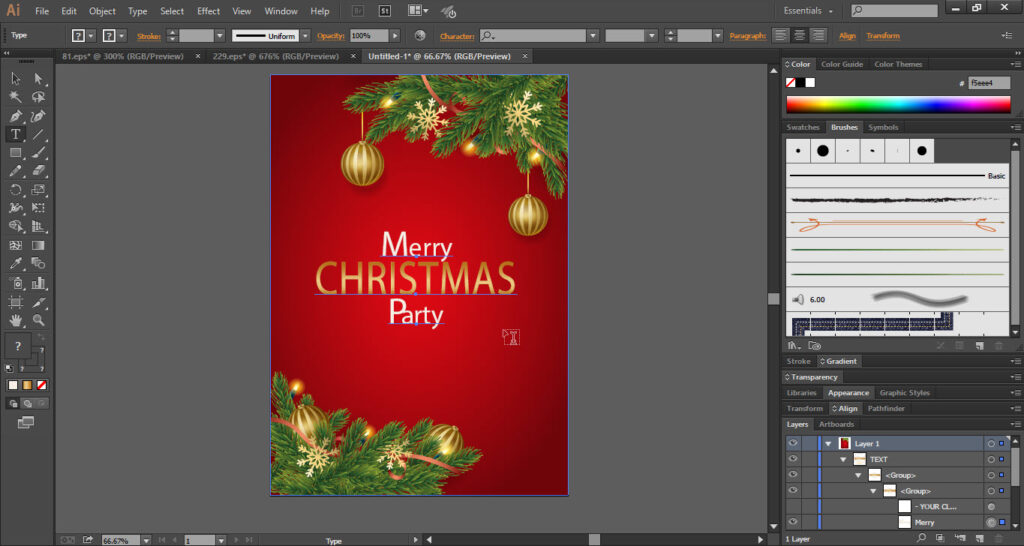
- Now we have to add some “Text” to the flyer.
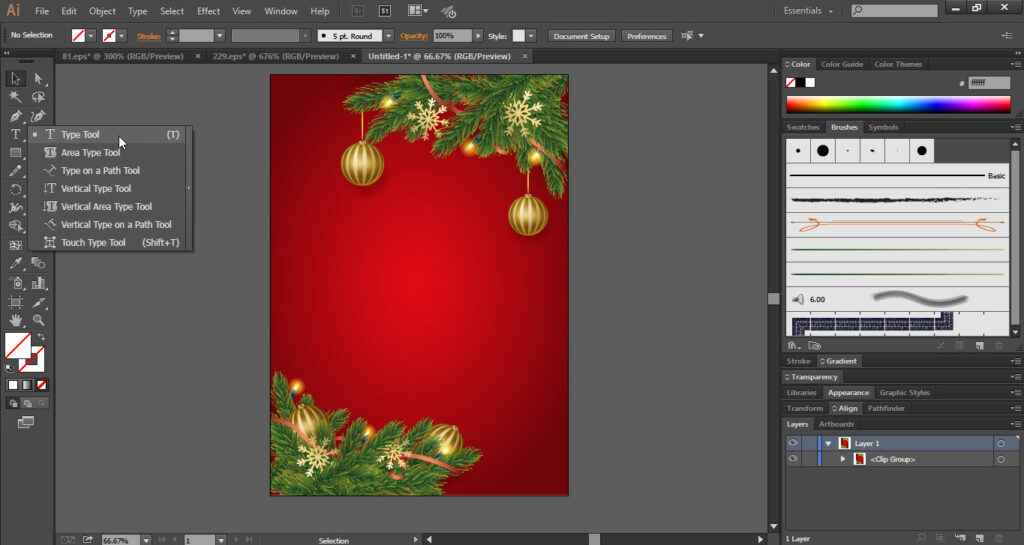
- So, take the “Type Tool” from the “Tools Bar”.
- Type the main text at the center as shown in screenshot 3.2.
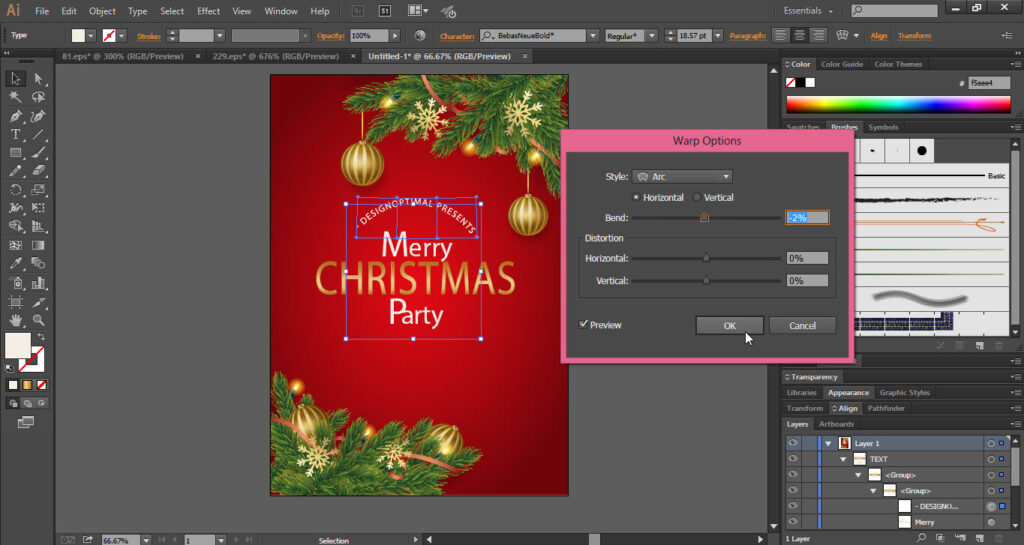
- Type the sponsor name at the top and apply the “Warp Option” effect.
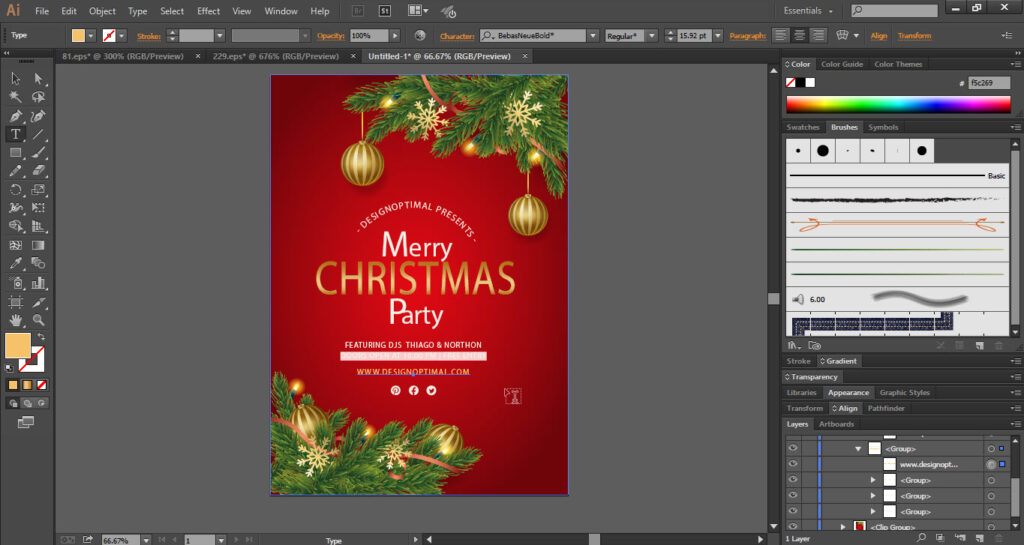
- Under the main text add “Address, Date & Time” and “Social Media” accounts.
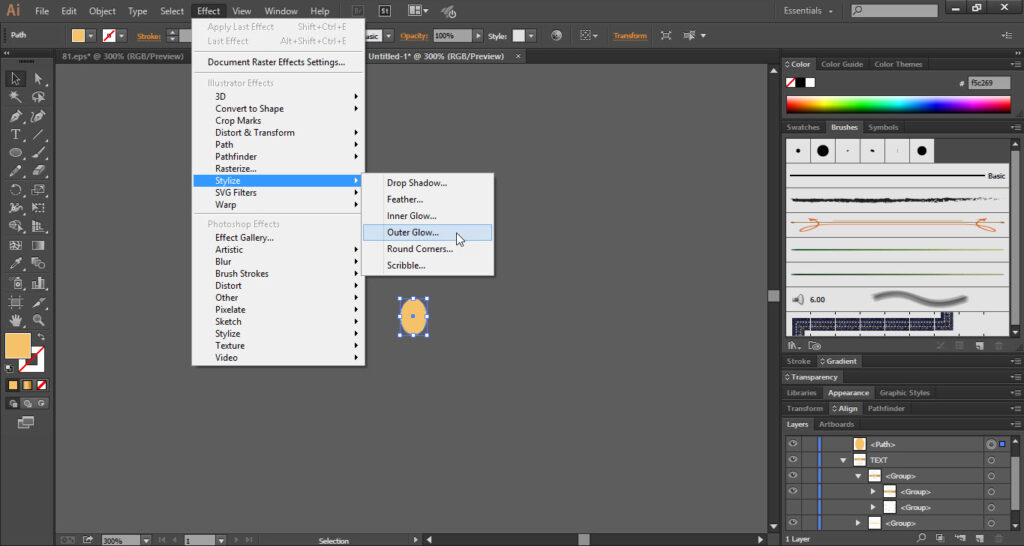
- Now take the “Ellipse Tool” from the “Tools Bar”.
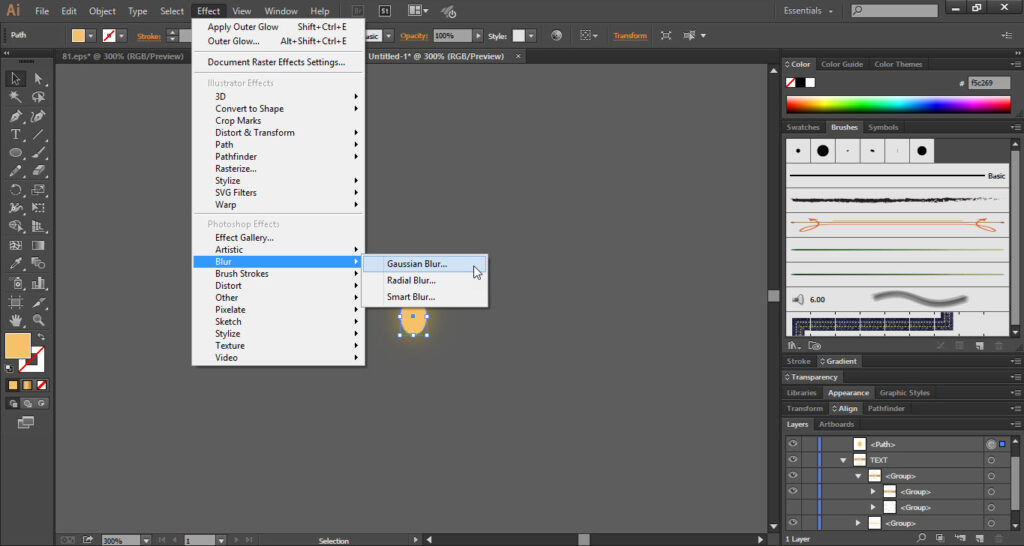
- Draw a small circle and go to the “Effect” menu.
- In the “Effect” menu go to the “Stylize” option and click on the “Outer Glow”.
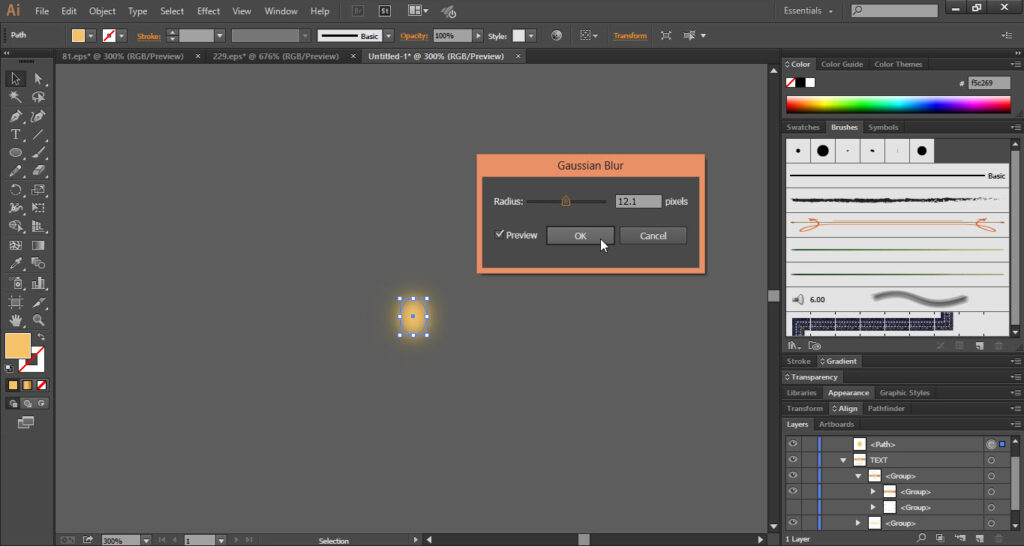
- Again in the “Effect” menu go to the “Blur” option and click on the “Gaussian Blur”.
- Apply the “Gaussian Blur” effect according to your point of view.
- Press “Ctrl+C” and then “Ctrl+F” to duplicate the same circle.
- Place these circles randomly on the artboard.
- Finally, your “Christmas Part Flyer” is ready.
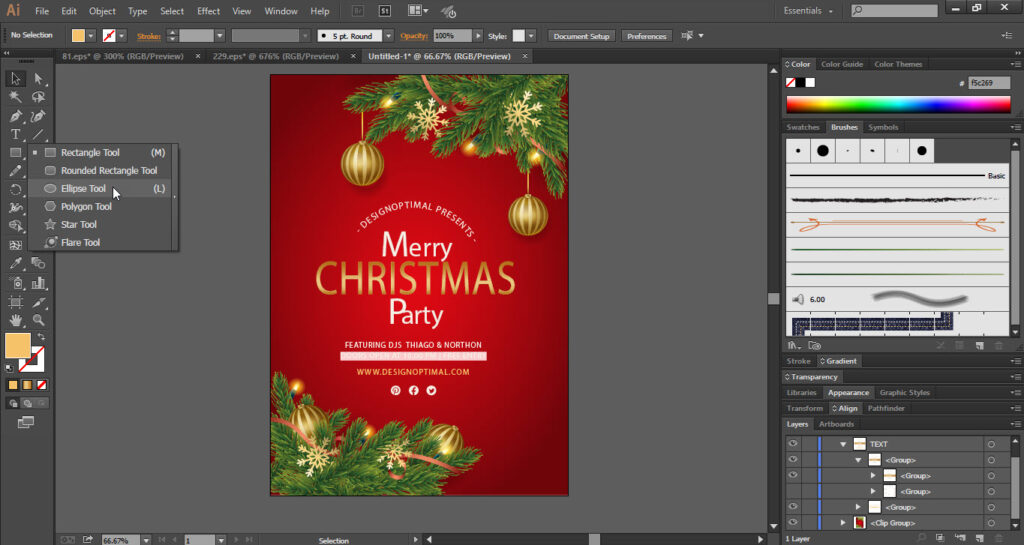
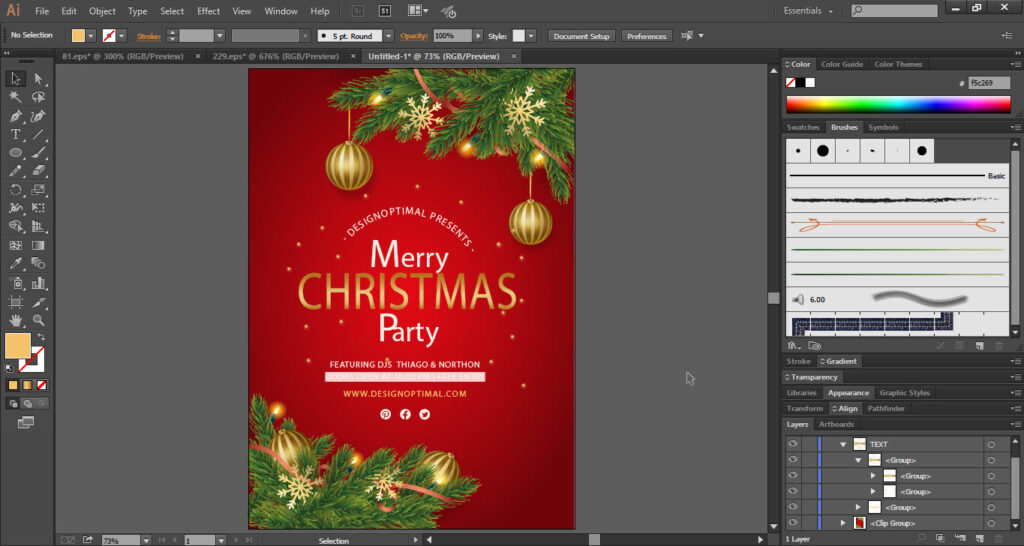
This is how the final result looks like
