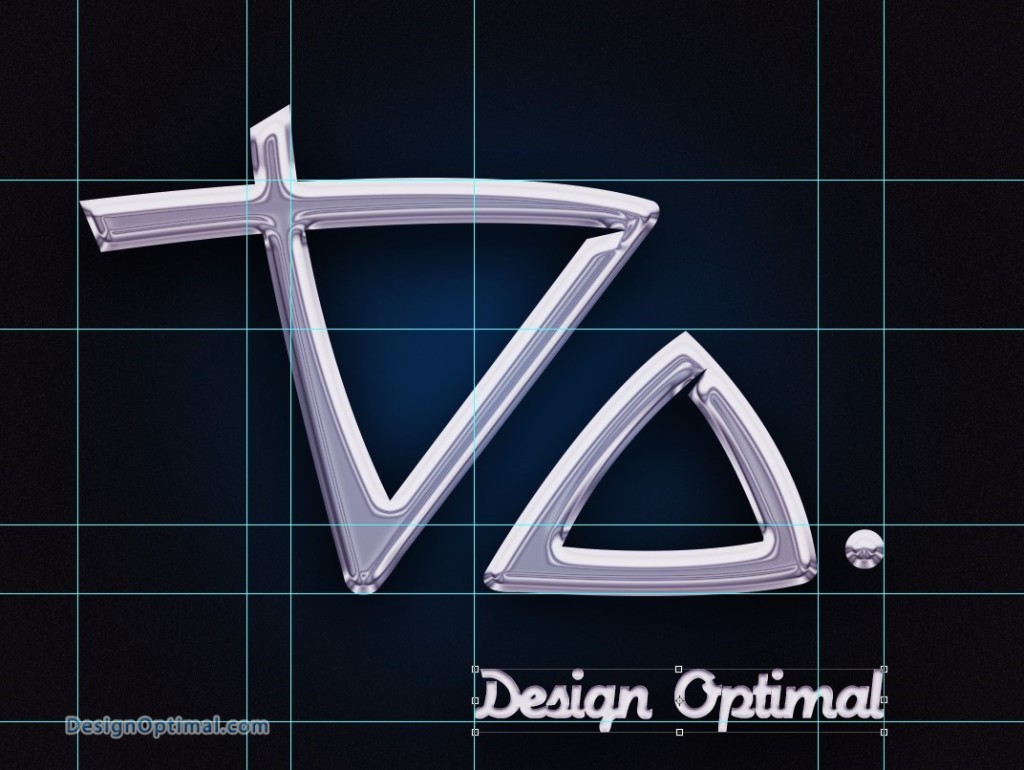
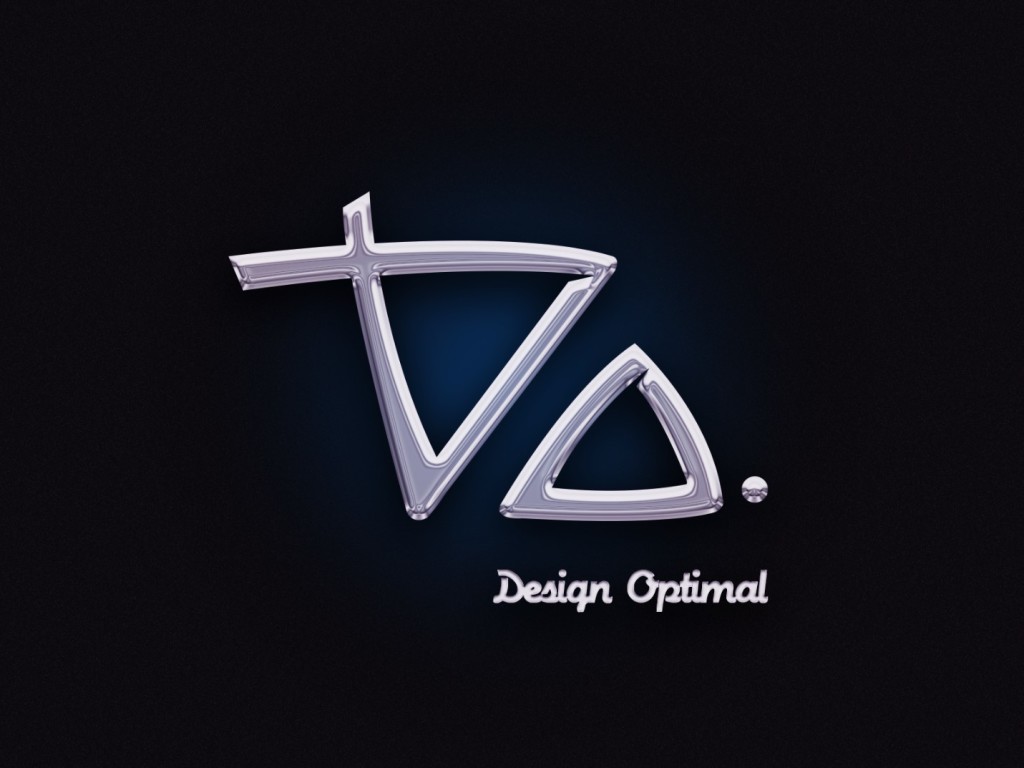
Hello!! Thanks for join with us again, today we will show you how to create a chrome effect in Photoshop.
Resources
- Fonts Used :
- Machine Script
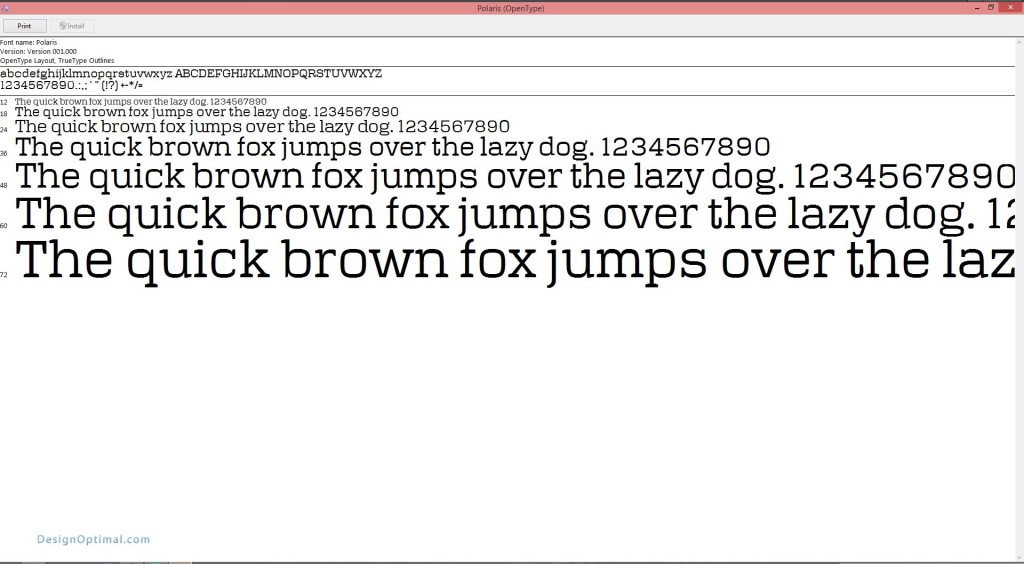
- Polaris
Step 01
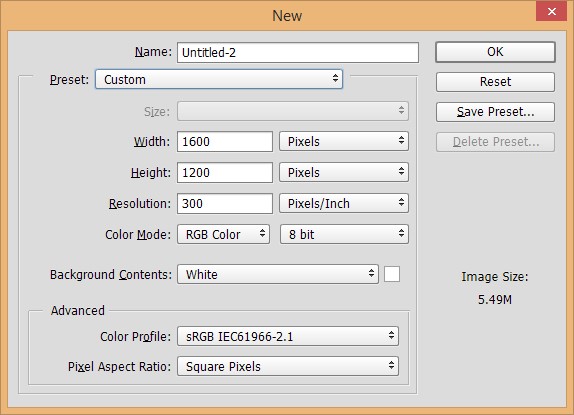
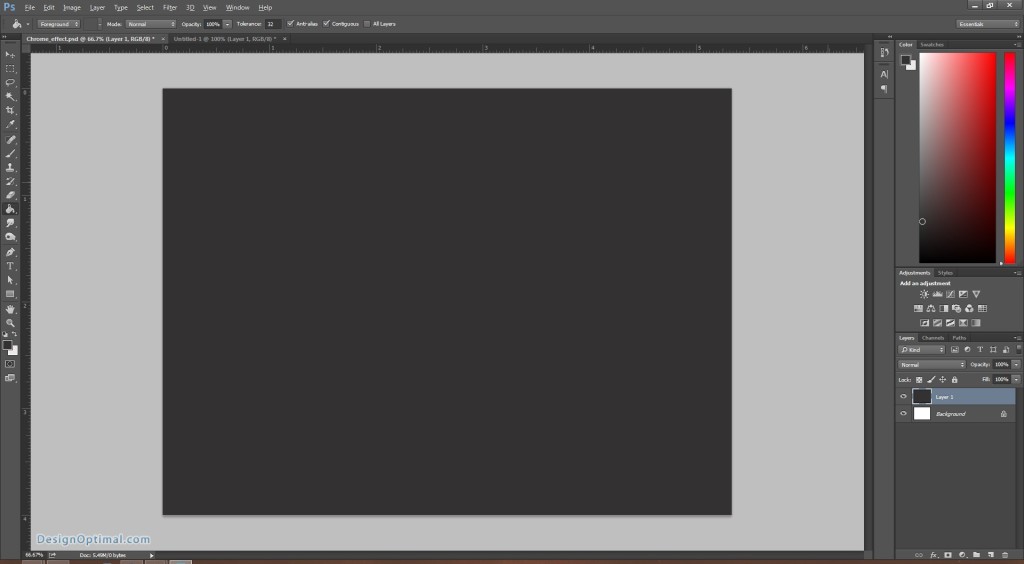
- Open Adobe Photoshop and create a new document. The document size will be 1600×1200 px for the size. Save it as Chrome Effect’s.psd.
Step 02
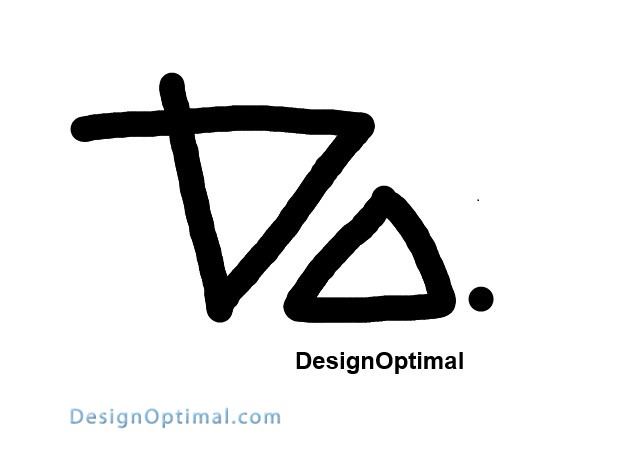
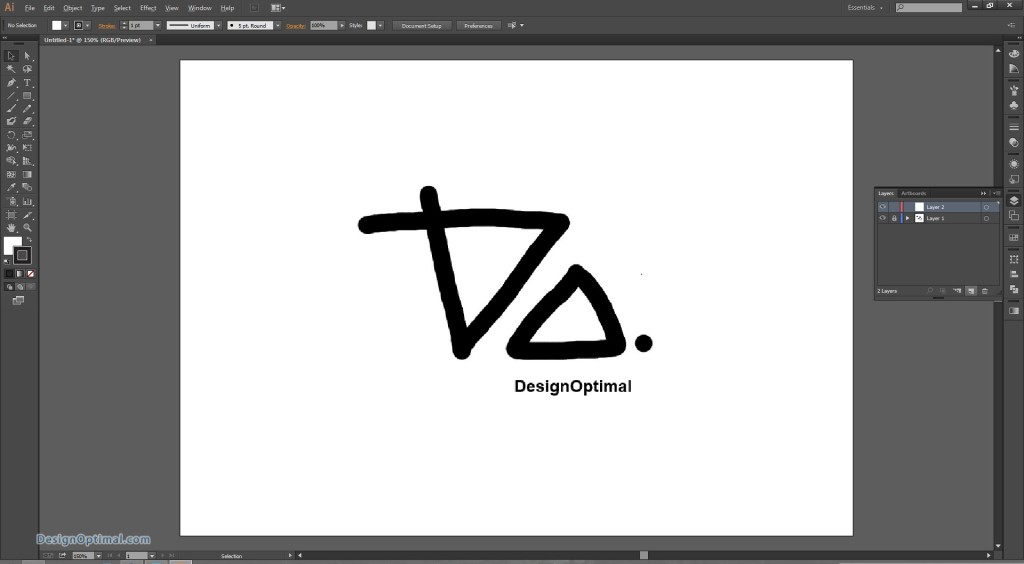
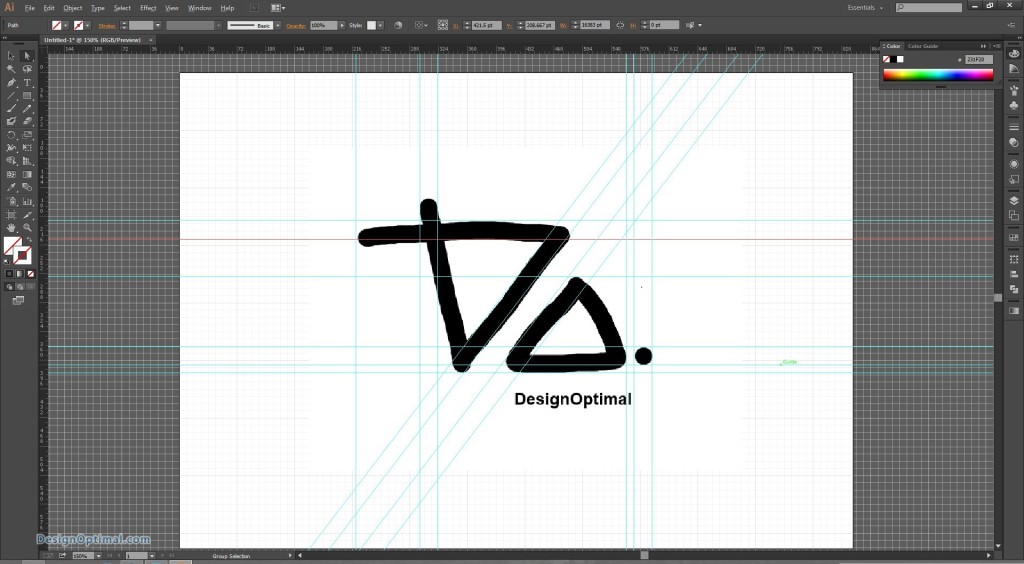
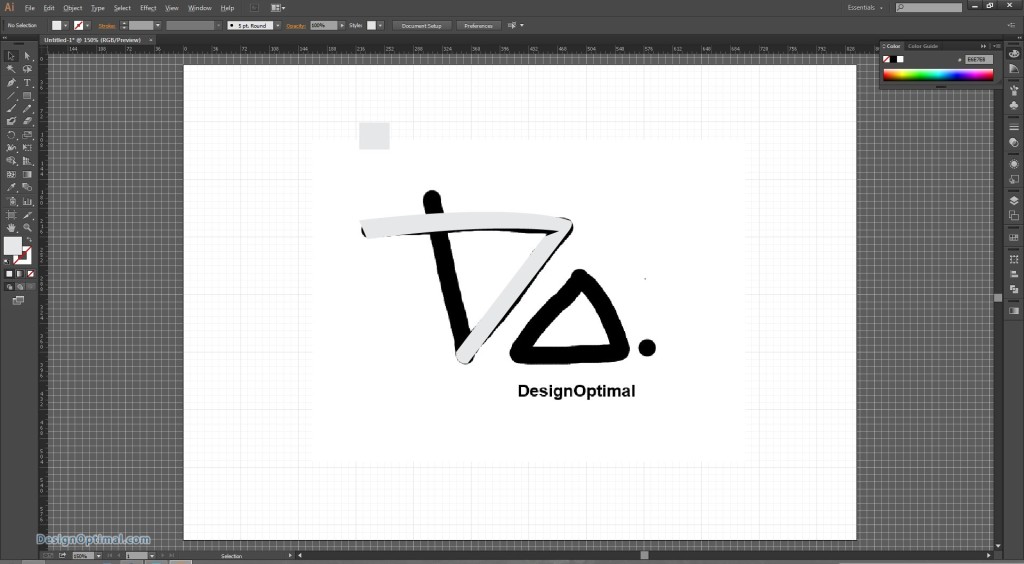
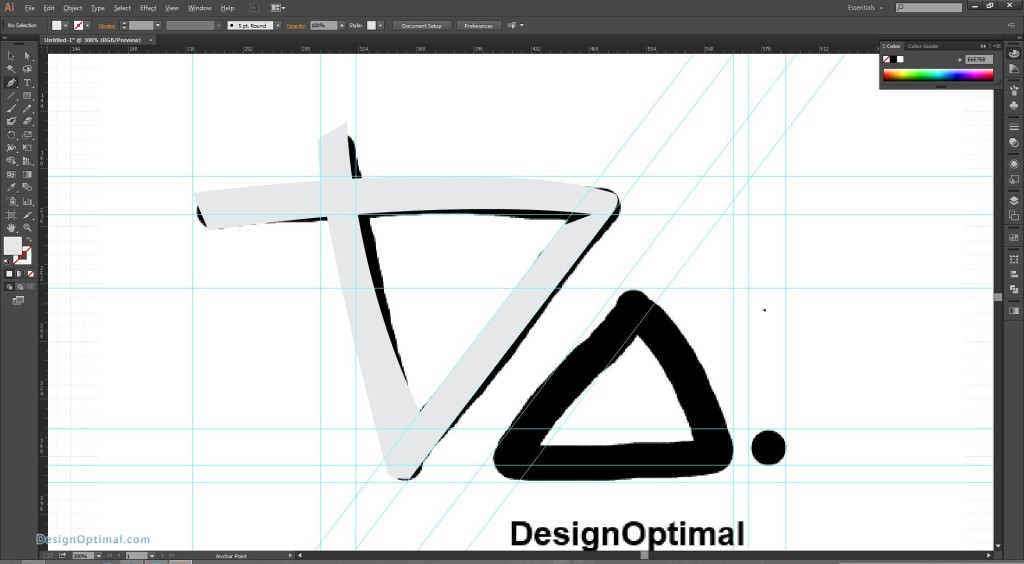
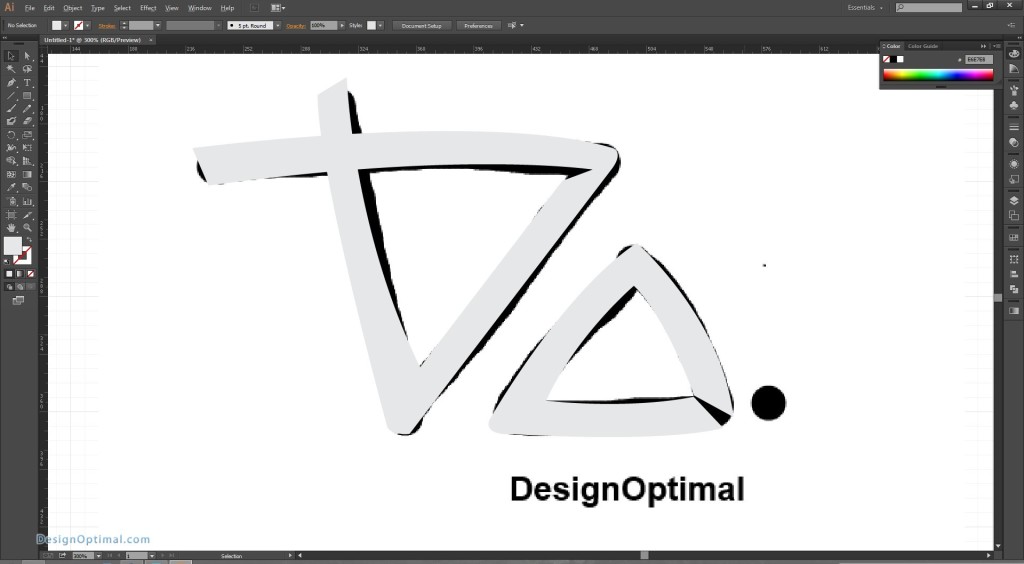
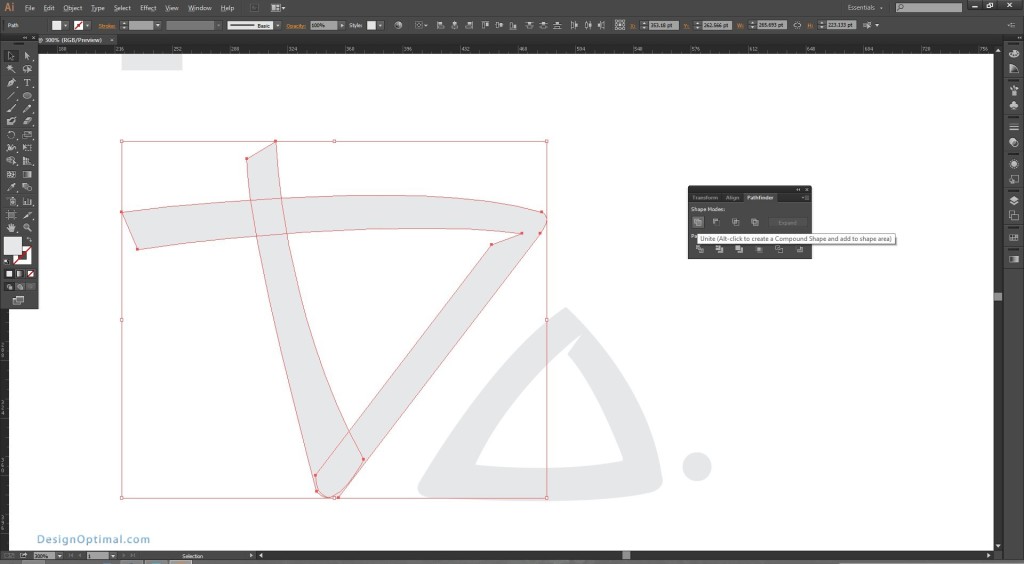
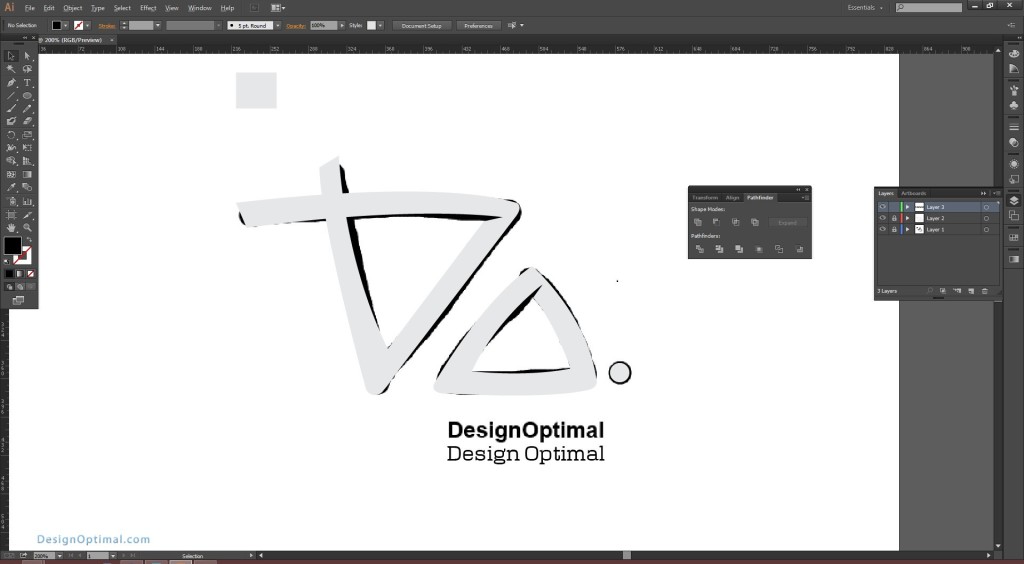
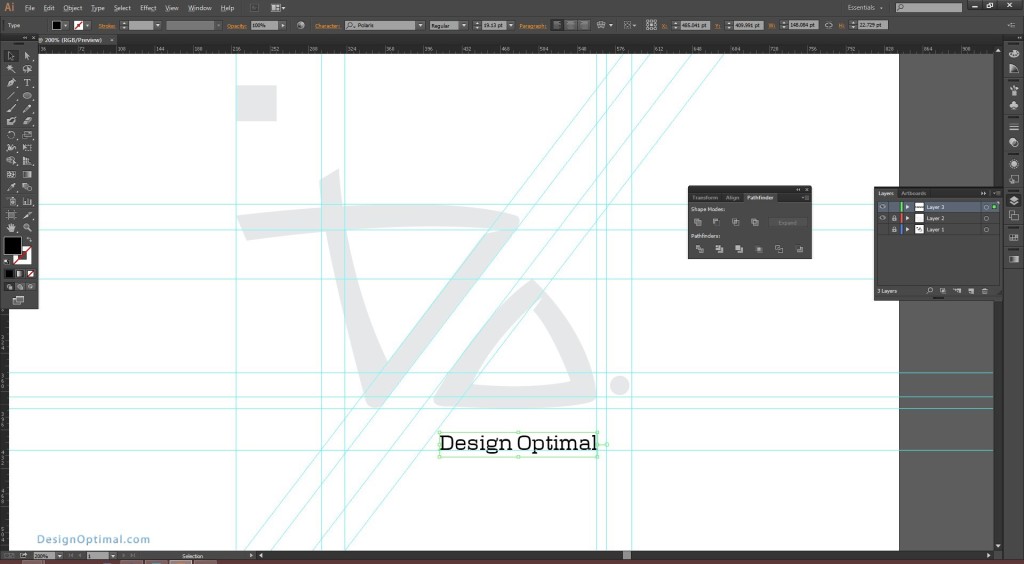
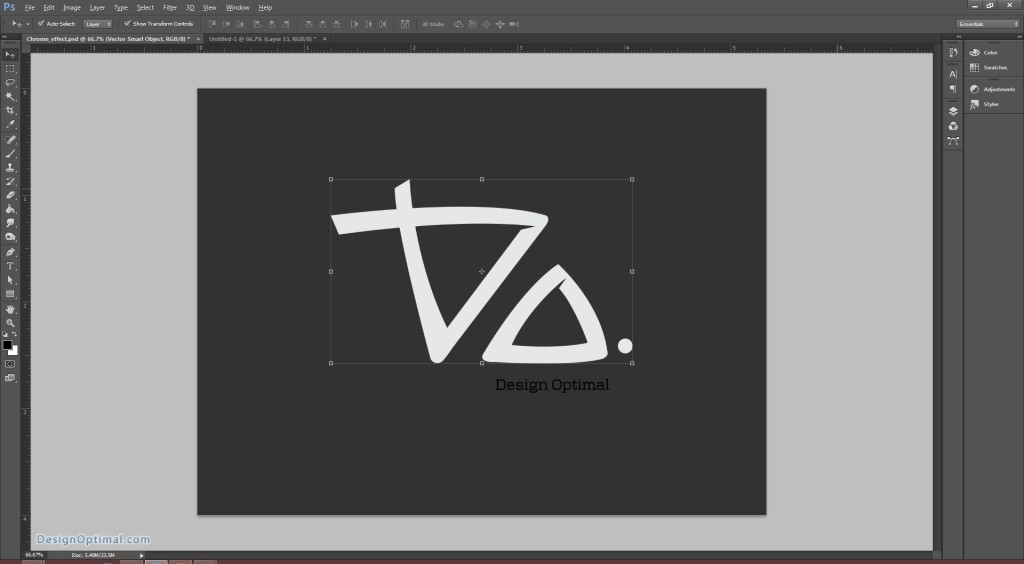
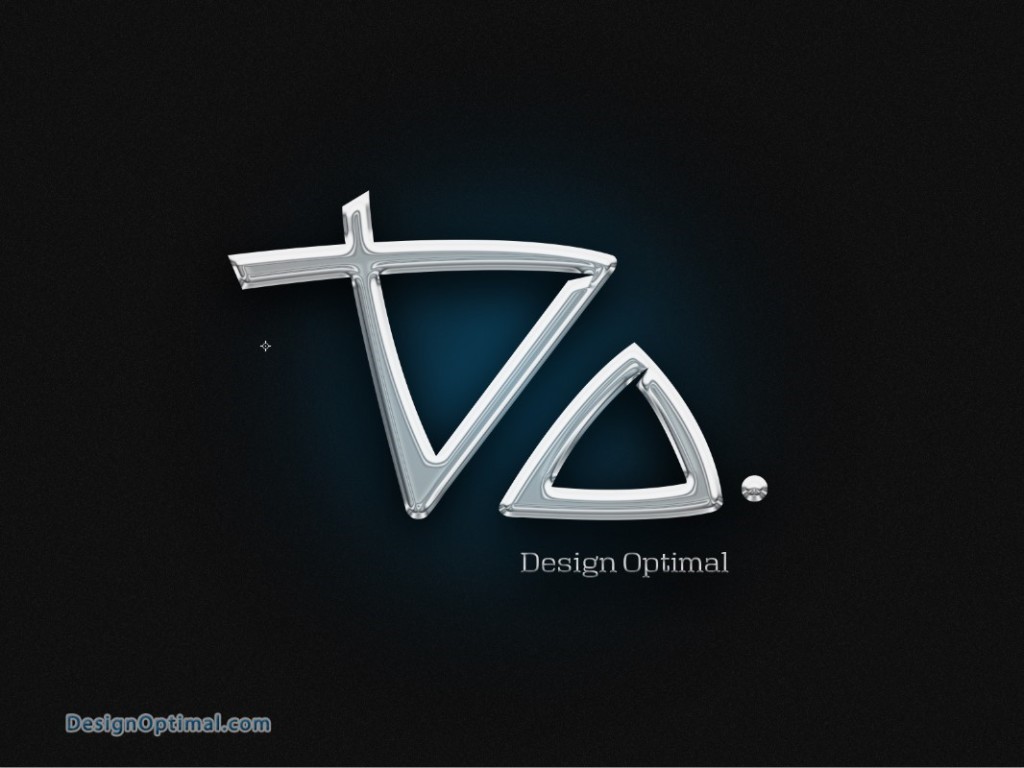
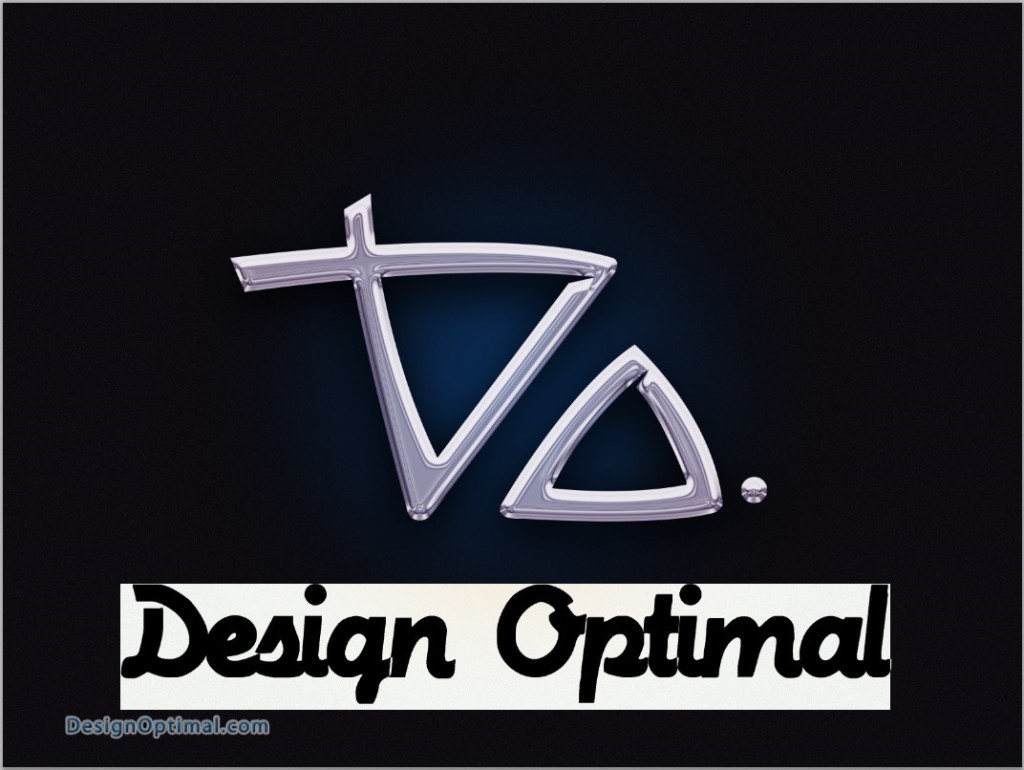
- Now for the logo we will use the Design Optimal icon, for that we will have to create something like this in Adobe Illustrator. It’s going to be something like the below image.
- The main DO logo is created using the pen tool and shapes and the second design optimal text is typed with the font called Polaris.
Step 03
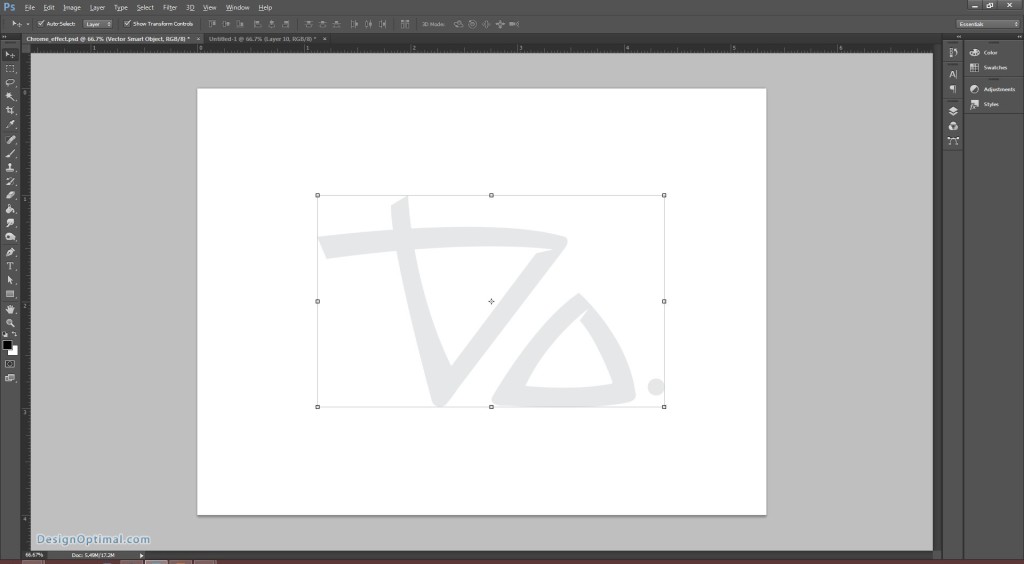
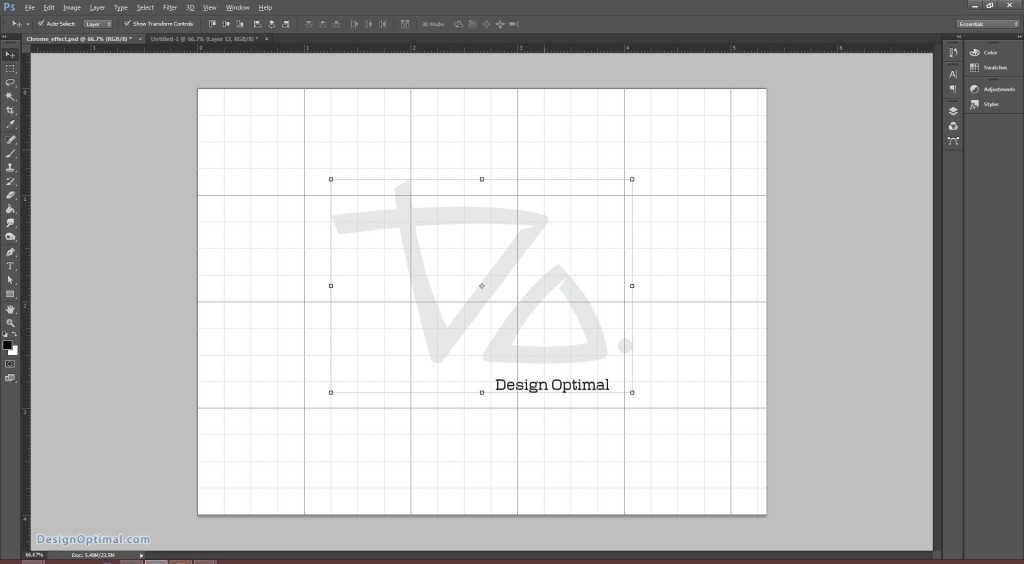
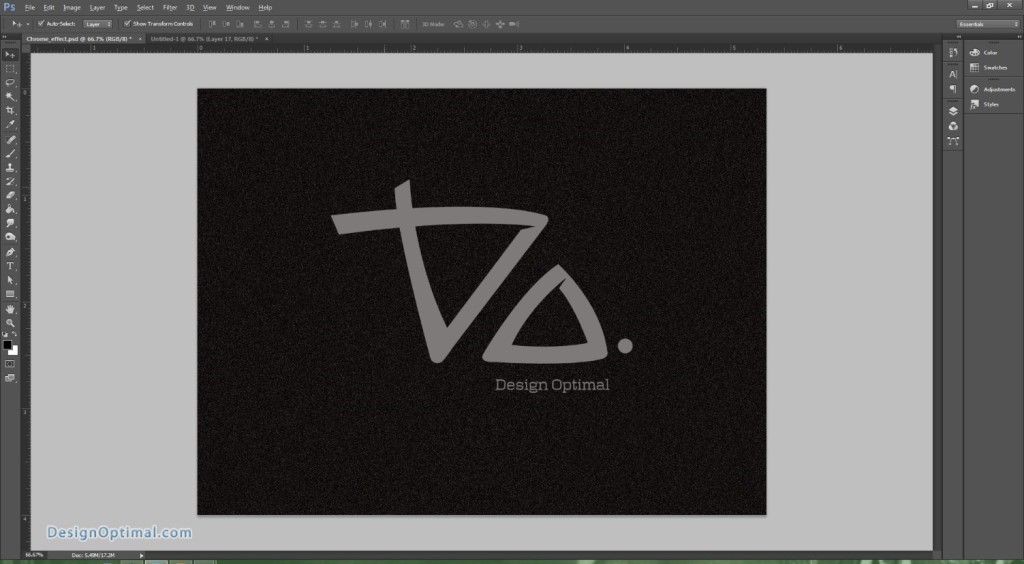
- Now we will place the logo that we just created using Adobe Illustrator in to the Photoshop.
Step 04
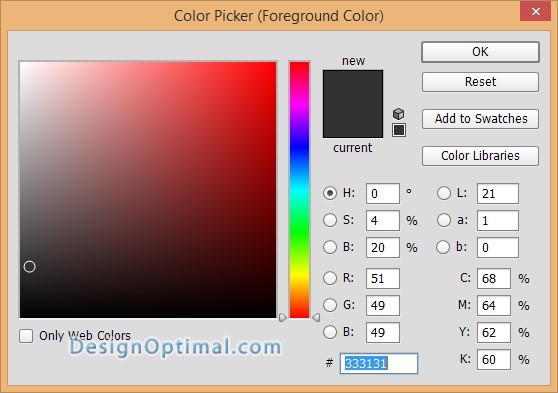
- Now fill the document with #333131, it’s a bit darker grey color.
- Now center the design optimal logo to the document.
Step 05
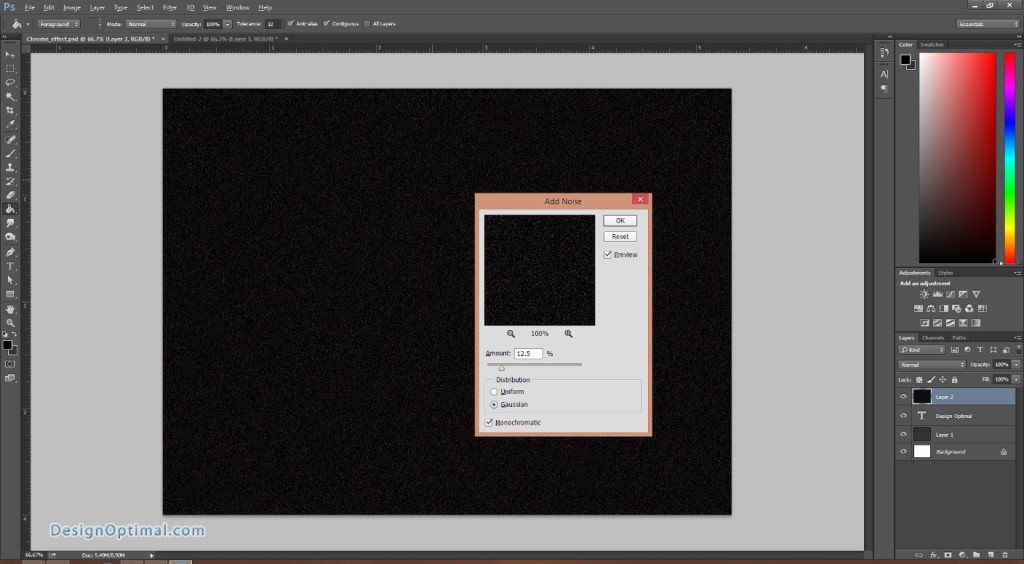
- Now again add a new layer on the top of the logo layer and fill with black with the Paint Bucket Tool.
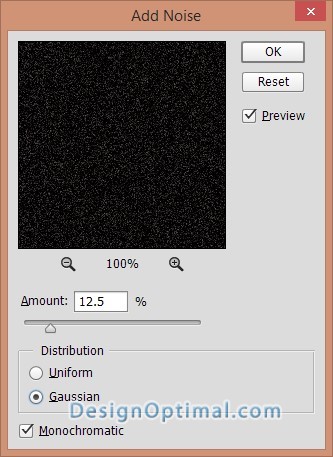
- After that go to Filter>Noise>Add Noise. Use 12.5% for the Amount, Gaussian and Monochromatic.
Step 06
- Now bring that layer below the logo layer and Duplicate the layer. Then for the one on top go to Edit>Transform>Flip Horizontal.
- After that change the Blend Mode to Screen at 40%.
Step 07
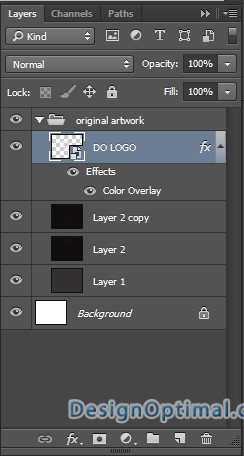
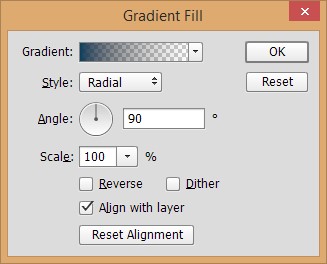
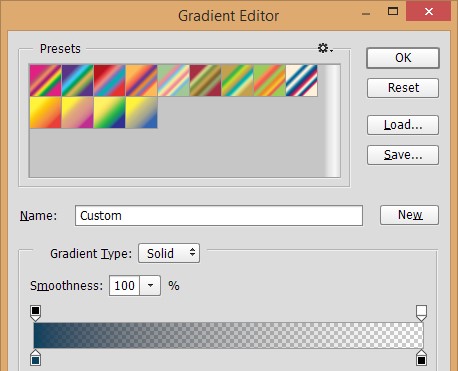
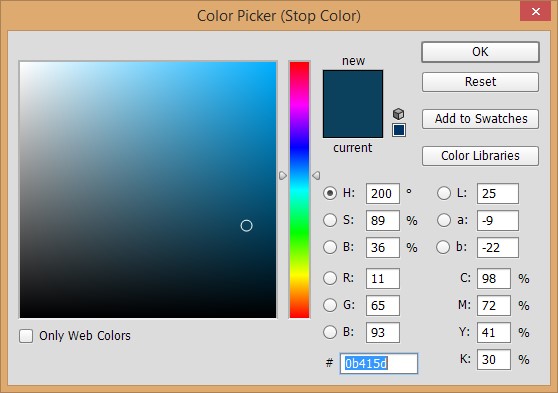
- Now Group the 2 layers with noise and the other duplicated layer. After that, for the group apply a layer style. Select Gradient Overlay and use Radial with a blue color in the middle and black for the edges.
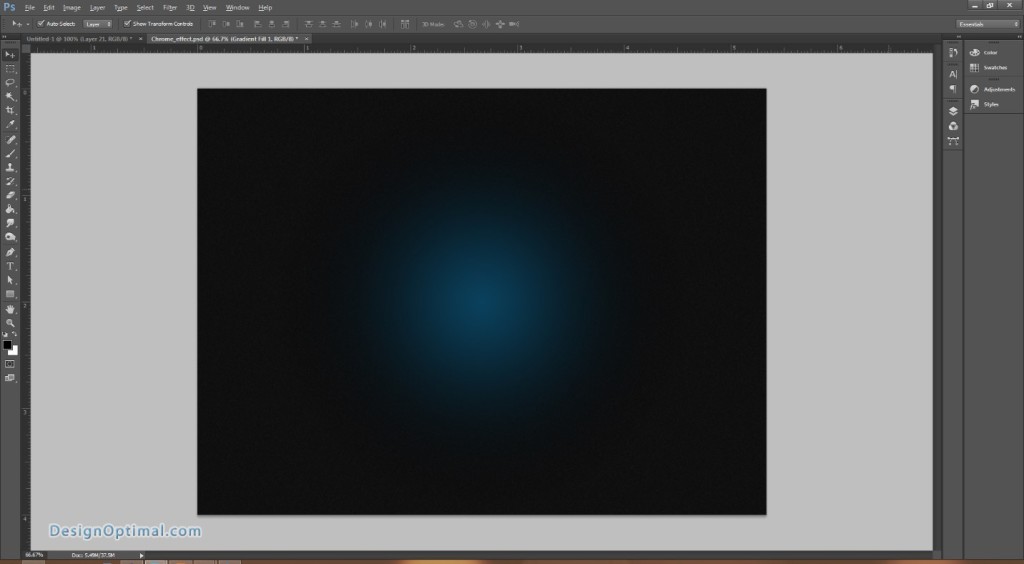
Step 08
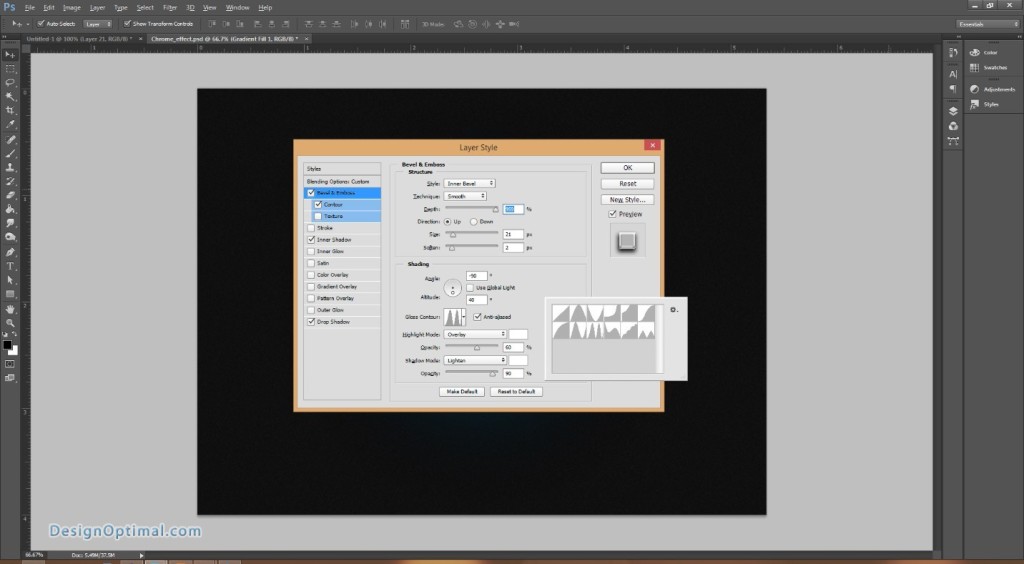
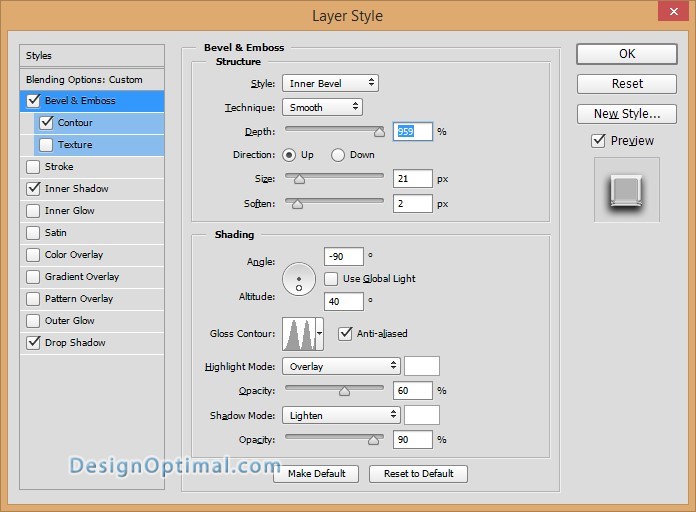
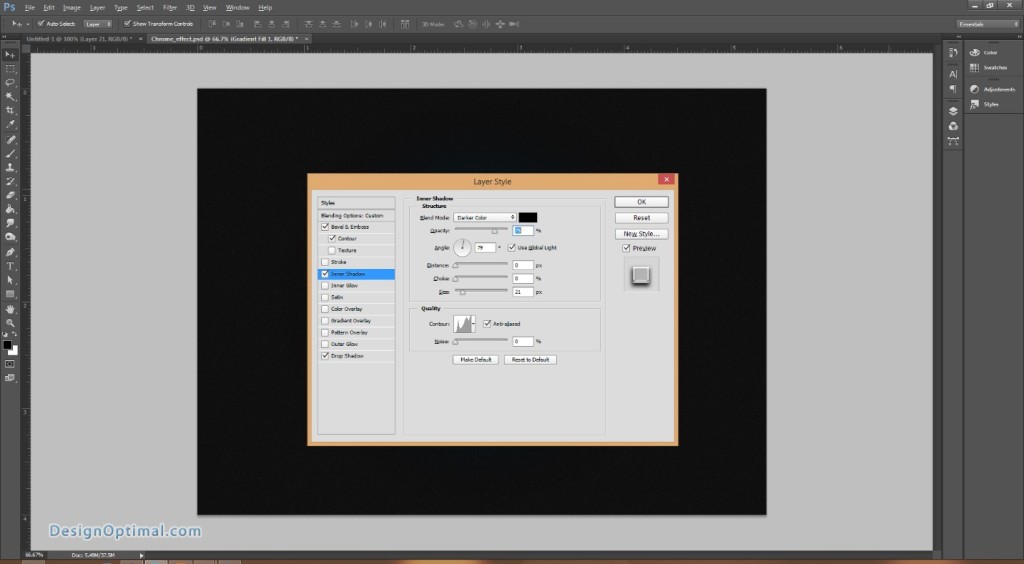
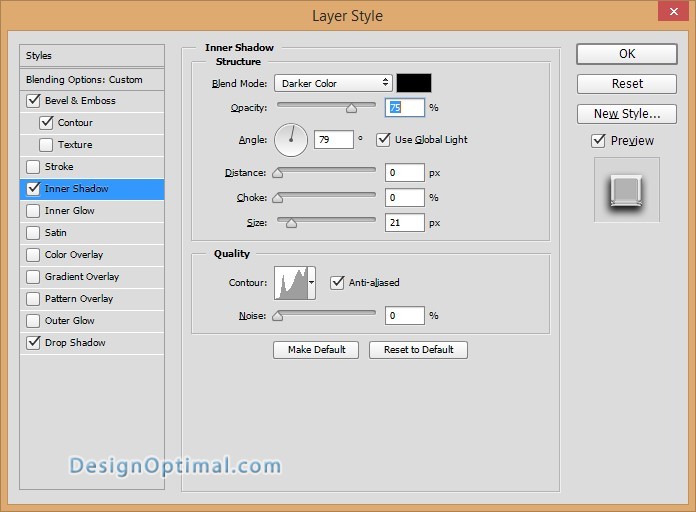
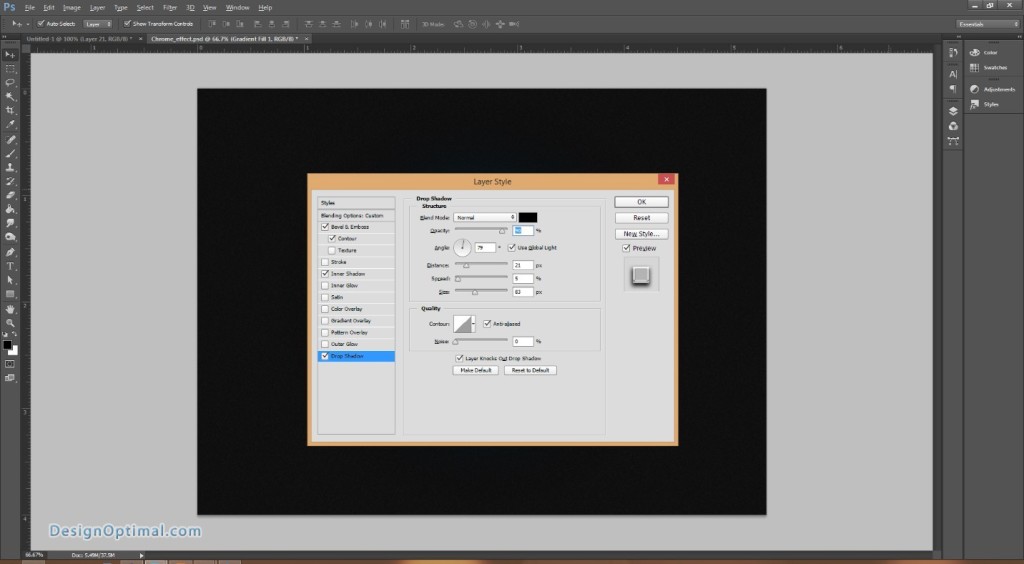
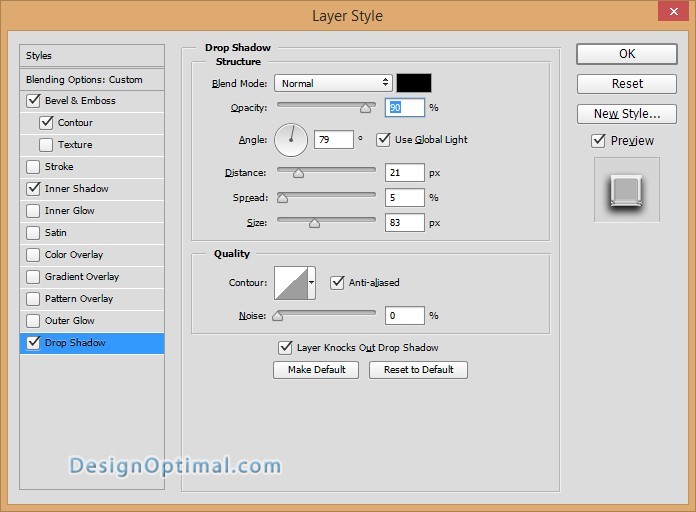
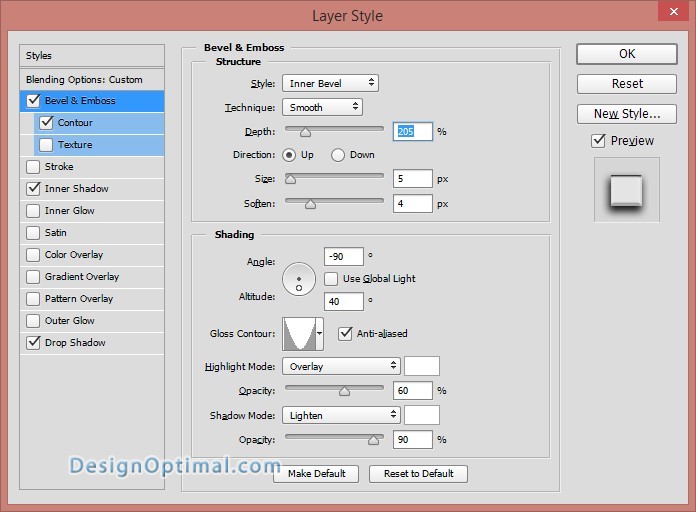
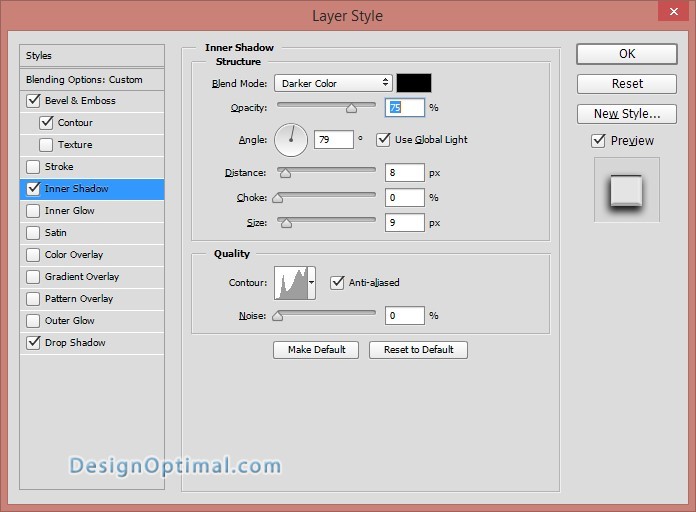
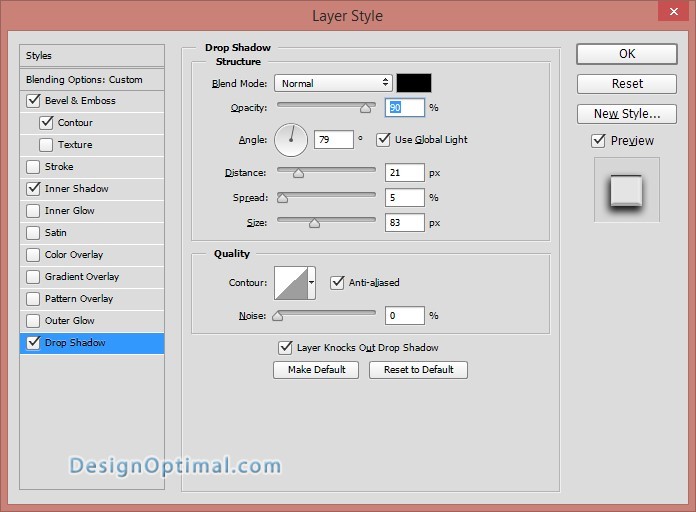
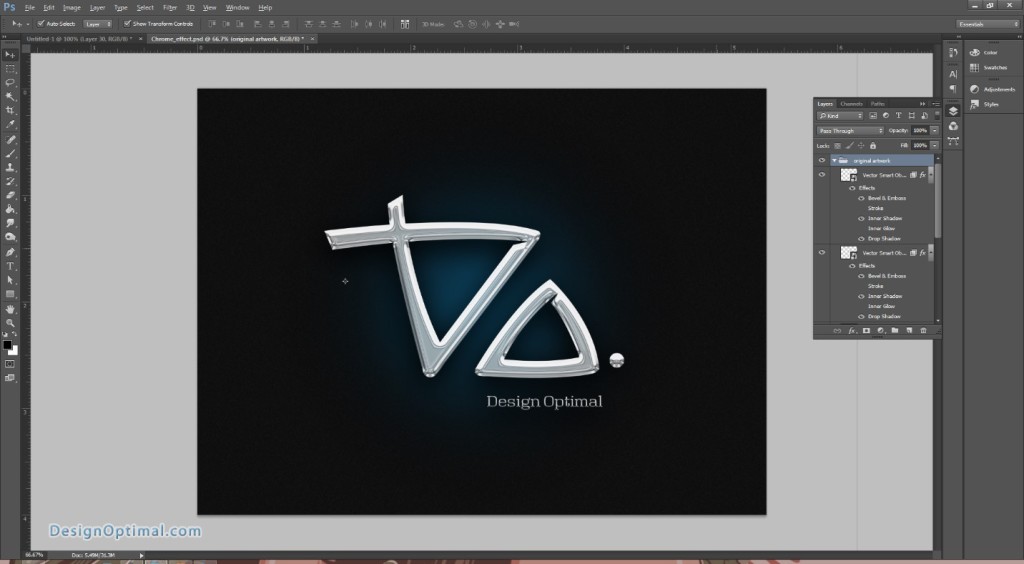
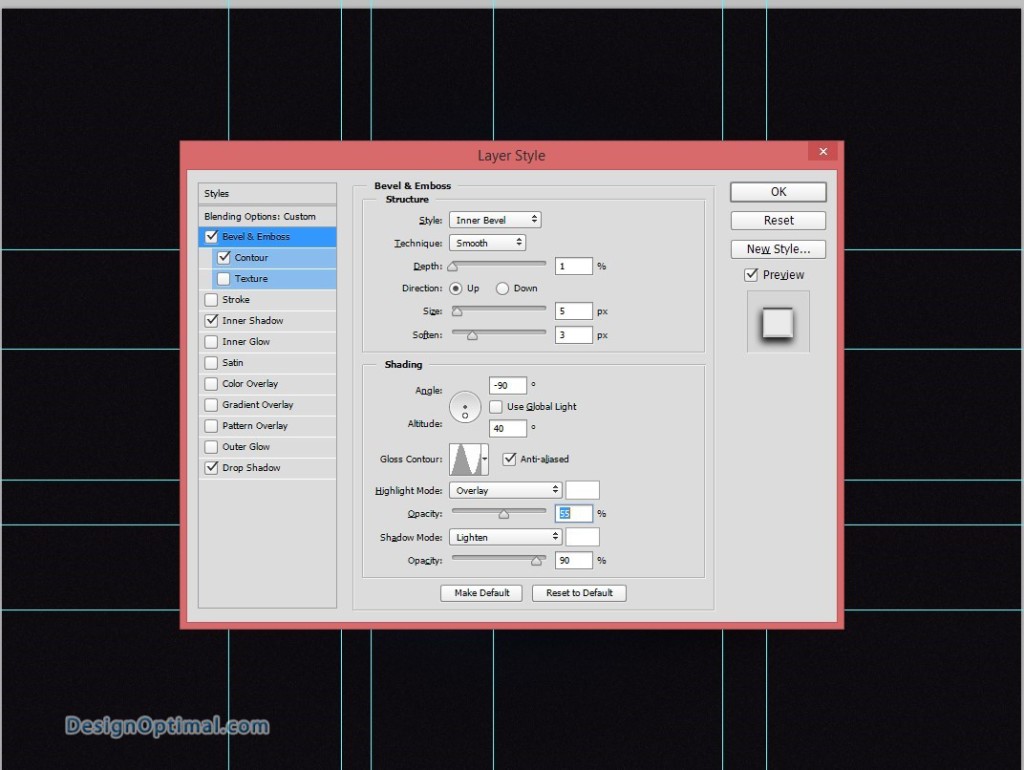
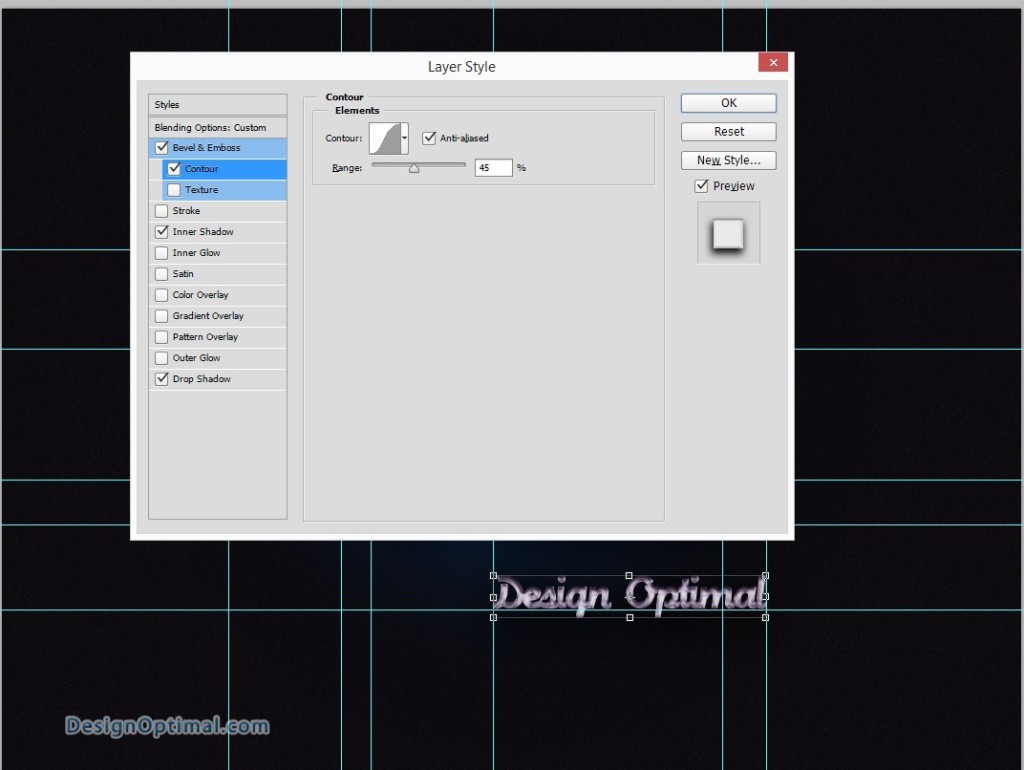
- Now as the next step Select the Design Optimal logo and make it in to smart object it then go to Layer>Layer Style>Blending Options. Use the settings like the images below. These are the best settings for the design optimal symbol.
Step 09
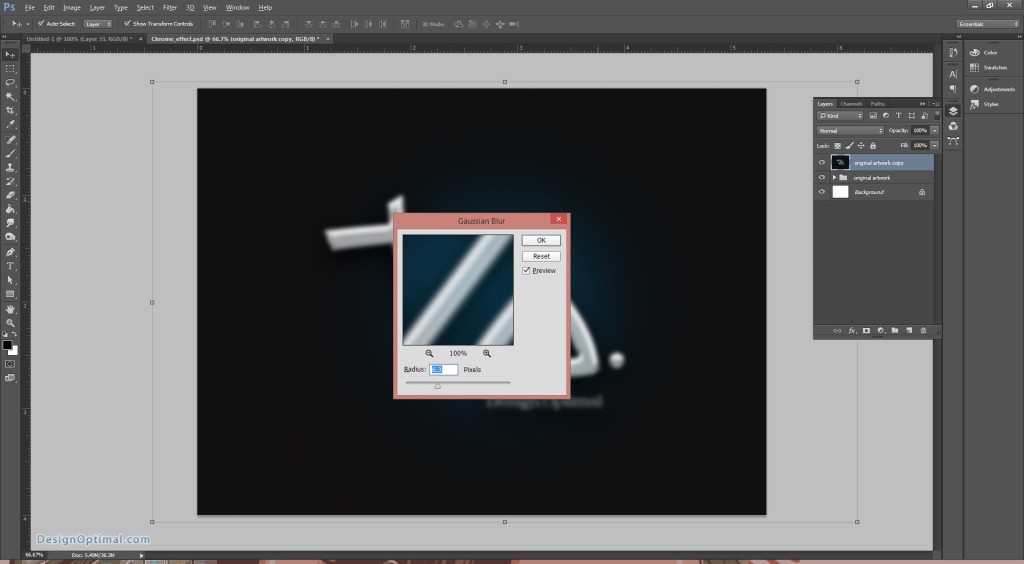
- As for the next step select all layers and duplicate them. Merge all the new duplicated layers onto one layer and then go to Filter>Blur>Gaussian Blur. Use 3 for the amount.
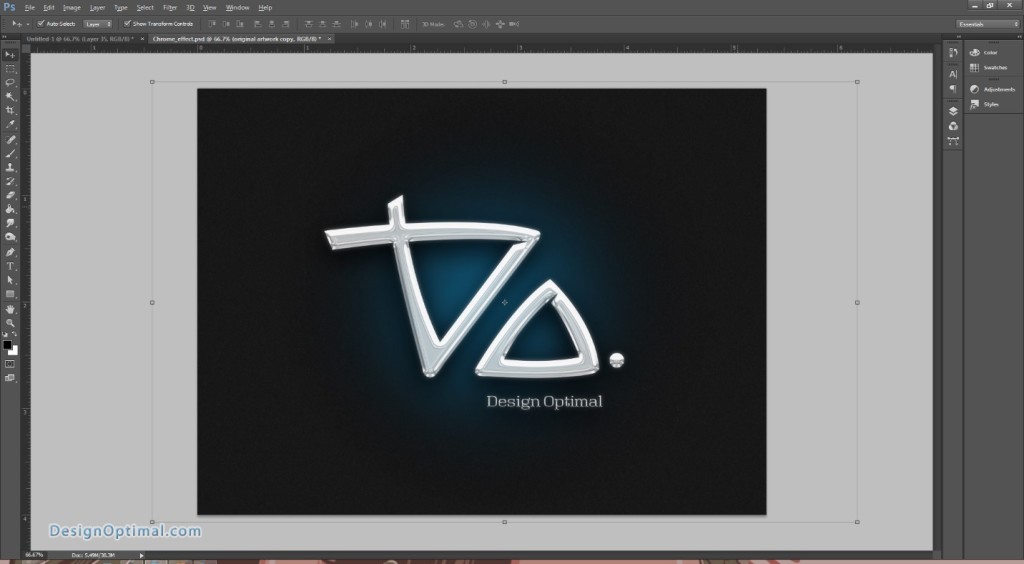
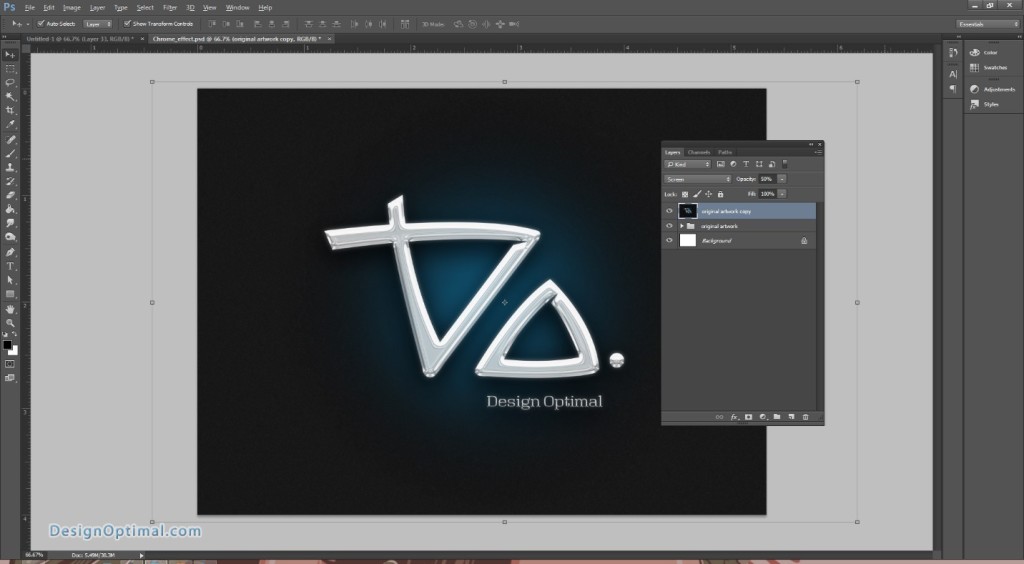
- After that change the Blend Mode to Screen at 50% and go to Layer>Add Layer Mask. With the Brush Tool make only the symbol area visible so this layer will create a sort of glow effect.
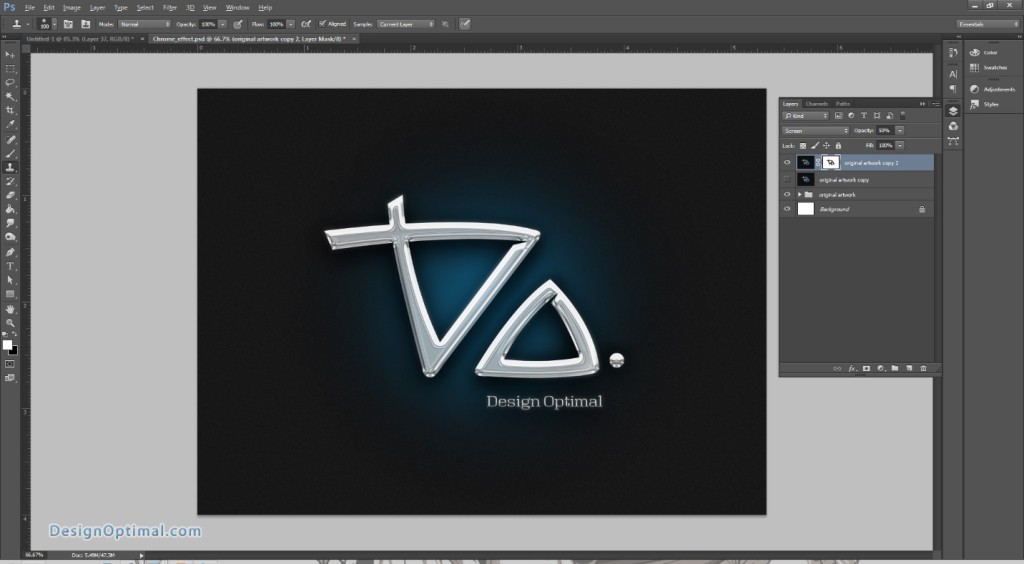
Step 10
- As for the Final steps we will add a Curves layer and a Brightness contrast layer adjustments layers, this will enhance the Output of the logo.
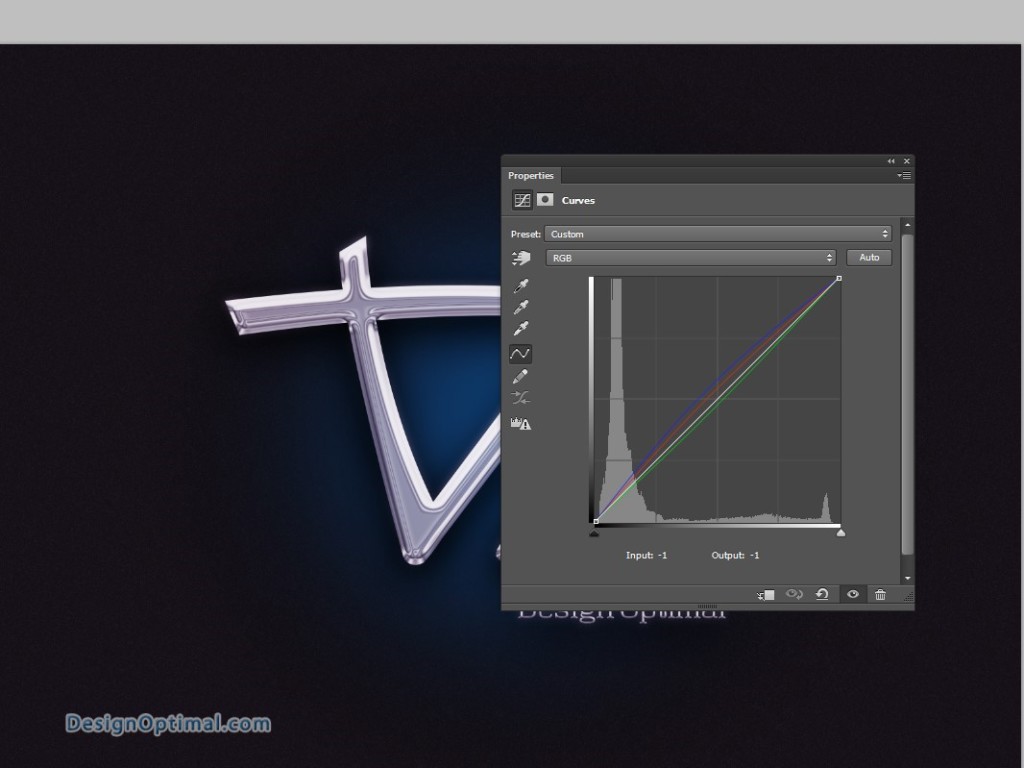
Step 11
- Adding the brightness contrast layer
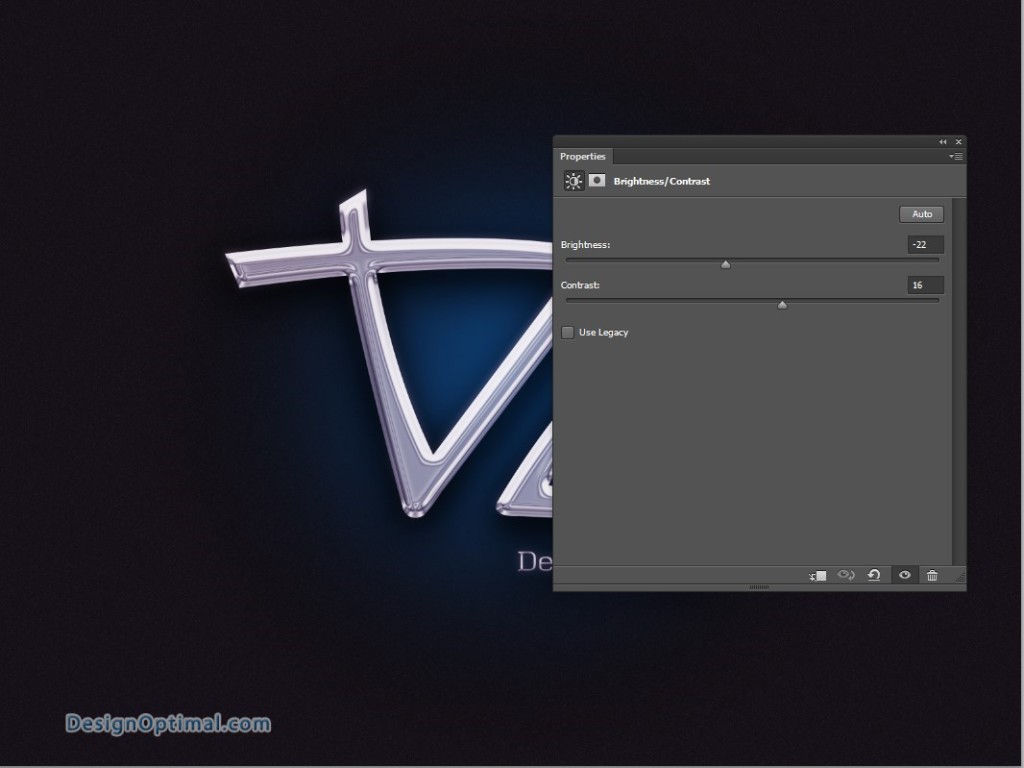
Step 12
- The final result so far looks like this.
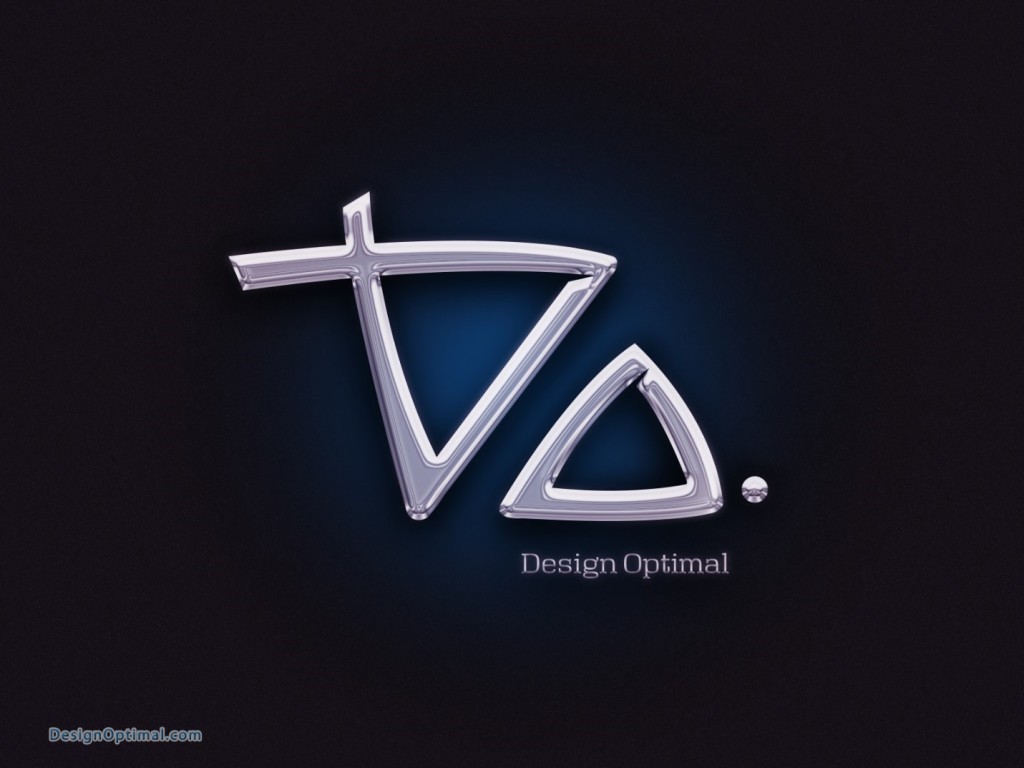
Step 13
- After that step, we thought of making some small adjustment in the design, I just added a new font to the word called design optimal. The font would be Machine Script, so it will be like this when the font is changed.
Step 14
- After that step we will add the chrome effect to the new font that we used to the design optimal word, simply copy the layer style that we added earlier font and past It into new design optimal word.
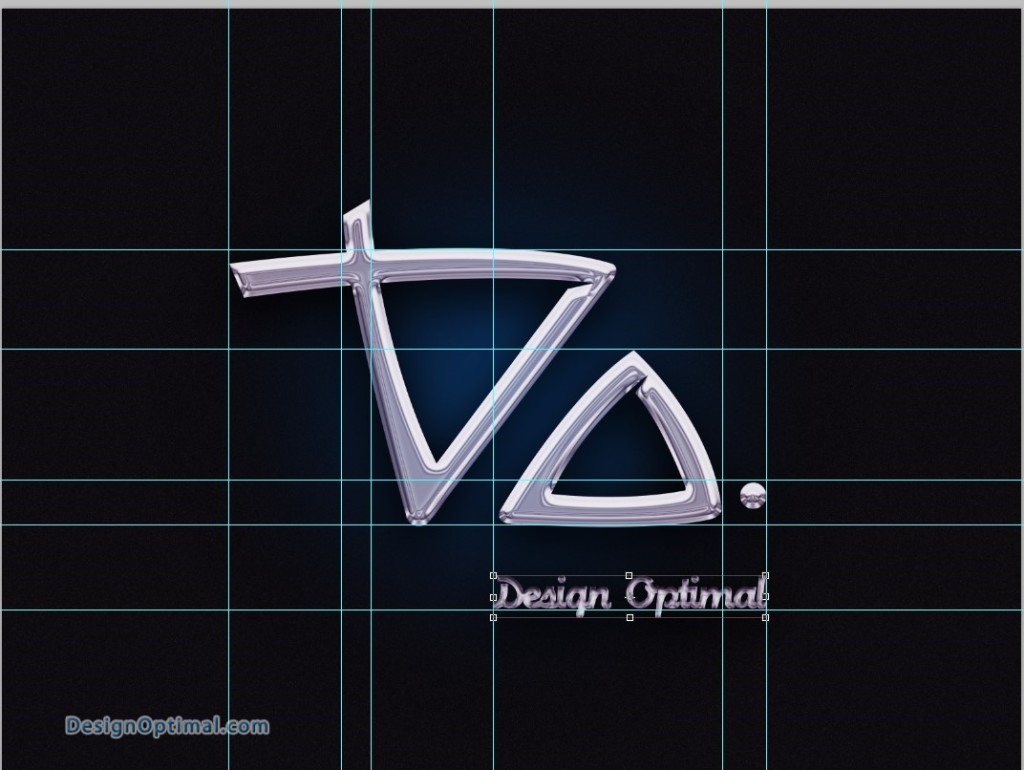
- After that we will make some amendment to the chrome effect make it more connected with the two letters above saying DO.
Step 15
- Some more parameter changes in the drop shadow.
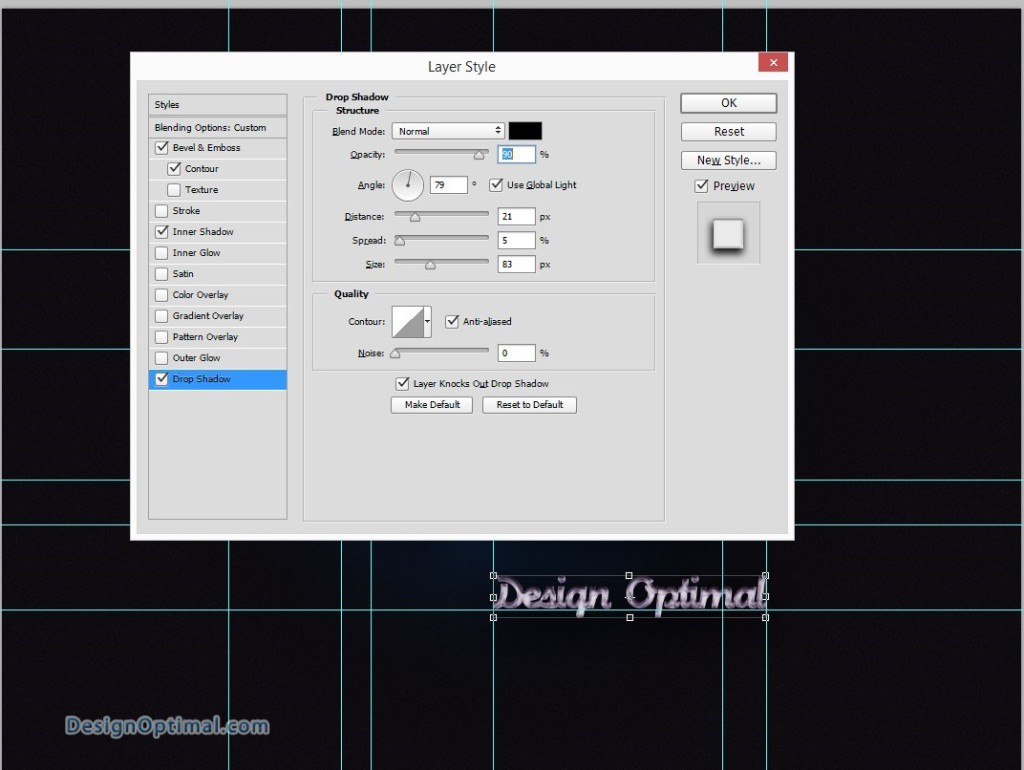
Step 16
- This will be the final outcome after adding the new amendments to the design optimal word with the new font.
