Hi lads! Today we are going to discuss about how to create a light effect in Photoshop
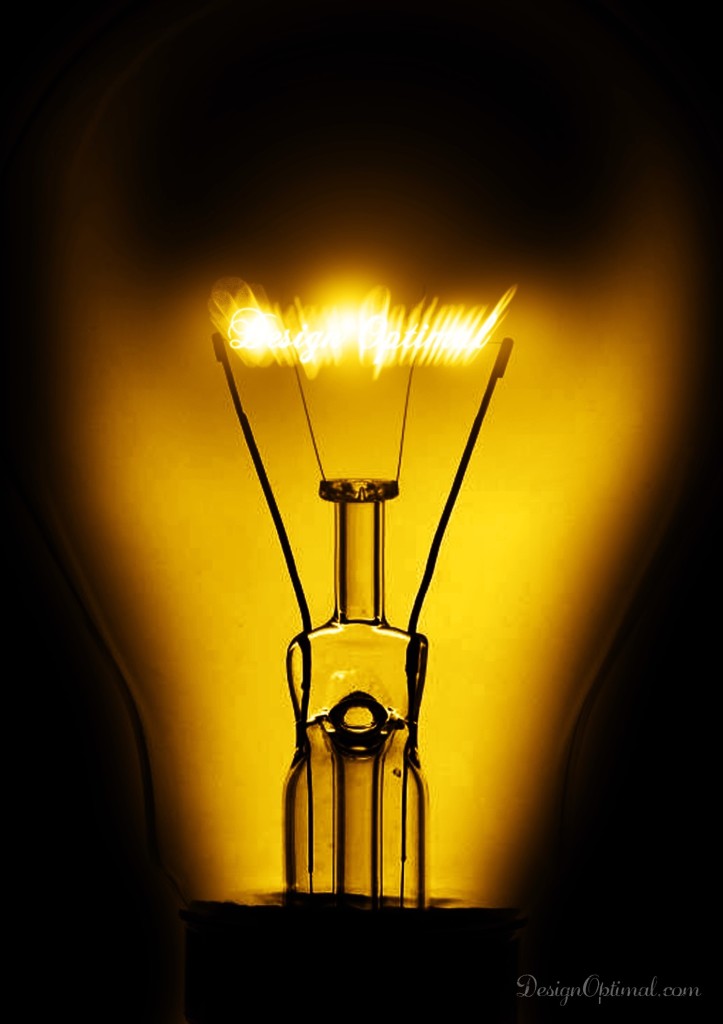
So in this I will show you how to create a super cool text light effect mixing some photos to give more realism. The cool thing about this effect is that the whole process is very simple and quite easy.
And the above image will be the final outcome of what we create.
The links for the resources for the tutorial are mentioned below for educational purposes.
Resources
- Fonts Used :
- Images used :
Step 01
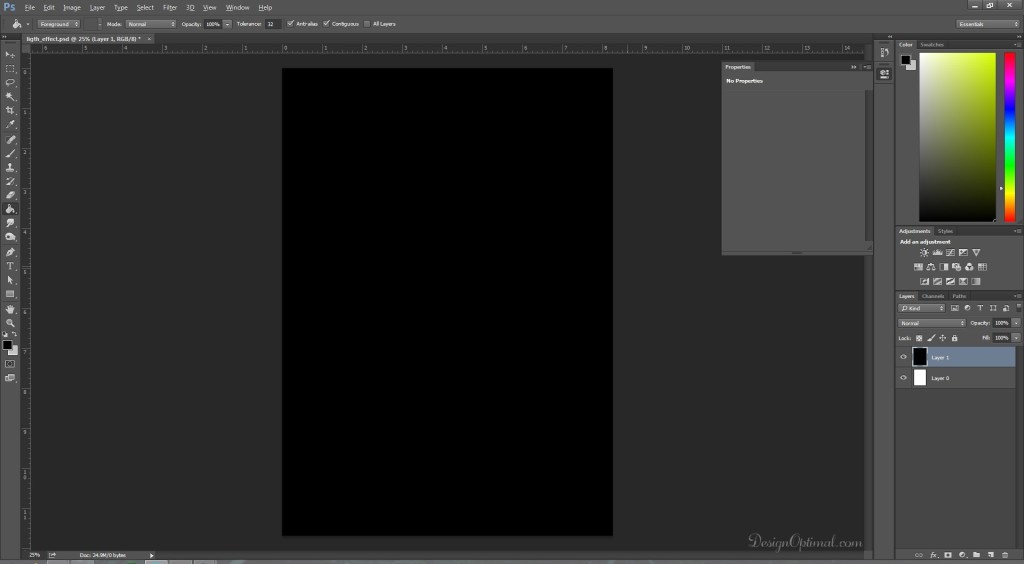
- Open Photoshop and make a new Document of A4 Size and save it as Light effects.psd. Fill the background with black.
Step 02
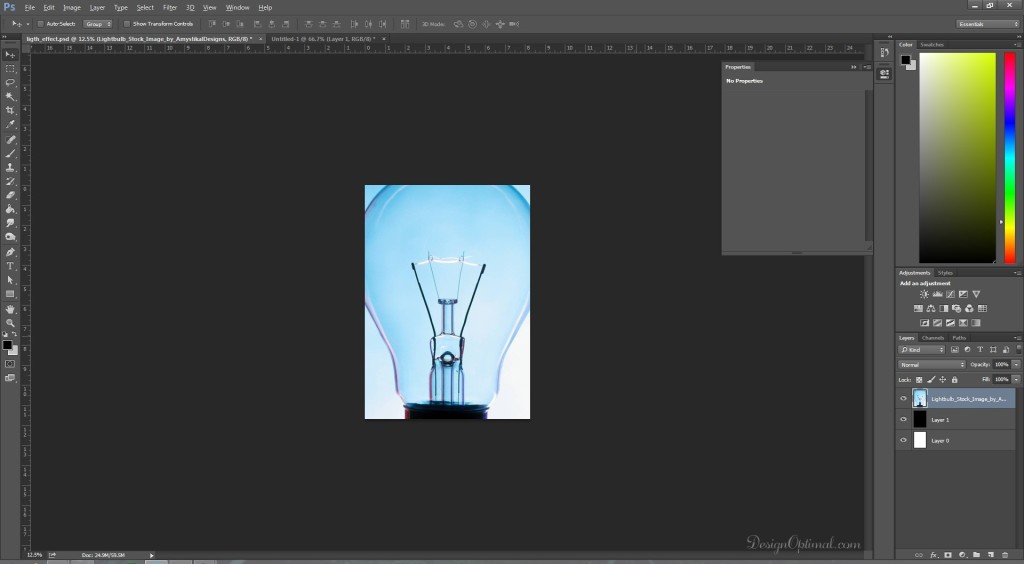
- Now open the light bulb stock photography (check the “Resources” section at the beginning of the tutorial) and place it inside of the document.
- Then make the filament area bit big and fitted around the document.
Step 03
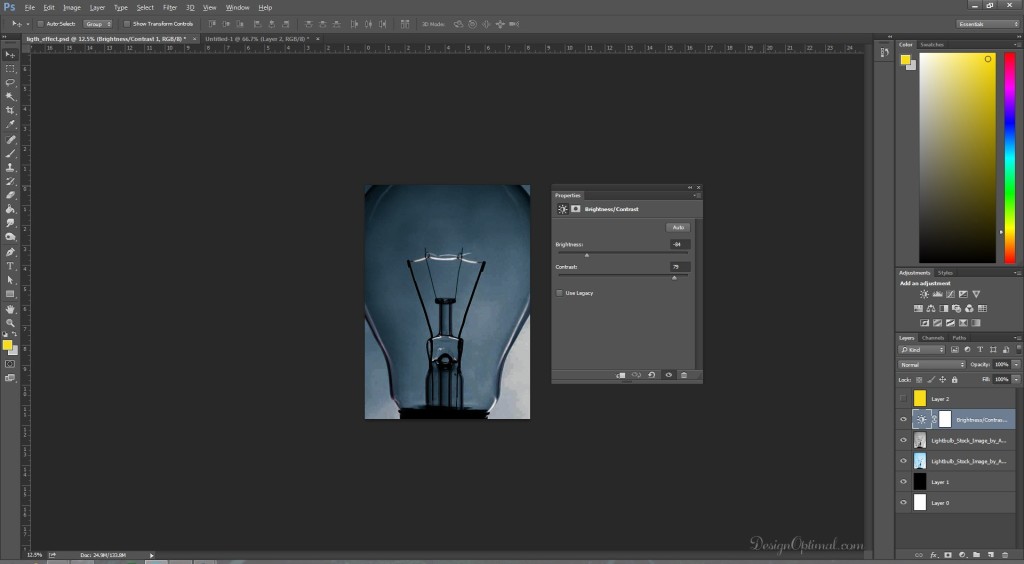
- Now as for the next step we will duplicate the bulb layer and change the color mode in to black and white and blend it in to multiply.
- After that we will add a new layer of brightness, contrast and make the image more contrastive.
Step 04
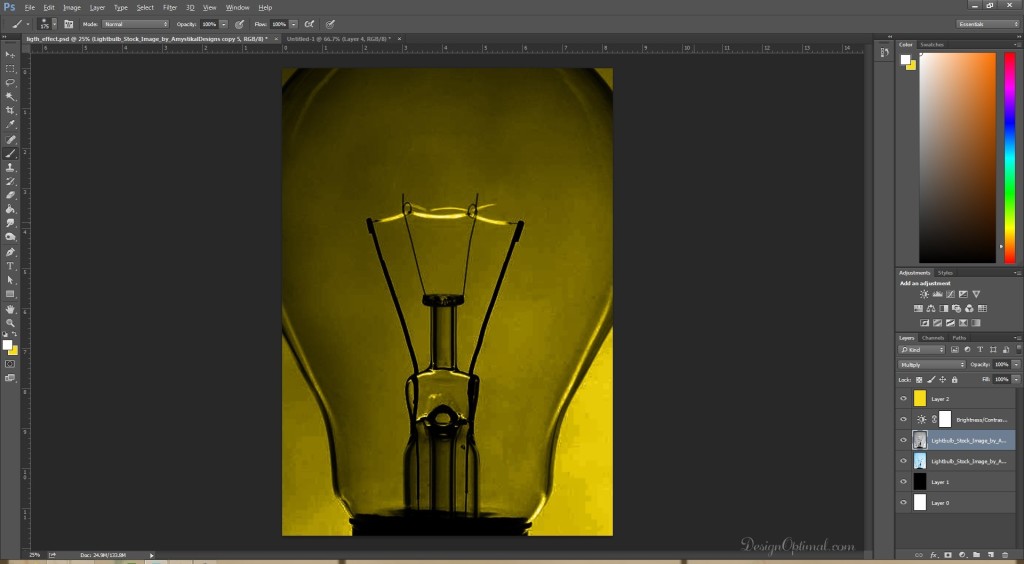
- We will add a color layer of yellow the code is #f8db19 and the blending mode will be color.
Step 05
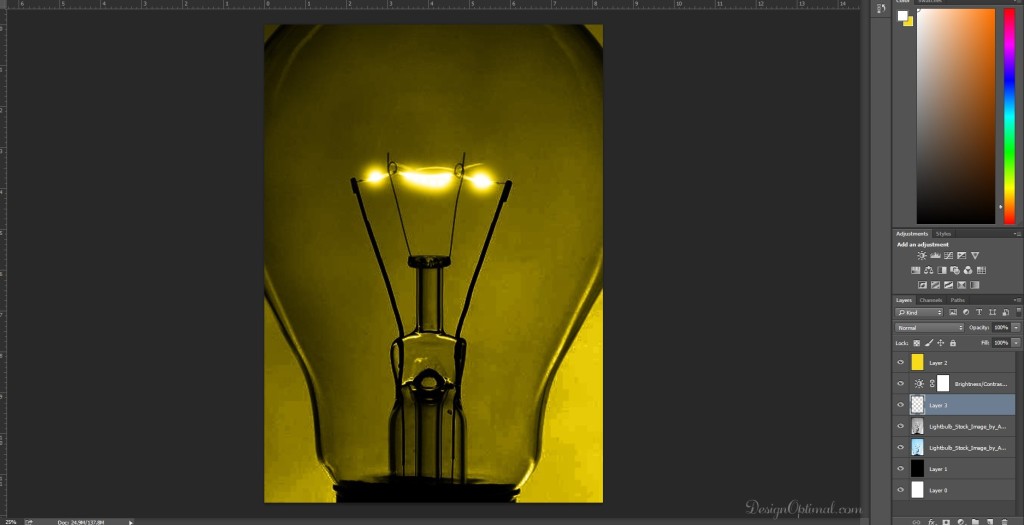
- Now take a small blur brush and select the white color.
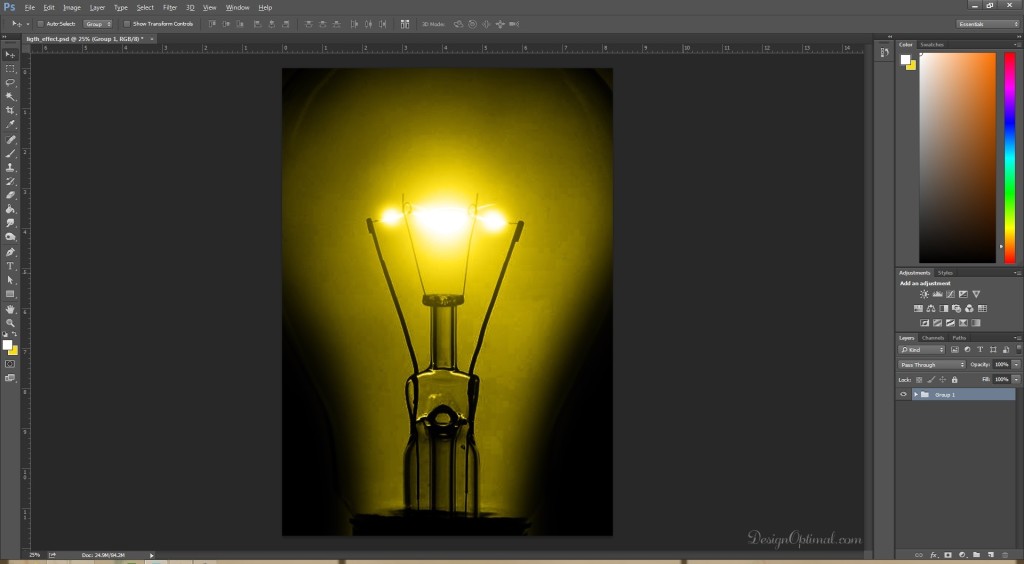
- Then add a new layer and start drawing top of the filament area like if the light is glowing out of the filament.
Step 06
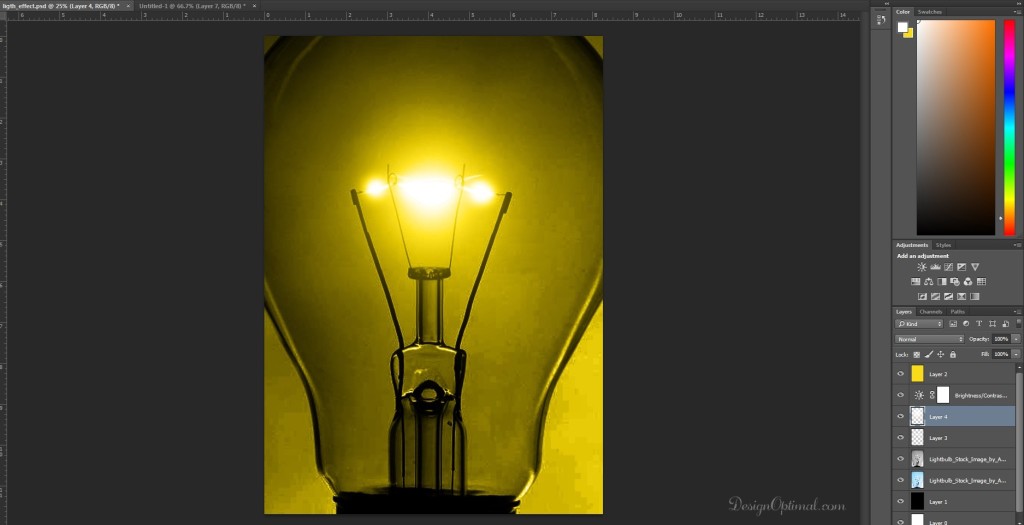
- Now we will take a bit bigger blur brush and start erasing around the bulb area, the final result will be like the below image.
Step 07
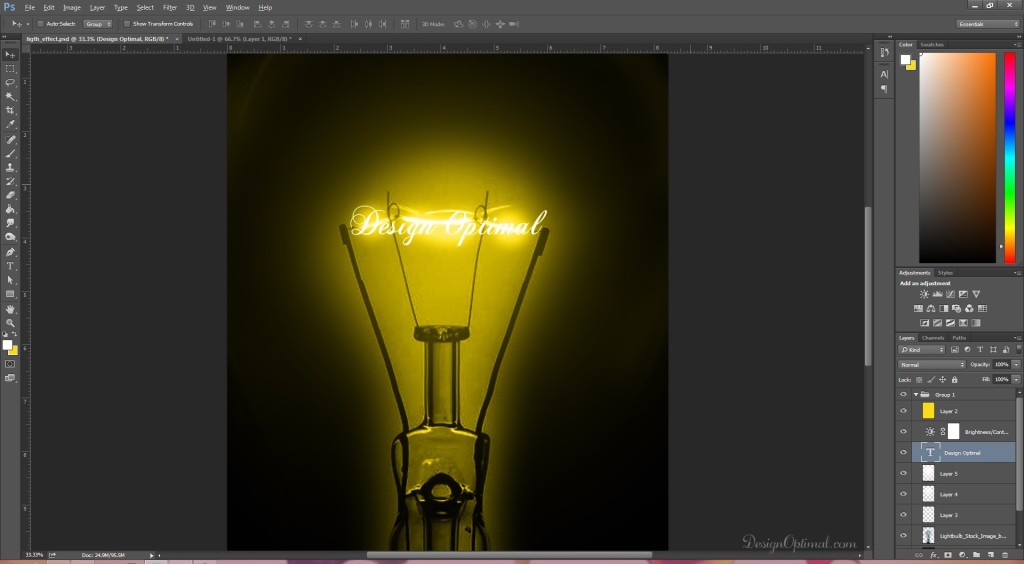
- Now as the next step we will type the new text it will be “Design optimal” and we will use the Chopin Script as the font that is used and make the color white.
Step 08
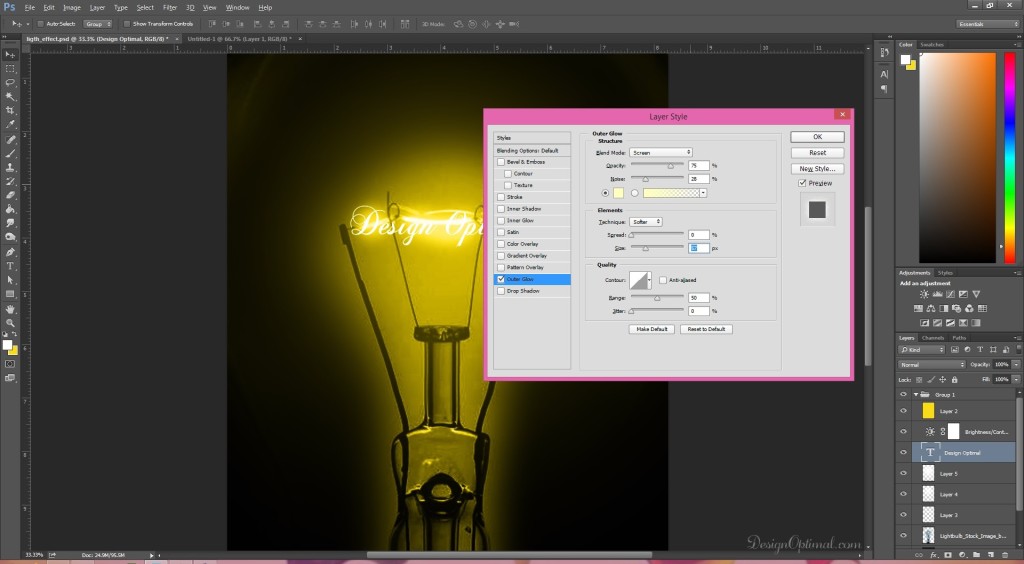
- For the next step we will add an outer glow to the typed text this will make the text as a part of the filament.
- Again duplicate the text layer turn it in to rasterize and add Gaussian blur around 12.7 px and reduce the opacity in to 42%.
Step 09
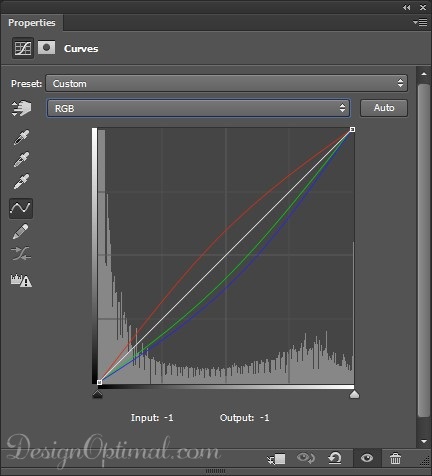
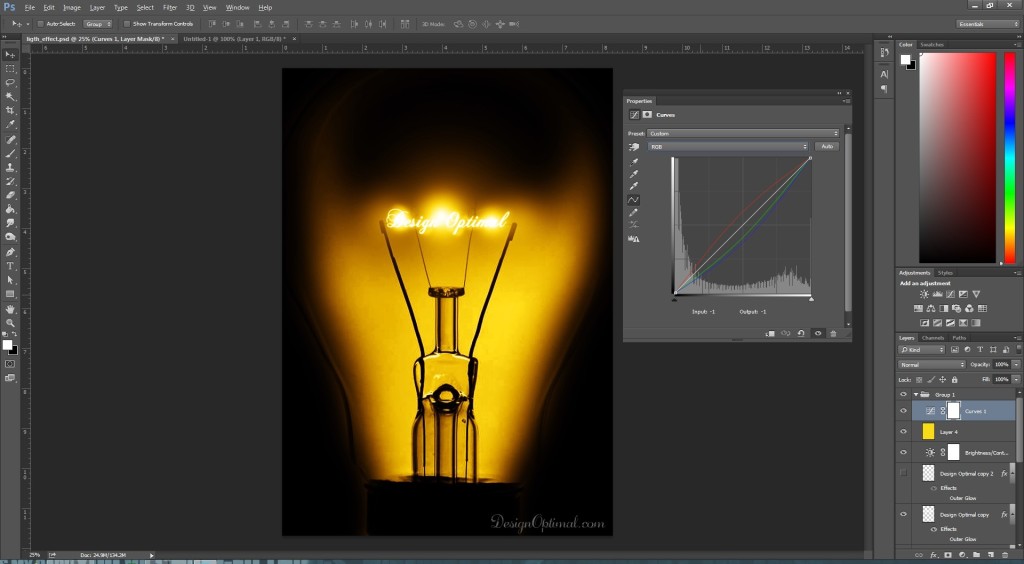
- For the next step we will add a curve layer adjustment the result is shown below.
Step 10
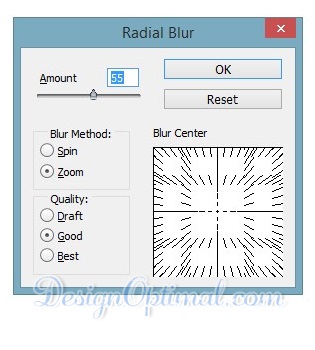
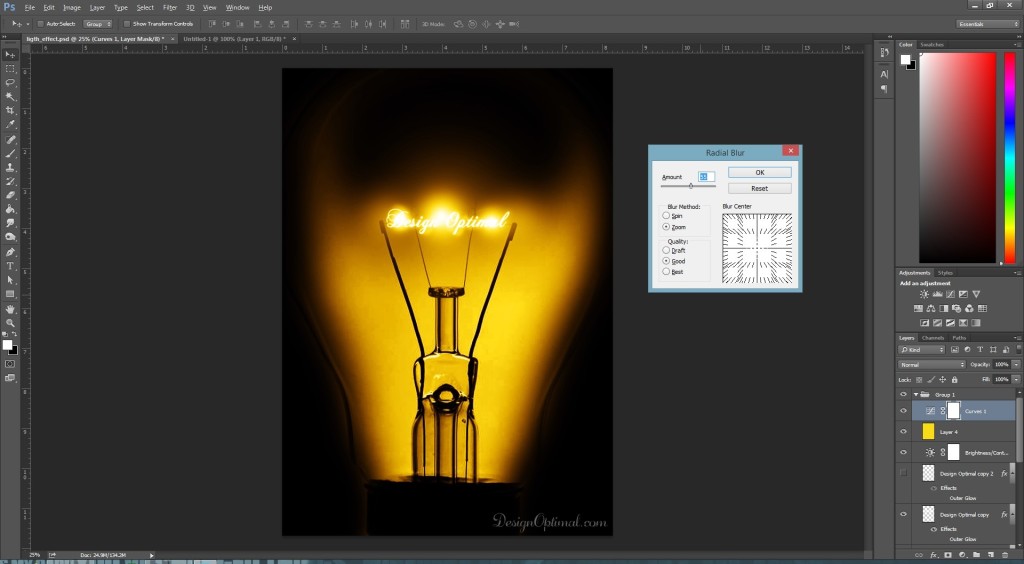
- Now we will duplicate the design optimal layer again and this time we will give Radial Blur
- After that reduce the layer opacity for around 60%.
Step 11
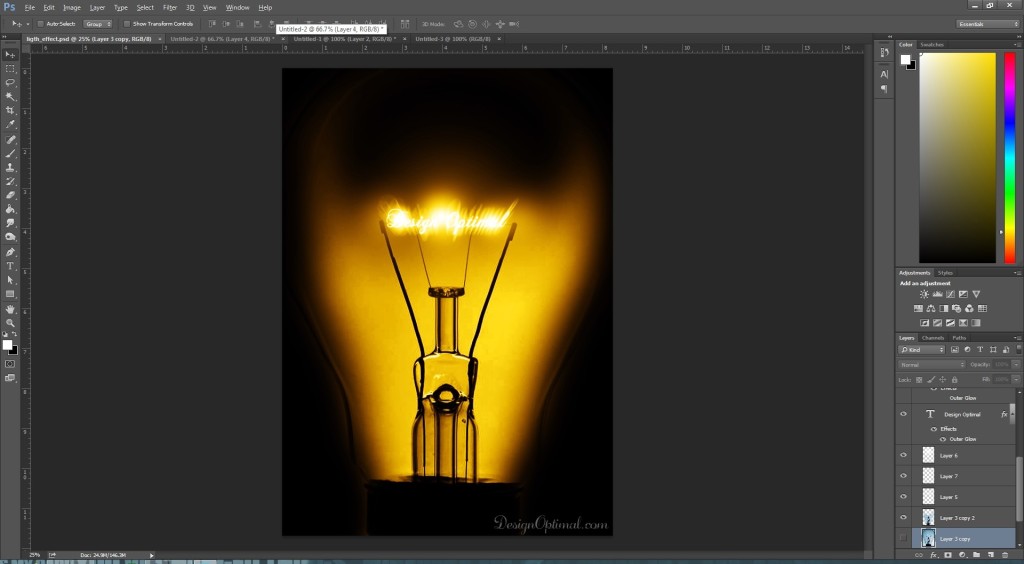
- The final result will be like the image below after adding the radial blur text layer.
