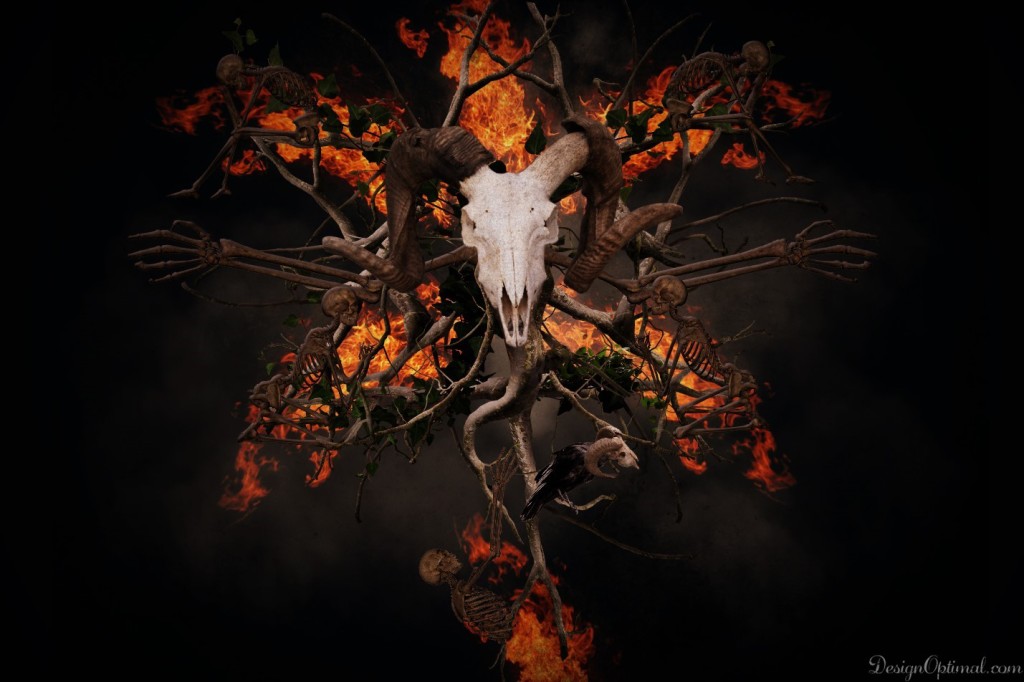
Hello!! Thanks for join with us again, Today we will discuss how to Create a surreal artwork in PS. You can come with crazy but yet beautiful artworks, it is just your imagination and your capacity of the creativity is the limit. In surreal designs you never know what’s next.
Ok, here we are going to start. We used several stock images as mentioned in the resources section below in order to get a more meaning to the artwork.
Resources (all image credits goes to original authors)
- Images used :
- 2008 Kansas Antiques 92 by Falln-Stock
- cracked earth texture by CO2PHOTO-stock
- Skeleton – Praying – JPG by markopolio-stock
- Skeleton – Shes Dead Too – JPG by markopolio-stock
- PSD Stock Set – Trees and Branches by E-DinaPhotoArt
- The Grim Weedwhacker – 4 by mjranum-stock
- Skeleton – Hanged 1 by markopolio-stock
- Skeleton – Grasping 2 by markopolio-stock
- Cracked Granite Rock Texture by FantasyStock
- Cracked by struckdumb
- Garland by Black-B-o-x
- Ivy 2 by Black-B-o-x
- Ivy 3 by Black-B-o-x
- White Orchids PNG by the-night-bird
- Malvas by Eirian-stock
Step 01
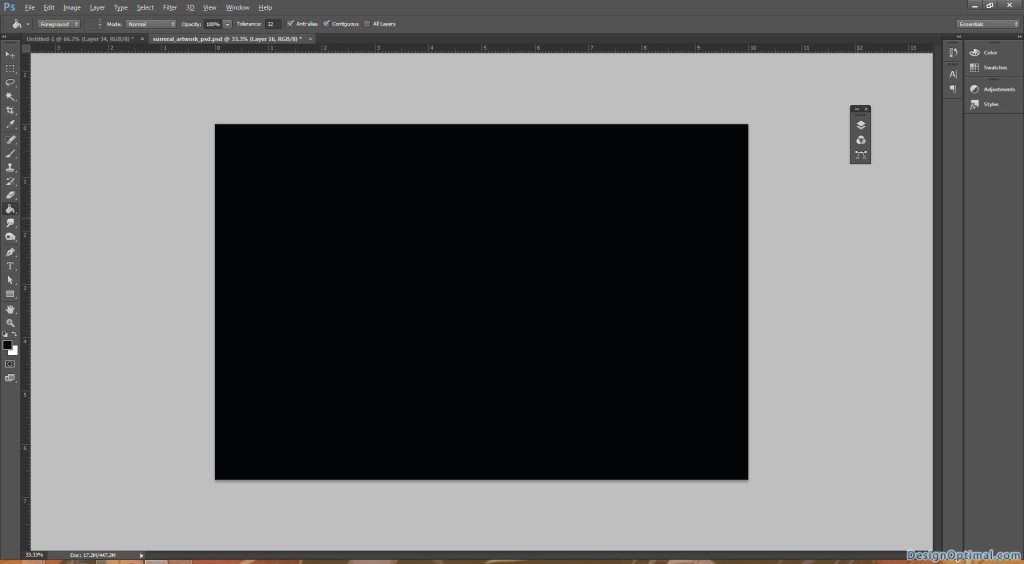
- Open Adobe Photoshop and create a new document. The document size will be 3000 x 2000 px for the size. Save it as surreal artwork .psd.
Step 02
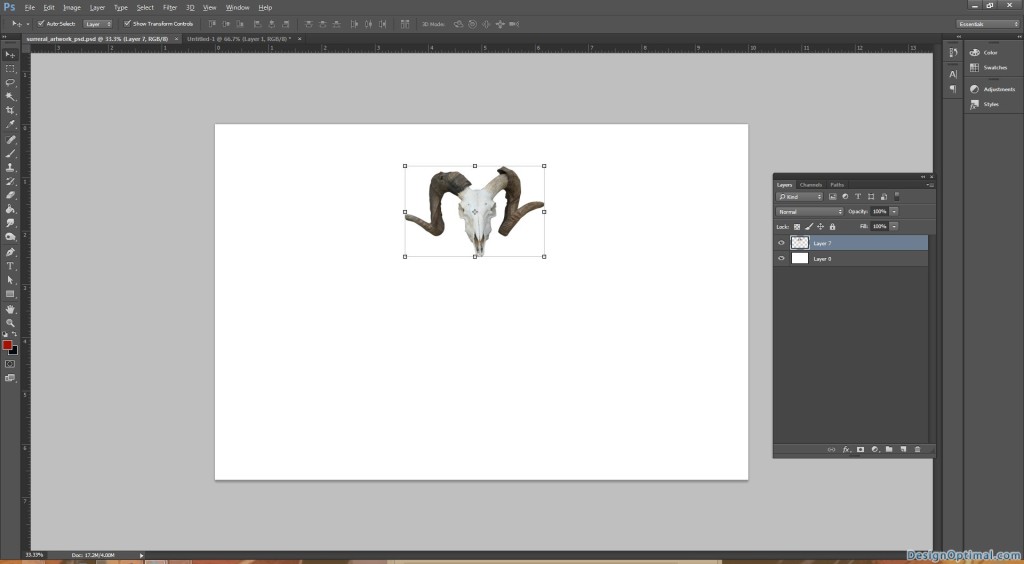
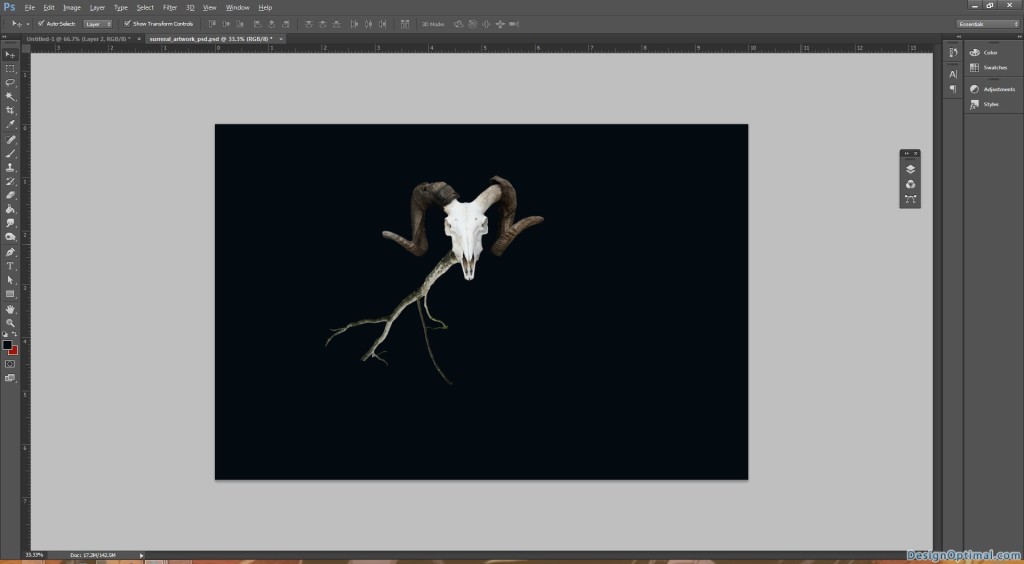
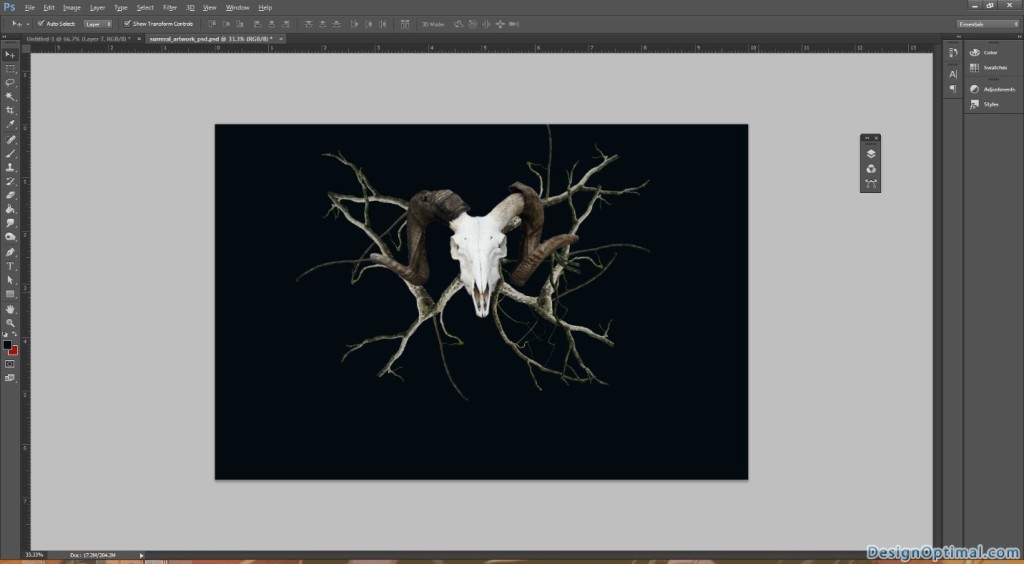
- Now as for the next step, we will use the image of the goat skull that has been mentioned with the resources and place it as shown in the first image.
Step 03
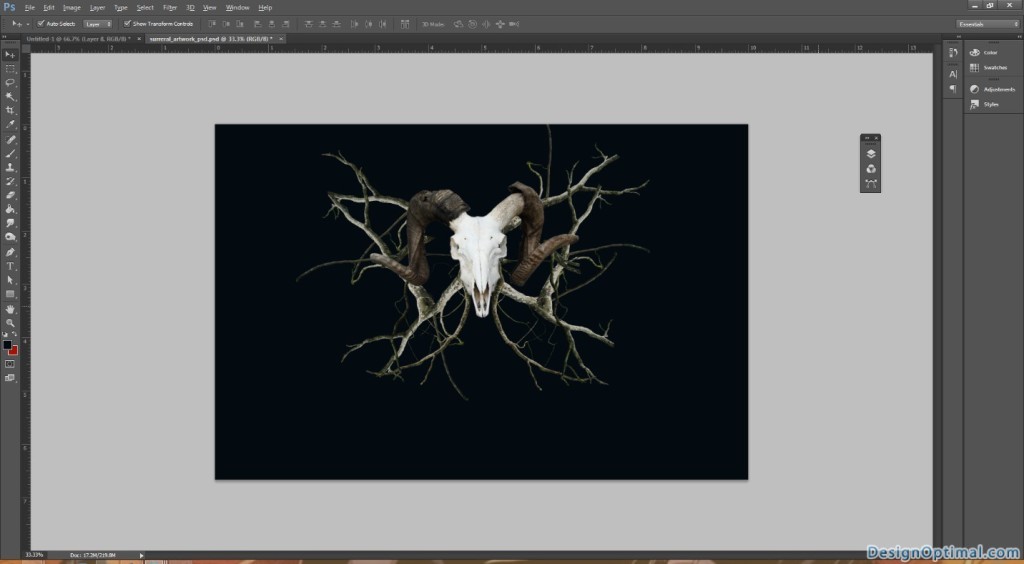
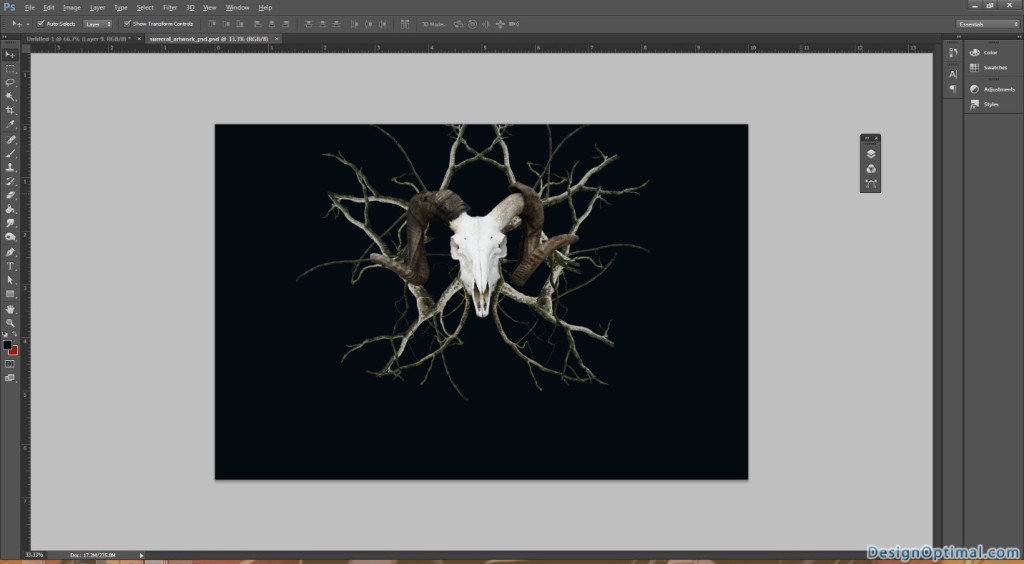
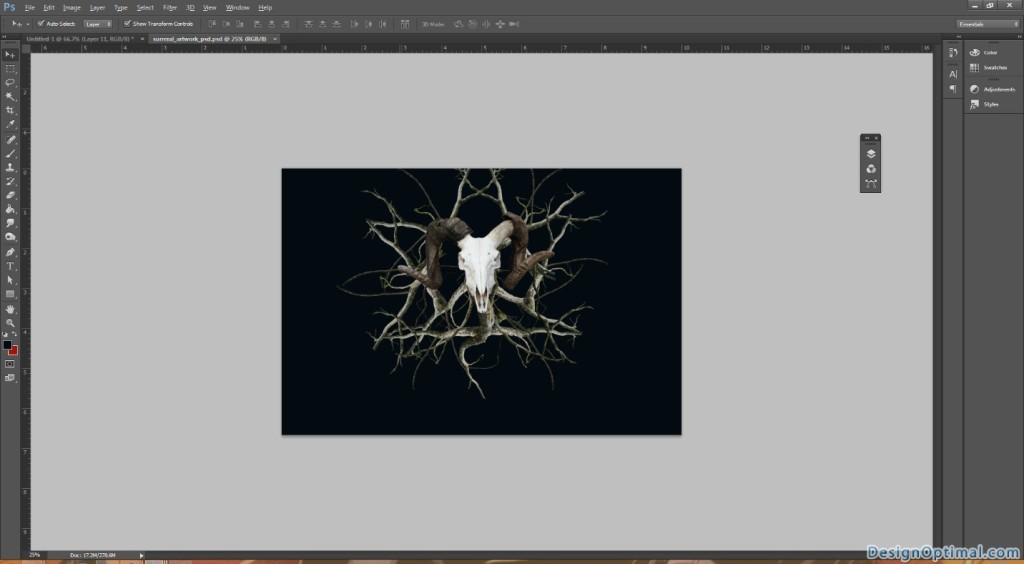
- Next we will use psd_stock_set___trees_and_branches_by_e_dina-d5vyf3a and place it as shown in next couple of images you can place them in a different way if you like.
- I just played around different times with them and came into this, now I have put black background to this in order to make the objects I place to look more visible.
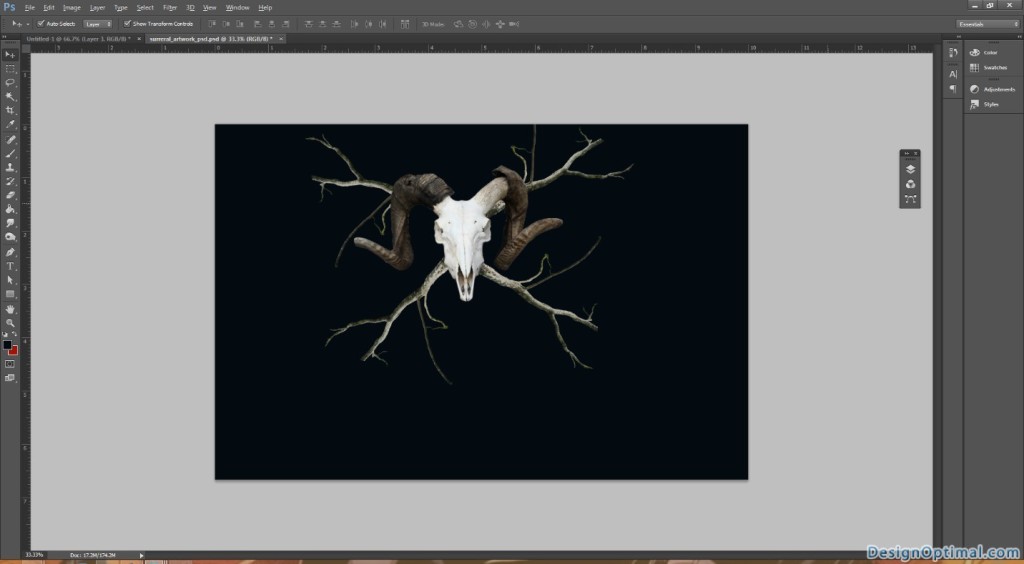
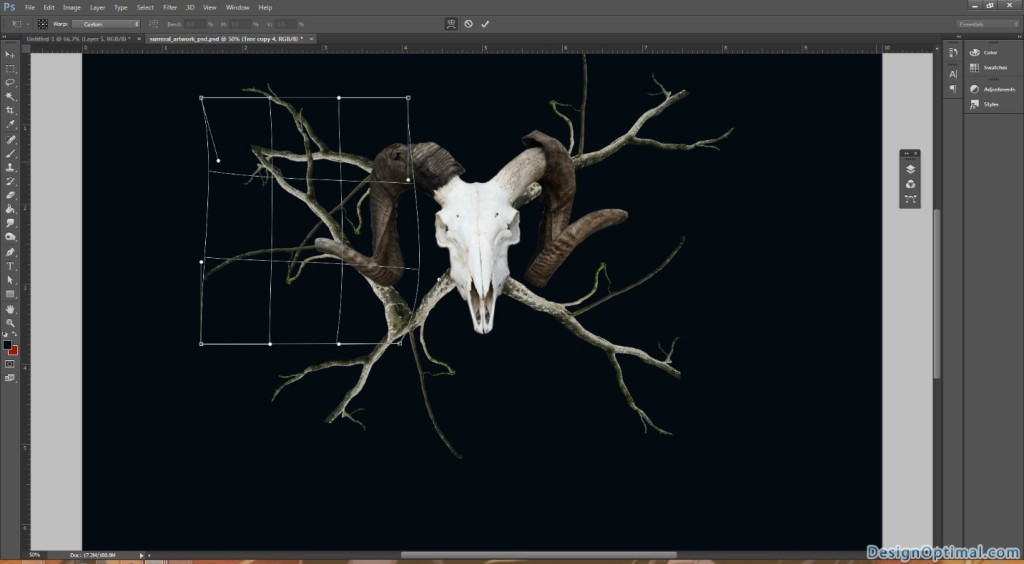
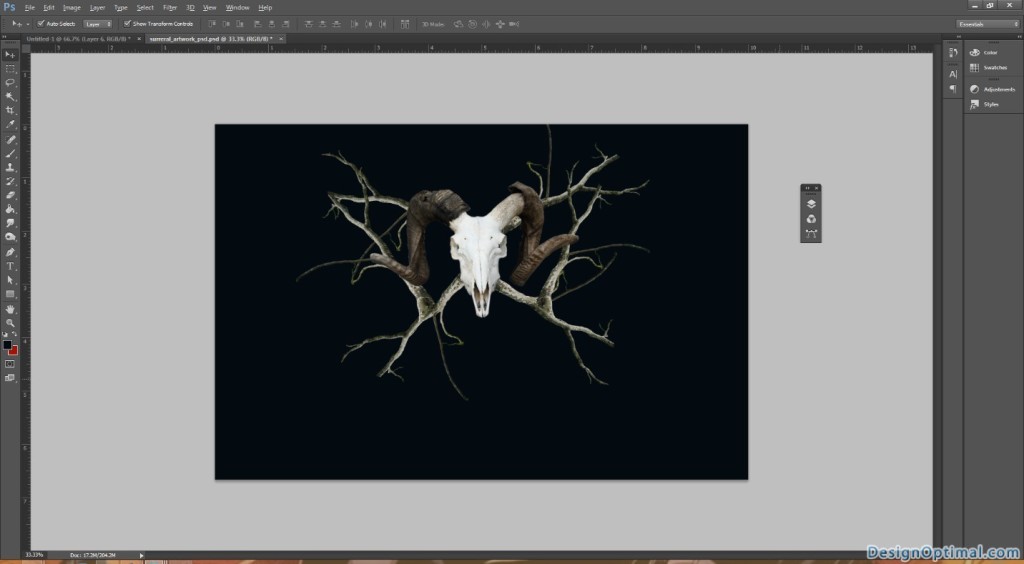
- For some branches, we will have to use transform and warp in order to make those tree parts make more connected to the others.
Step 04
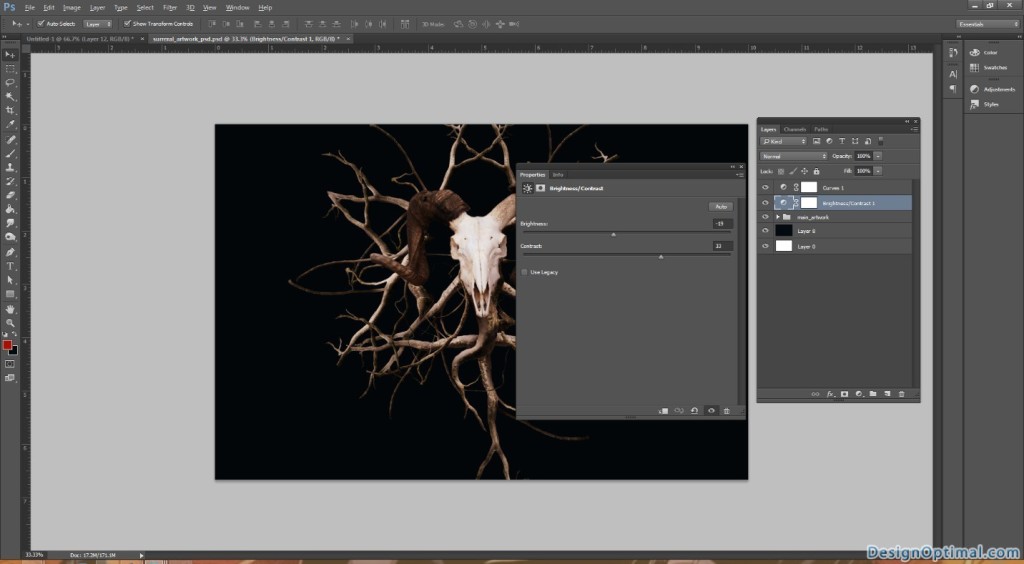
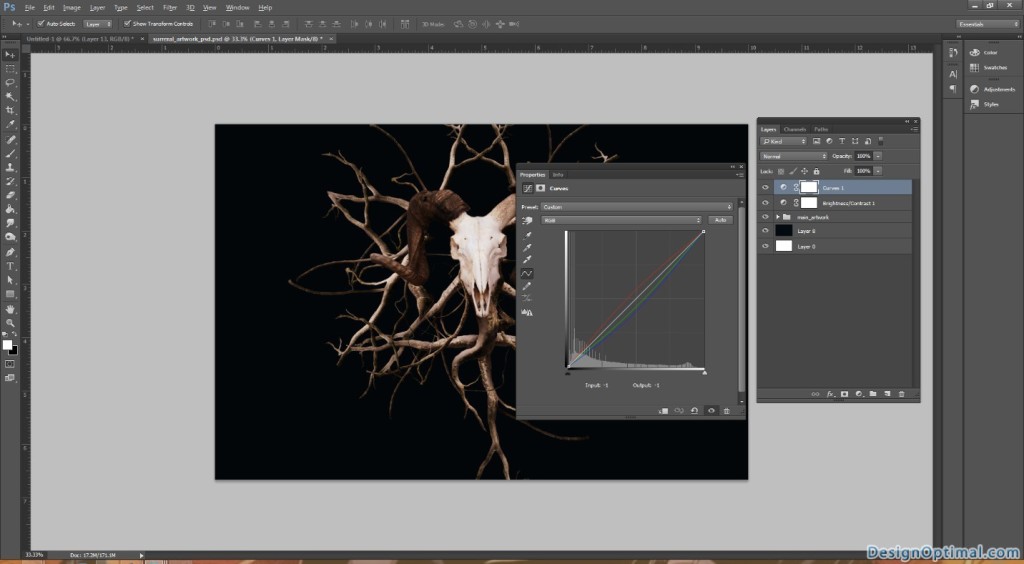
- Here we have place the branches according to some pattern and it’s to look like some star patterns.
- In this process we had to use transform and wrap tool to get the branches according to the shape we need and we will have to add a small inner shadow and bevel and emboss to each branch we added in order to show the depth.
Step 05
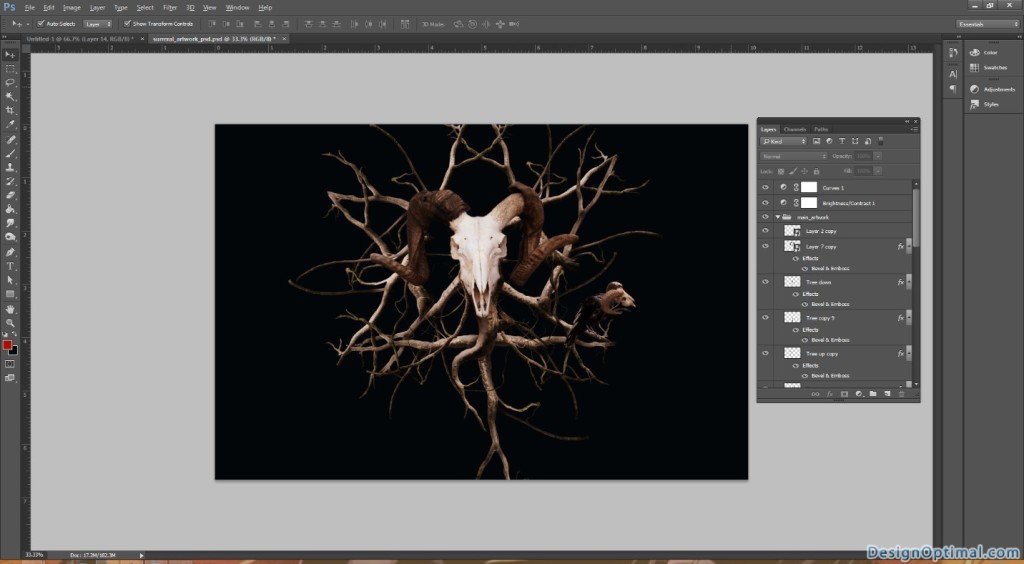
- Now as the next step I made a custom crow with a goat skull art work by using some stocks we had. You can have a similar design if you need by using free stocks at deviantart.com for educational purposes.
Step 06
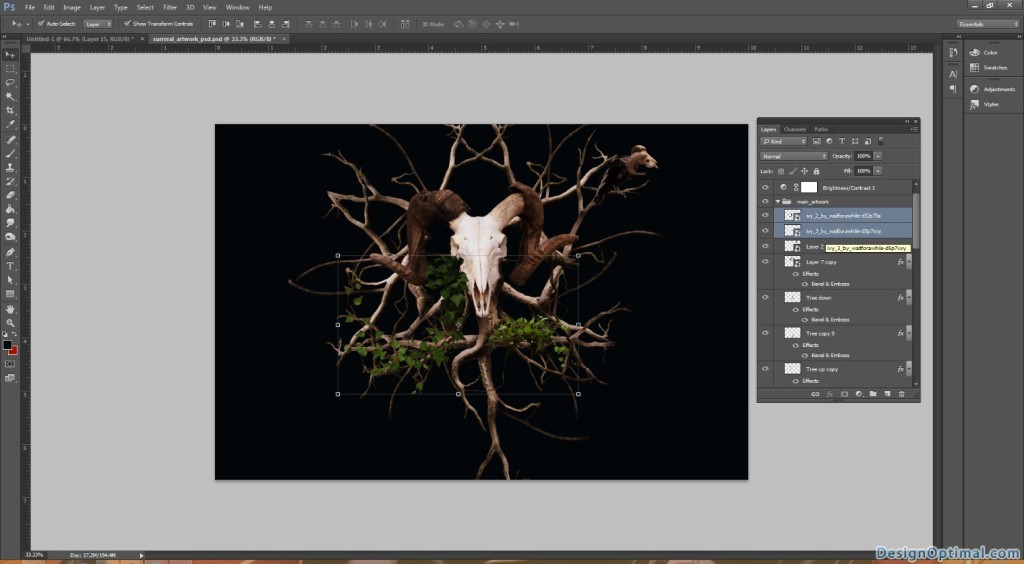
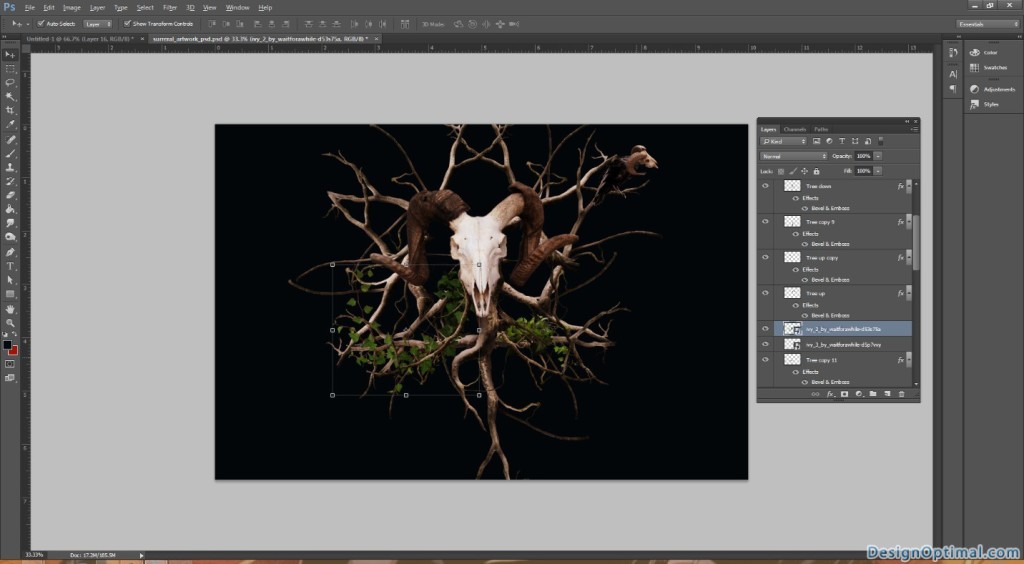
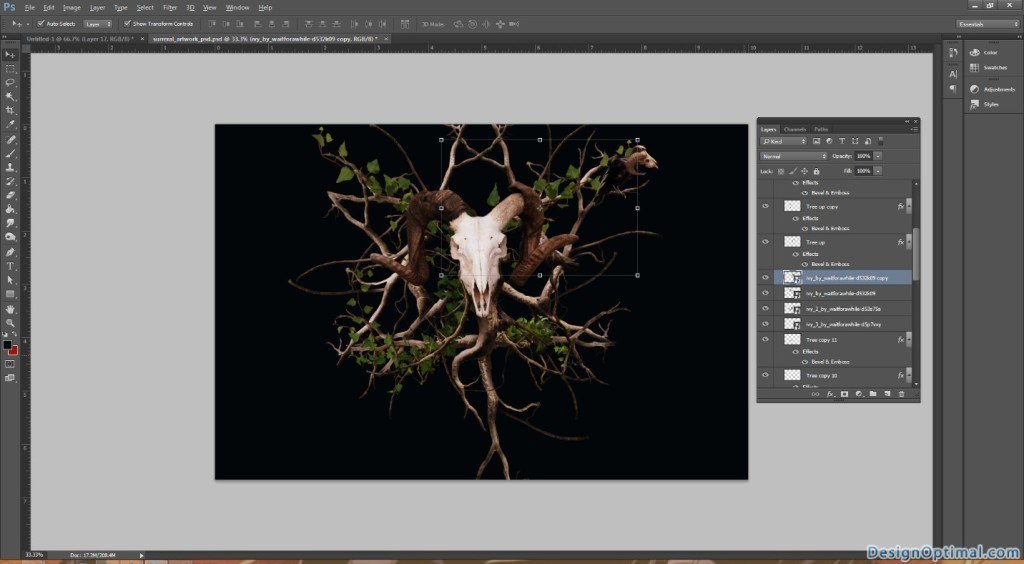
- Now we will add some vines on top of those branches, the process is shown in the next couple of images you can changes the pattern if you need to make it more attractive.
Step 07
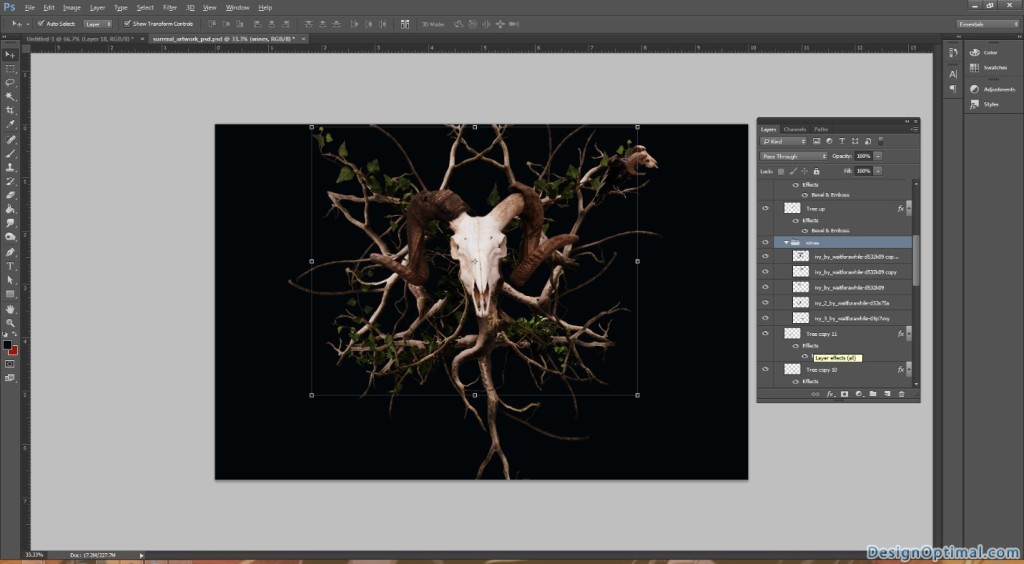
- Now to make those wines layers bit darker, merge all the layers and duplicate the wine layers only and change the color mode to black and white and make the blending mode to overlay.
Step 08
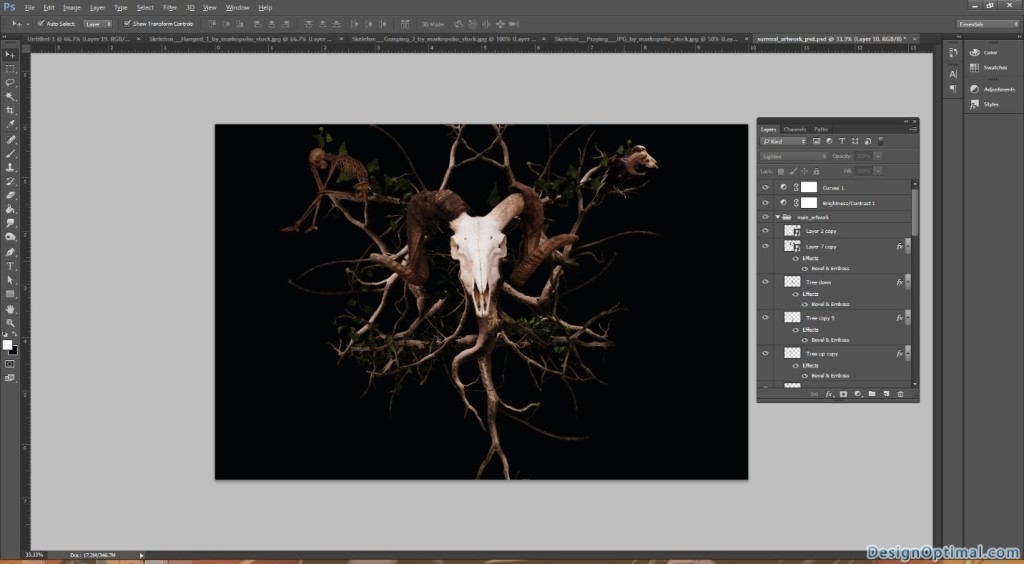
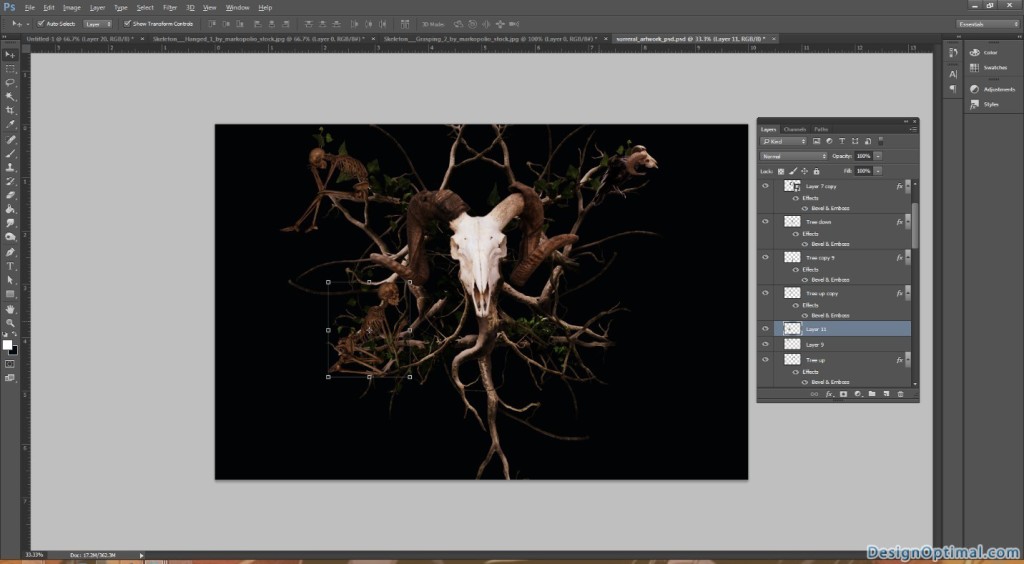
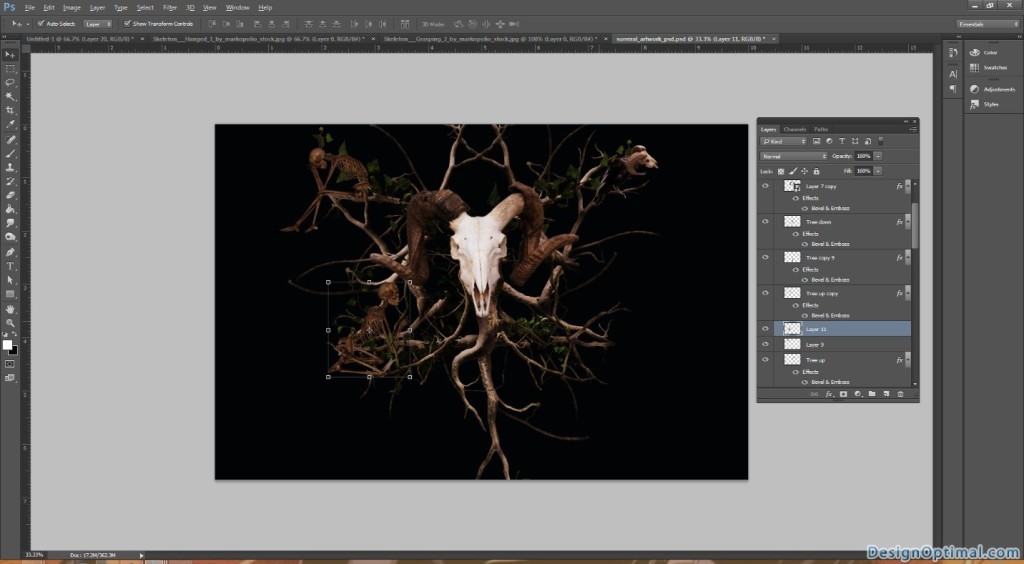
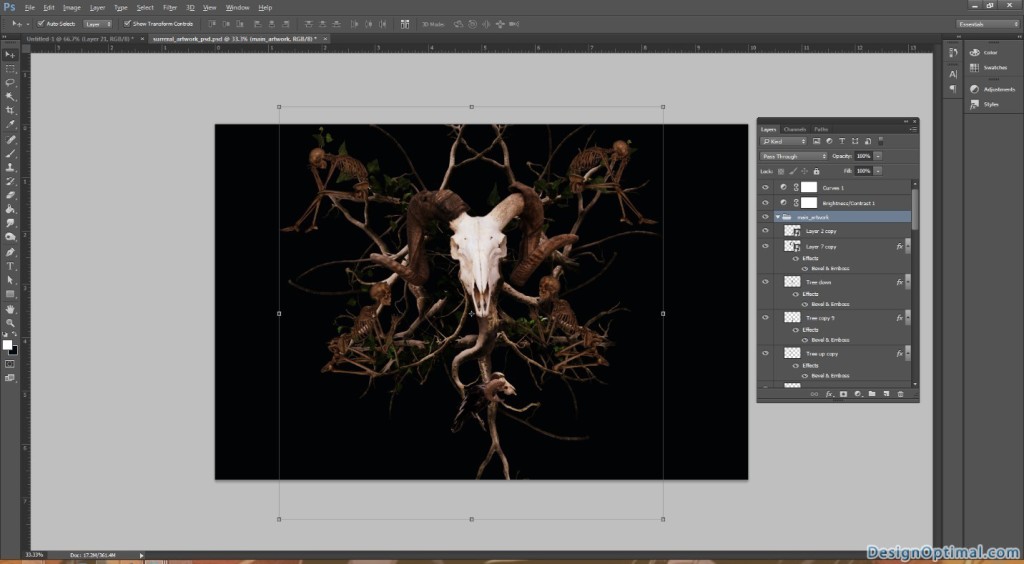
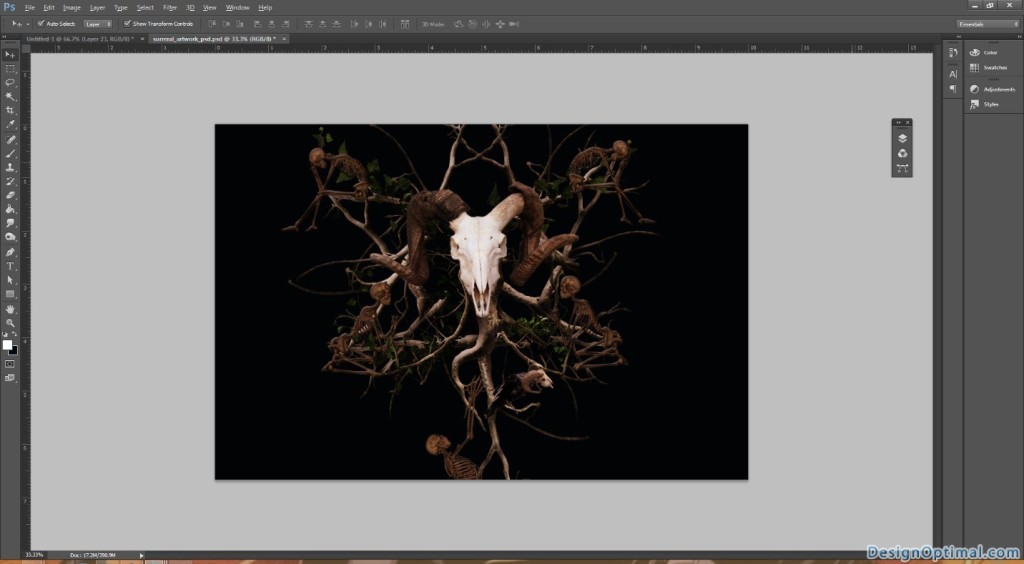
- Now for the next step we will add some skeletons to it make to gloomier. In this process I had them move the crow with the skull in to a different position.
- After adding the skeletons add some bevel and emboss effect and some inner shadow.
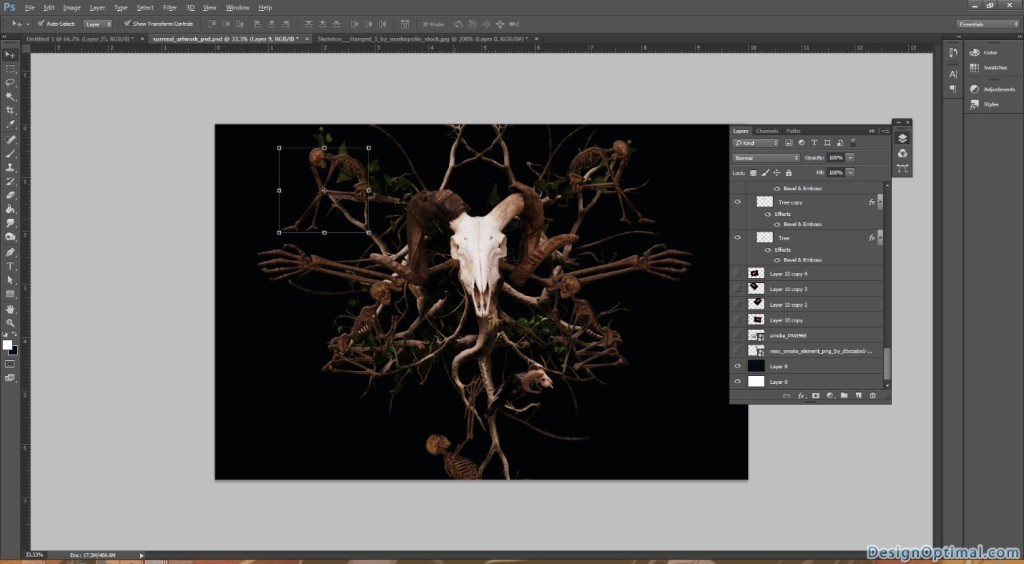
Step 09
- Now we are closing to the final steps of the artwork, after adding the skeletons we will add a grungy texture on the top of the artwork and mode of blending to multiply.
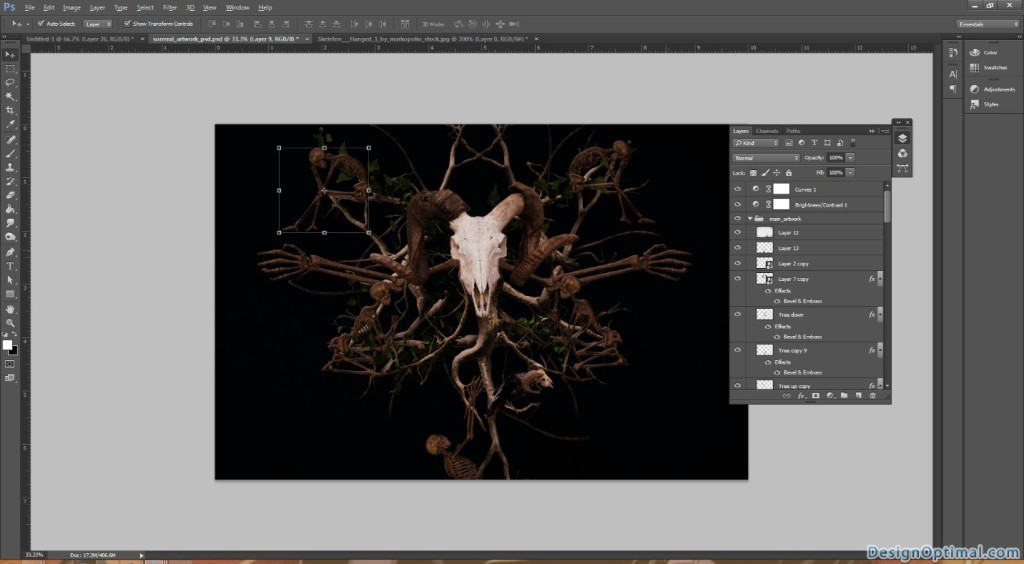
Step 10
- As the next step we will add some smoke to the background of the artwork. Before that we will resize the artwork a bit that we have created so far and fit it in to the PSD the process shown below.
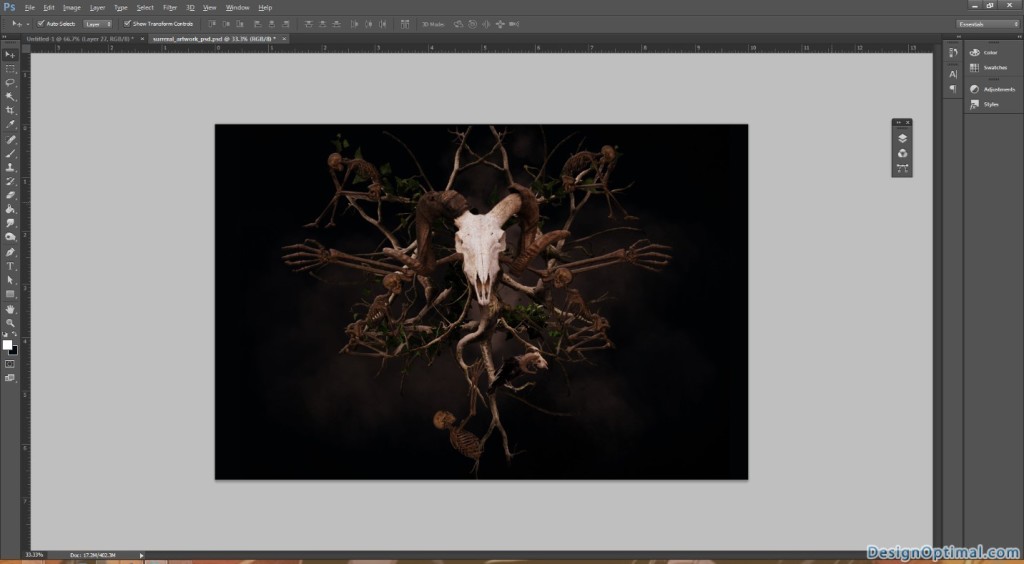
Step 11
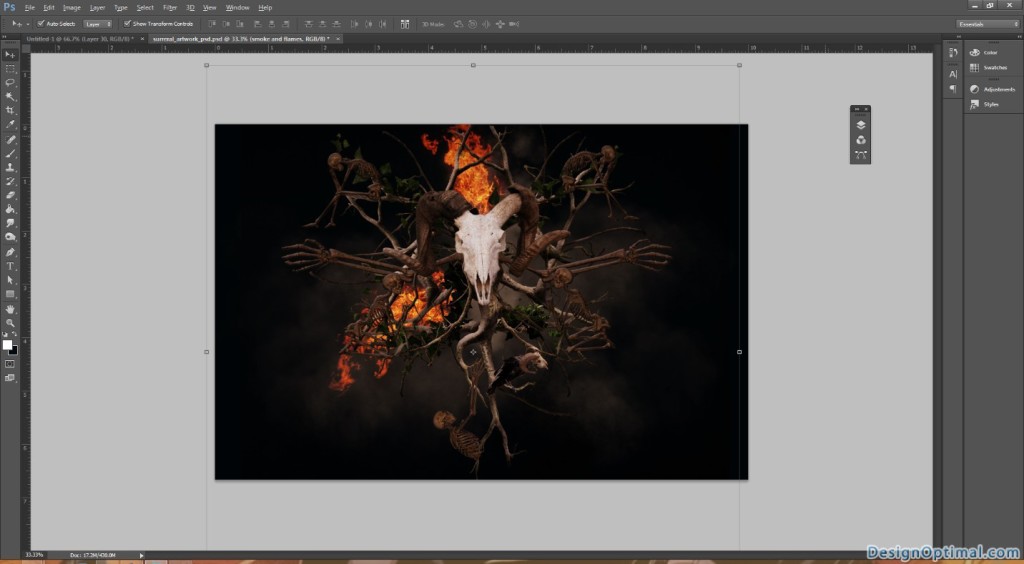
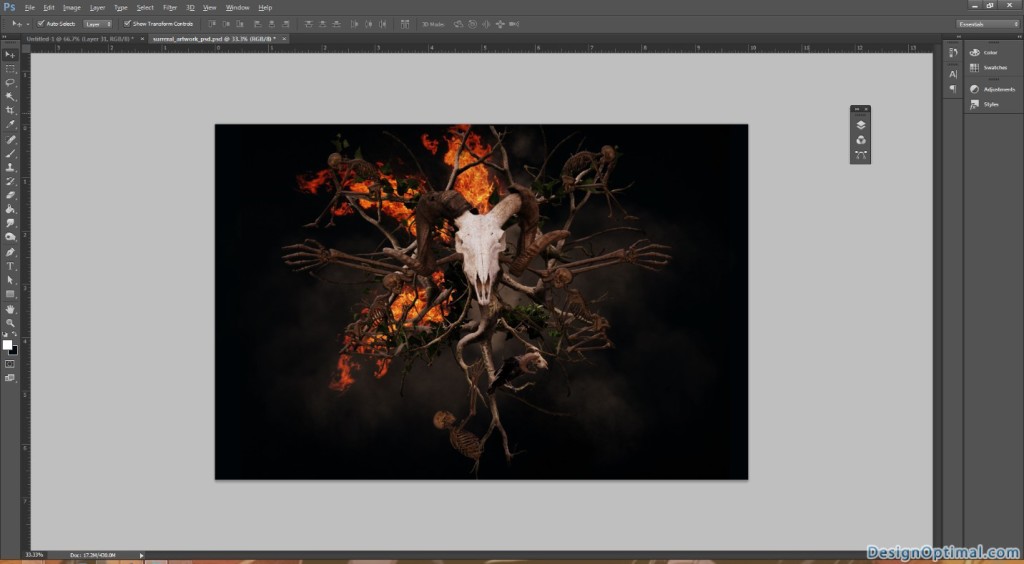
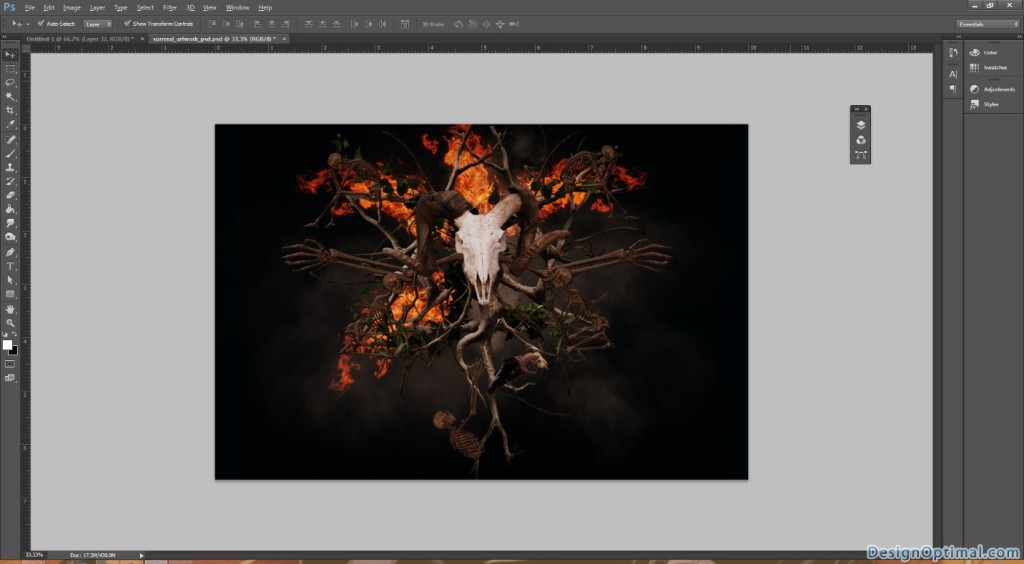
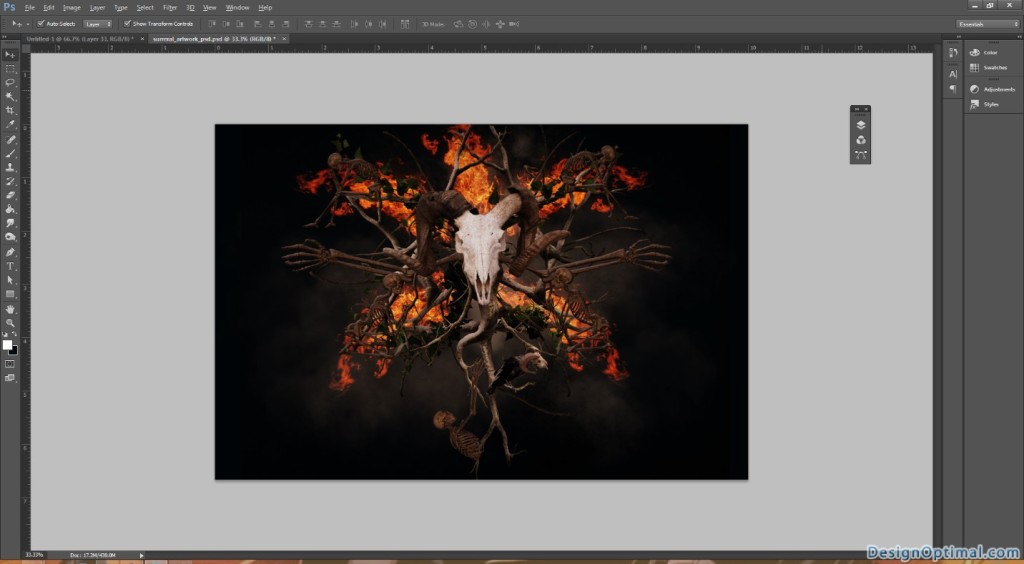
- As the next step we will add some flames to the background to make it more attractive.
- The process is shown below, we will use the flame image that is mentioned in resources section and make to blending mode in to screen at the end of it we will add some layer adjustment curves to it.
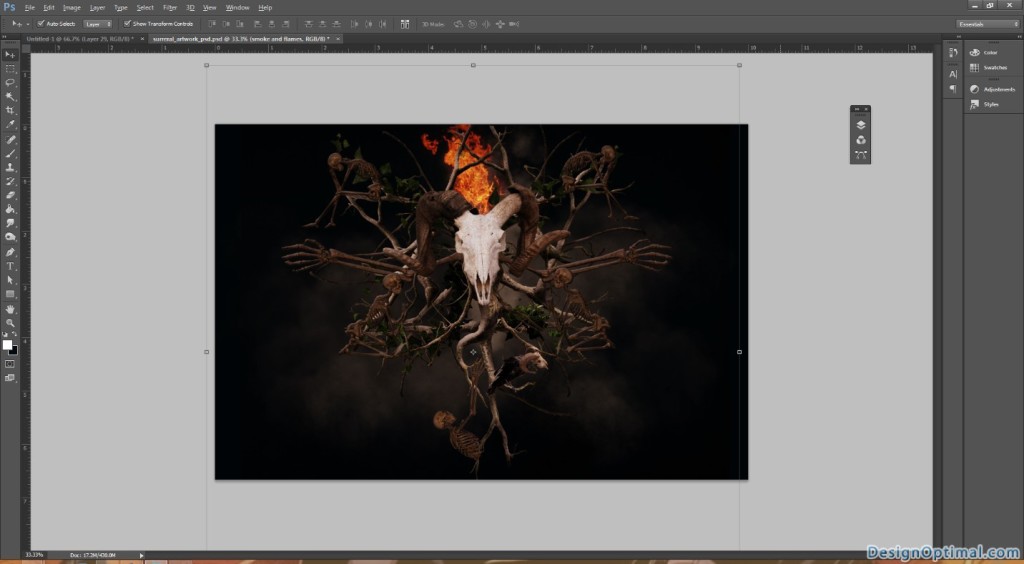
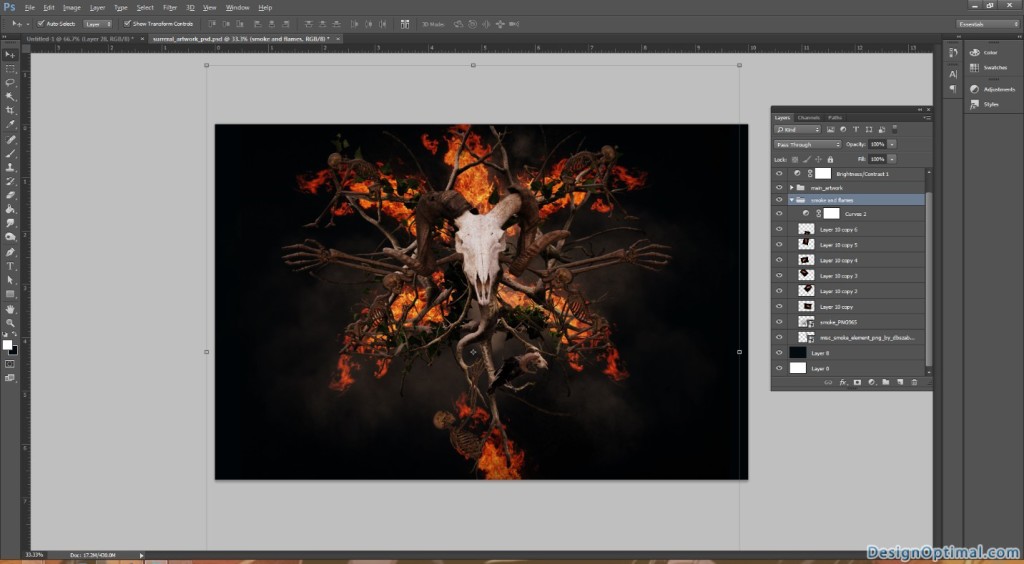
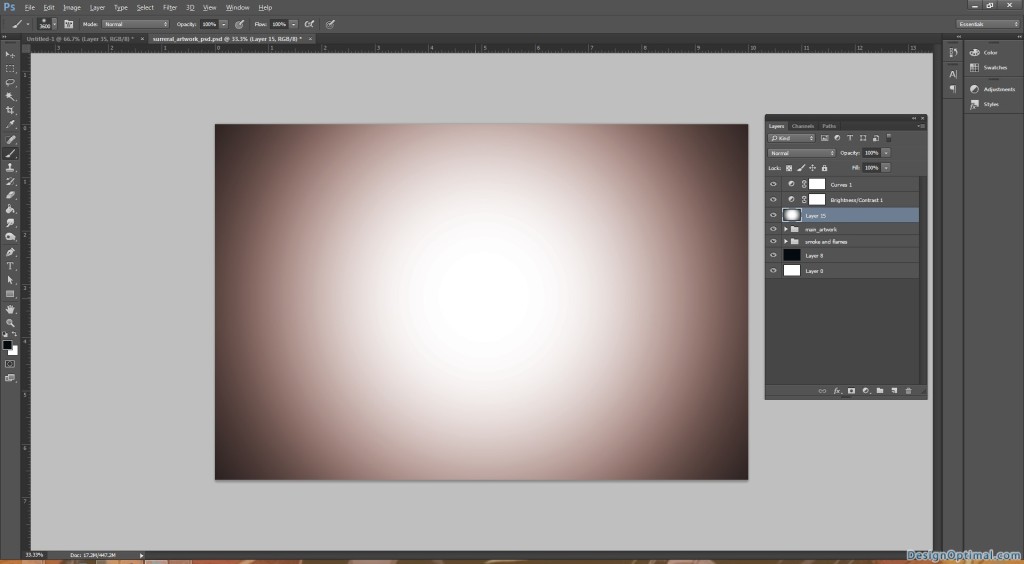
- After that we will add another black fill layer on the top of the main artwork blow the adjustment layers and take a blur brush select the color white and paint in the middle of the black fill and after that set blend mode to multiply.
