Hello everybody there!! Today we are going to show you “How to Turn Photos into Cartoon Effect in Photoshop”. In this tutorial, we will show you different filters and their effect on the photo. The design process can be showing in simple steps which everyone can follow.
Resources
Images used:
- Building Vector by Freepik.com
- Male Model by Freepik.com
Step 01
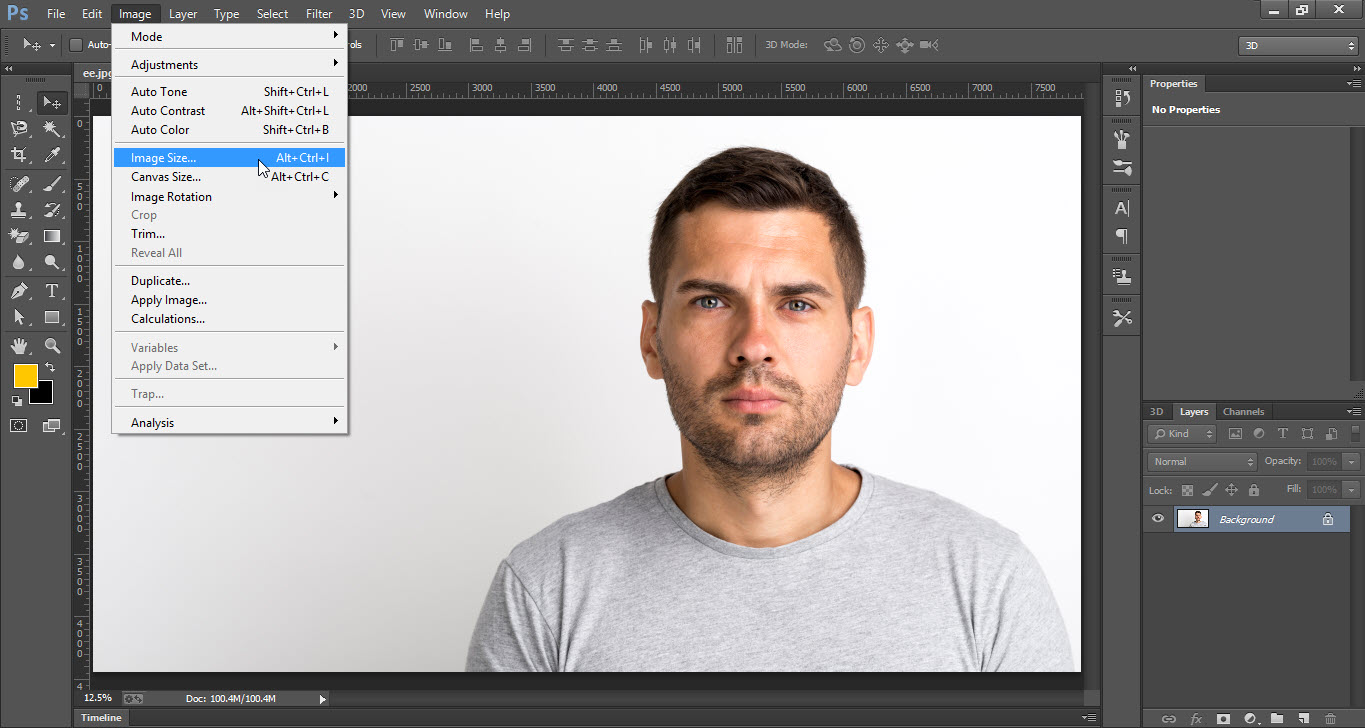
- Open the Adobe Photoshop software.
- Go to the “File” menu and click on open.
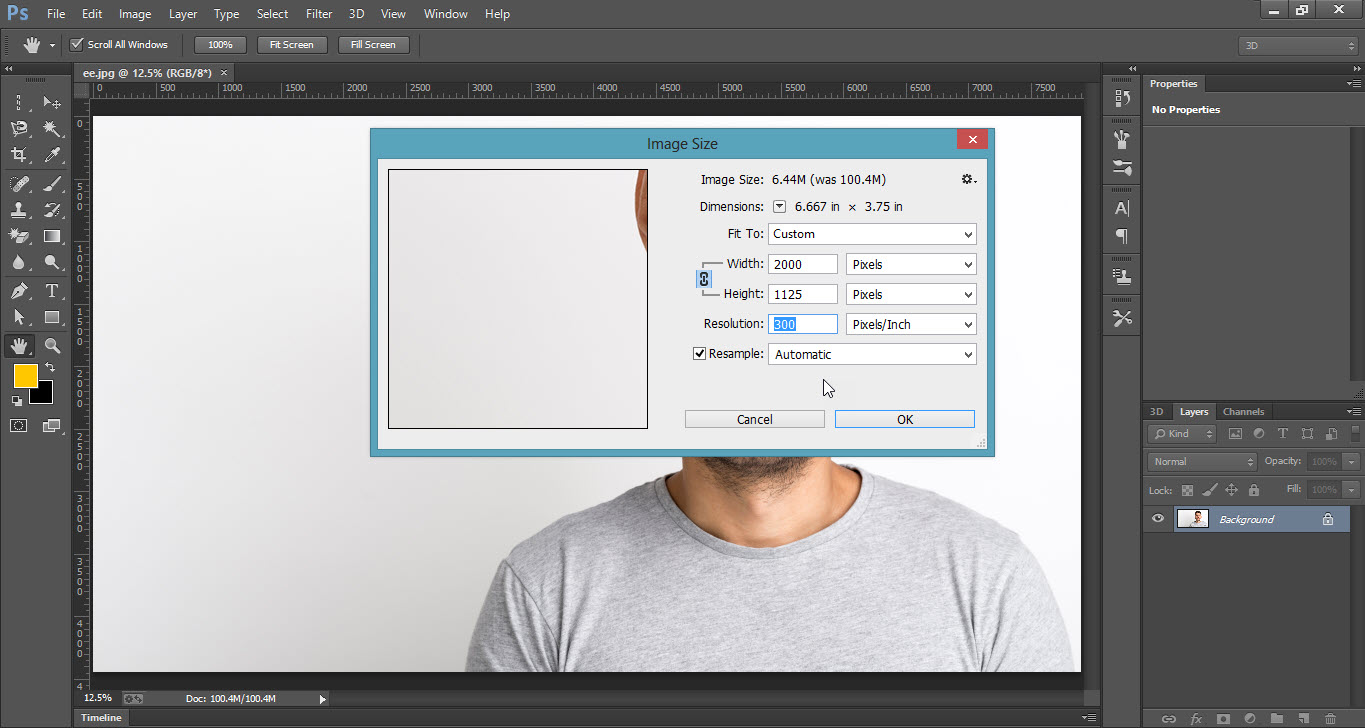
- First of all, go to the “Image” menu and click on “Image Size”.
- Change the value of the “Width” and press Ok.
- Now press control “Ctrl+J” to duplicate the image.
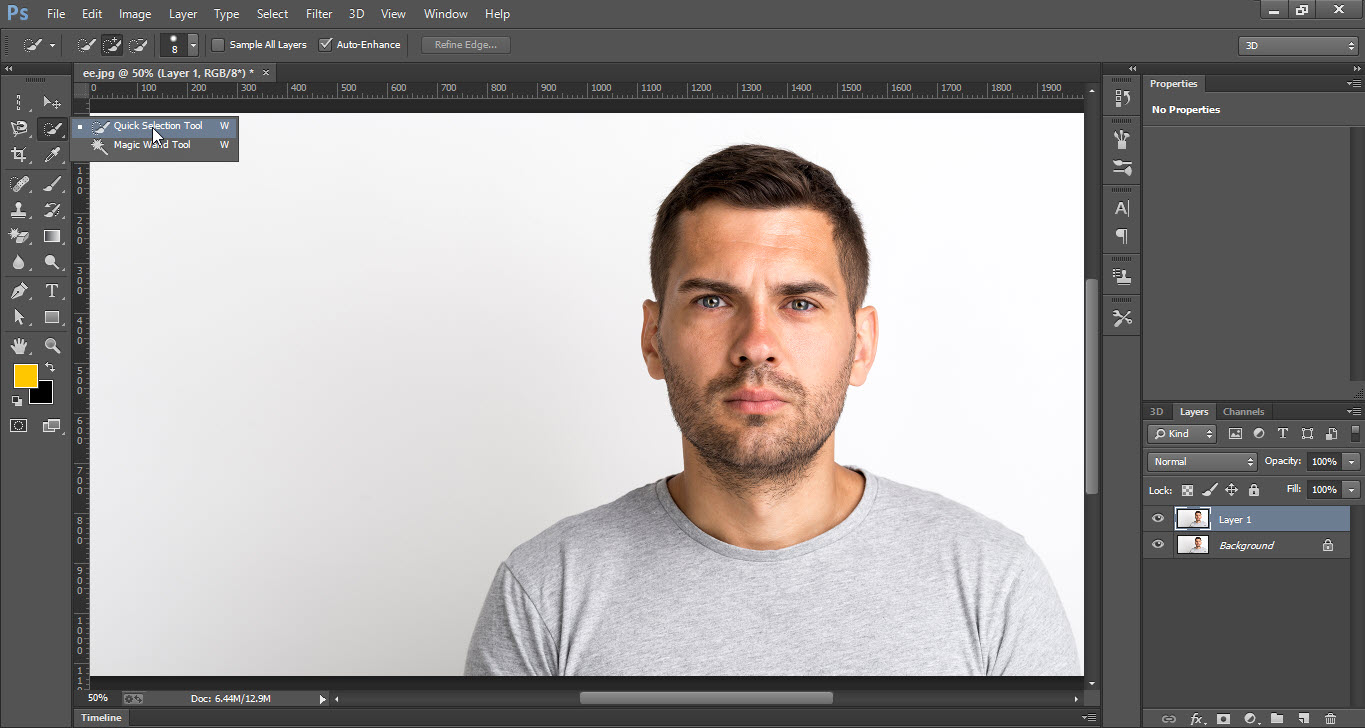
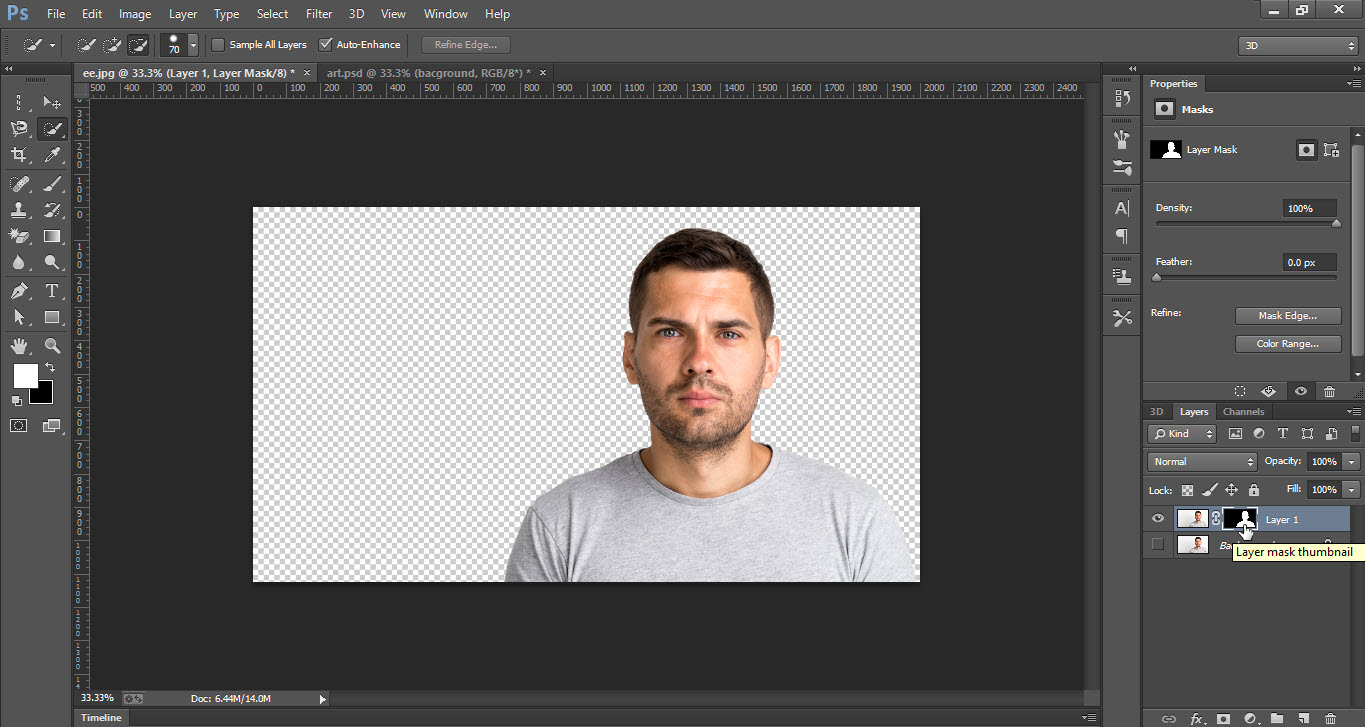
- Go to the “Tool Bar” and select the “Quick Selection Tool”.
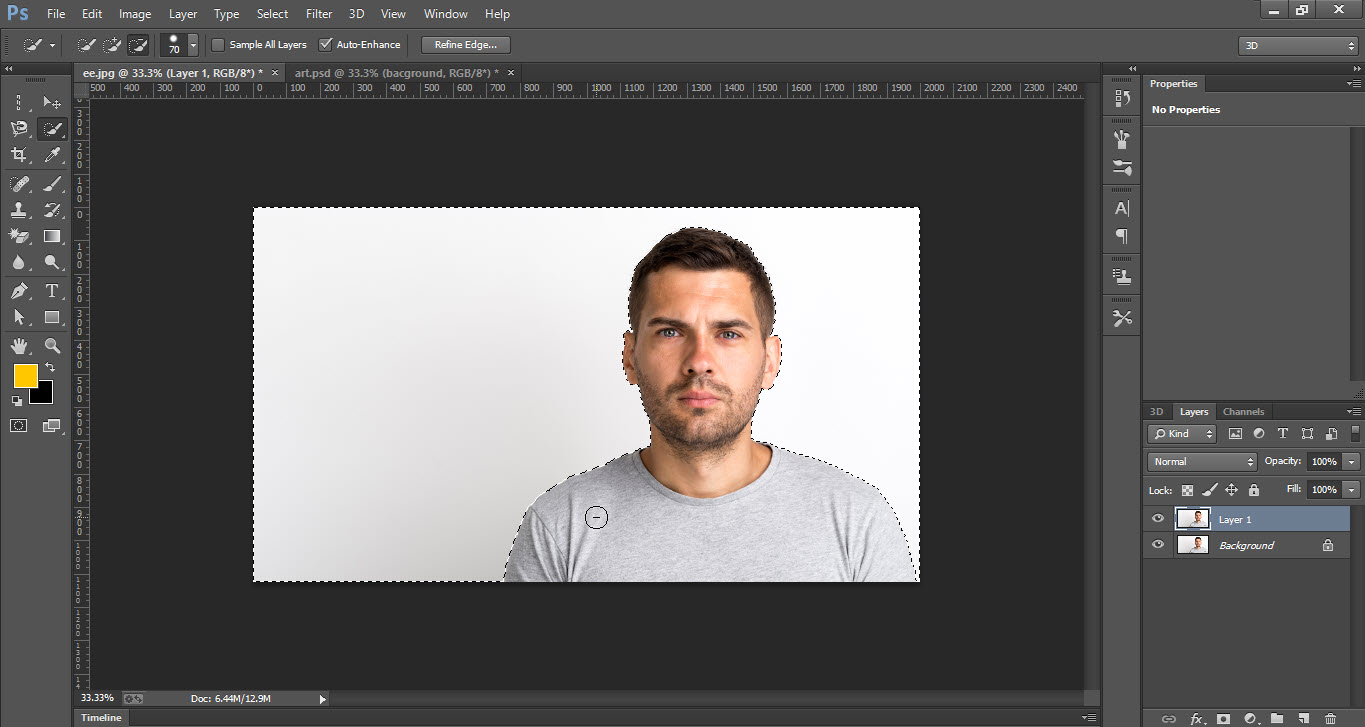
- Select the background then right click and click on “Select Inverse” option.
- Now click on the “Layer Mask” icon to apply the layer mask.
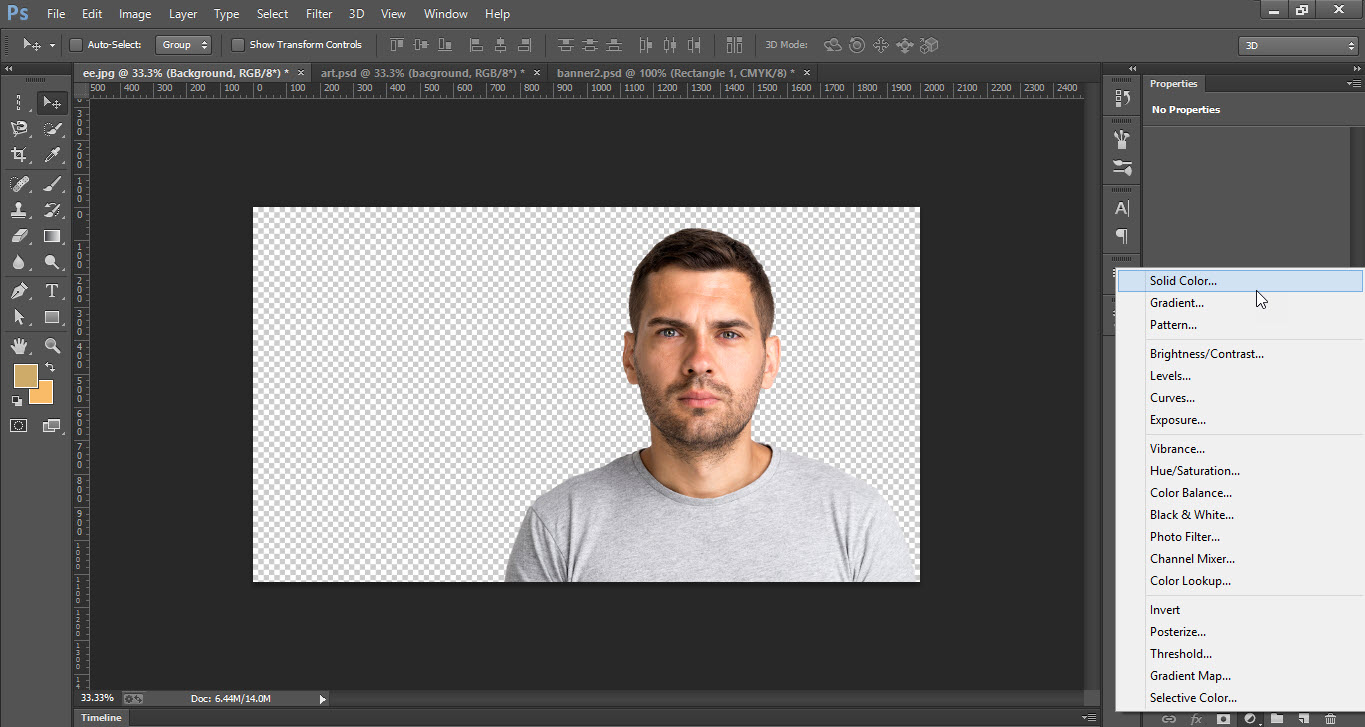
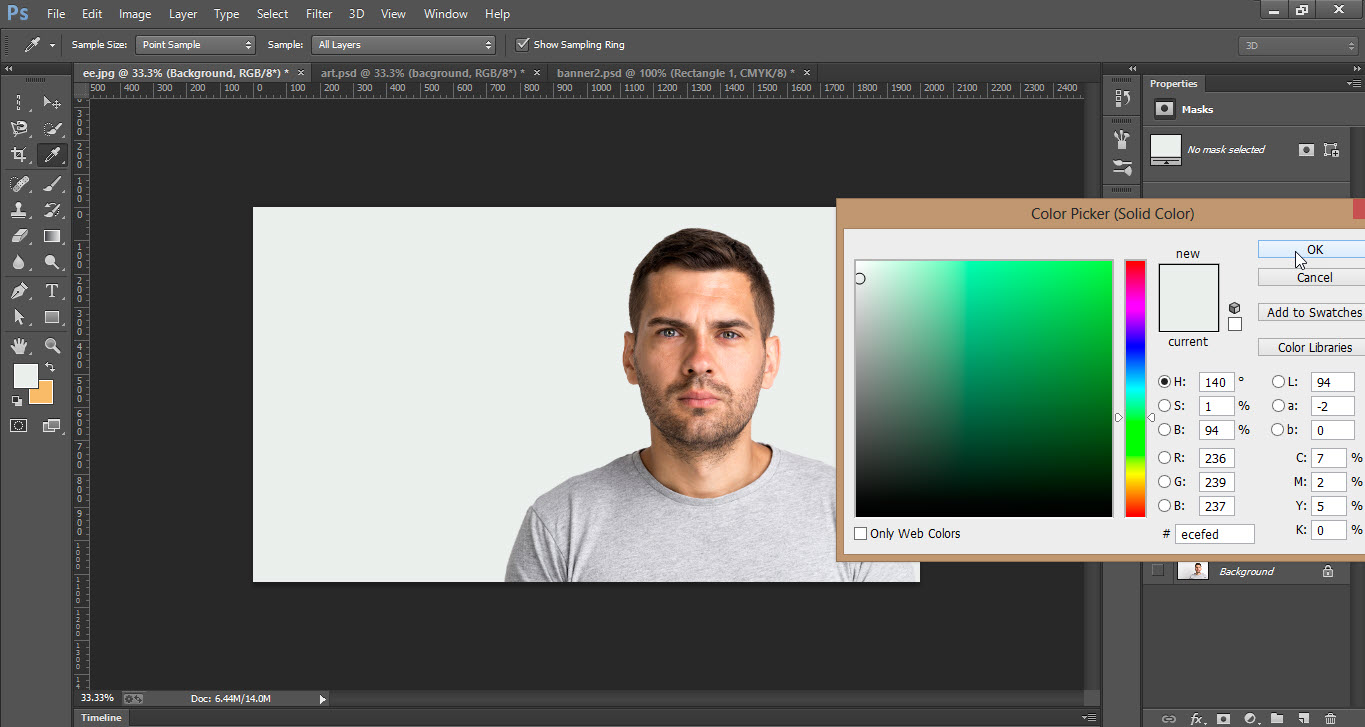
- Apply the “Solid Color” to the background.
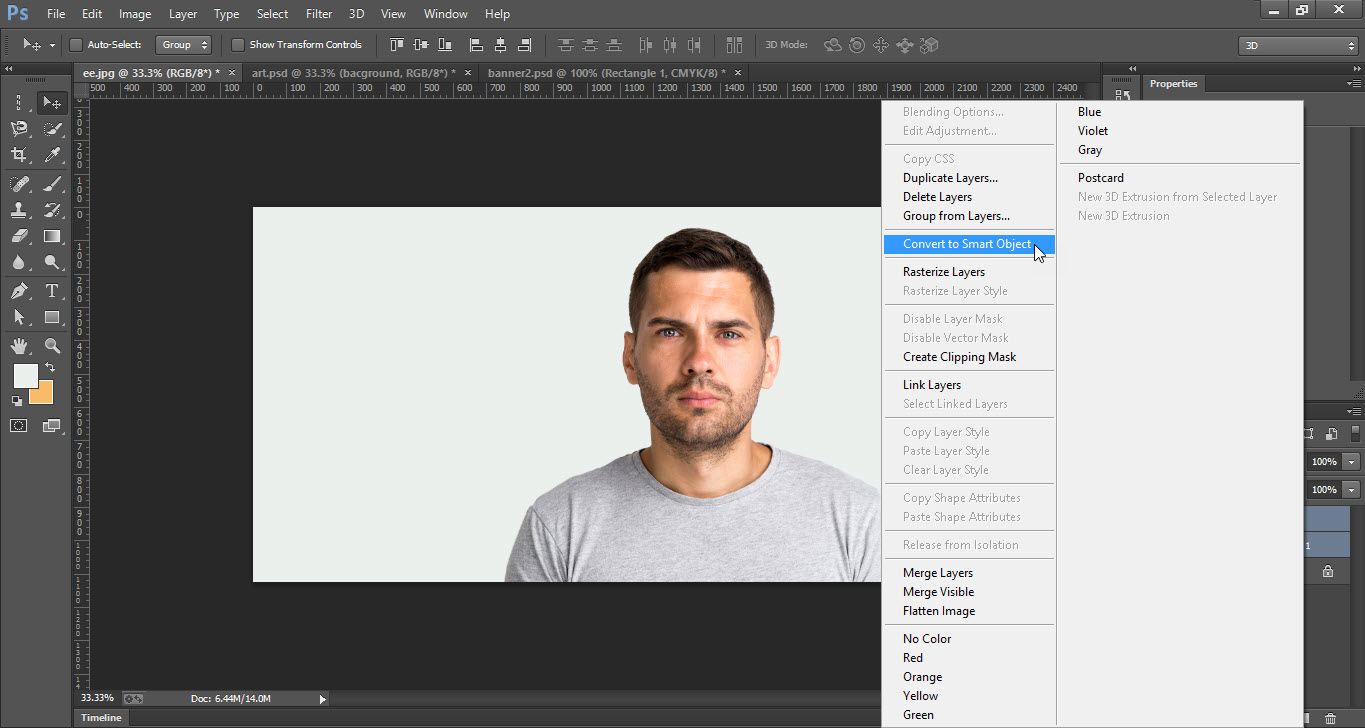
- Select the Layer Mask & Background layer then right click and click on the option ”Convert to Smart Object”.


Step 02
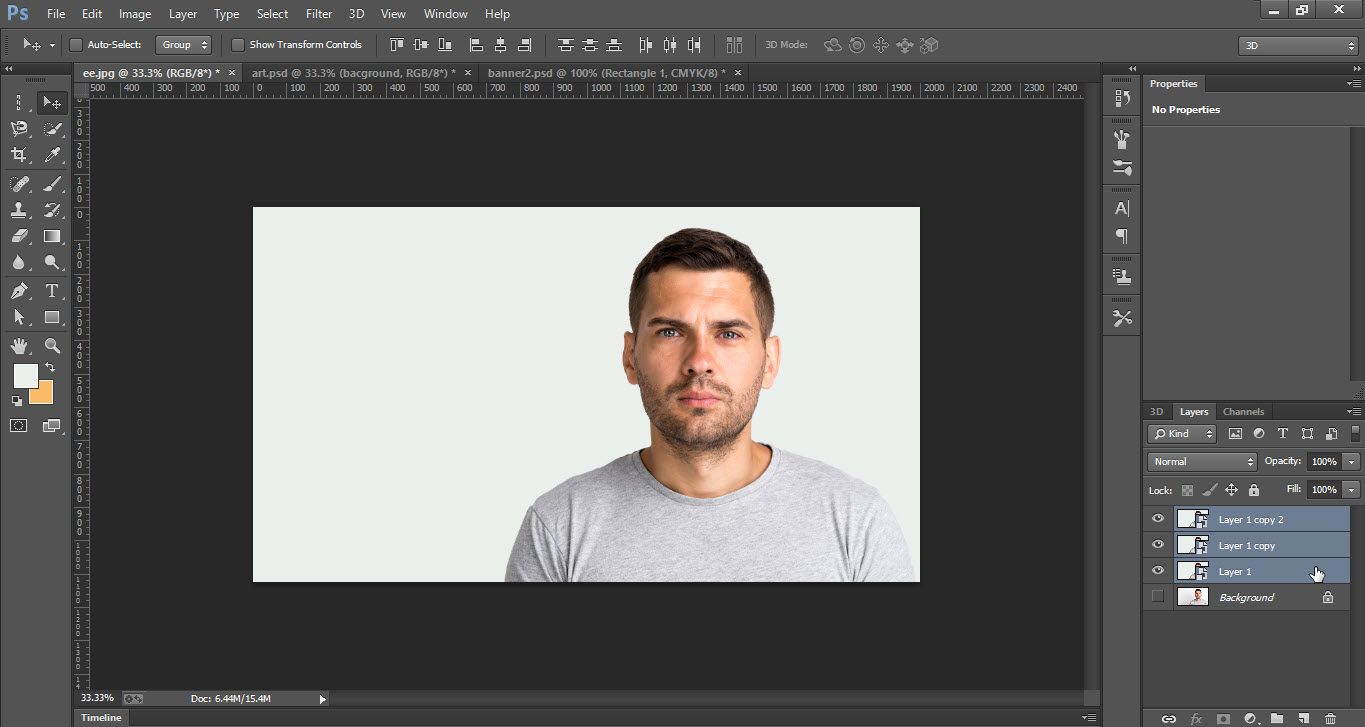
- Now make 3 copies of the same layer.
- Make sure visible only “Layer 1”.
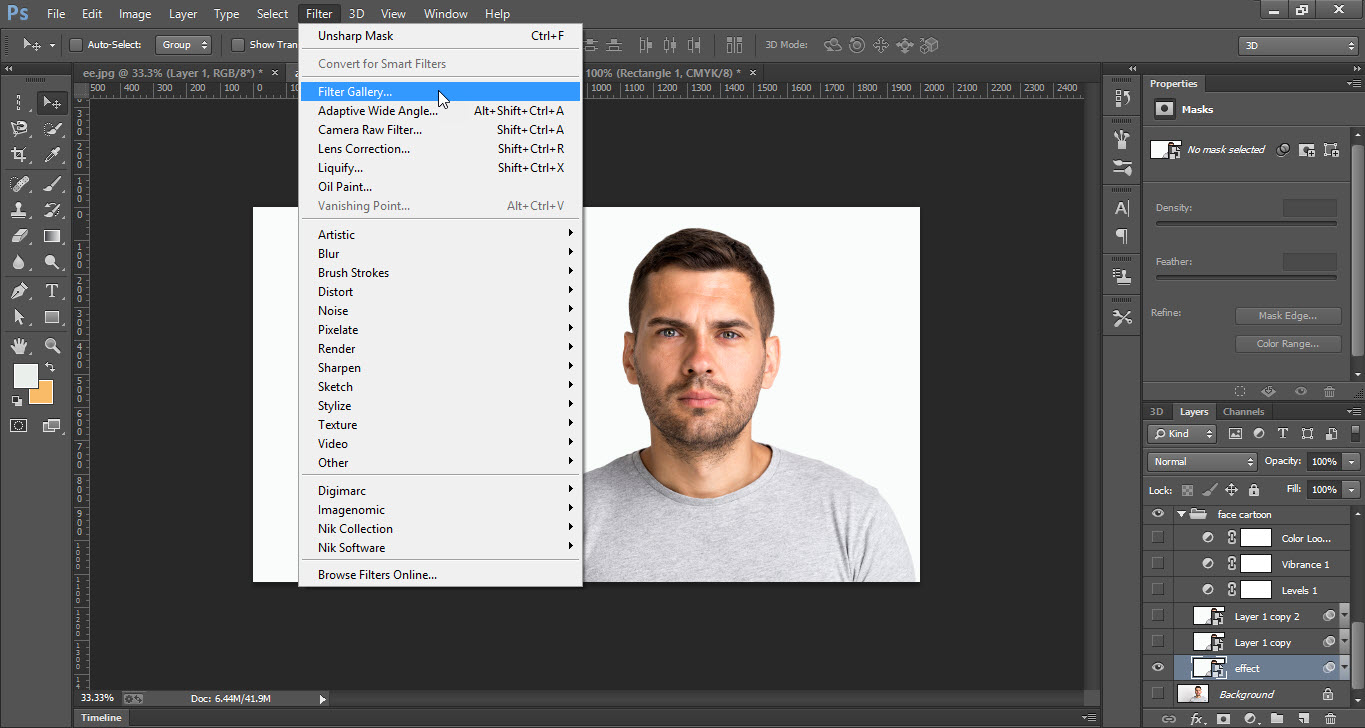
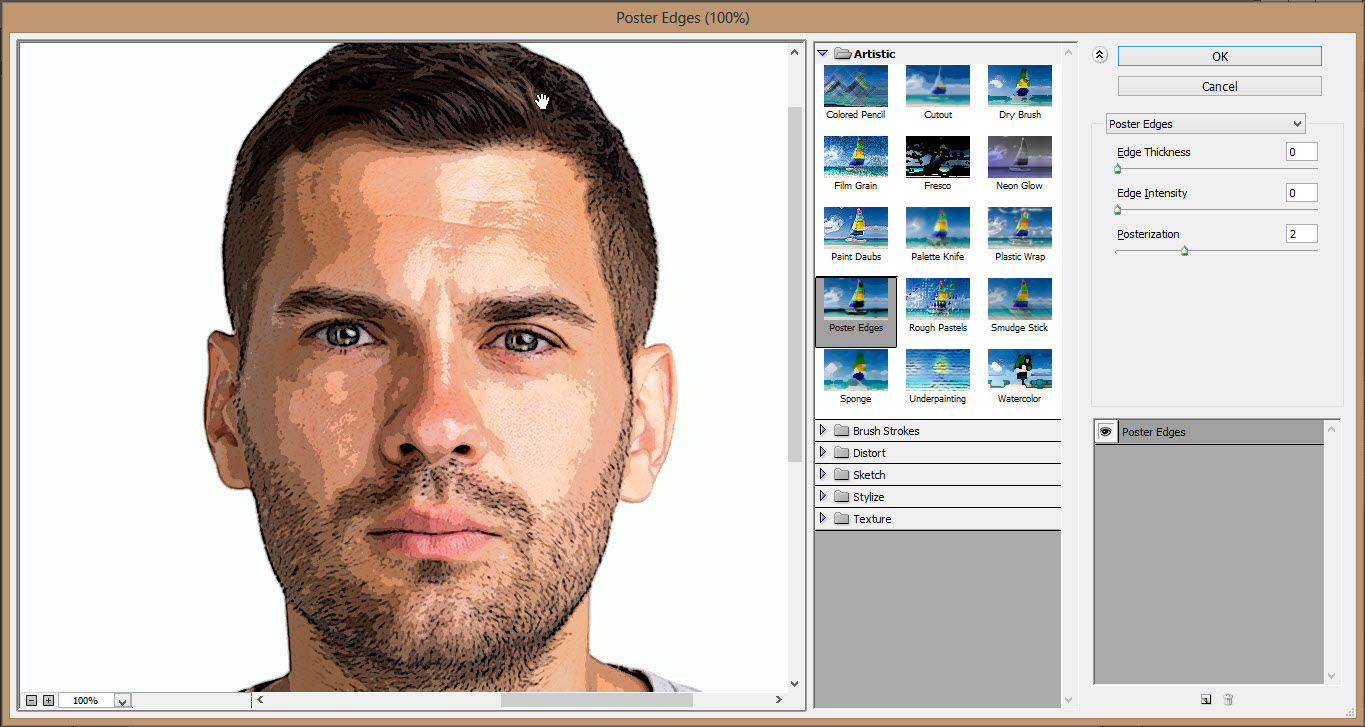
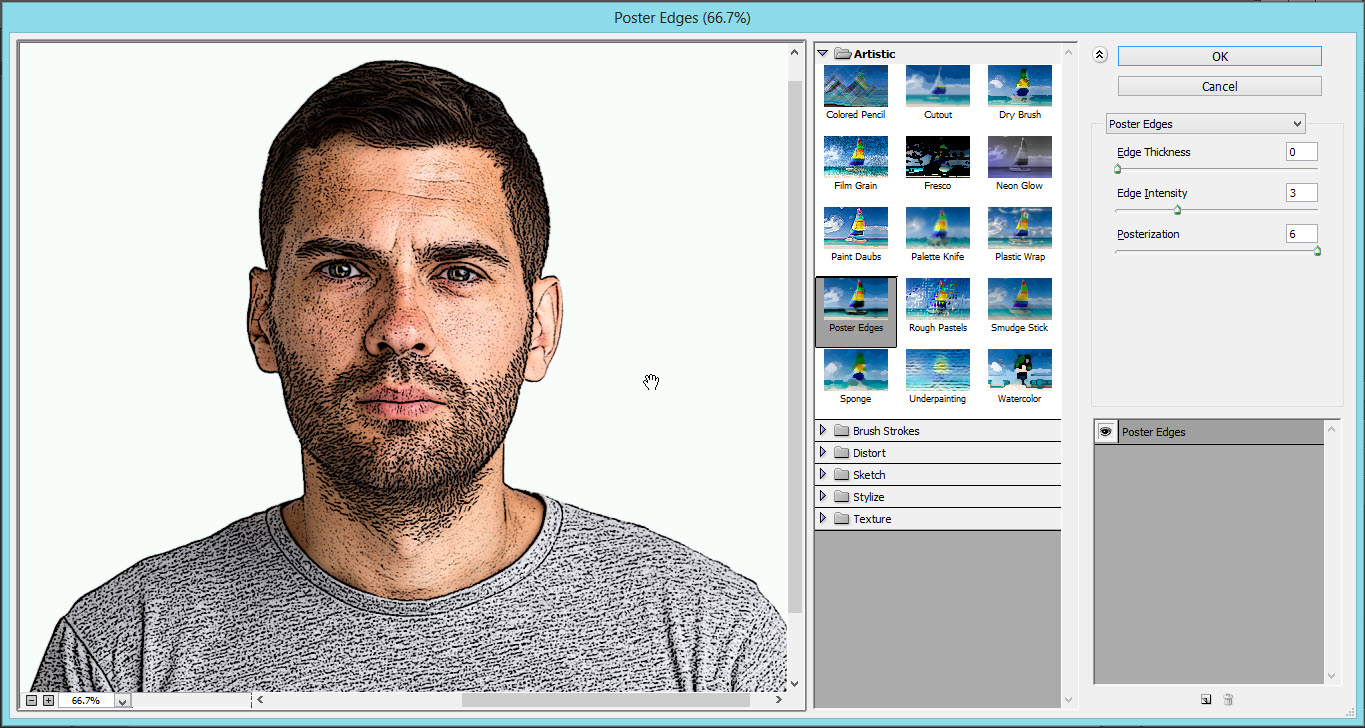
- Select layer 1 and go to the “Filter” menu and click on “Filter Gallery” option.
- Filter Gallery window will be opened then change the value as shown in the screenshot.
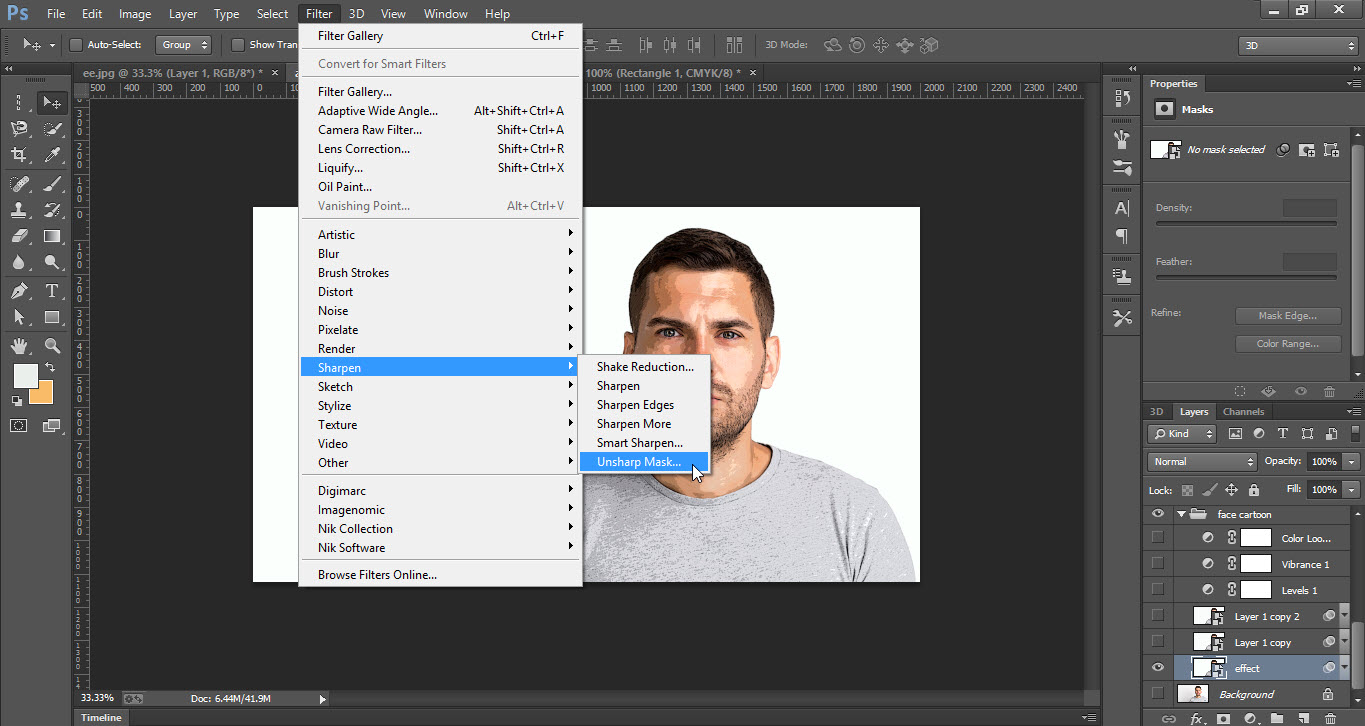
- Stay on the same layer and again go to the “Filter Menu”.
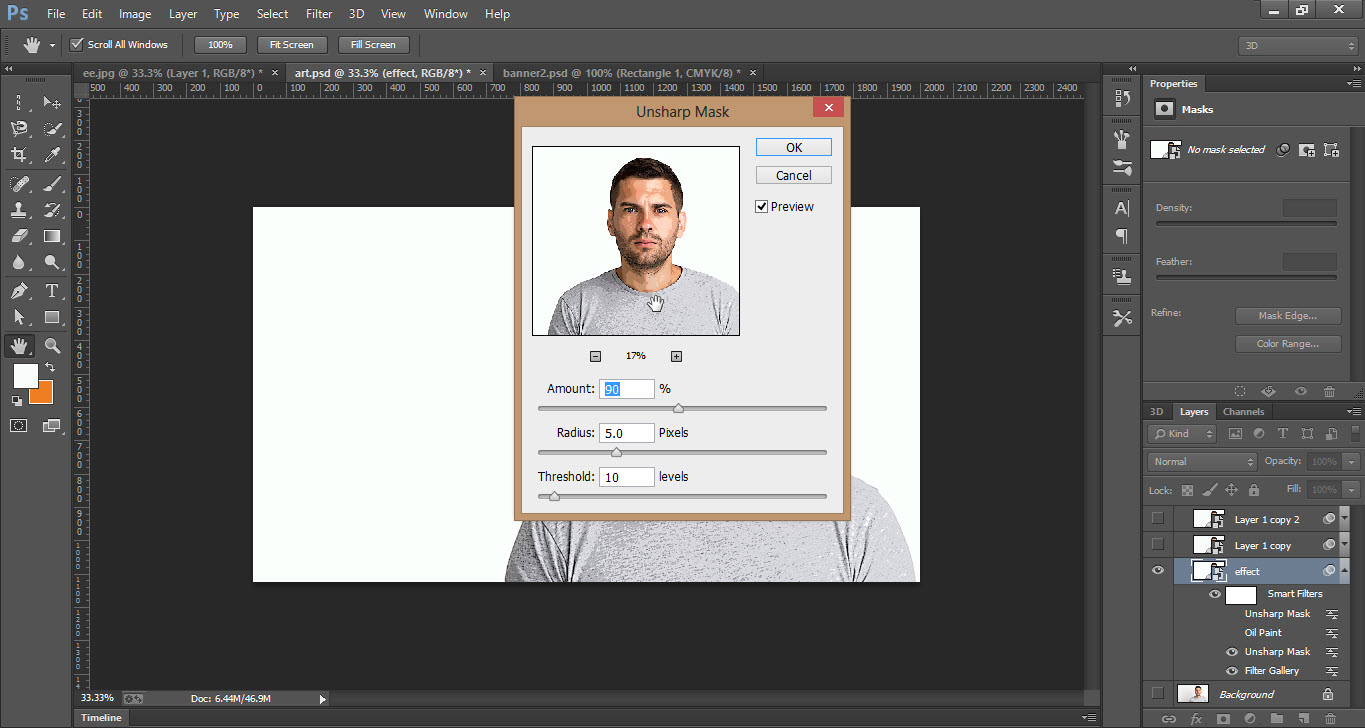
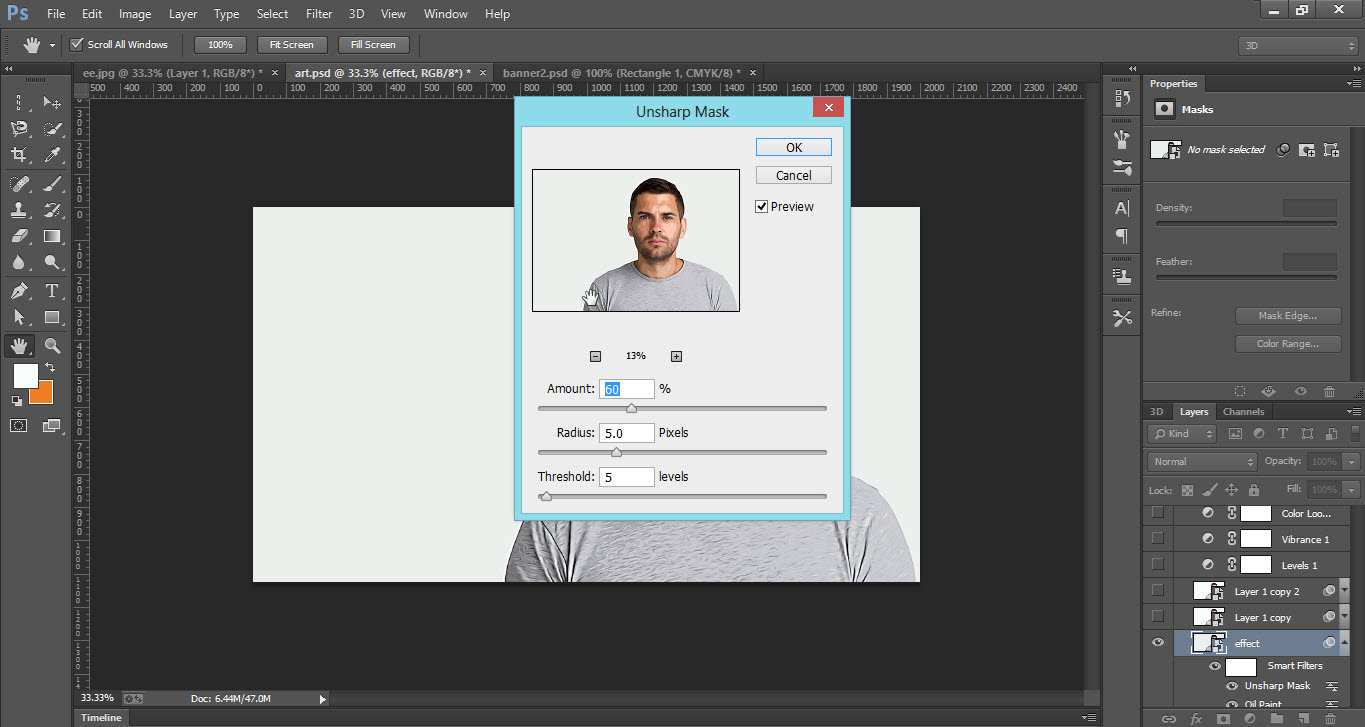
- Then go to the “Sharpen” Menu and click on the “Unsharp Mask” option.
- Adjust the values in the unsharp mask window as shown.
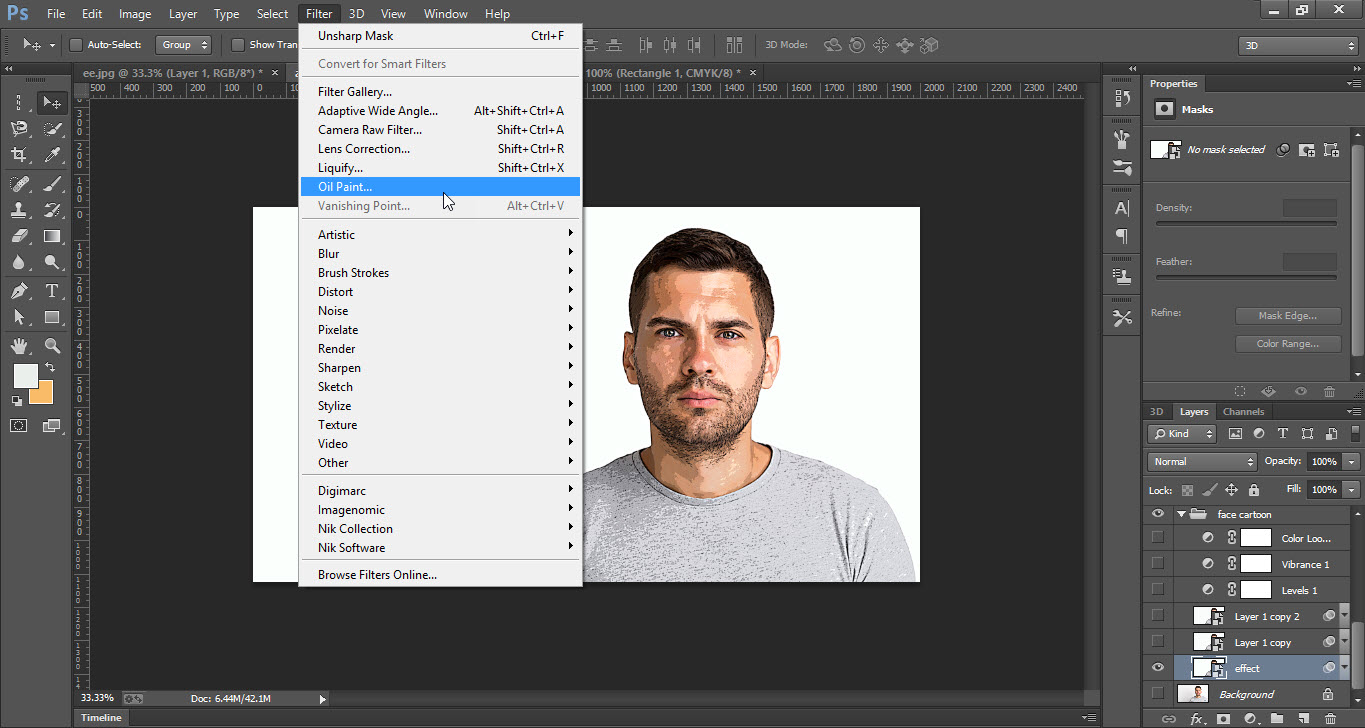
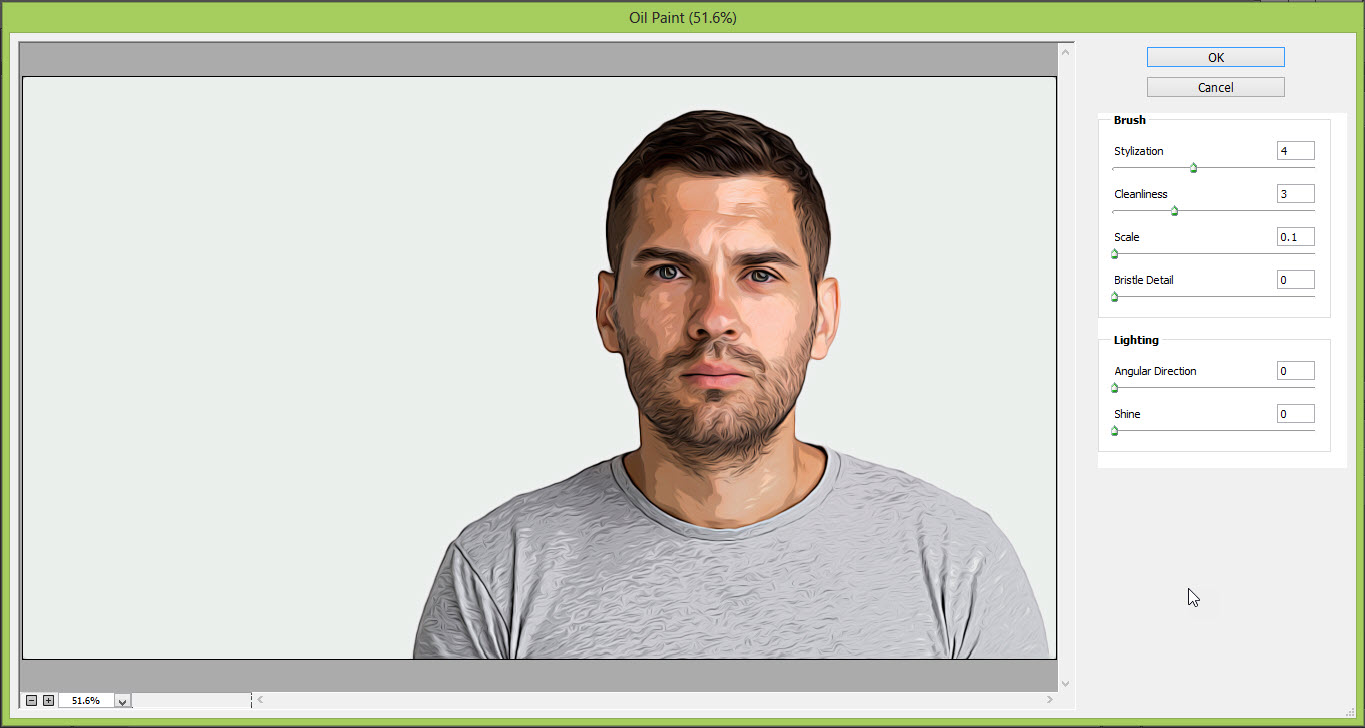
- Again go to the “Filter” menu and click on “oil paint” option.
- Change the values in the oil paint window as shown.
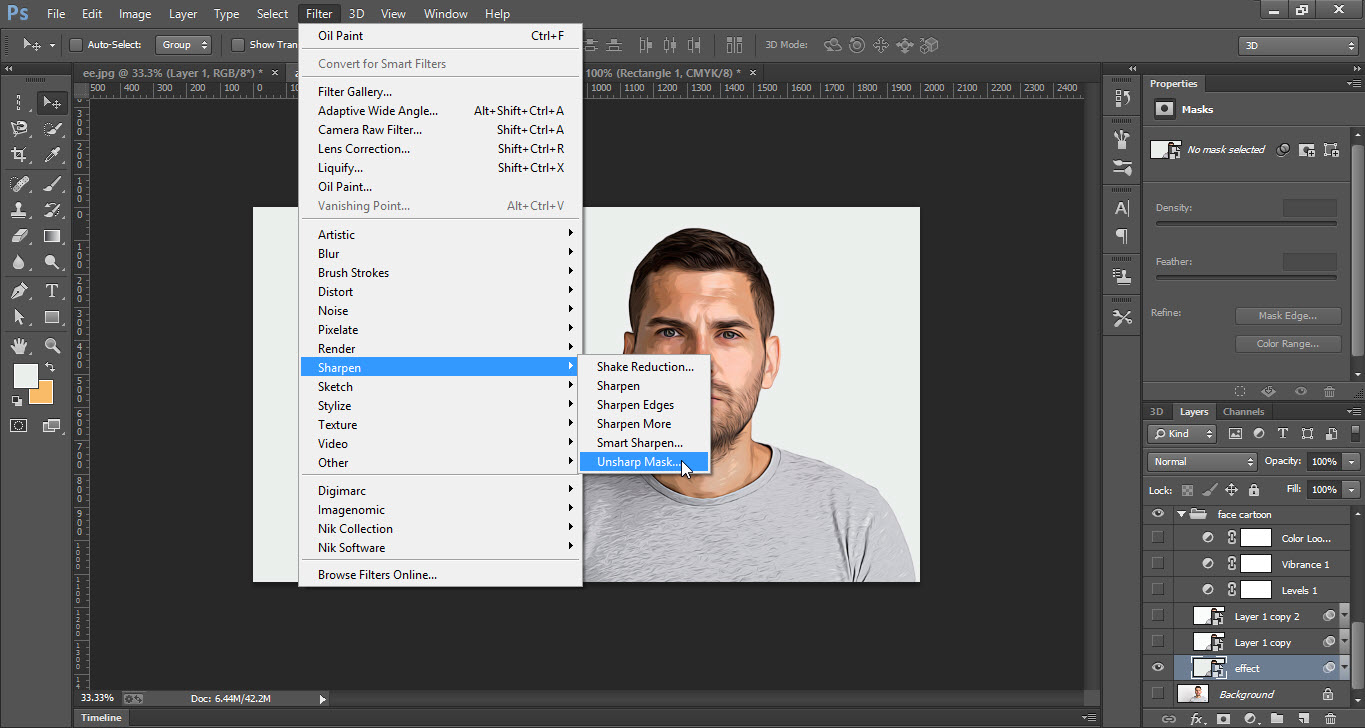
- Make sure that you are applying these all of the above filters on layer 1.
- Again go to “Filter Menu” and select unsharp mask.
- Change the values in the unsharp mask window.
Step 03
- Now select the “Layer 2” and go to “Filter” menu and click on the “Filter Gallery” Option.
- Change the values in the “Filter Gallery” window.
- Again go to the “Filter” menu and click on “Oil Paint” filter option.
- Change the values in “oil Paint” window (for values check the Screenshot).
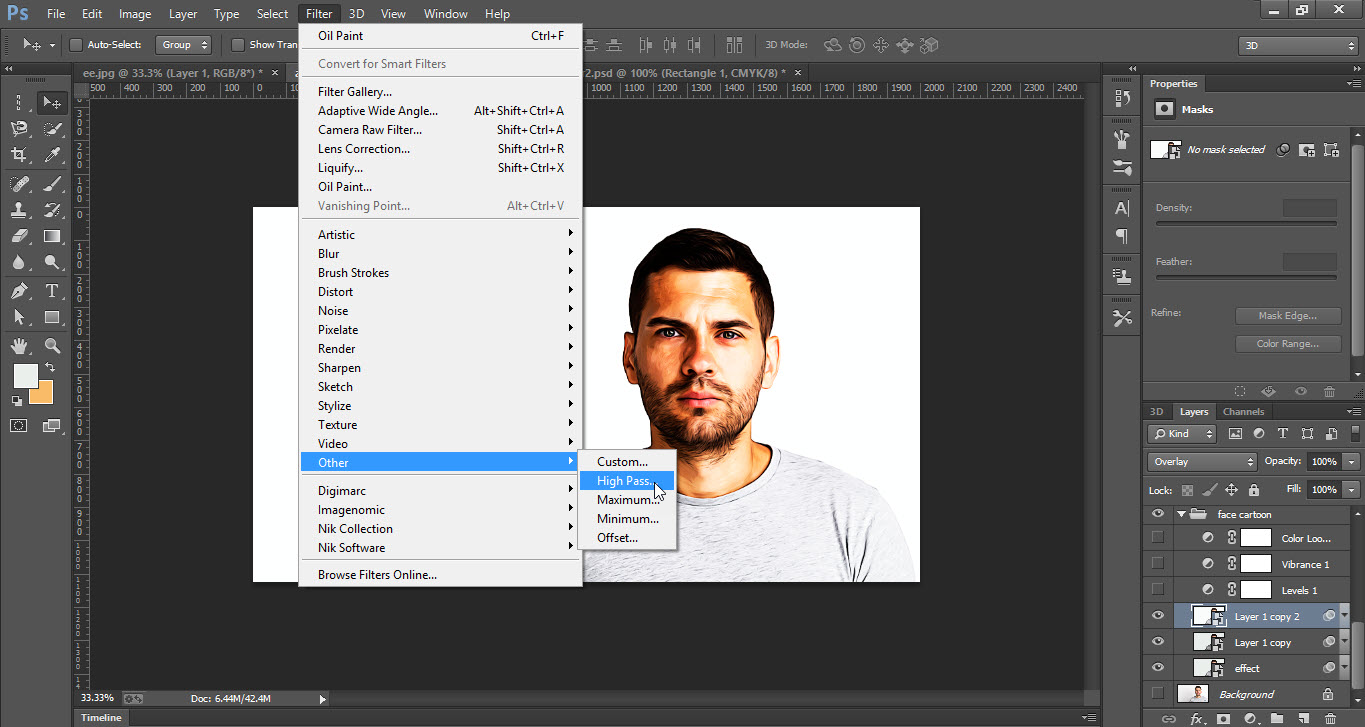
- Now select the “Layer 3” and go to “Filter Menu”.
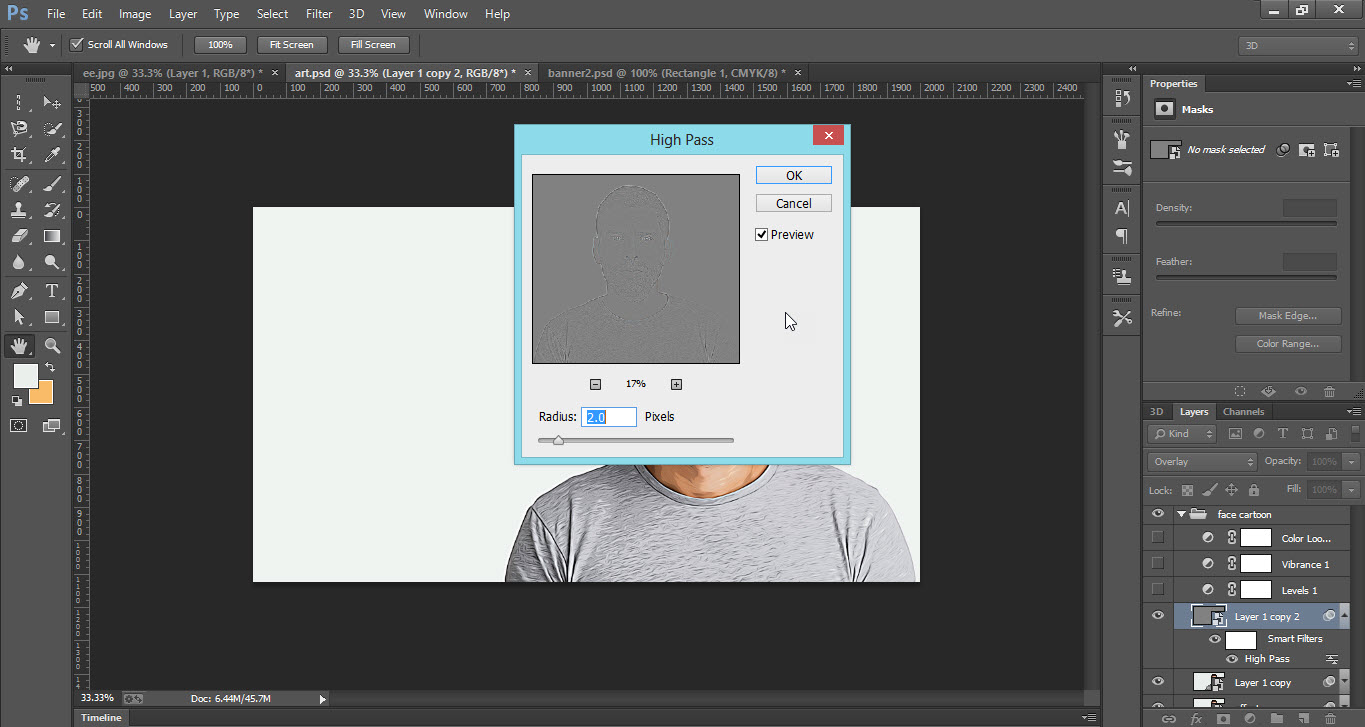
- In filter, the menu goes to the “Other” option and click on the “High Pass” filter.
- Change the value in “High Pass” filter window to “2”.
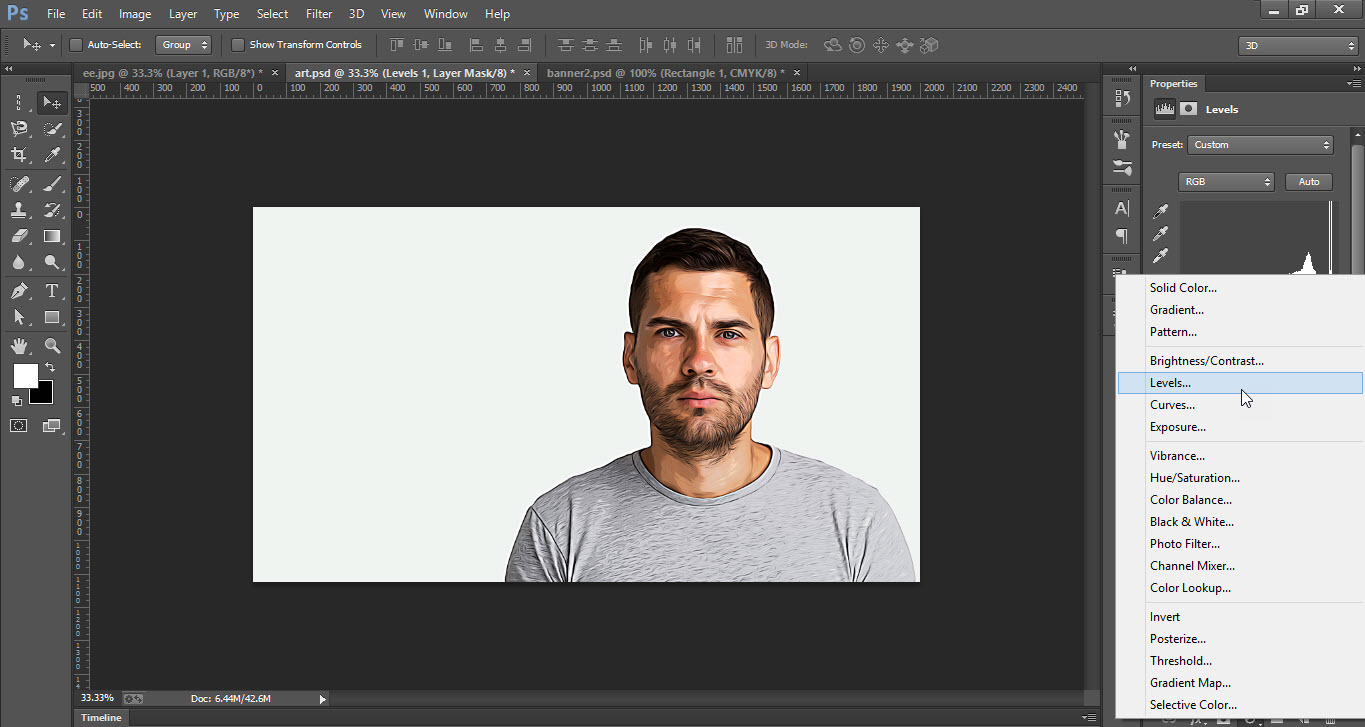
- Now apply the “Levels”, “Vibrance” to the image.


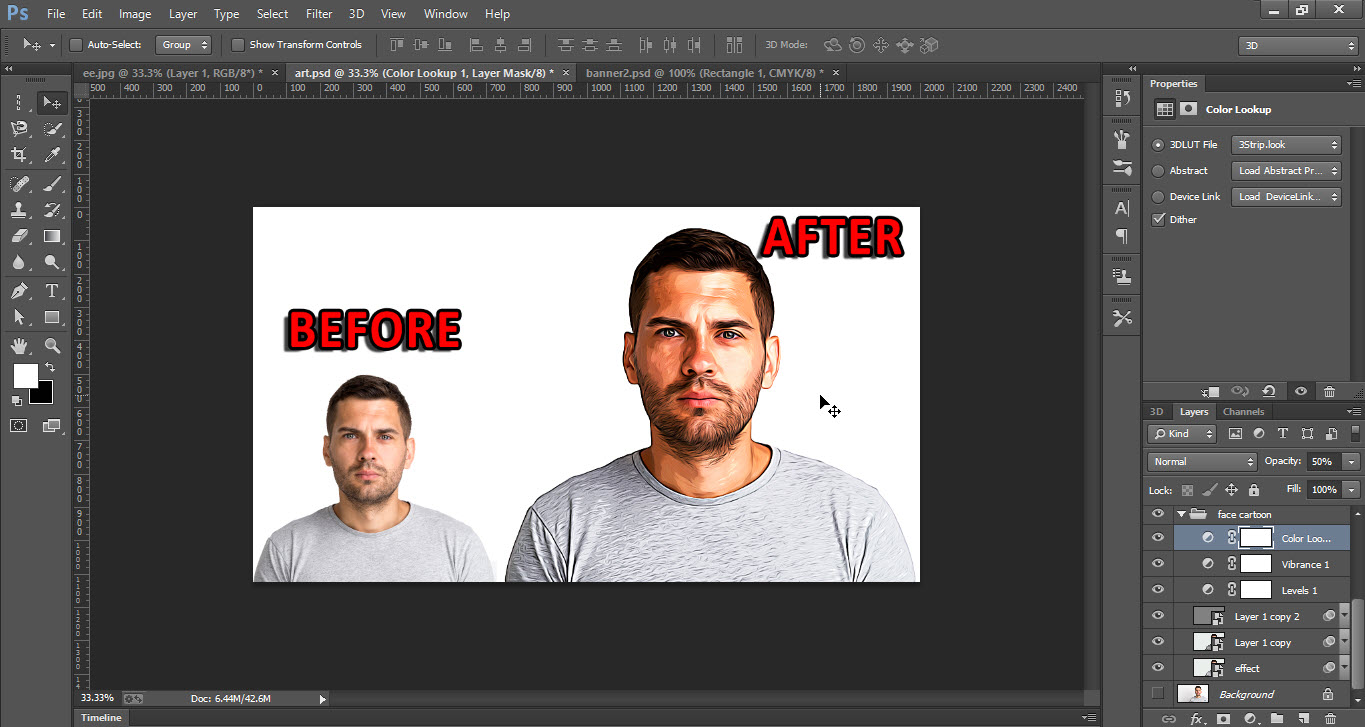
This is how the final result looks like