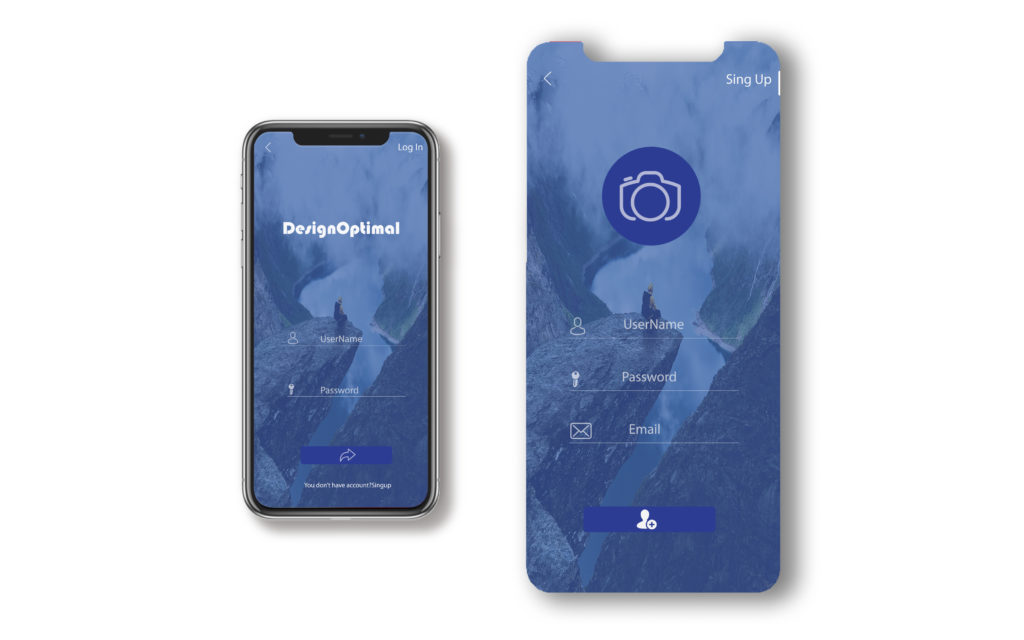
Hello everybody there!! Today we are going to show you “How to Design Simple Mobile App in Illustrator”. The design process can be showing in simple steps which everyone can follow and design a cool app for mobile. Nowadays app design is one of the most important skills for software developers so today we will teach you how to design it in a very simple way.
Resources
Images used:
- Nature by Freepik.com
Fonts used:
- Bauhaus Regular
- Myriad Pro Regular
Step 01
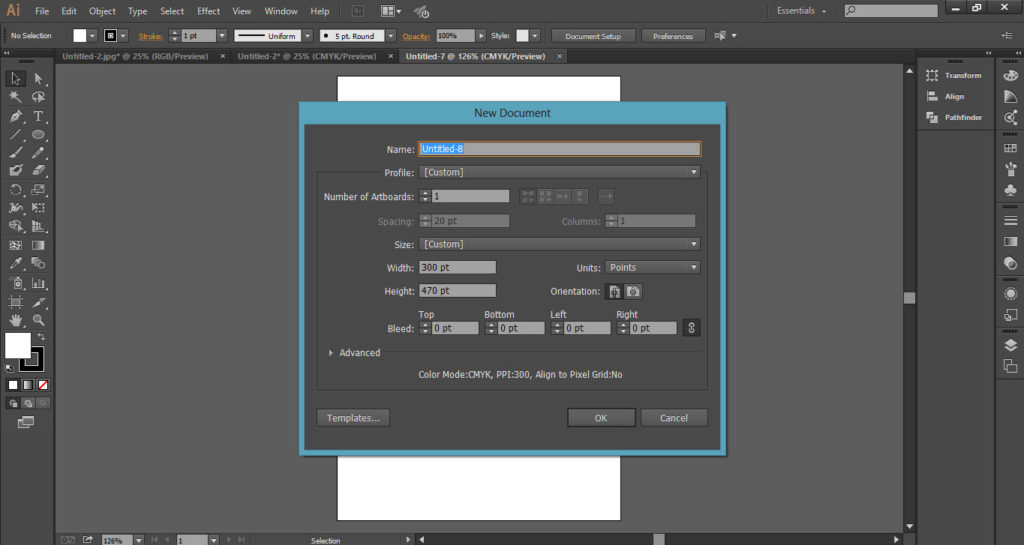
- Open the illustrator software.
- Go to the “File” menu and click on “New”.
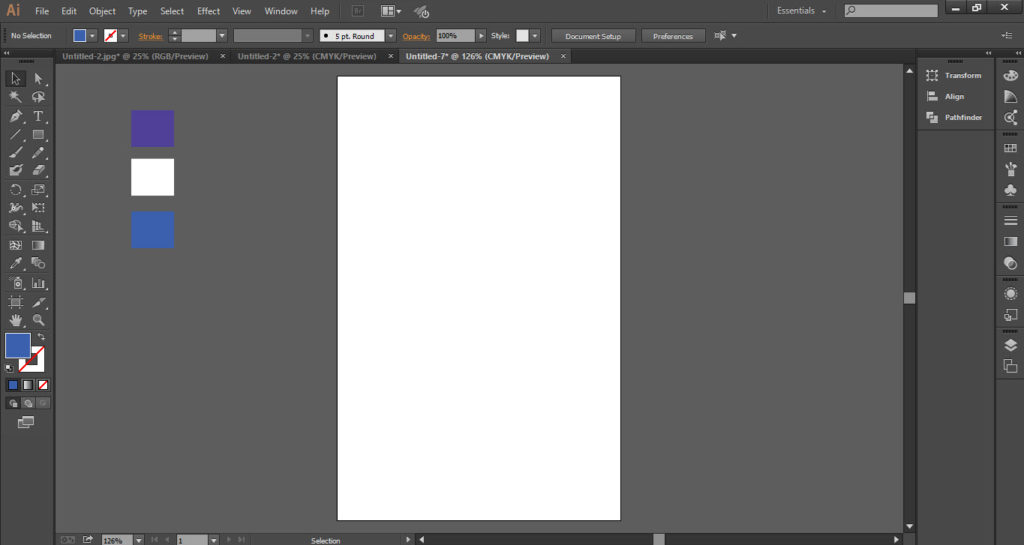
- Select the size of the app according to your requirement.
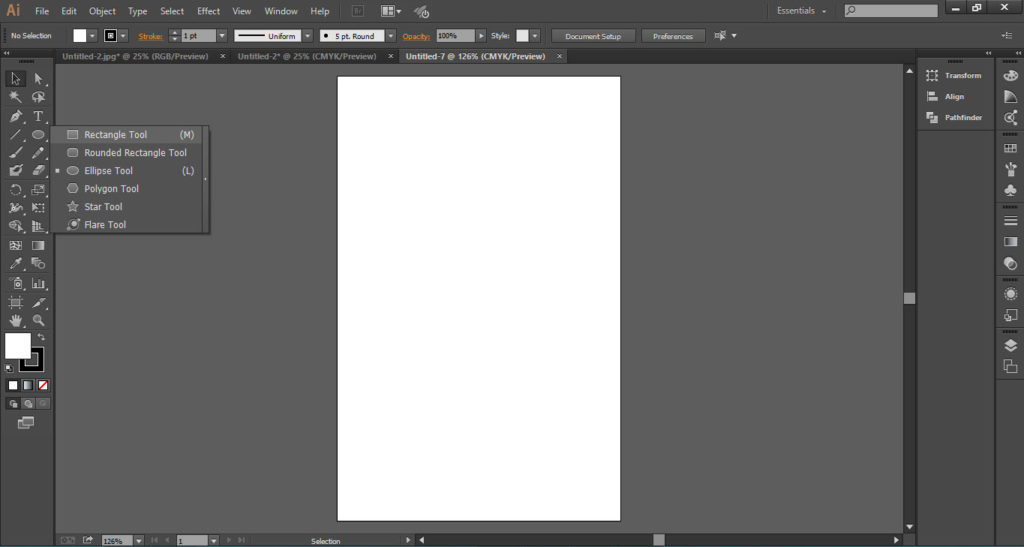
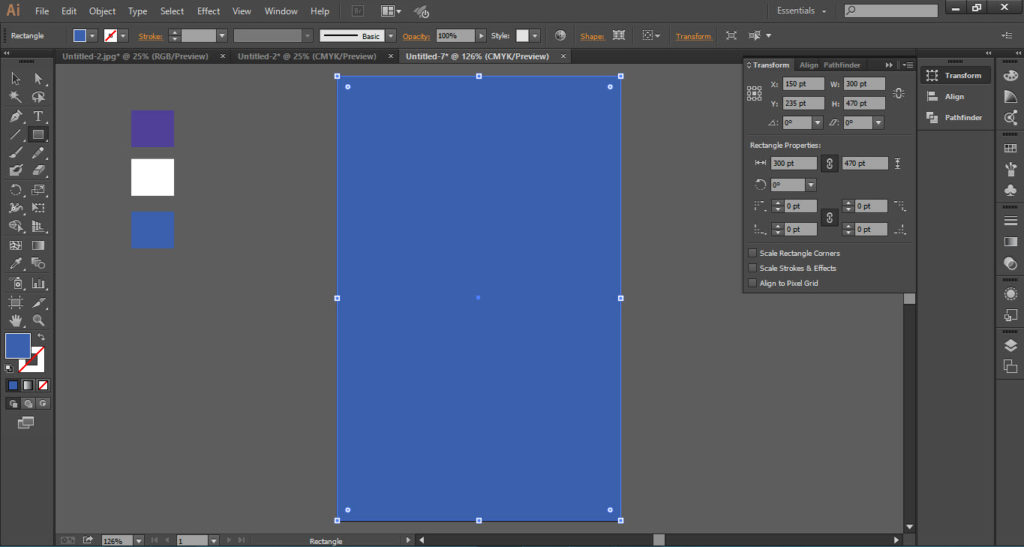
- Now go to the “Tools Bar” and select “Rectangle Tool”.
- Select the color which you want to apply.
- Draw a rectangle around the canvas or the file which you opened.
- You will see the file will fill with the color.
Step 02
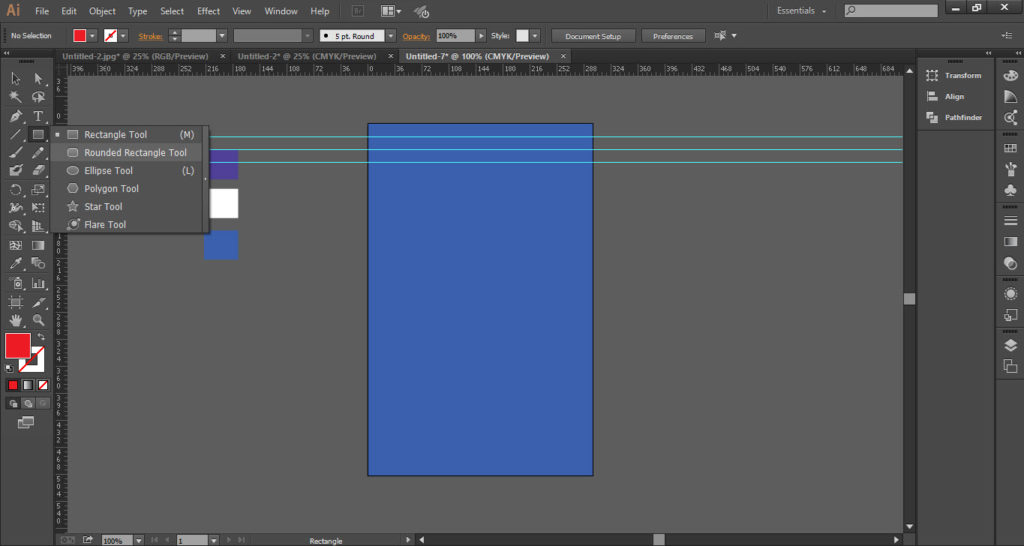
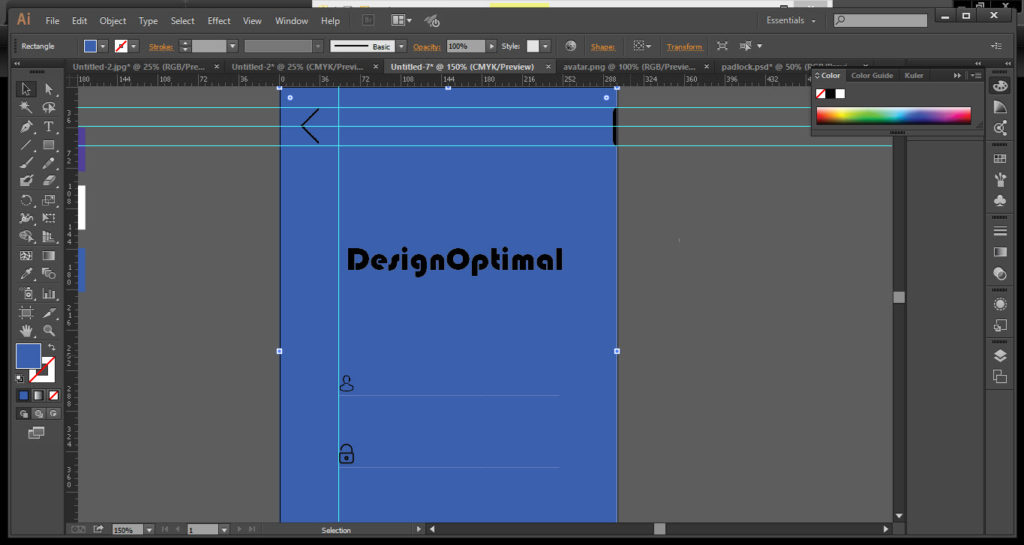
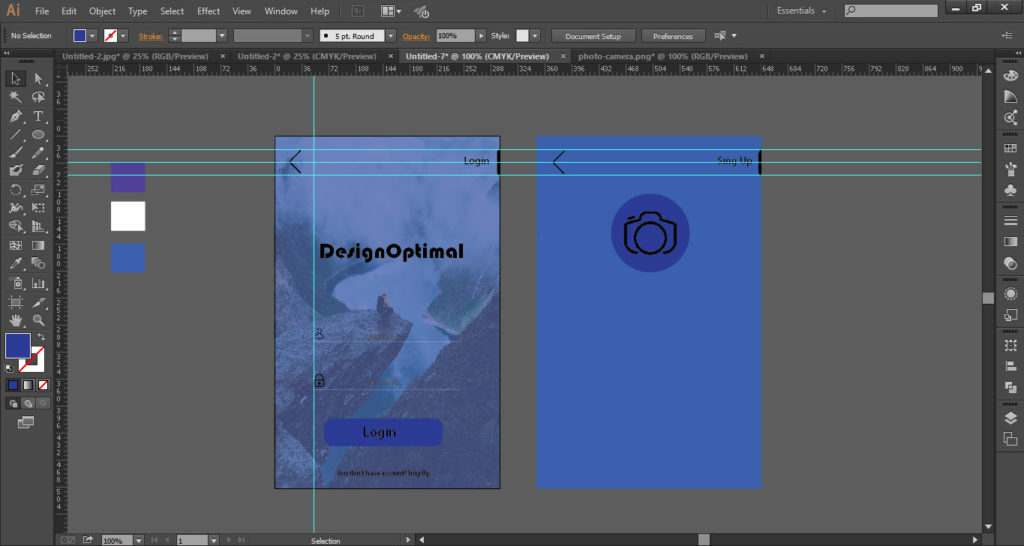
- Take three scales or ruler at the top of the design.
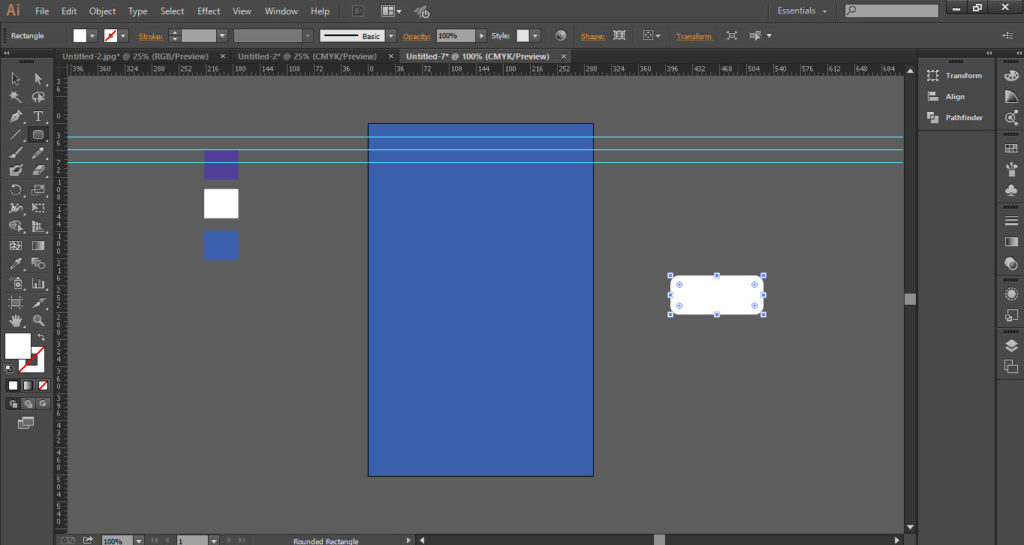
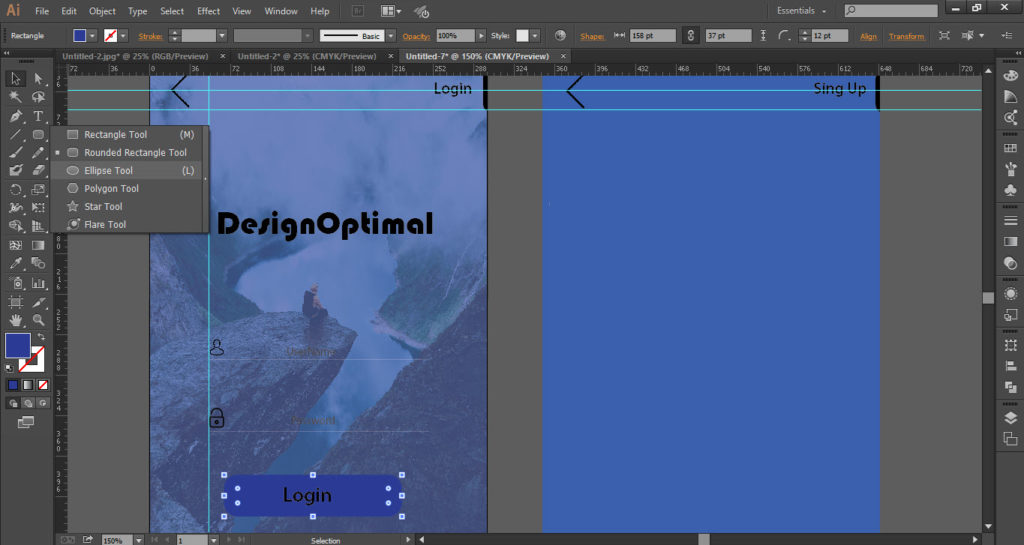
- Again go to the “Tools Bar” and select the “Rounded Rectangle Tool”.
- Draw a rounded rectangle shape.
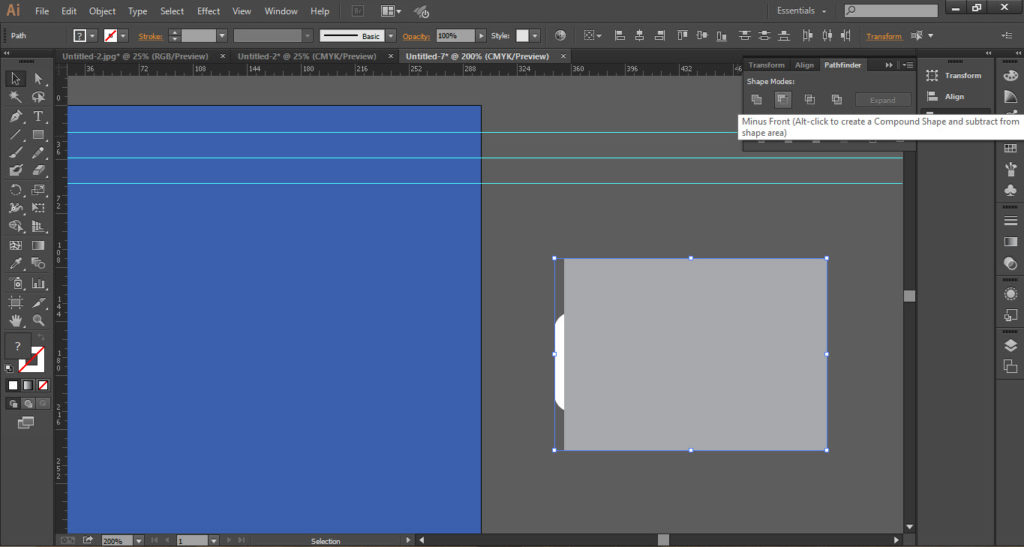
- Now draw another rectangle upon the round rectangle shape (as shown in the screenshot).
- Go to the “PathFinder” window and click on the option “Minus Front”.
- A shape will be formed which we called button. Resized it and put between the rulers (as shown in the screenshot).
- Also, take the arrow icon and put parallel to the button.
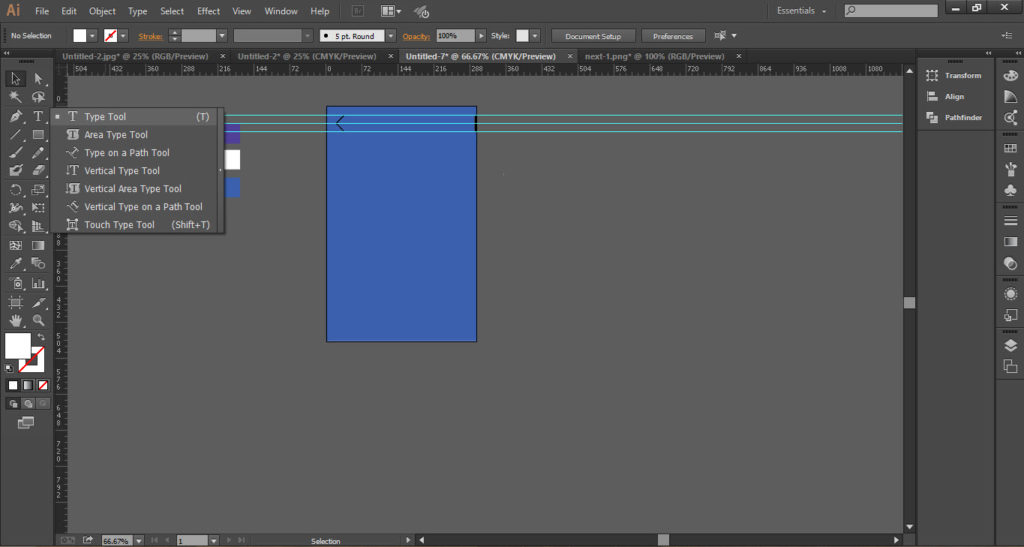
- Now go to the “Tools Bar” and select the “Text Tool”.
- Select the font and size according to your requirements.
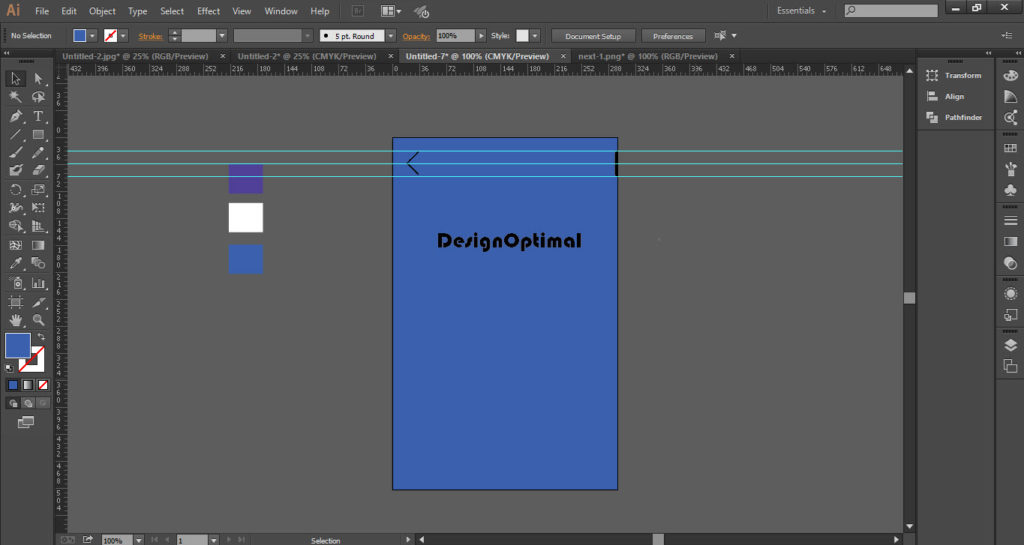
- Type your app name here I typed “DesignOptimal”.
- Place it on the design below the top button.
Step 03
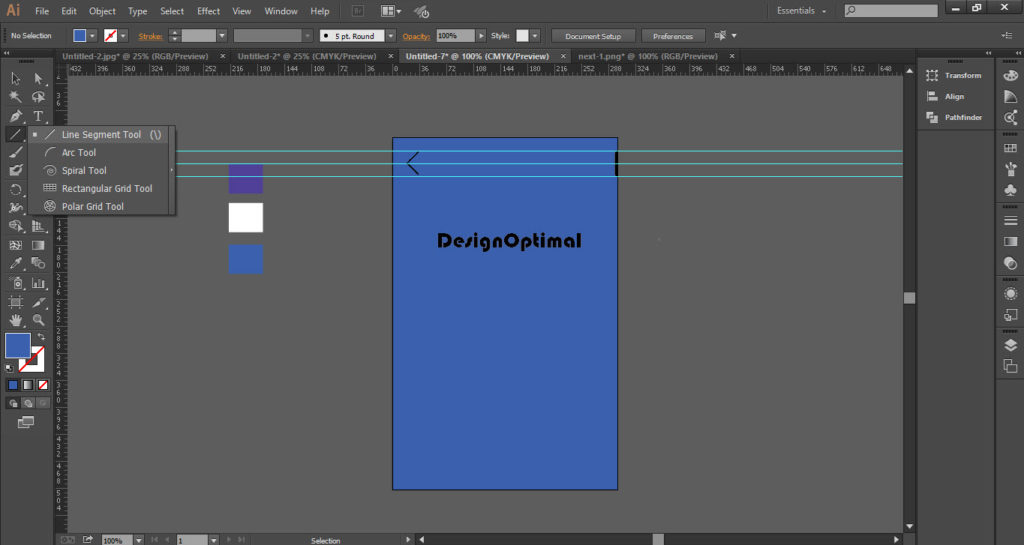
- Now go to the “Tools Bar” and select the “Line Segment Tool”.
- Draw the line and low down the opacity up to 69%.
- Duplicate the same line and place it below the first line.
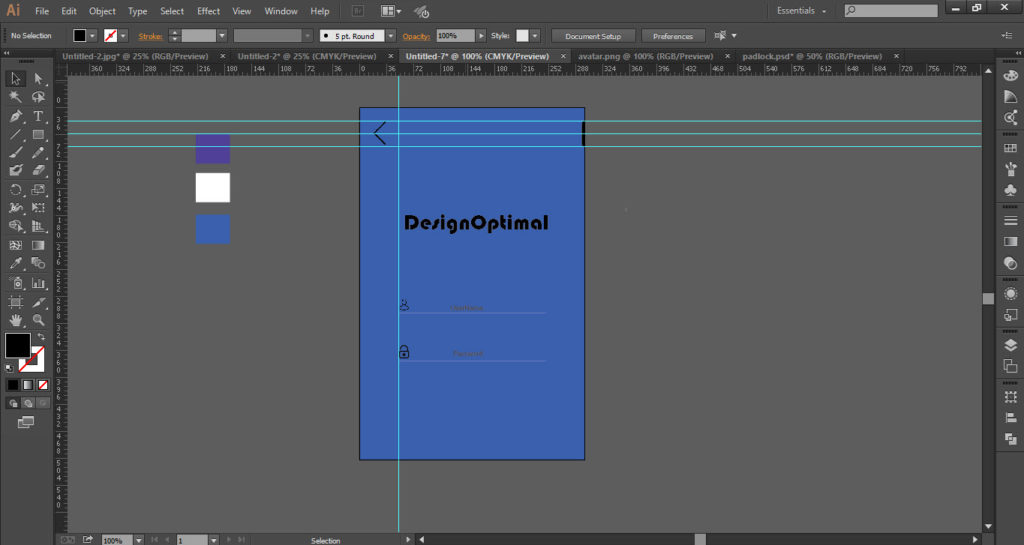
- Place the icons as “Profile” icon and “Key” icon.
- Again go to the “Tools Bar” and select the “Text Tool”.
- Write on the first line “Username” and the second one “Password”.
- Low down the opacity of the text up to 65%.
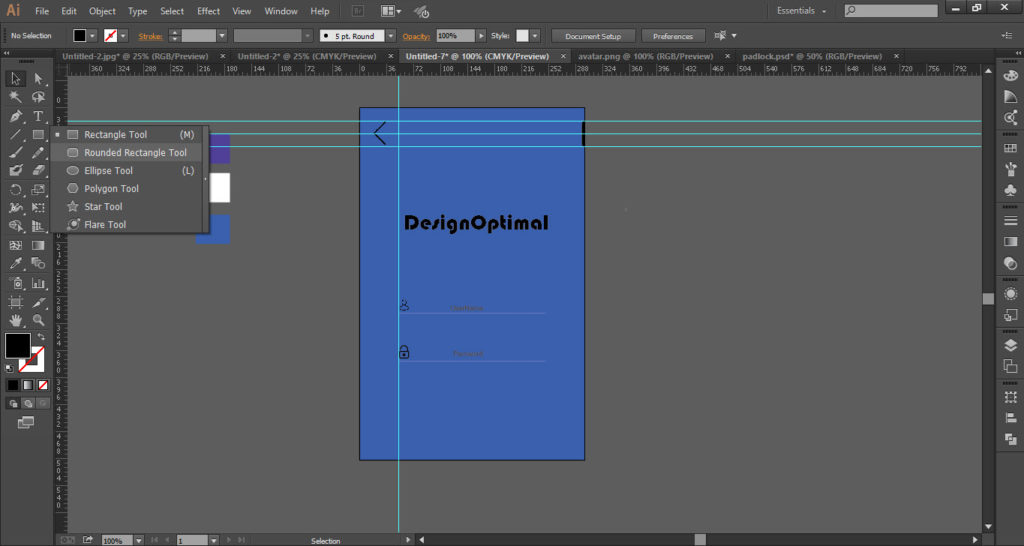
- Again go to “Tool Bar” and select “Rounded Rectangle Tool”.
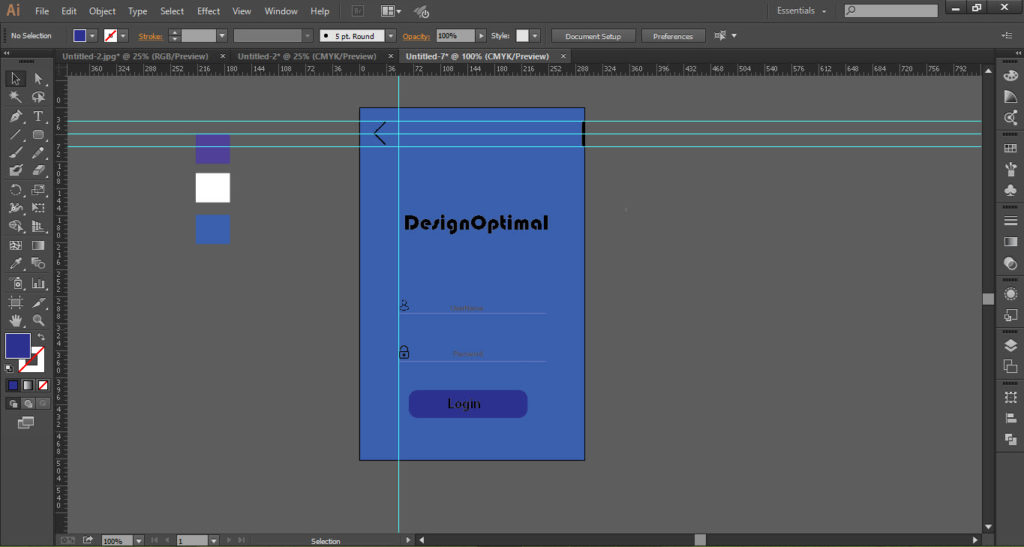
- Draw round rectangle, fill it with dark color and place at the bottom(as shown below).
- Now write the “Log In” on the round rectangle.
- Again take the “Text Tool”.
- Write suggestion at the bottom as shown, also write log in at the top parallel to the button.
- Now go to the “File” menu and click on “Place” option.
- Place the “Picture” below the color layer.
- Now select the color layer and low down the opacity up to 65%.
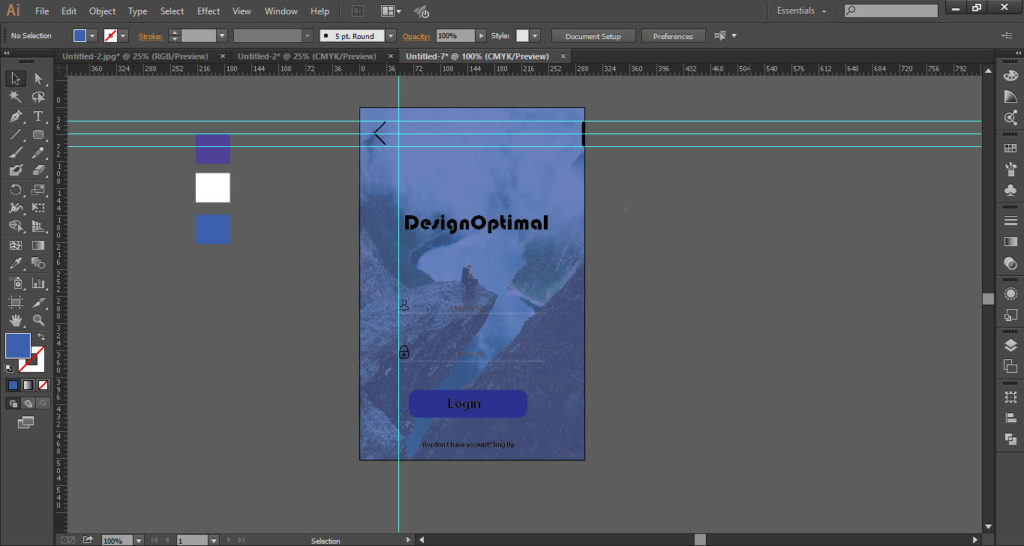
- Here is the front design ready.
Step 04
- Press down the “Alt+Window” keys and drag the cursor to the right which duplicates the front page.
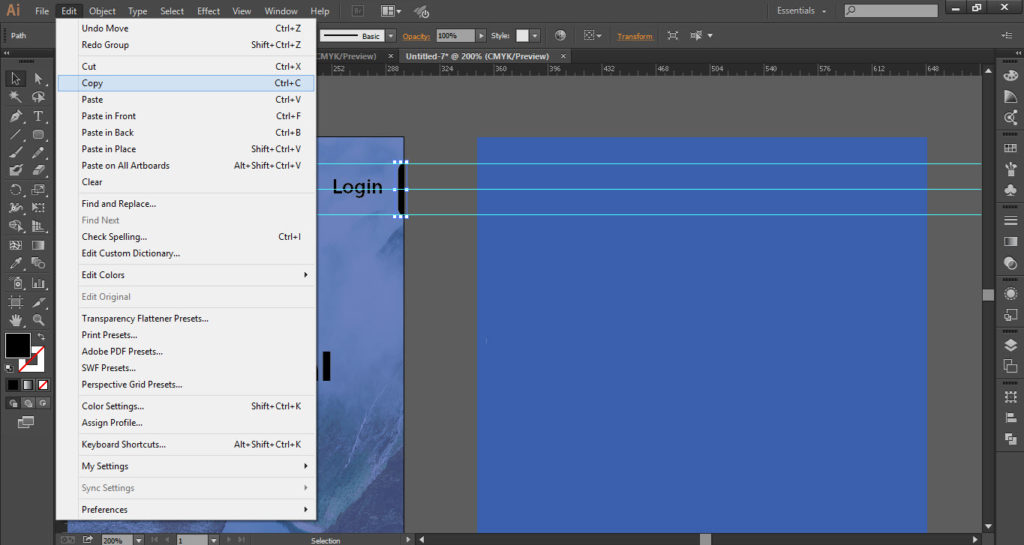
- Or select the front page then go to the “Edit” menu and click on the “Copy” option.
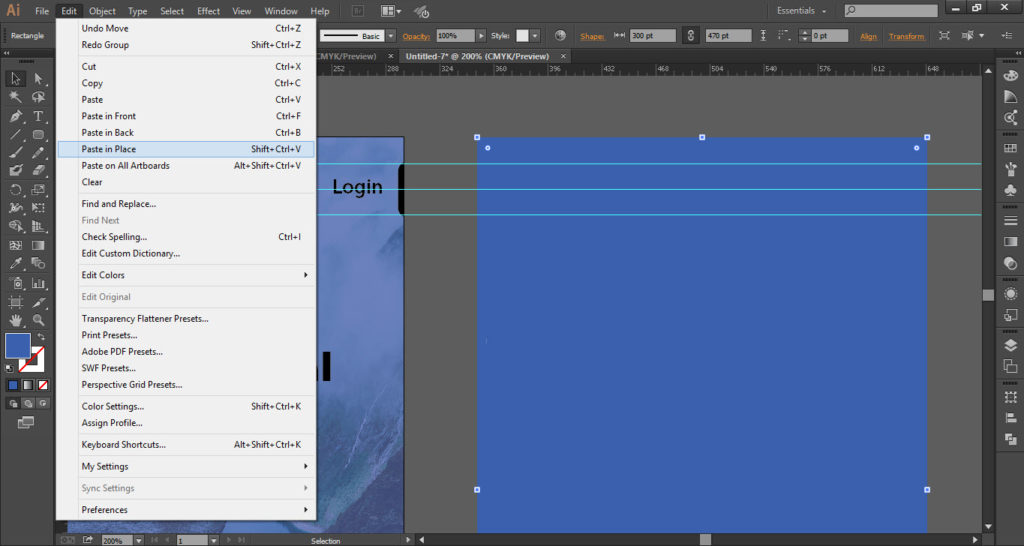
- Again go to the “Edit” menu and click on “Place Front”.
- Now the second page of the app will be formed of the same size.
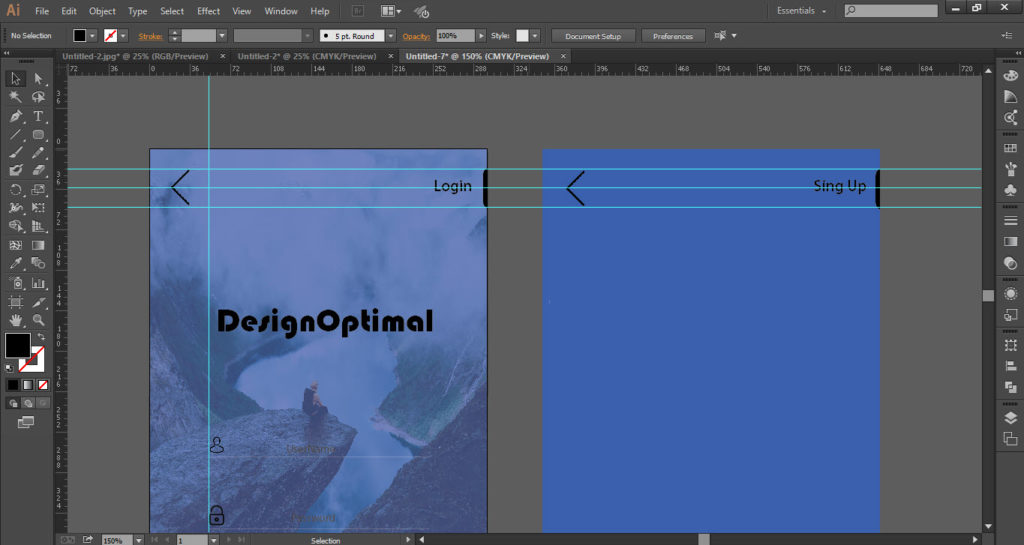
- Copy the arrow and button from the front page and place at the same place on the second page.
- Take the “Text Tool” and write “Sing Up” at the top parallel to the button.
- Now go to the “Tools Bar” and select the “Ellipse Tool”.
- Draw a round shape by pressing the “Shift” key and drag the curser.
- Fill the round shape with dark color.
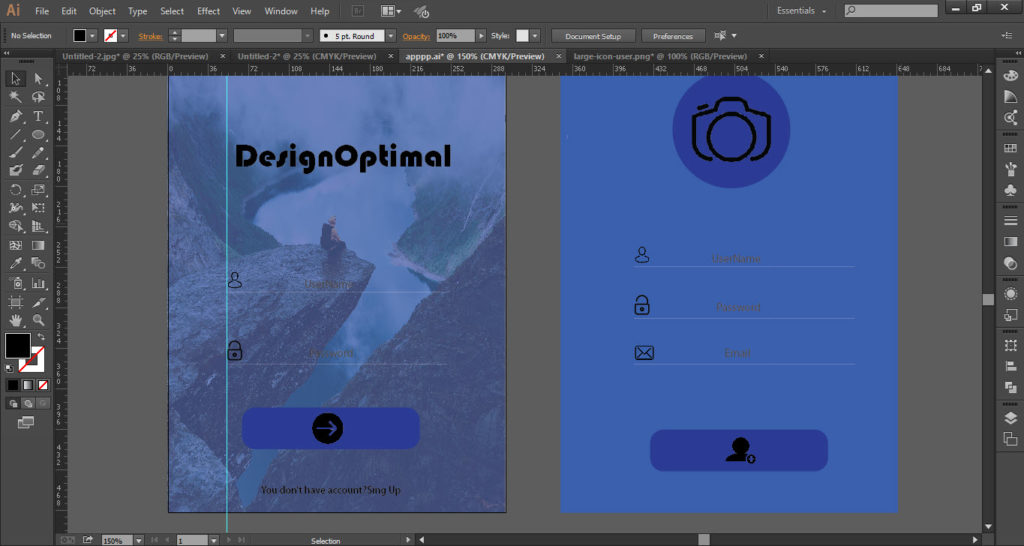
- Now place the “photo Camera” icon on the round shape.
- Copy the lines from the first page and place it on the second.
- Again copy one line and place it below the two lines on the second page.
- On the above two lines already username, password and icons are placed.
- Go to the “Tool Bar” and select the “Text Tool”.
- Write “Email” on the 3rd line and place the email icon.
- Now copy the rounded rectangle from the front page and place it on the 2nd one.
- Place the “Add Profile” icon on it.
- Now place the picture as the same which we did above.
- Here your mobile 2pages app ready.
- You can also change the color of the icons and font (as I used white in the last screenshot).
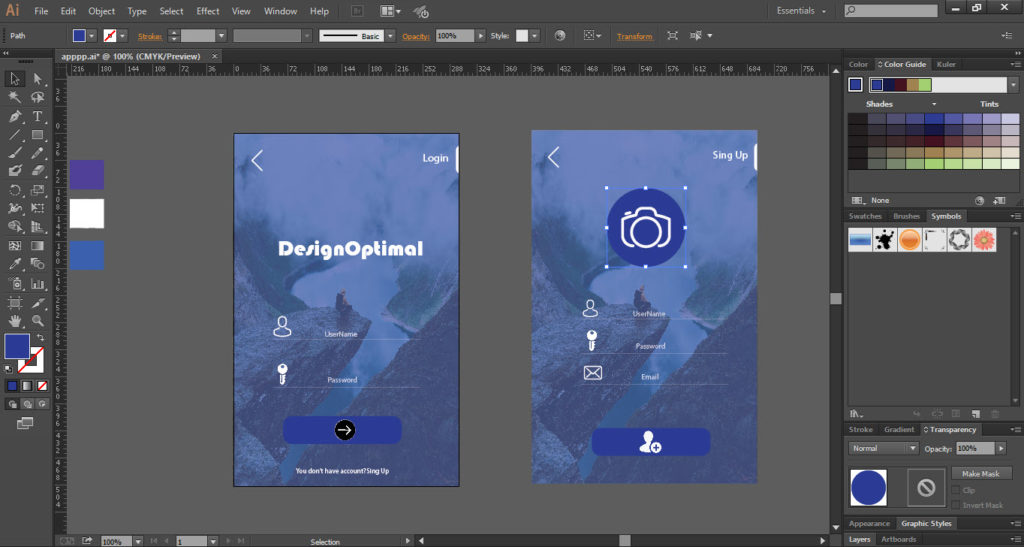
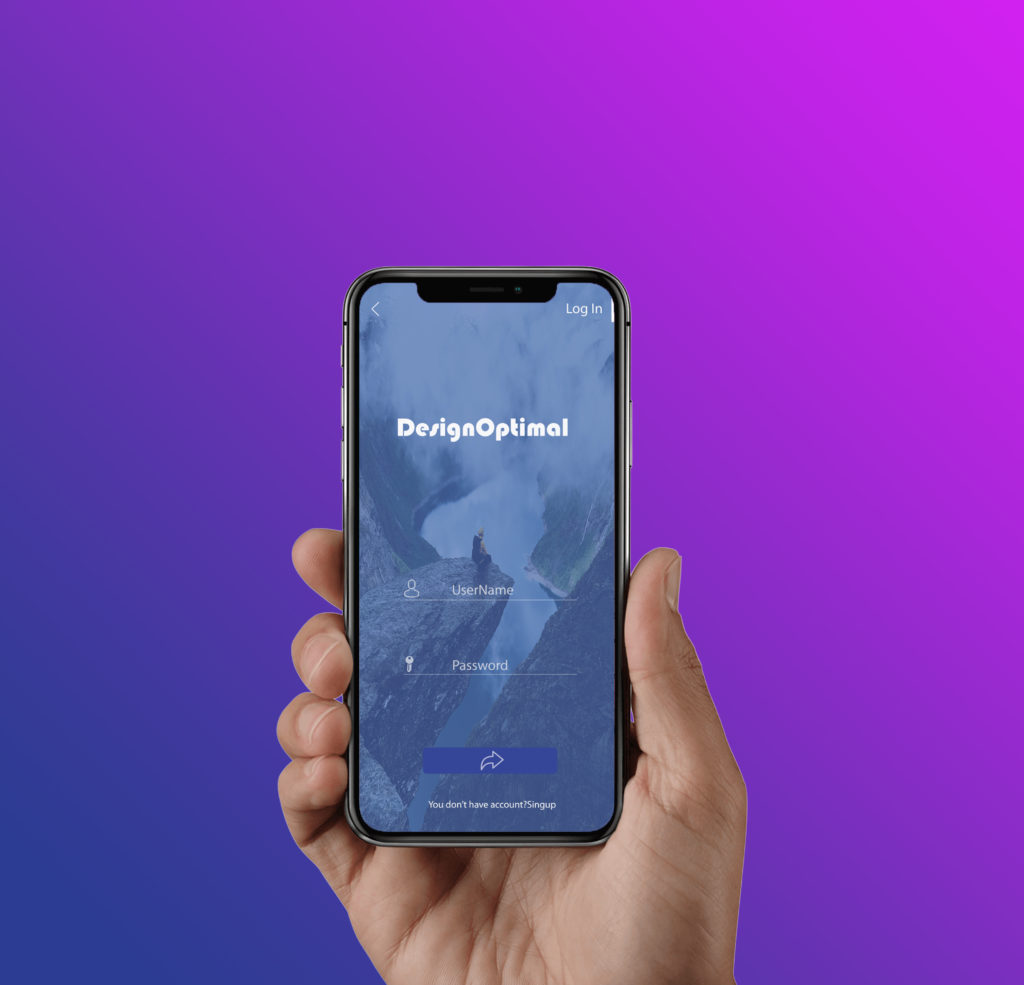
This is how the final result looks like
