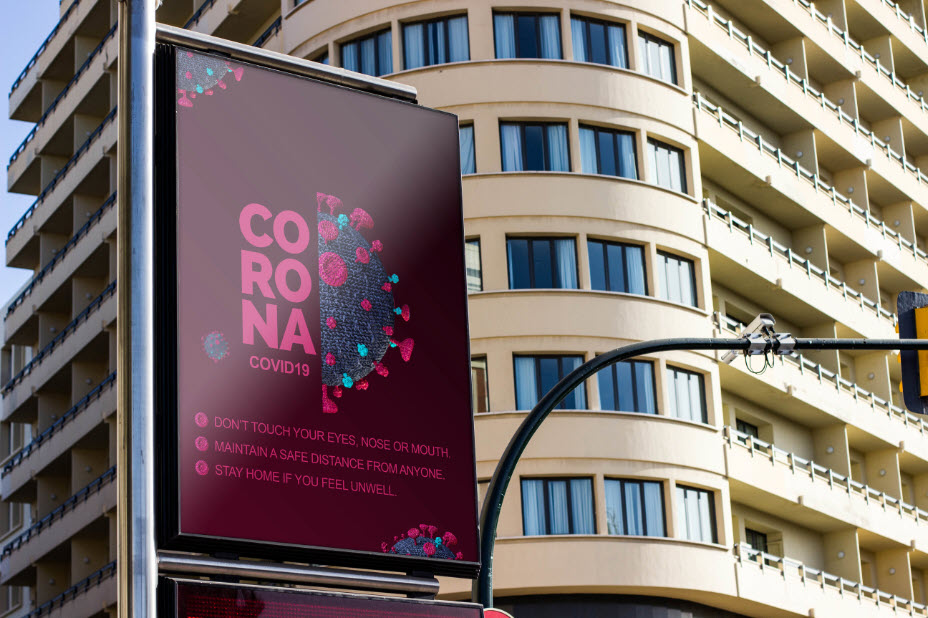
Hello, guys today we are going to show you “How to Design Simple COVID-19 Poster in ADOBE Photoshop”. In this tutorial, you will learn how to design poster design at the home. Don’t worry if you are new this is a step by step tutorial also have a screenshot of each step so you can know about each step that how to do.
Resources
Images used:
- COVID-19 png from pngtree.com
Fonts used:
- Raleway Family
Step 01
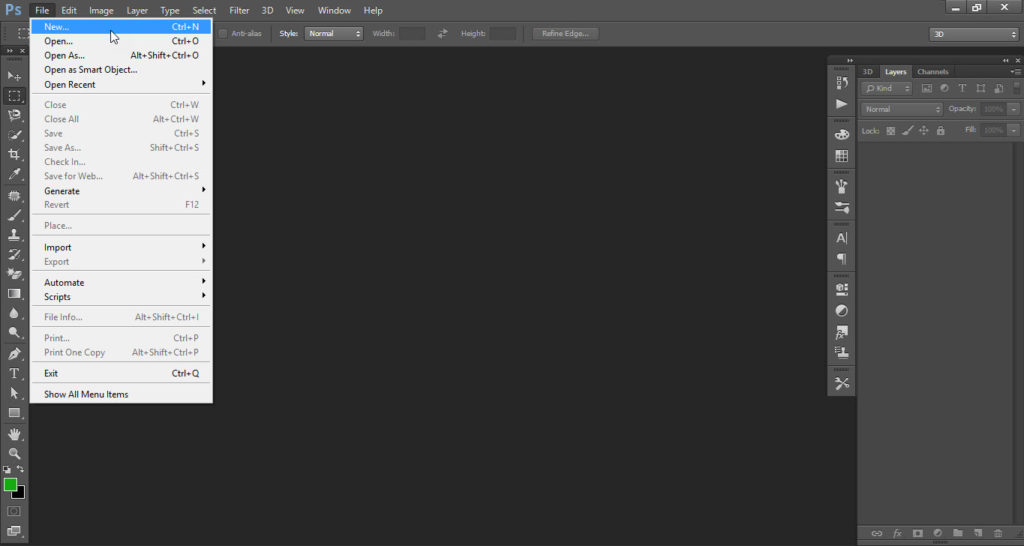
- First, open the Adobe Photoshop software.
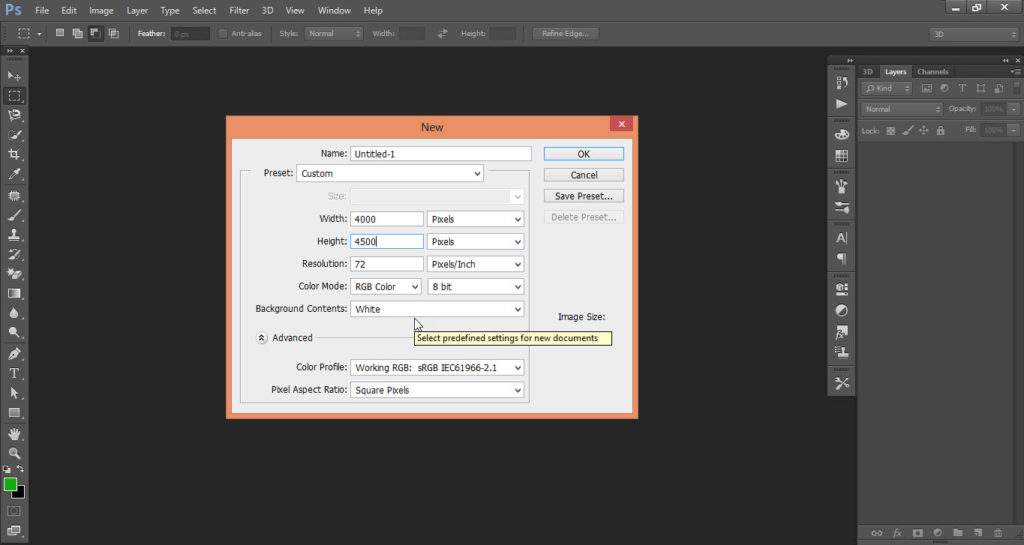
- Go to the “File” menu and click on the “New” option.
- Select the size of your document.
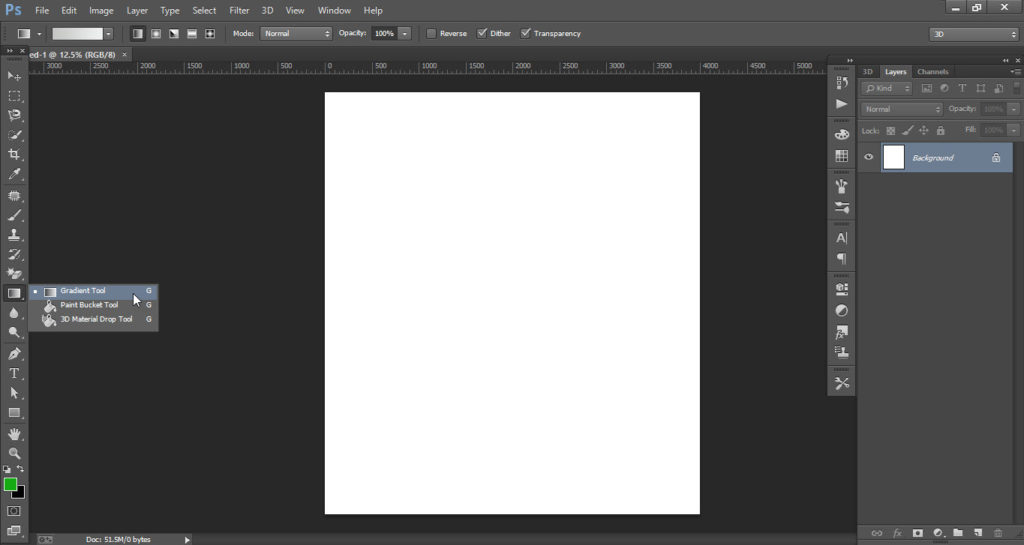
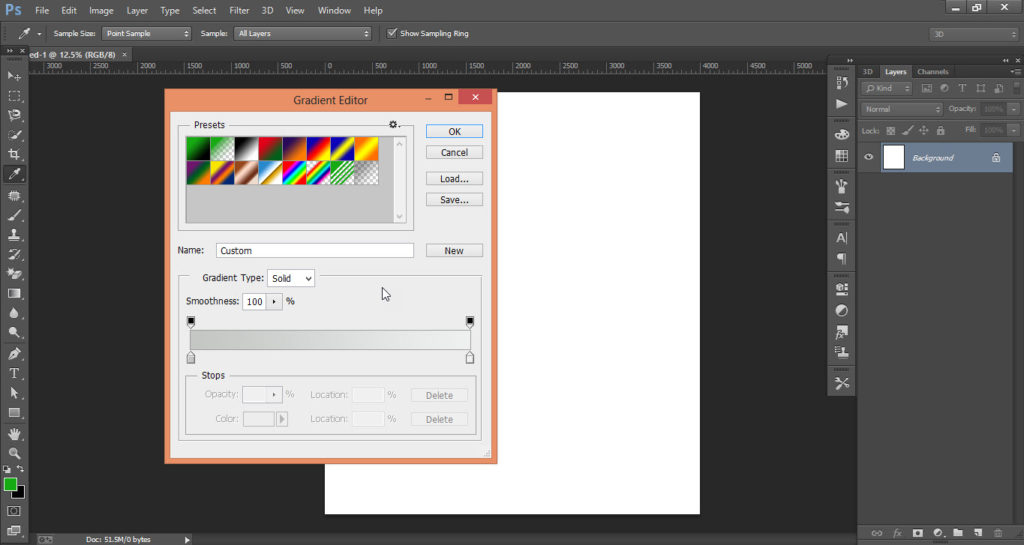
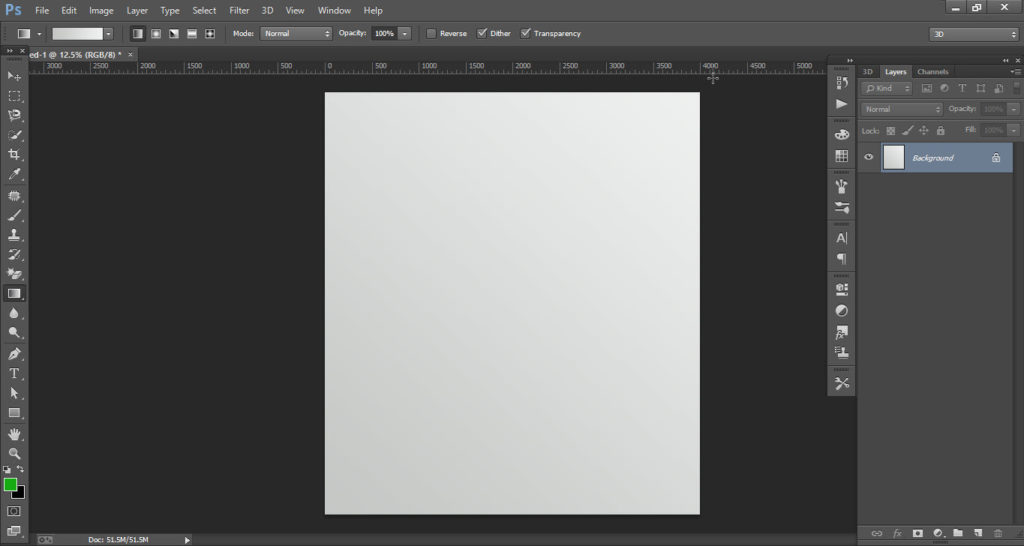
- Go to the “Tools Bar” and select the “Gradient Tool”.
- Now select the “Gradient” which you want to apply.
Step 02
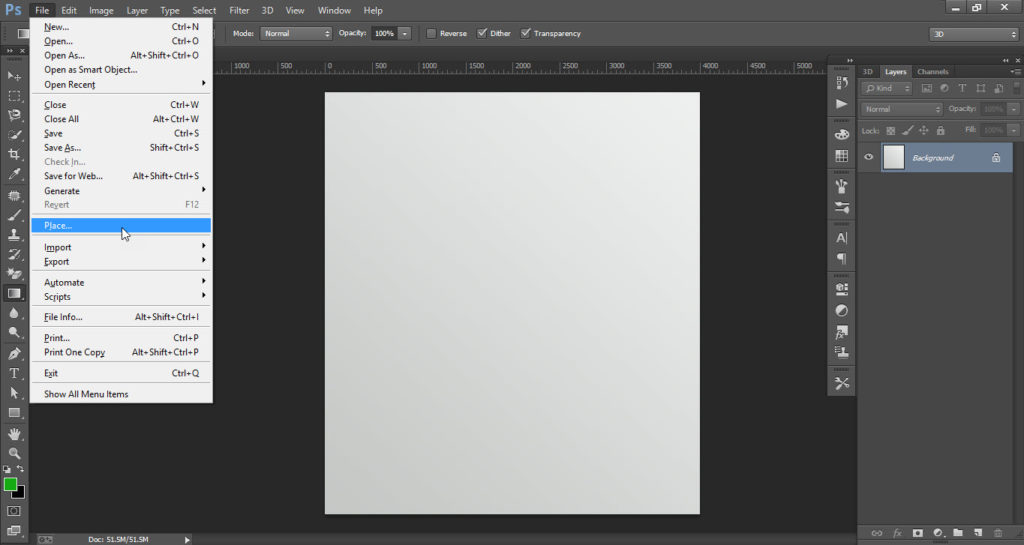
- Again go to the “File” menu and click on the “Place” option.
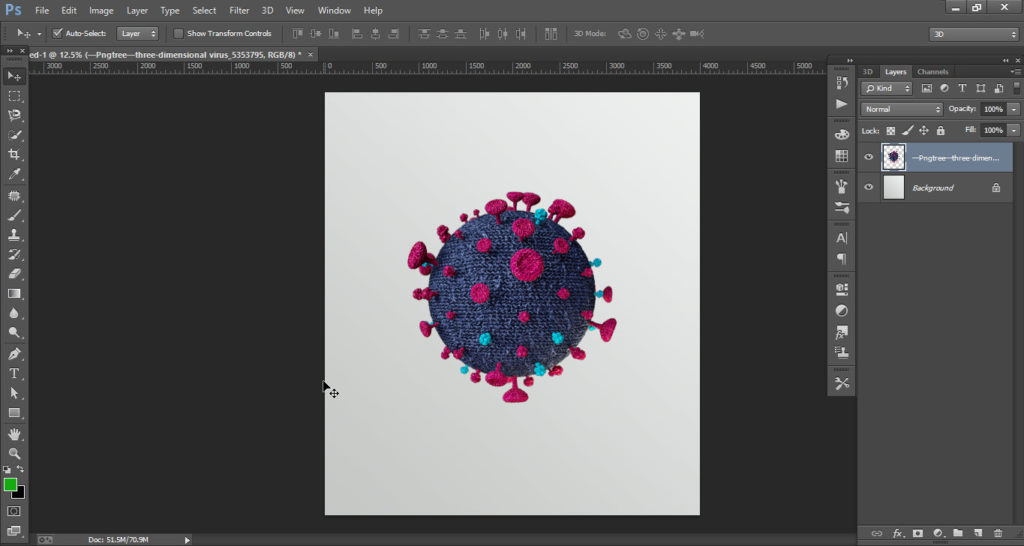
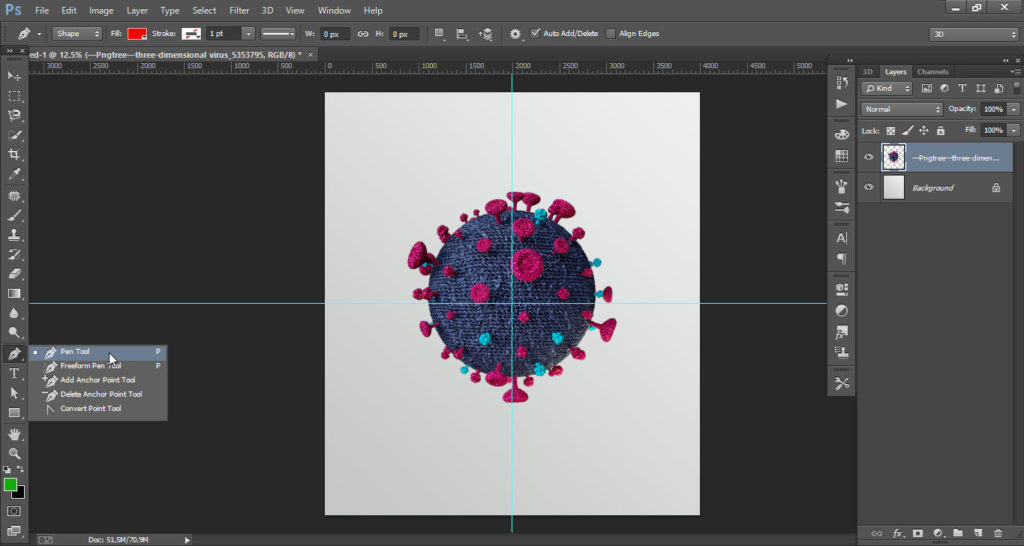
- Place the “COVID-19 PNG FILE” at the center.
- Now go to the “Tools Bar” and select the “Pen Tool”.
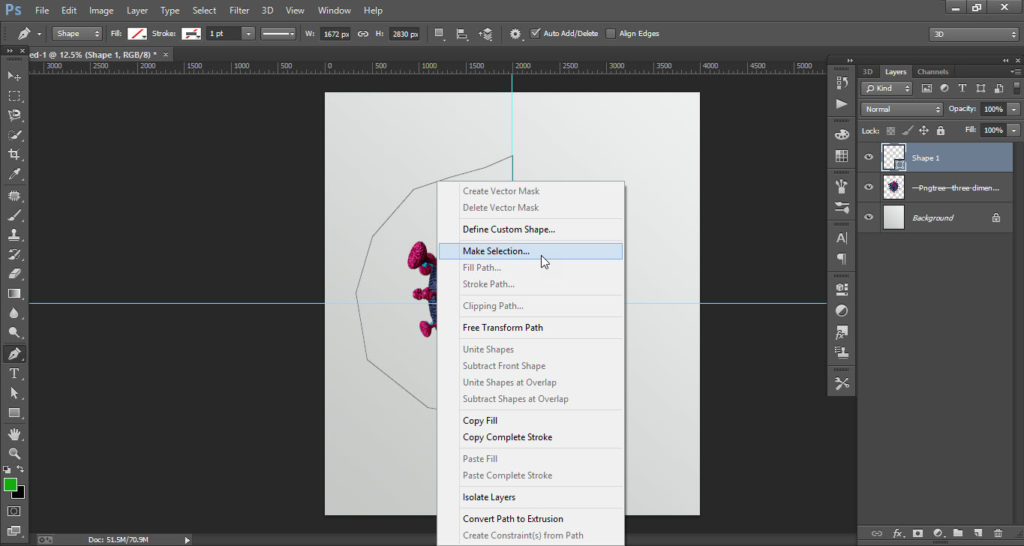
- Draw a vertical line in the center of COVID-19 with the help of “Pen Tool”.
- Make sure that in the end, both the ends of the line connect.
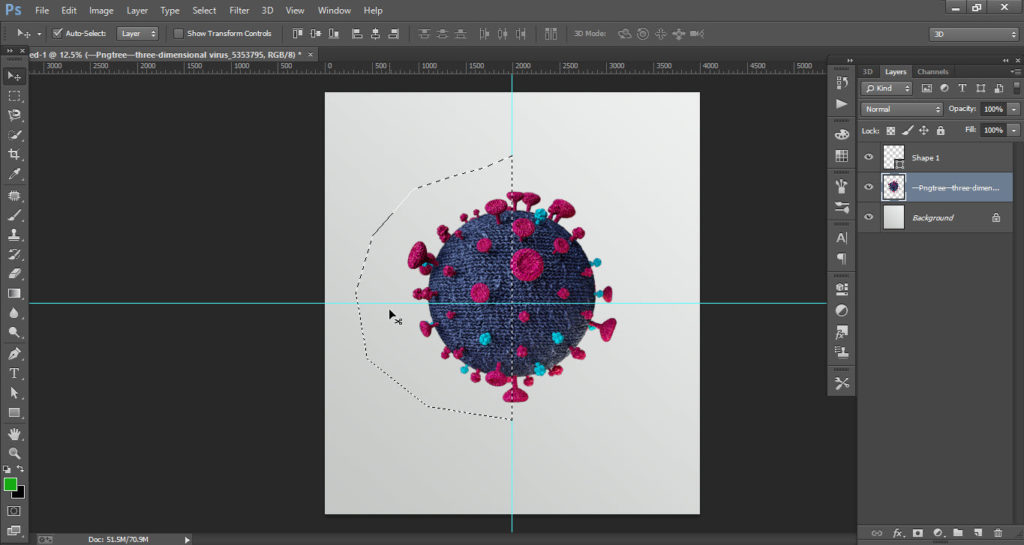
- Now “Right Click” and click on the “Make Selection” option.
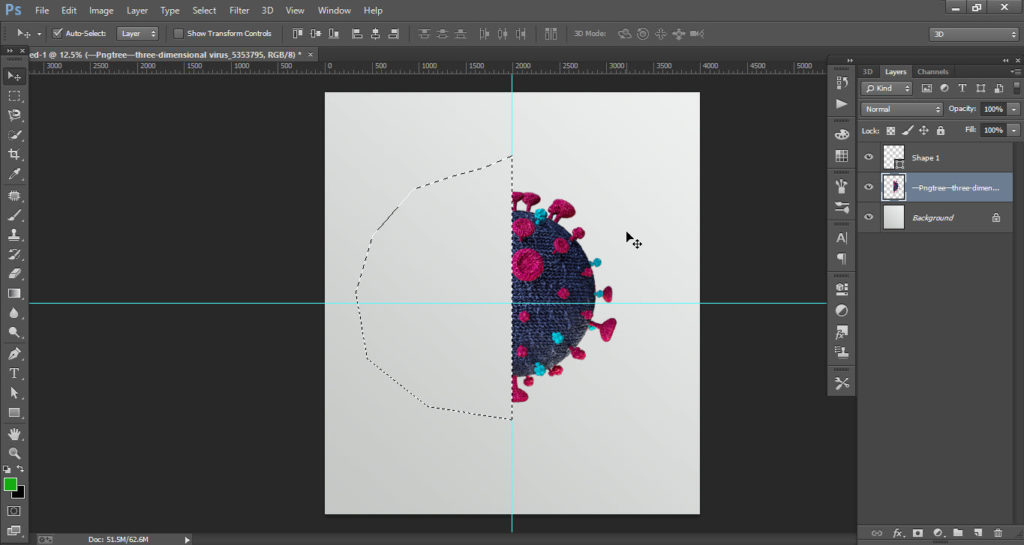
- Press the “Delete” button to half the coronavirus image.
- Now press “Ctrl+D” to remove the selection.
Step 03
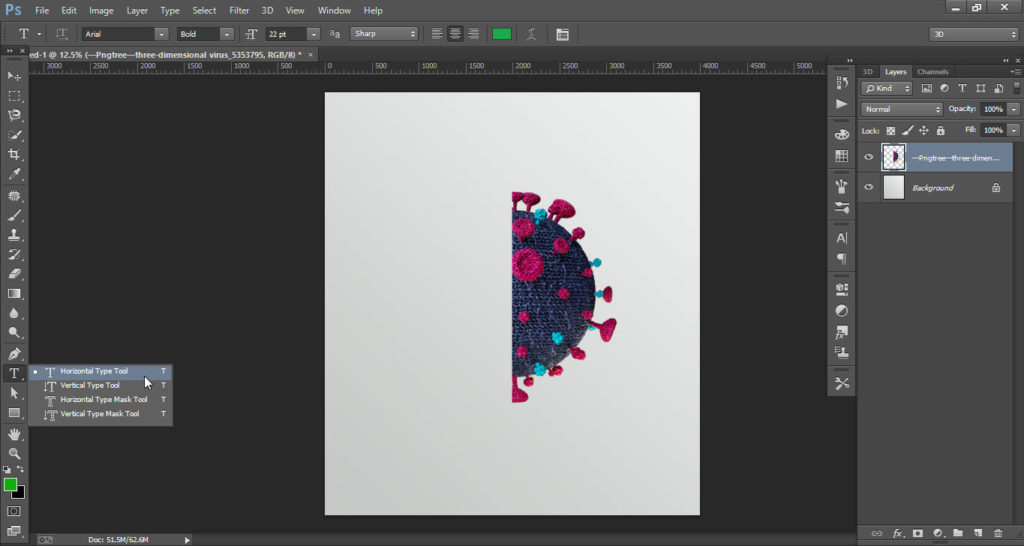
- Go to the “Tools Bar” and select the “Horizontal Type Tool”.
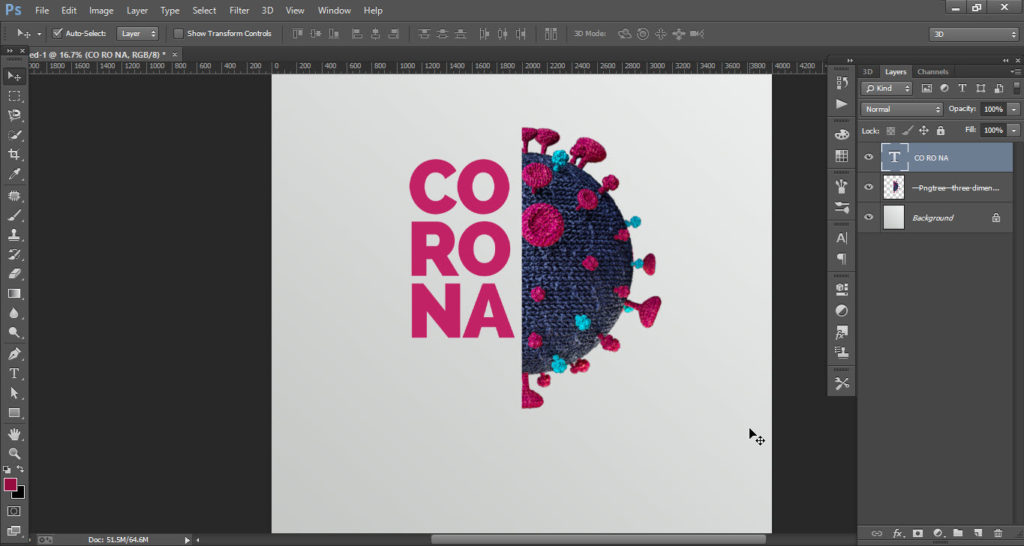
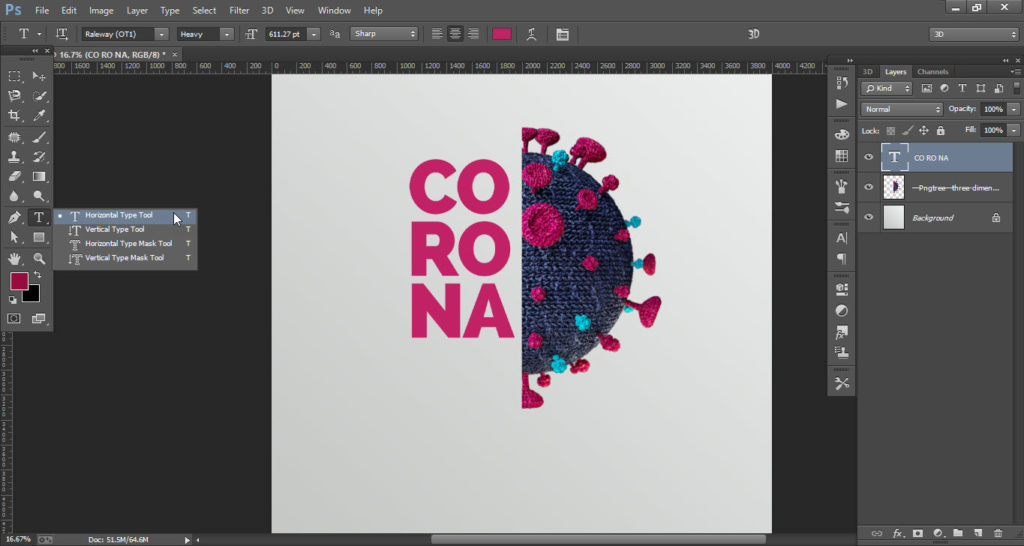
- Write the “Corona” spelling as shown in 3.2.
- Now place the COVID-19 png file and place it where you want to place.
- Again go to the “Tools Bar” and select “Horizontal Type Tool”.
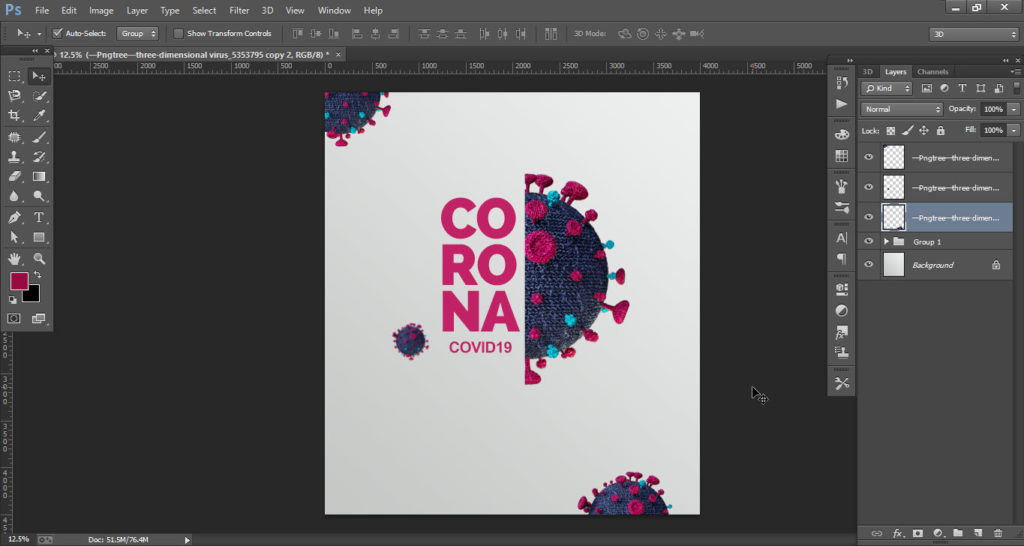
- Type “Covid-19” and place it’s under “Corona” text.
- Add all the text you want to add to the poster.
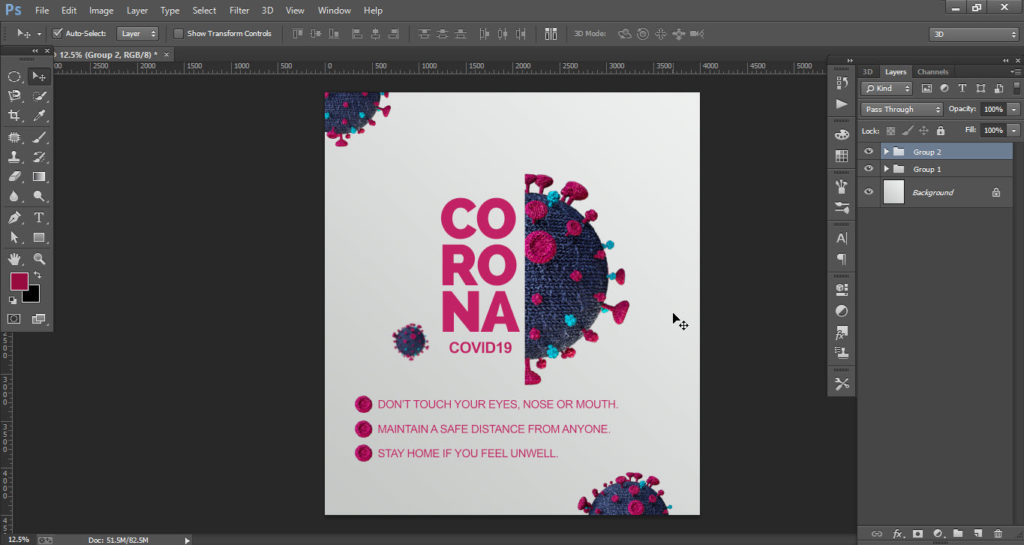
Step 04
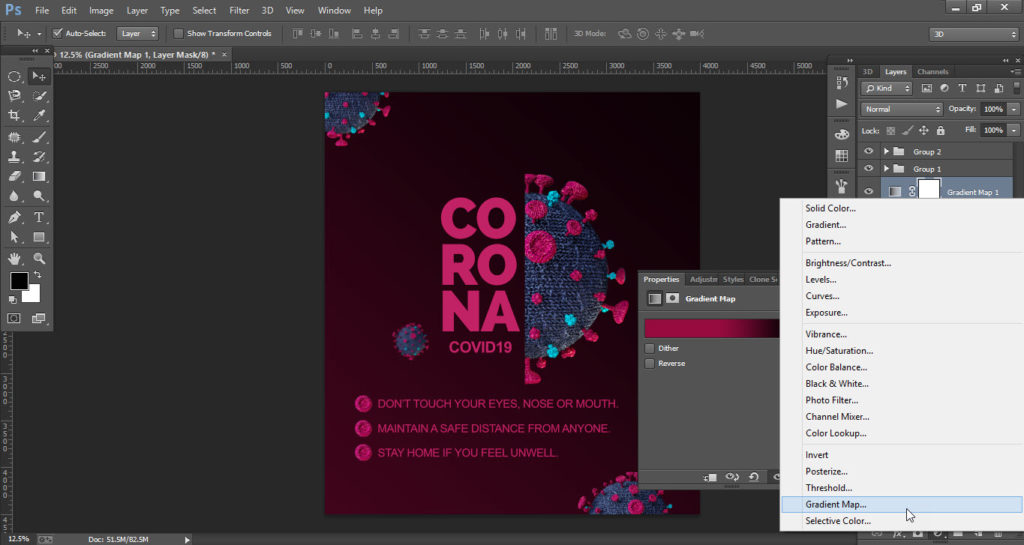
- Select the background layer in the “Layers Panel”.
- Select the “Gradient Map” from the buttons in the layers panel.
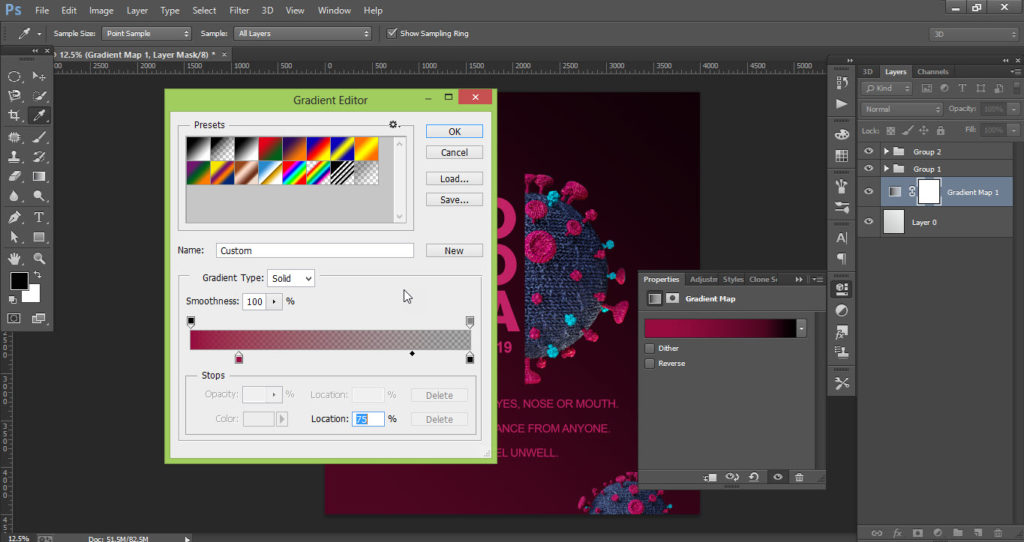
- Apply the gradient according to your requirements.
- Here your “Covid-19” poster is ready.
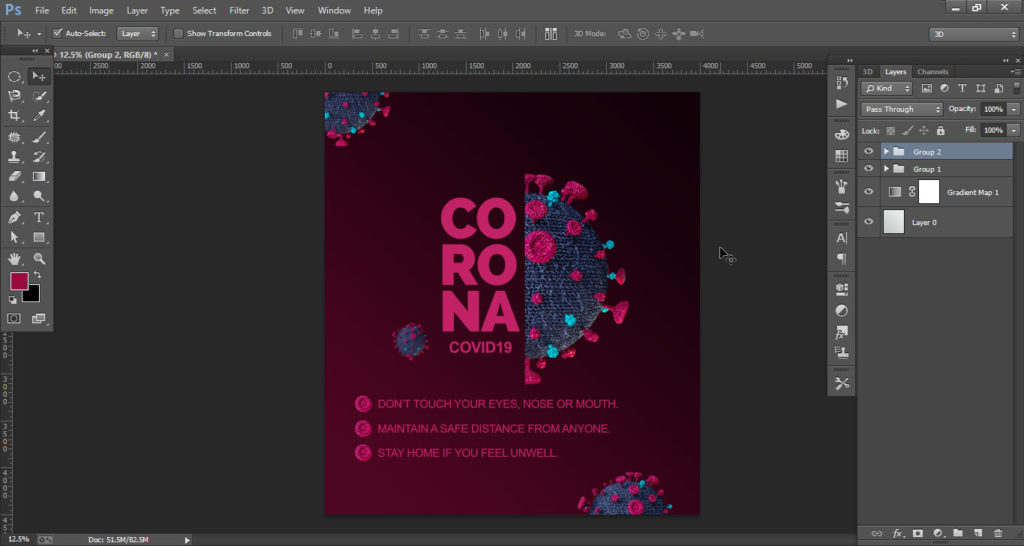
This is how the final result looks like

