Hello Guys!! Today we are going to show you “How to Design Minimal Logo with Spiral Effect”. The minimal logo is simple but eye-catching. We are going to show you how to design it step by step also has a screenshot of each step follow the same step you will learn how to design it.
A Minimalist Logo can achieve great for your business. Strong businesses usually like a general feature they have different, mild, bold logos. The most important job of a logo is to serve clients and customer views to identify your company.
Step 01
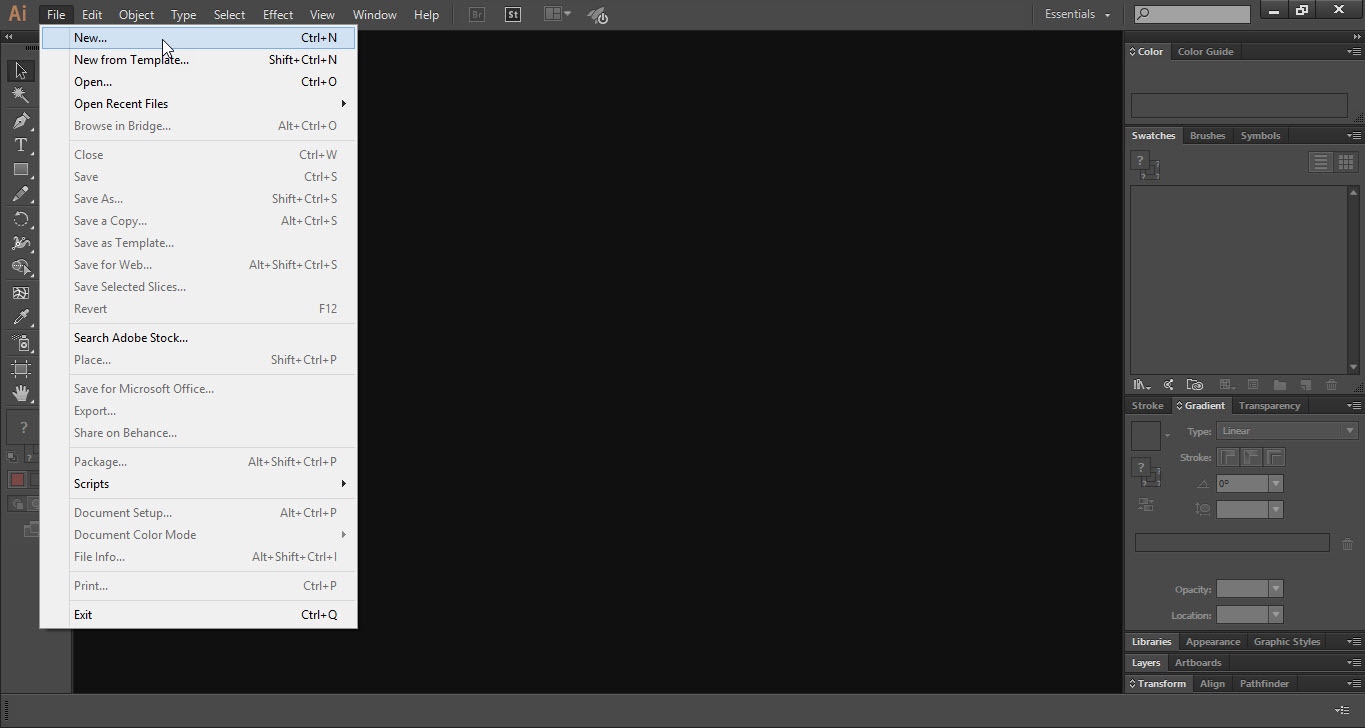
- Open the Illustrator software.
- Go to the “File” menu and click on the “New” option.
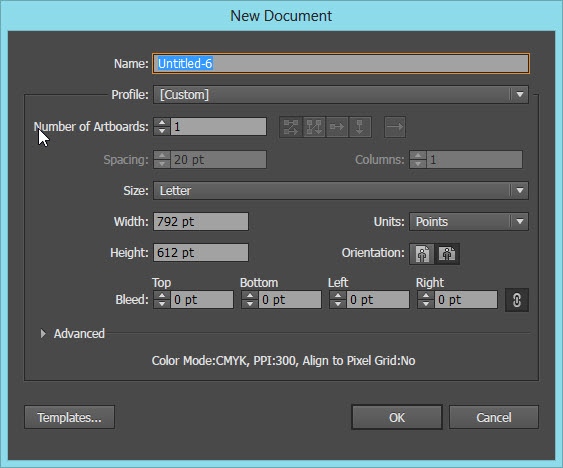
- Select the size of the document according to your requirements.
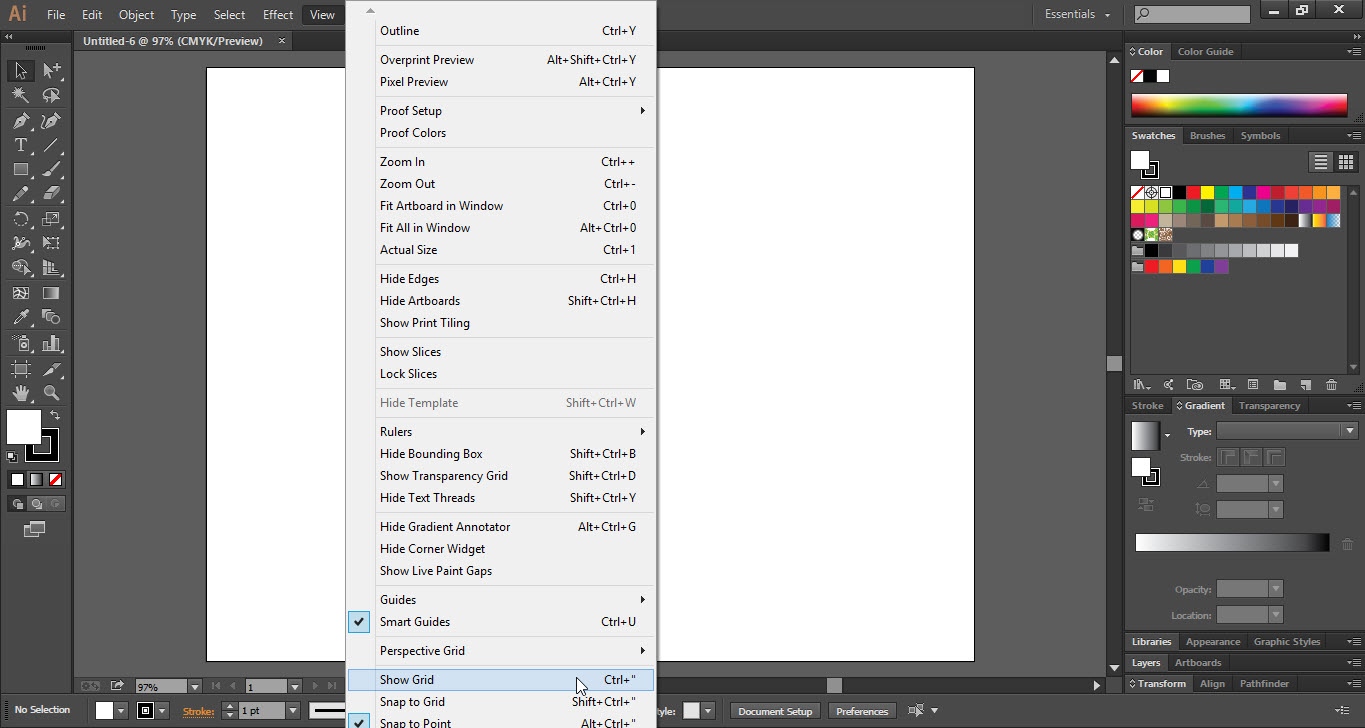
- Now go to the “View” menu and click on the “Show Grid” option.
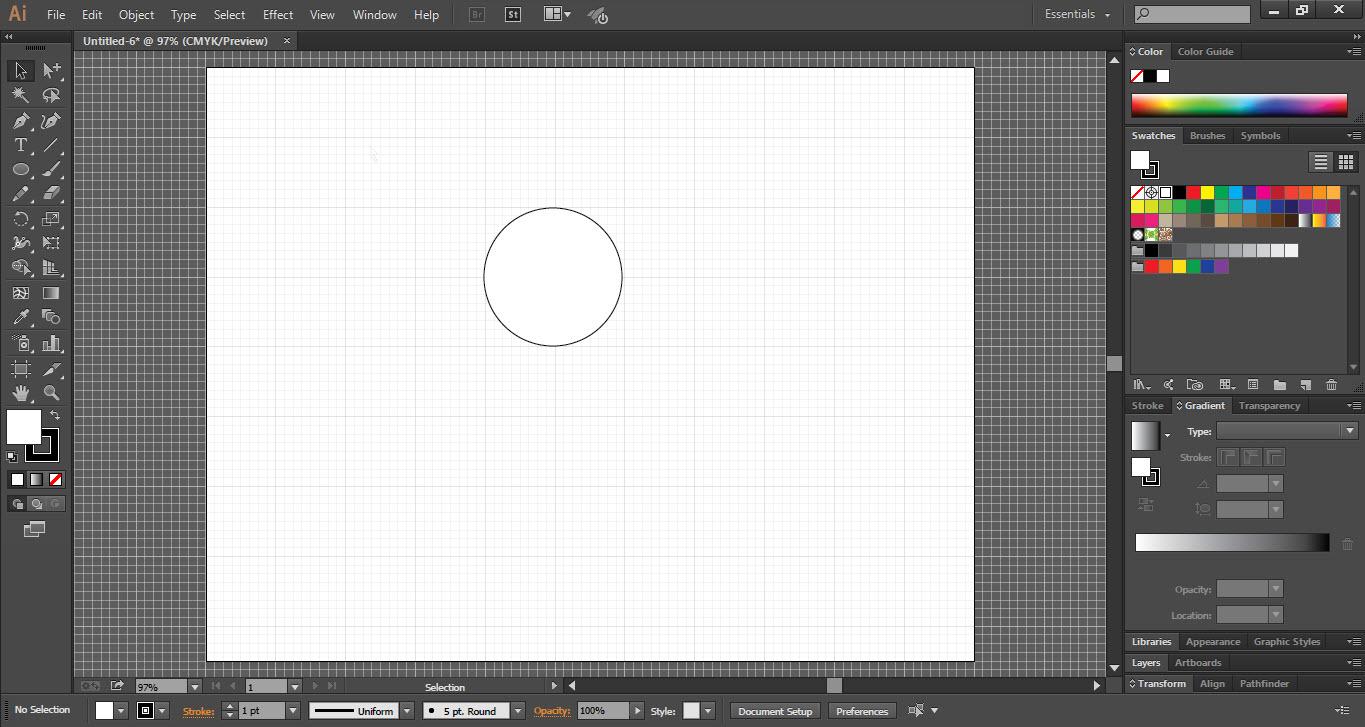
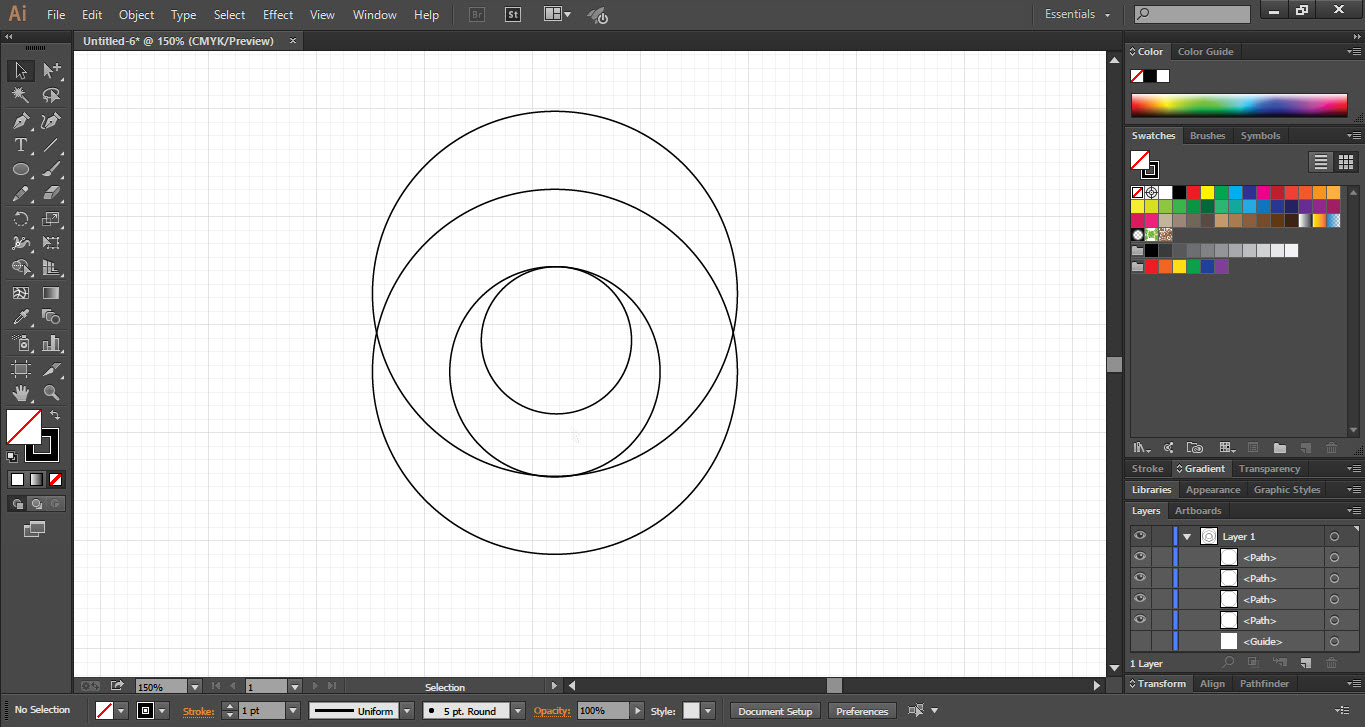
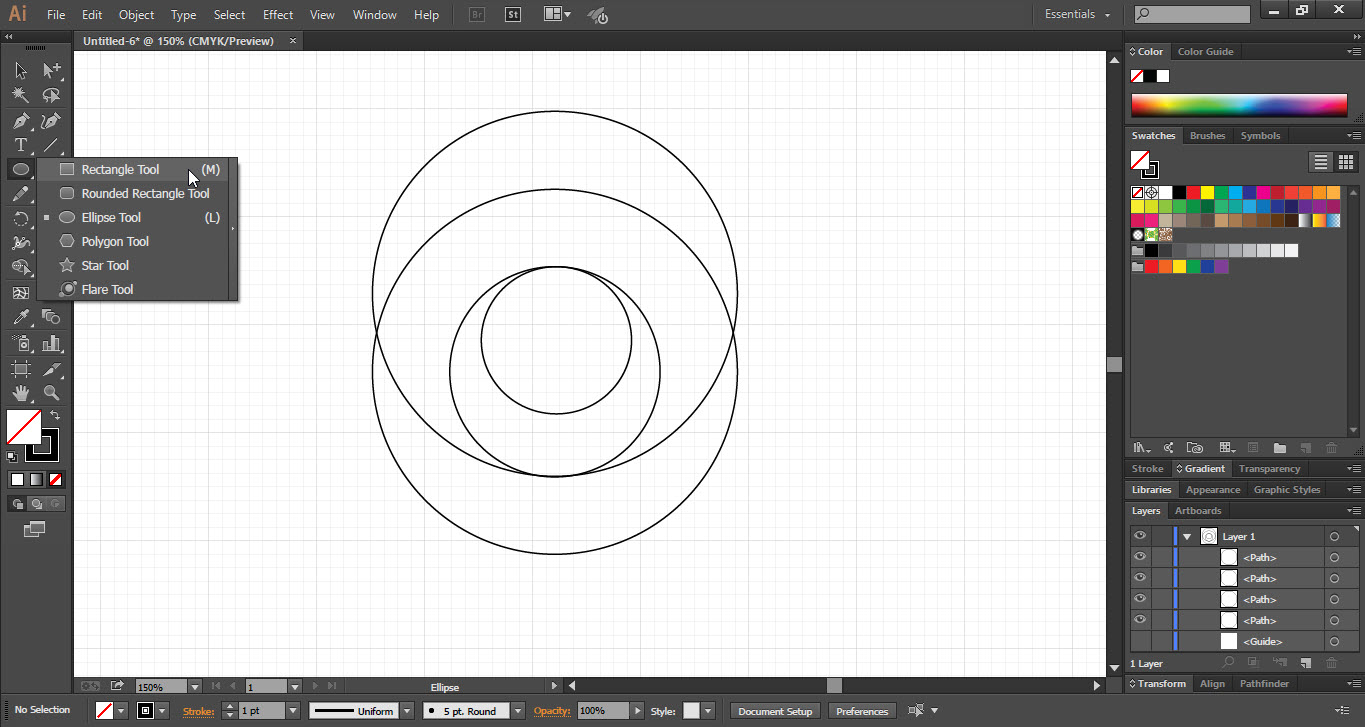
Step 02
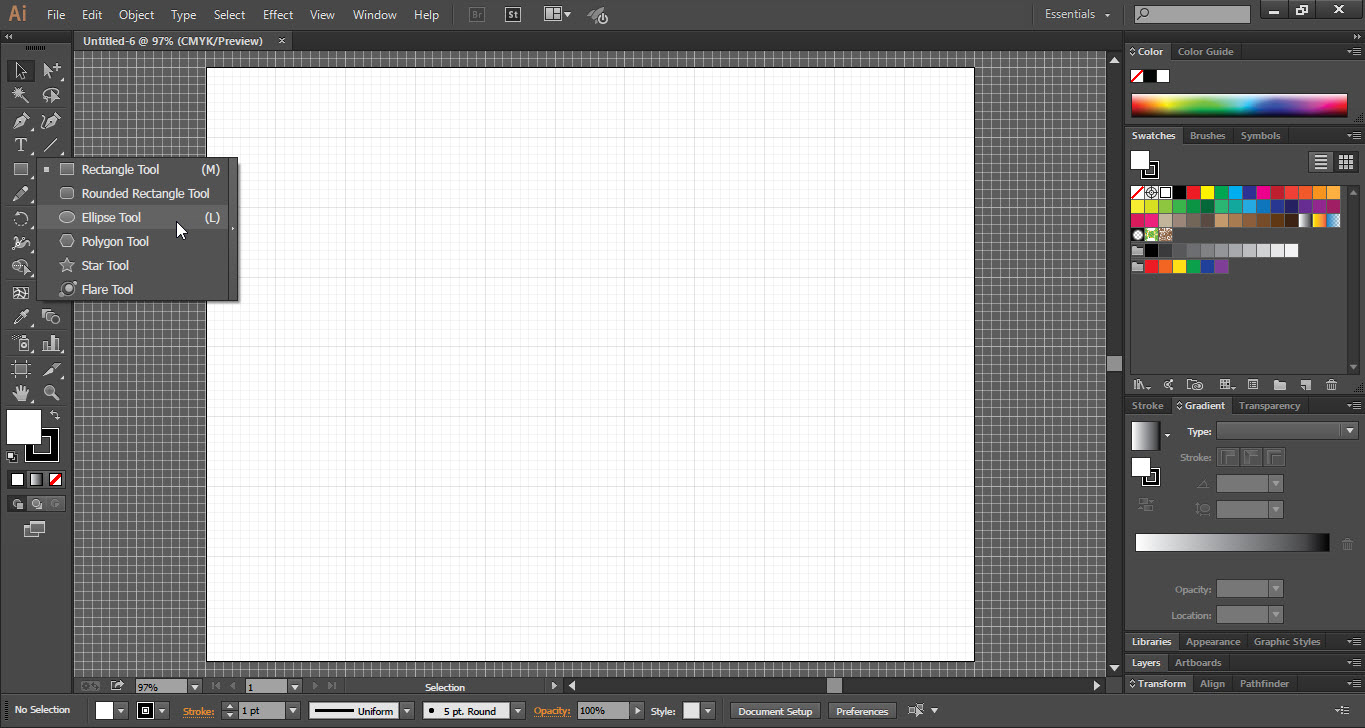
- Select the “Ellipse Tool” from the “Tool Bar”.
- Now draw a circle by pressing the “Shift” key then click and drag.
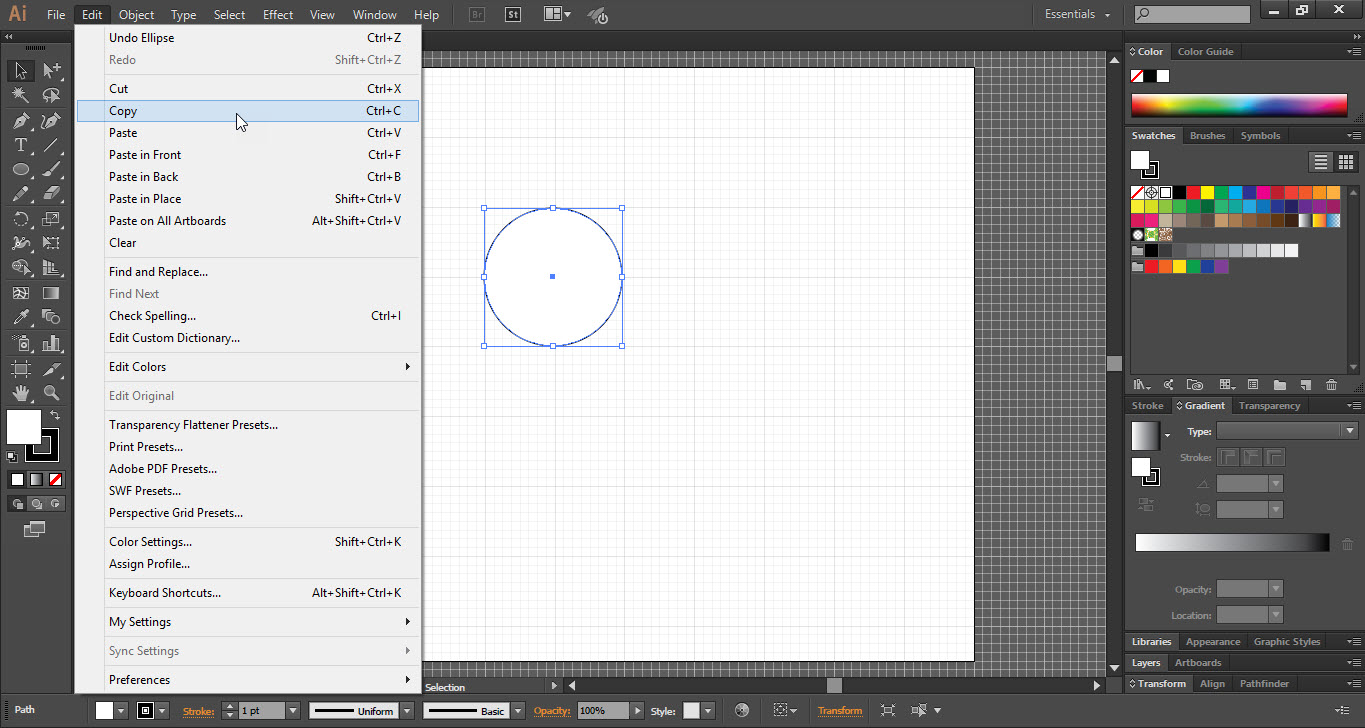
- Select the same circle which we draw.
- Go to the “Edit” menu and click on the “Copy” option.
- Again go to the “Edit” menu and click on “Paste in Place” option.
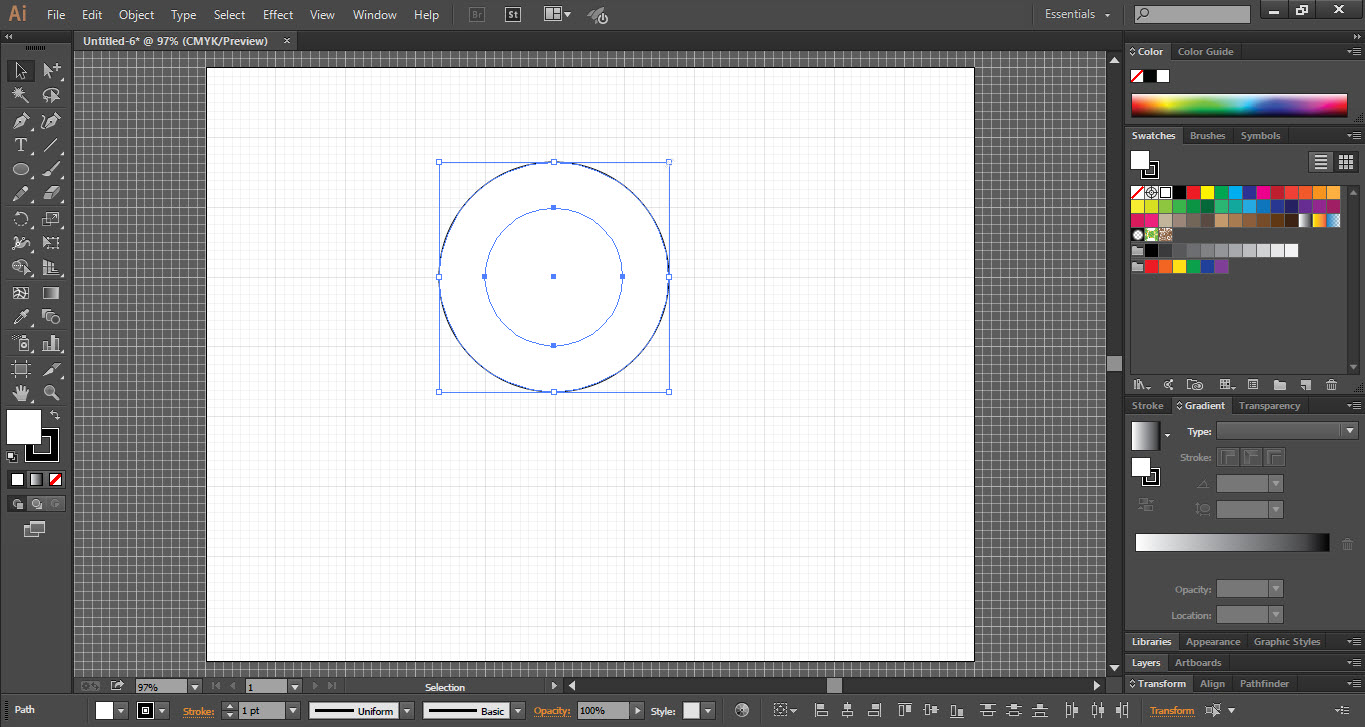
- Press down the “Shift+Alt” key and drag from one corner of the duplicate circle.
- Select the outer circle and again copy it and paste in place.
- Now simply drag the 2nd duplicate circle to the upper side.
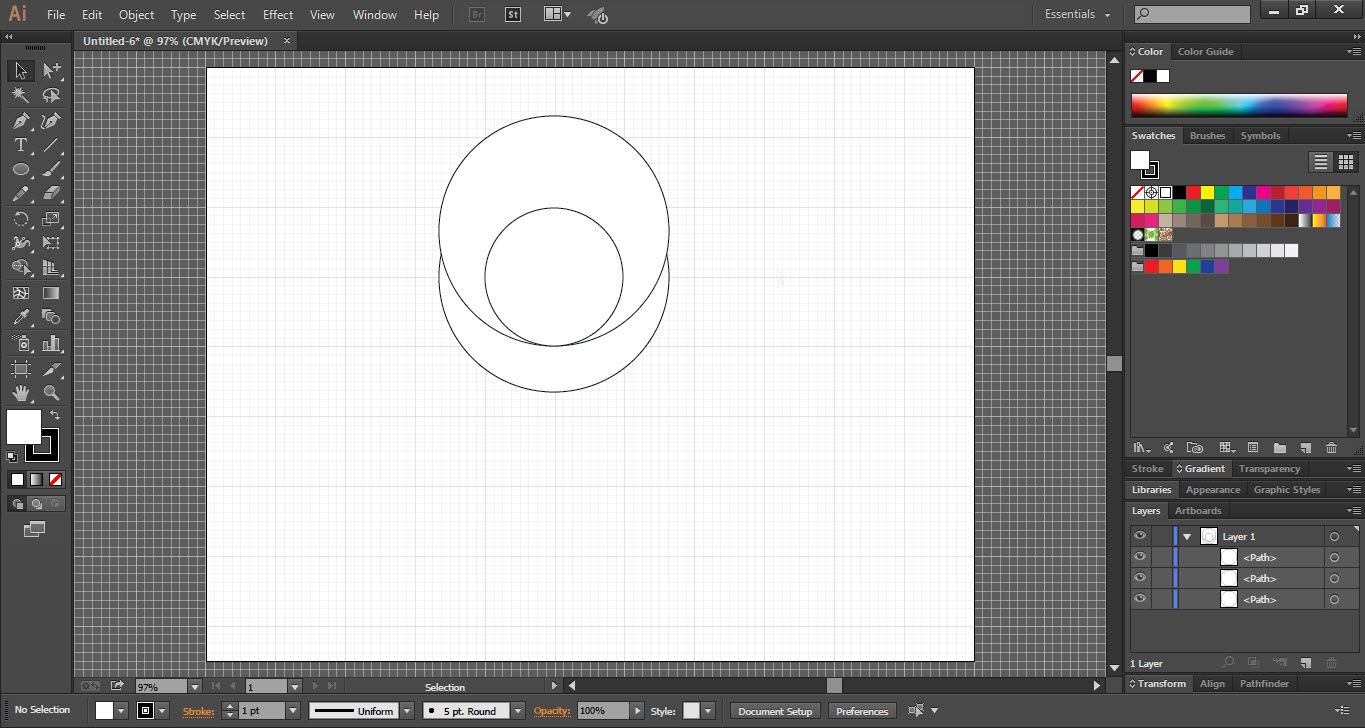
- Again copy the inner circle and paste in place.
- Drag the 3rd duplicate circle from one corner toward the inside.
- Drag the 3rd circle to toward up.

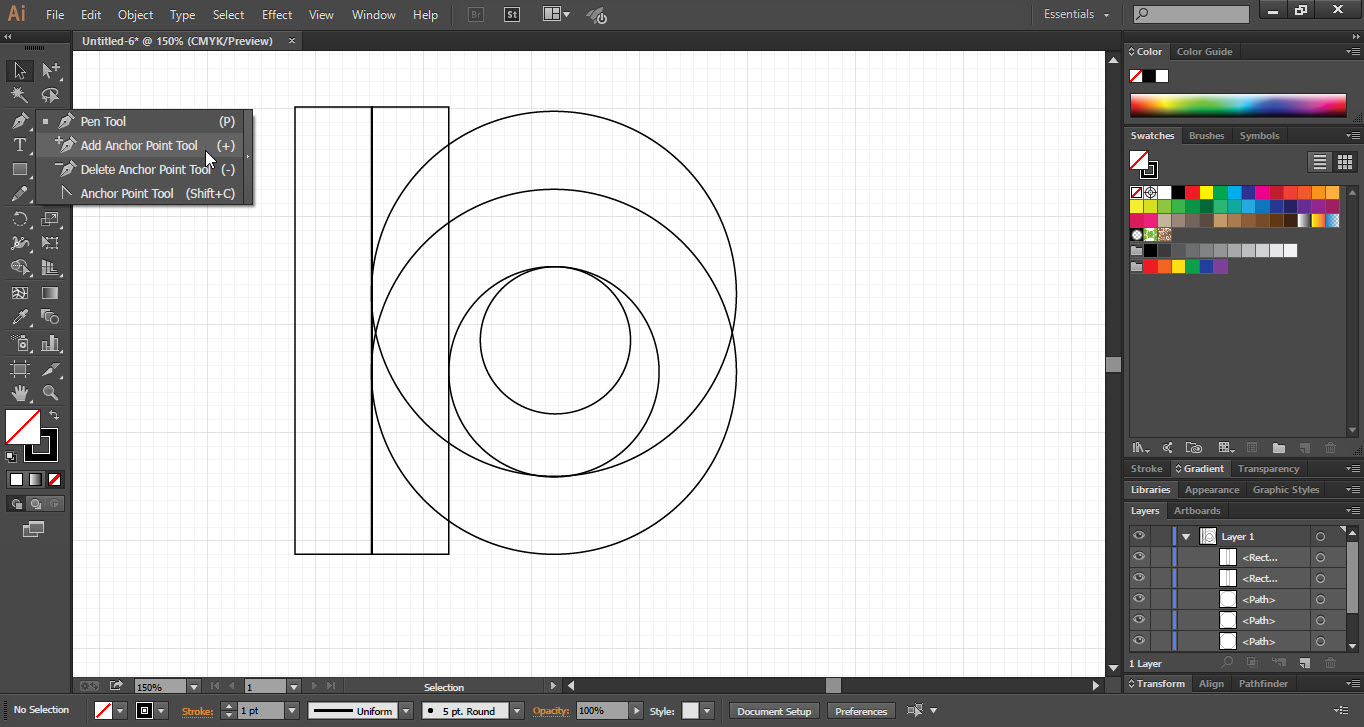
Step 03
- Select the “Rectangle Tool” from the “Tool Bar”.
- Make a rectangle from top to bottom to the left side of the circles.
- Now copy and paste in place from the “Edit Menu”.
- Drag the duplicate rectangle to the left side.
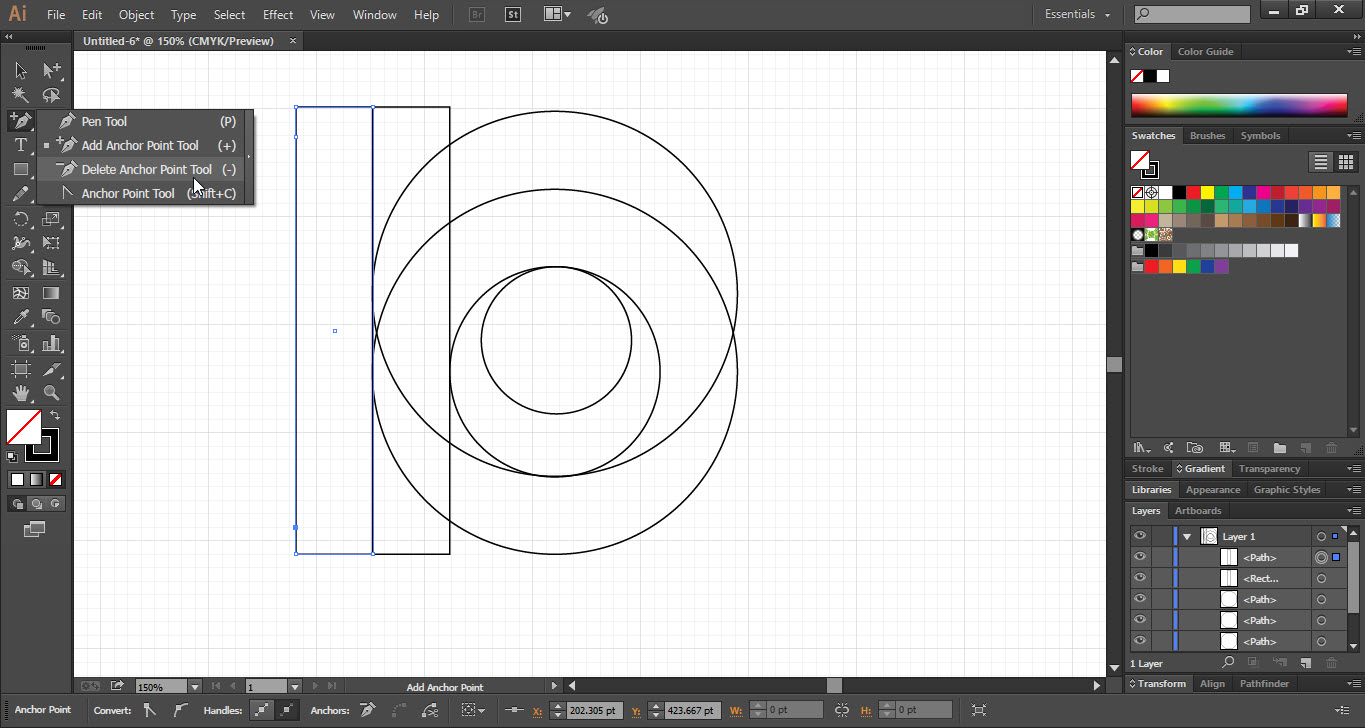
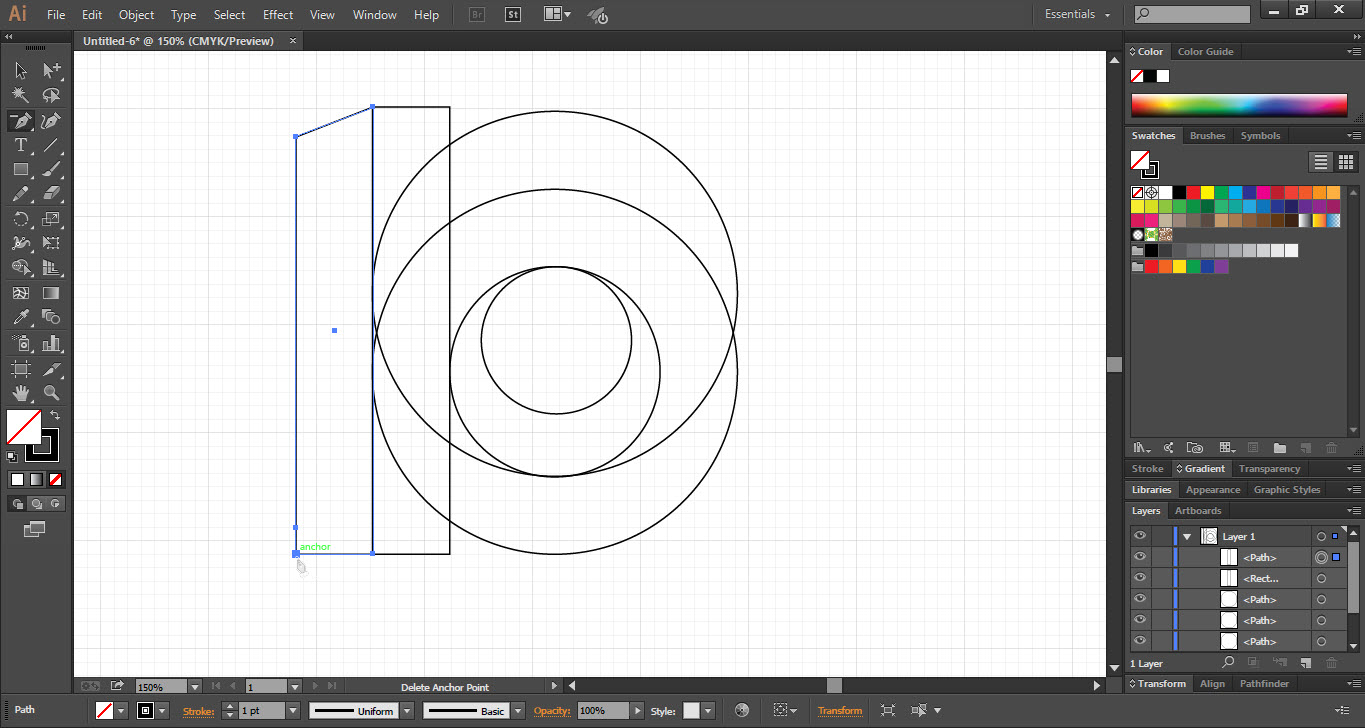
- Select the “Add Anchor Point Tool” from “Pen Tool” bar.
- Select the anchor point on the duplicate rectangle.
- Now again go to the “Pen Tool” bar and select the “Delete Anchor Point Tool”.
- Click on the corner of the duplicate rectangle.


Step 04
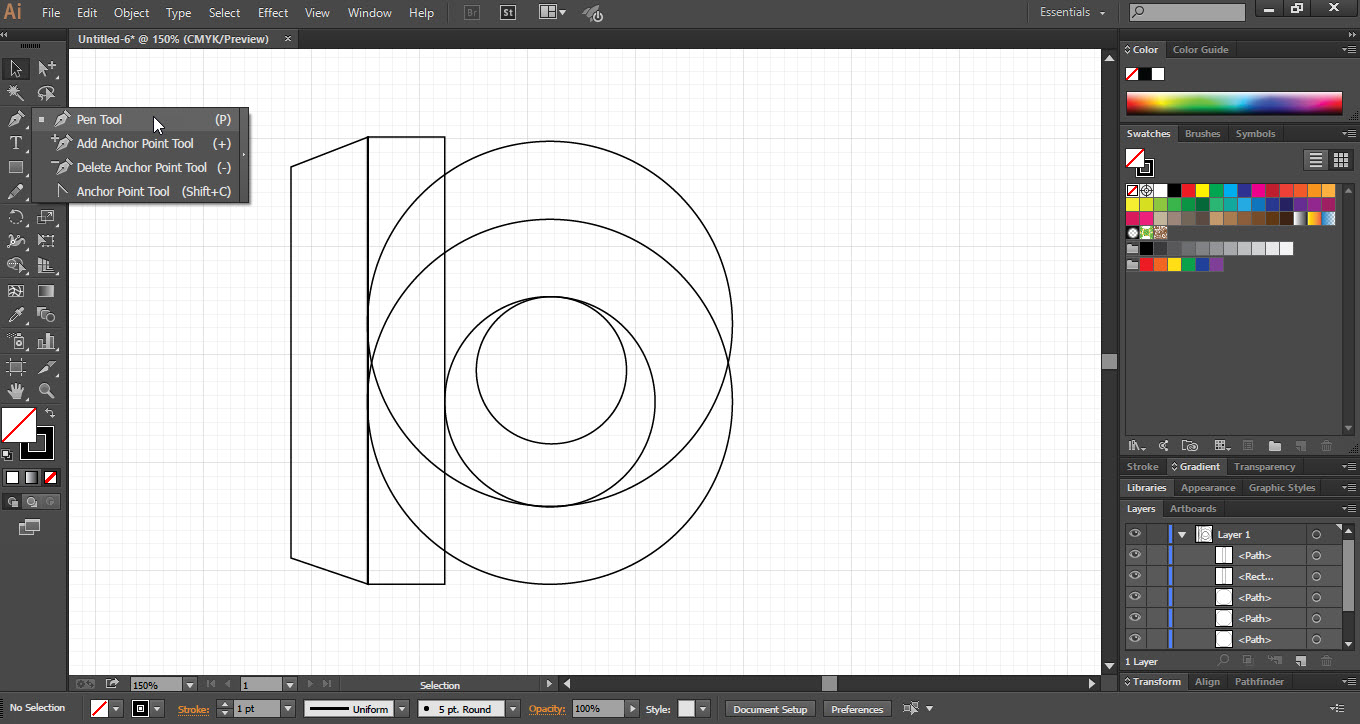
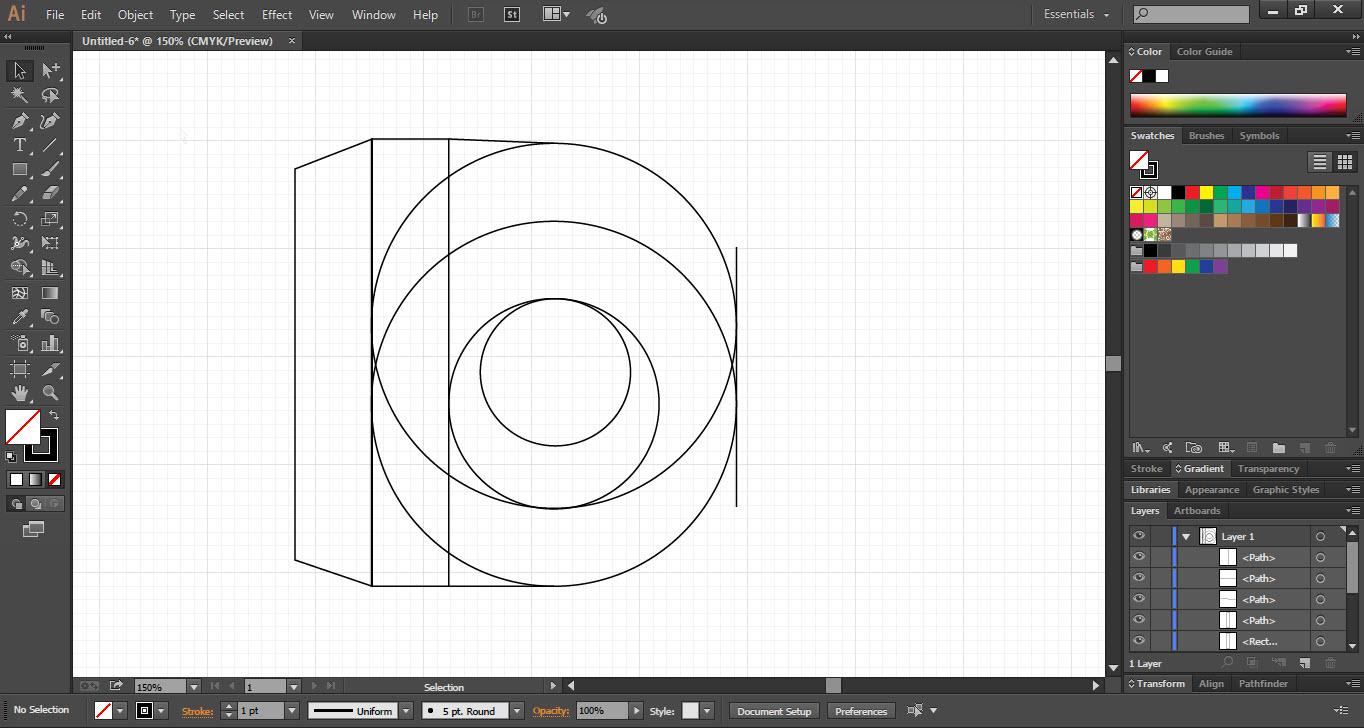
- Go to the “Tool Bar” and select the “Pen Tool”.
- Now connect the top of the circle with the rectangle corner.
- Do the same for the downside of the corner.
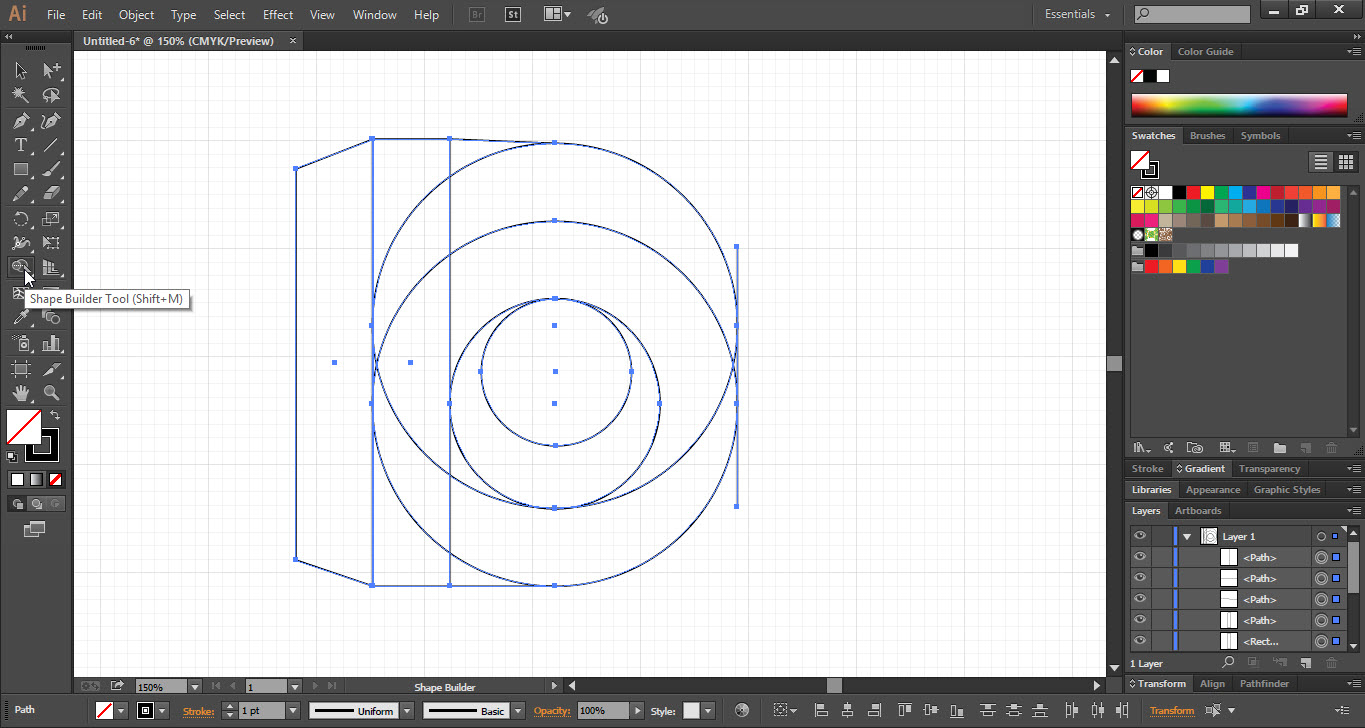
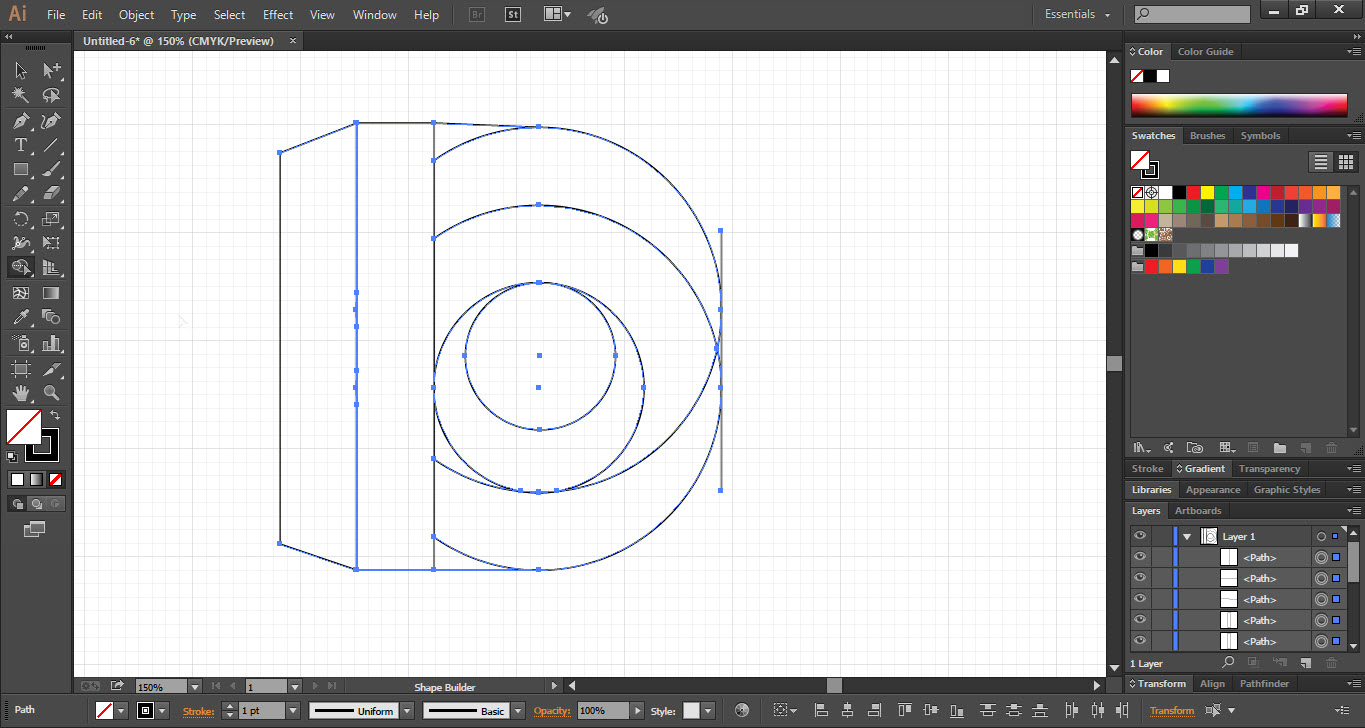
- Now select the whole shape with the help of the “Selection Tool”.
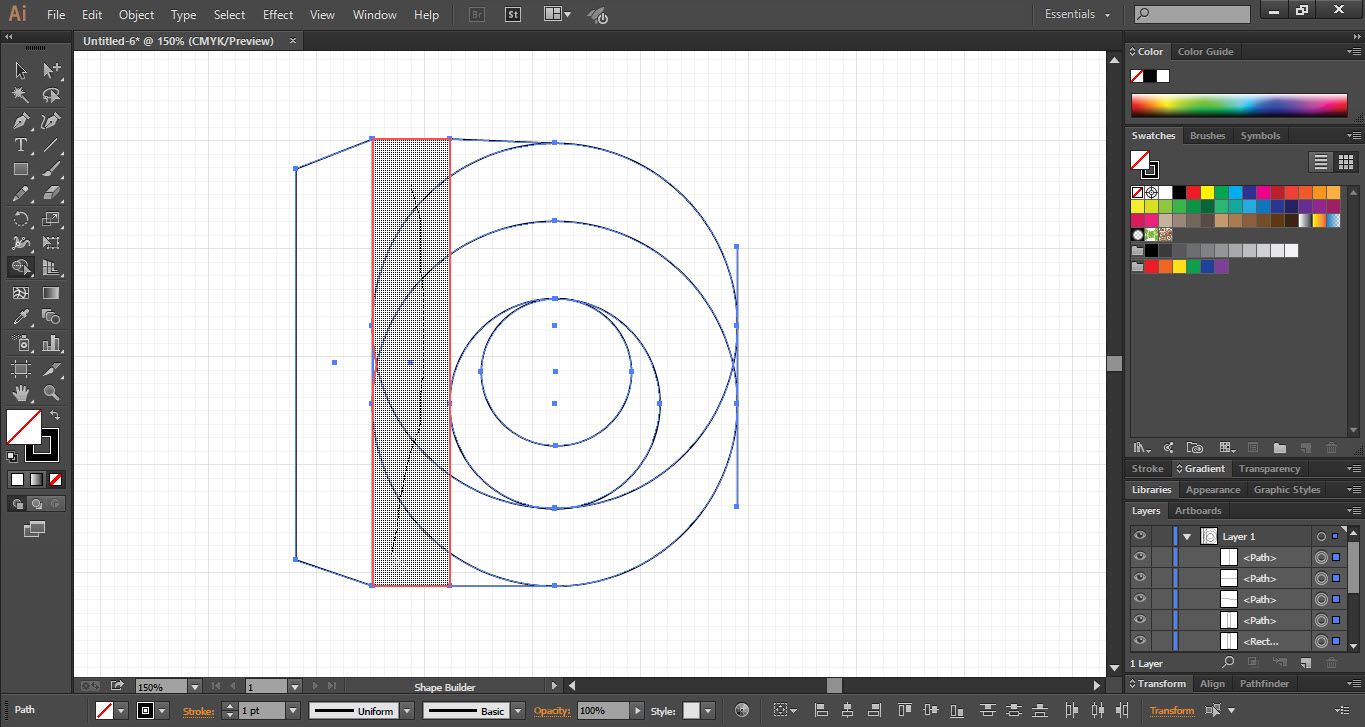
- Take the “Shape Builder Tool” from “Tool Bar”.
- Click and drag from top to bottom inside the rectangle.
- The circle inside the rectangle will disappear.
- Do the same for the circles which overlay on each other.

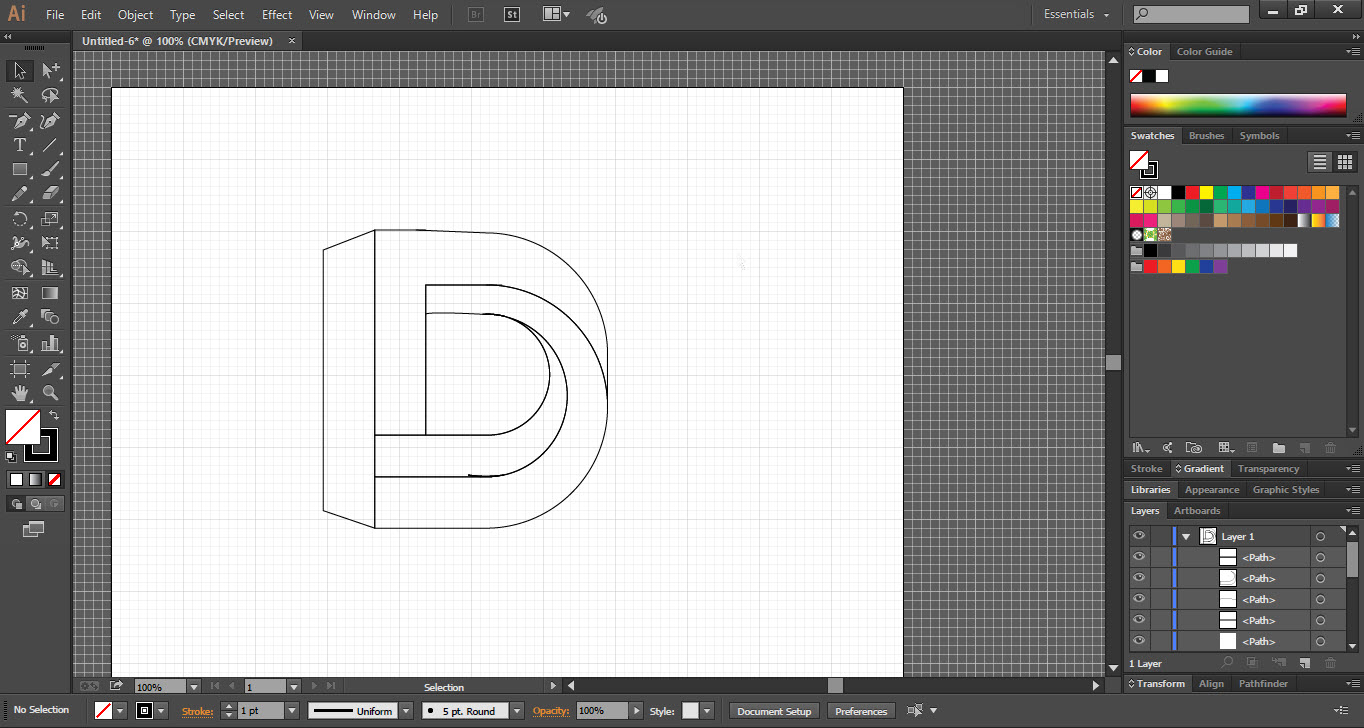
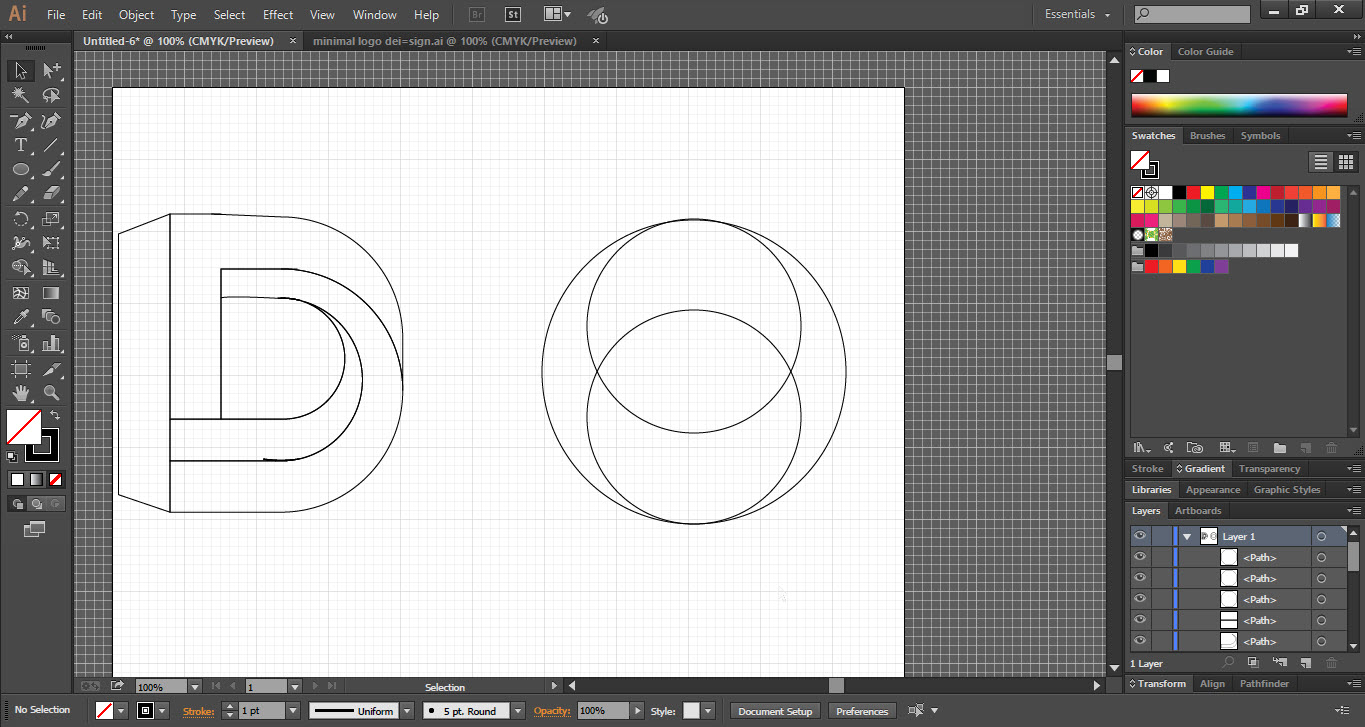
Step 05
- Now let’s design “O”.
- So go to the “Tool Bar” and select the “Ellipse Tool”.
- Hold down the “Shift Key” and draw a circle.
- Now copy the same circle and paste in place.
- Drag the duplicate circle toward inside the original circle.
- Again copy the duplicate circle and drag it downward.
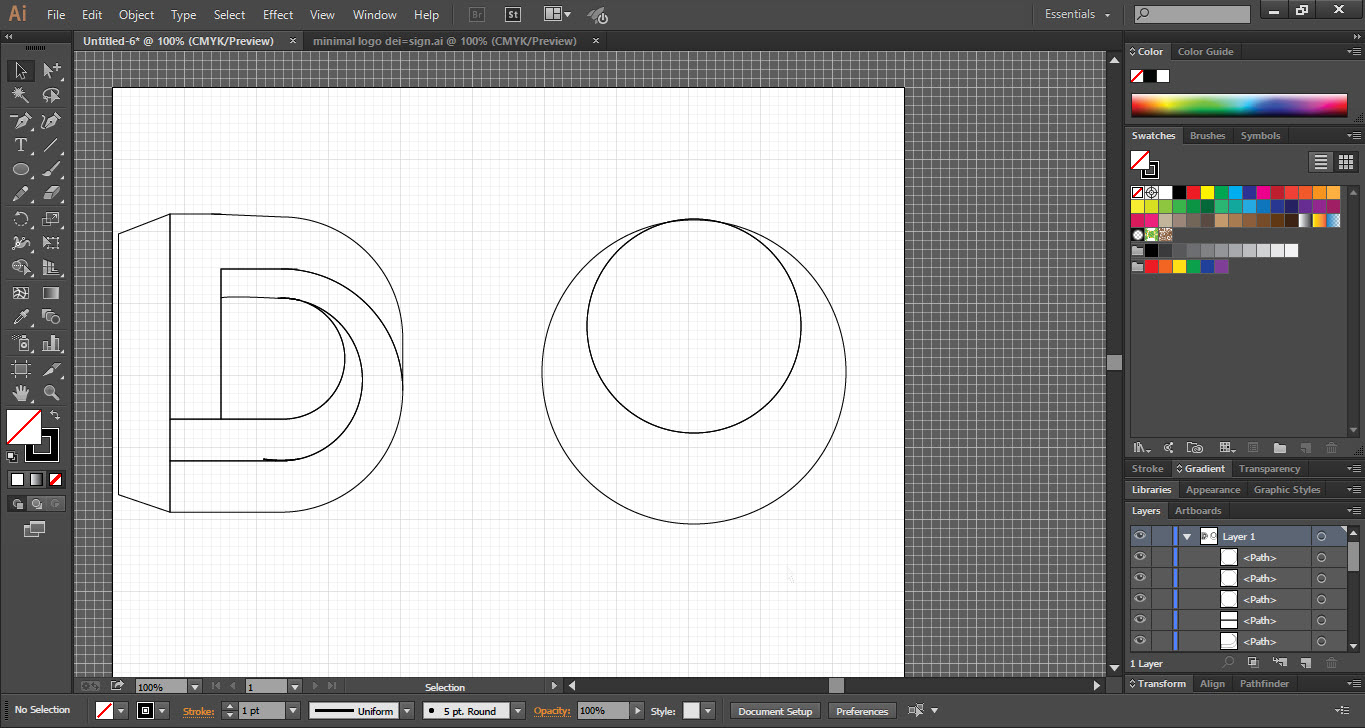
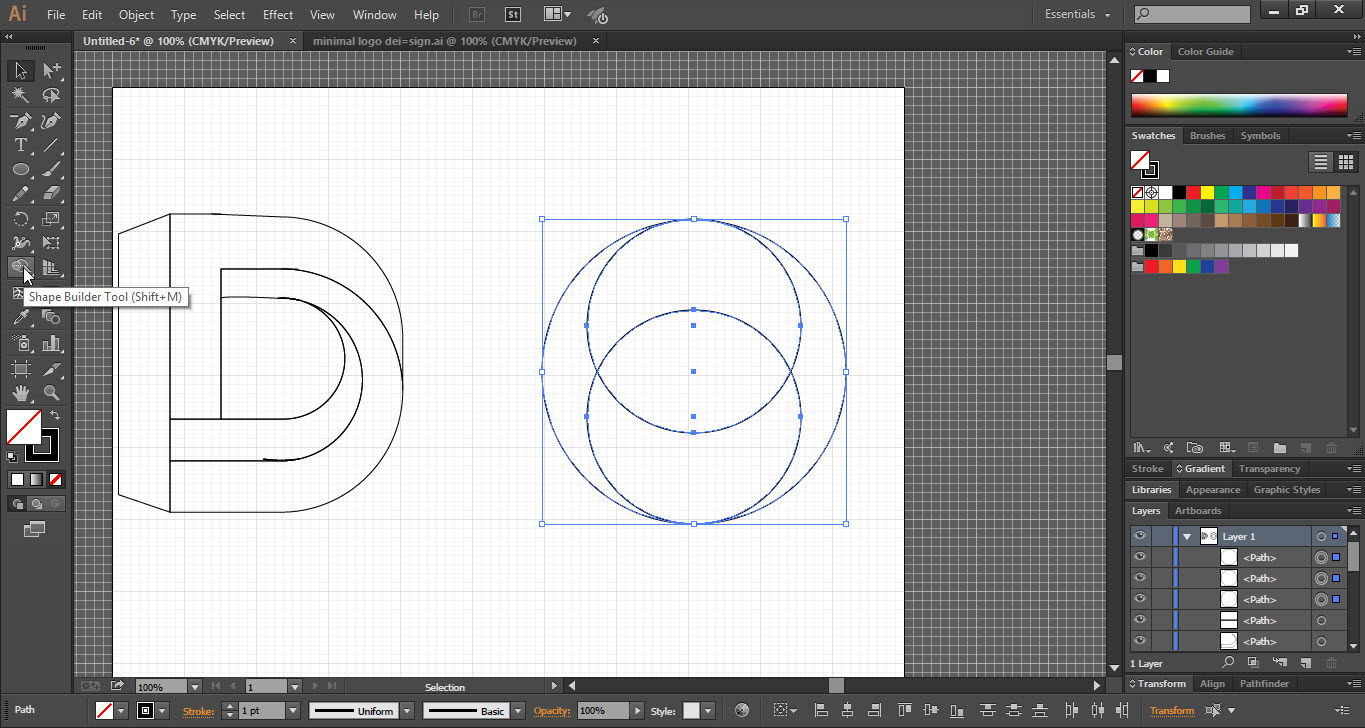
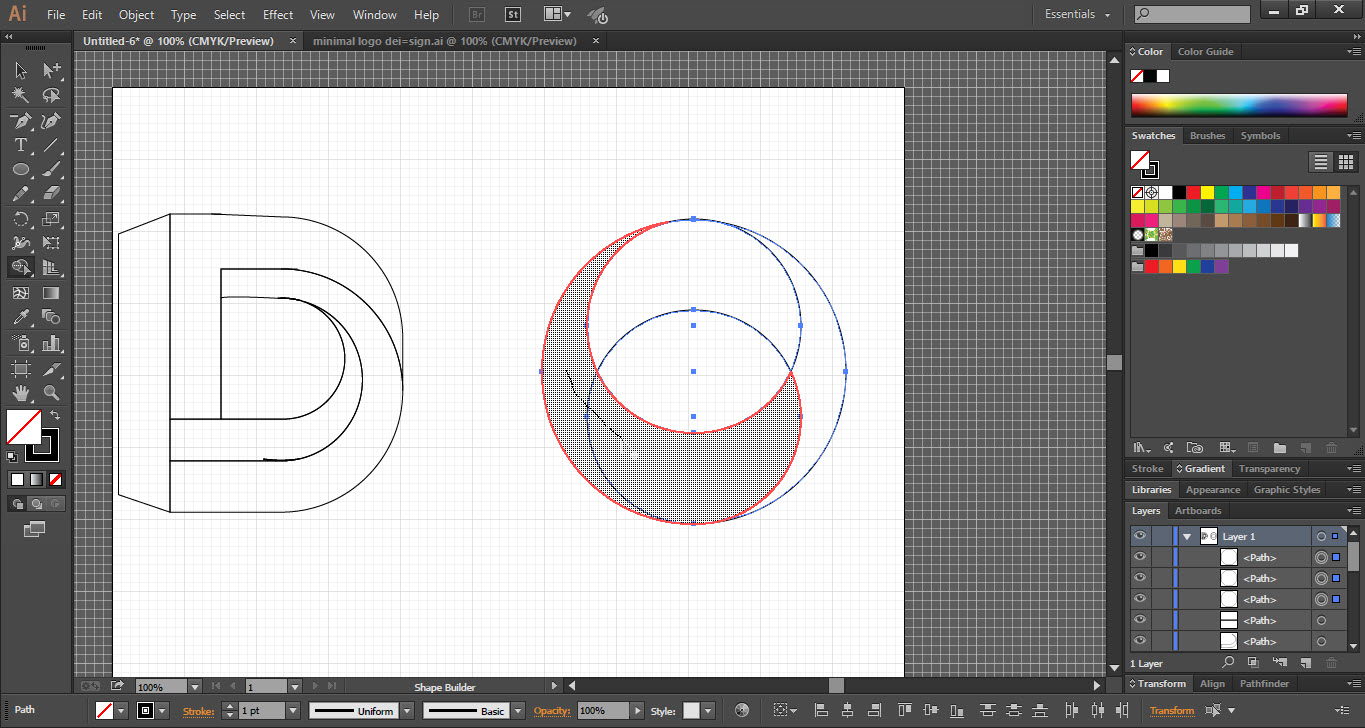
- Now select the whole shape and take the “Shape Builder Tool” from “Tool Bar”.
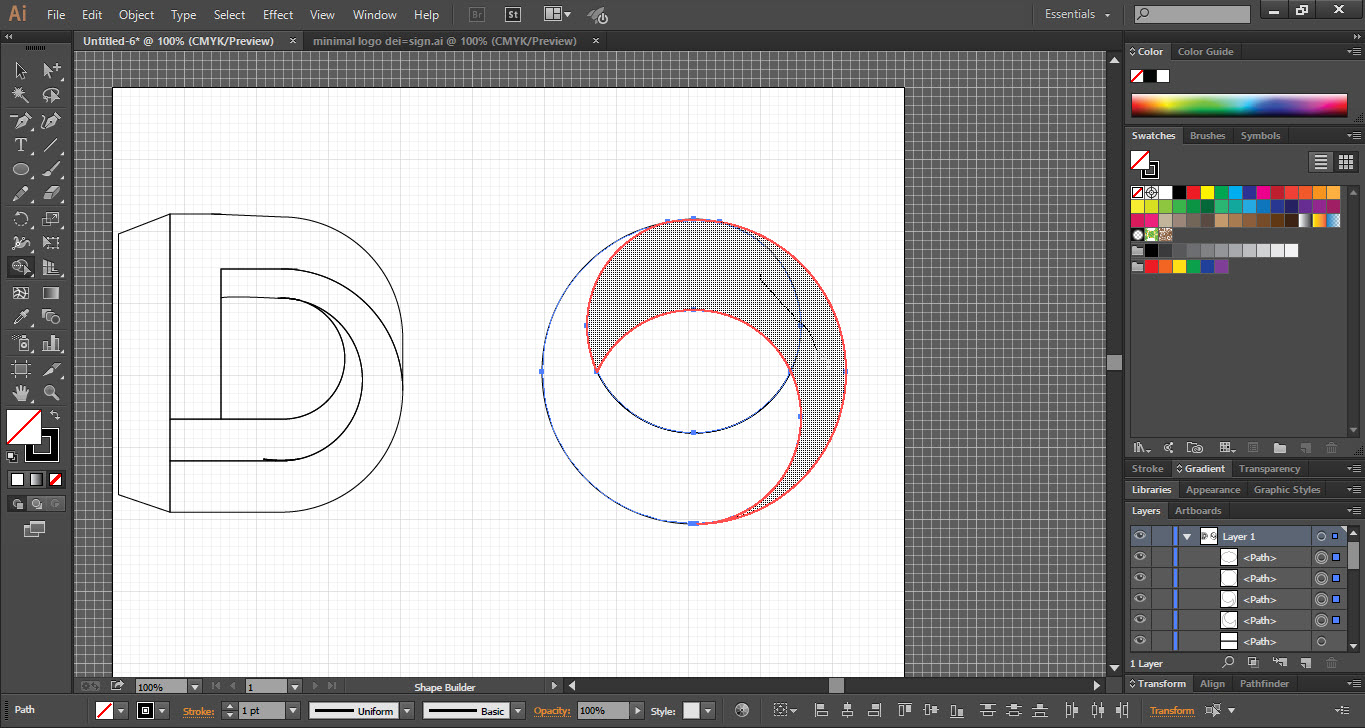
- Click and drag from one portion to the another (as shown in the screenshot).
- Do the same for the next portion.


Step 06
- Now let’s apply the “Gradient”.
- Use the gradient according to your point of view.
- So select one portion of the “D” with the help of the “Selection Tool”.
- Do the same process select each portion and apply the gradient.
- Now let’s apply a gradient to “O”.
- It is also exactly the same process.
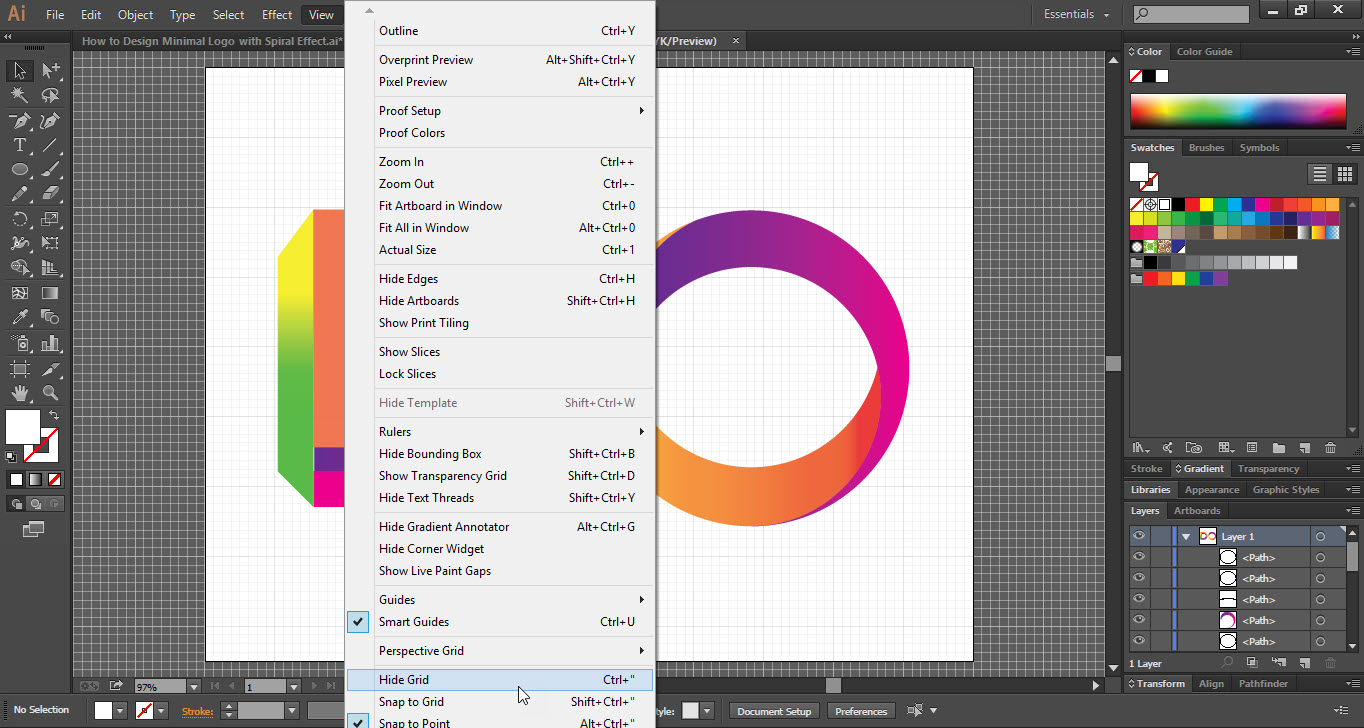
- Now go to the “View” menu and click on “Hide Grid” option.
- Here your logo is ready.


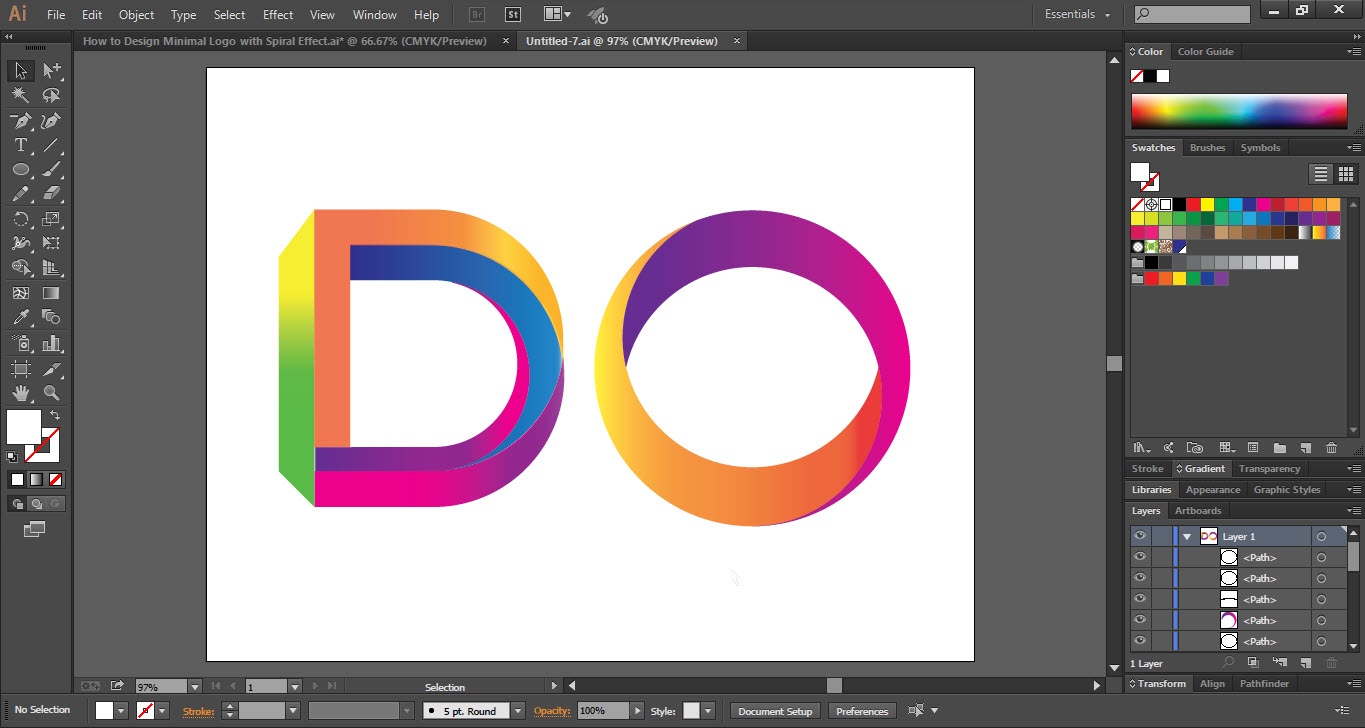
This is how the final result looks like