Hello, everyone today we are going to show you “How to Design Hanging Banner in Adobe Illustrator”. In this tutorial, you will learn how to design a hanging banner. Don’t worry if you are new here this is a step by step tutorial also have a screenshot of each step so you can practice it by yourself by downloading the project PSD file.
You can make banners work outside of the business as well as inside. Designing the area around your business creatively, to enhance your appeal can help increase footfall. This could be from your wall to a fence, make sure your banner is seen by any potential customers walking or driving past.
Resources
Images used:
- Mockup from Dribbblegraphics.com
Fonts used:
- Myriad Pro
Step 01
- Open the Adobe Illustrator software.
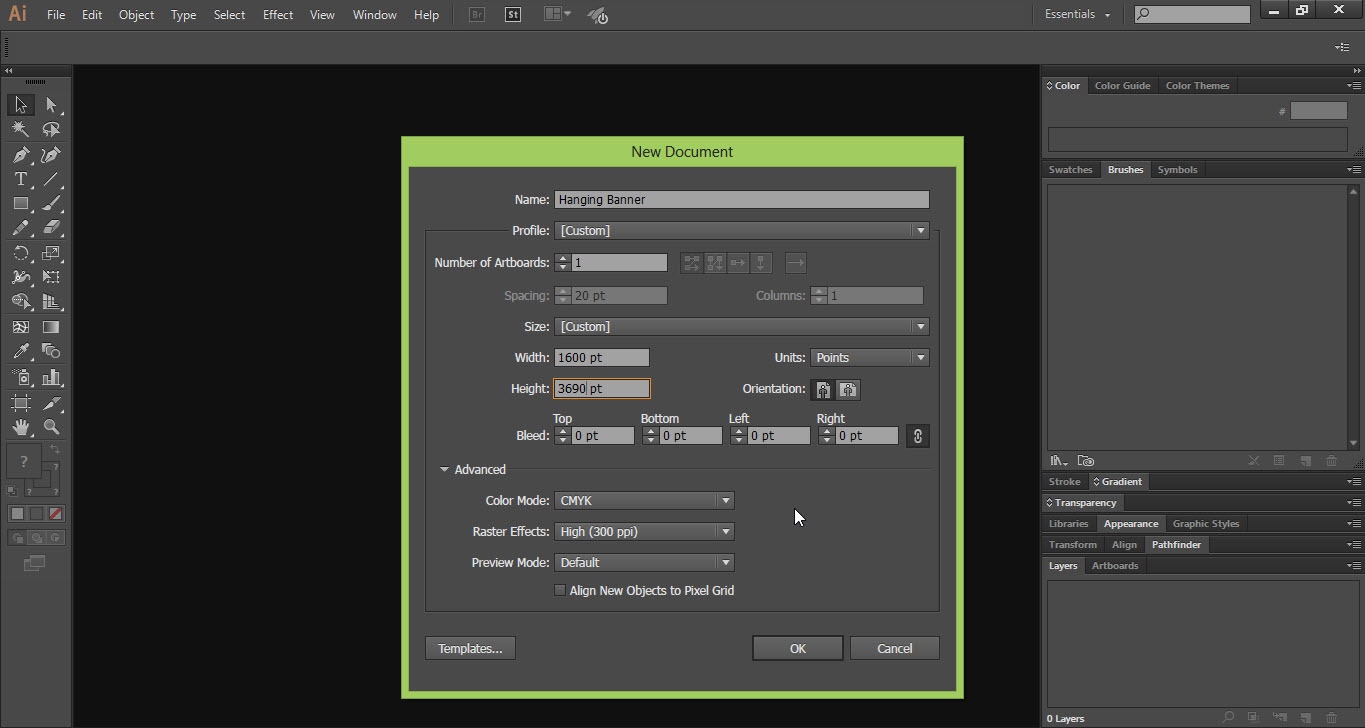
- Go to the “File” menu and click on the “New” option.
- Select the size of the document and click ok.
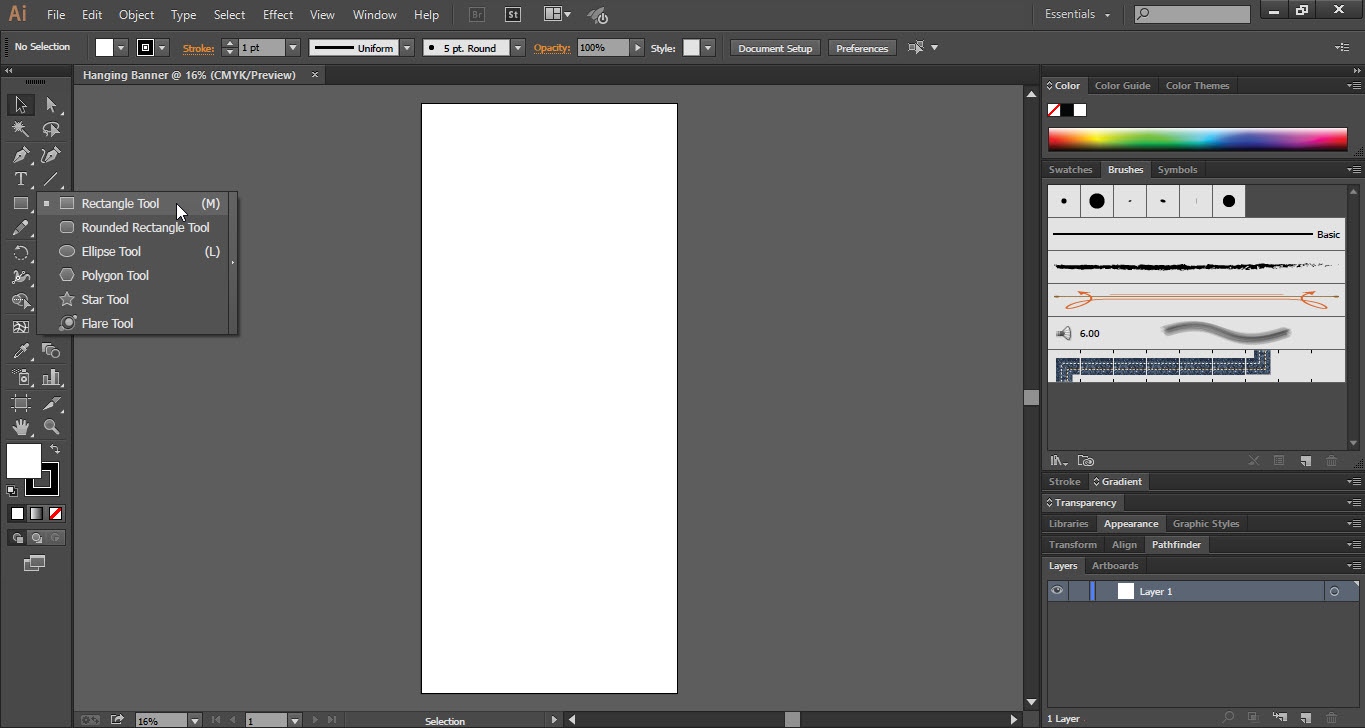
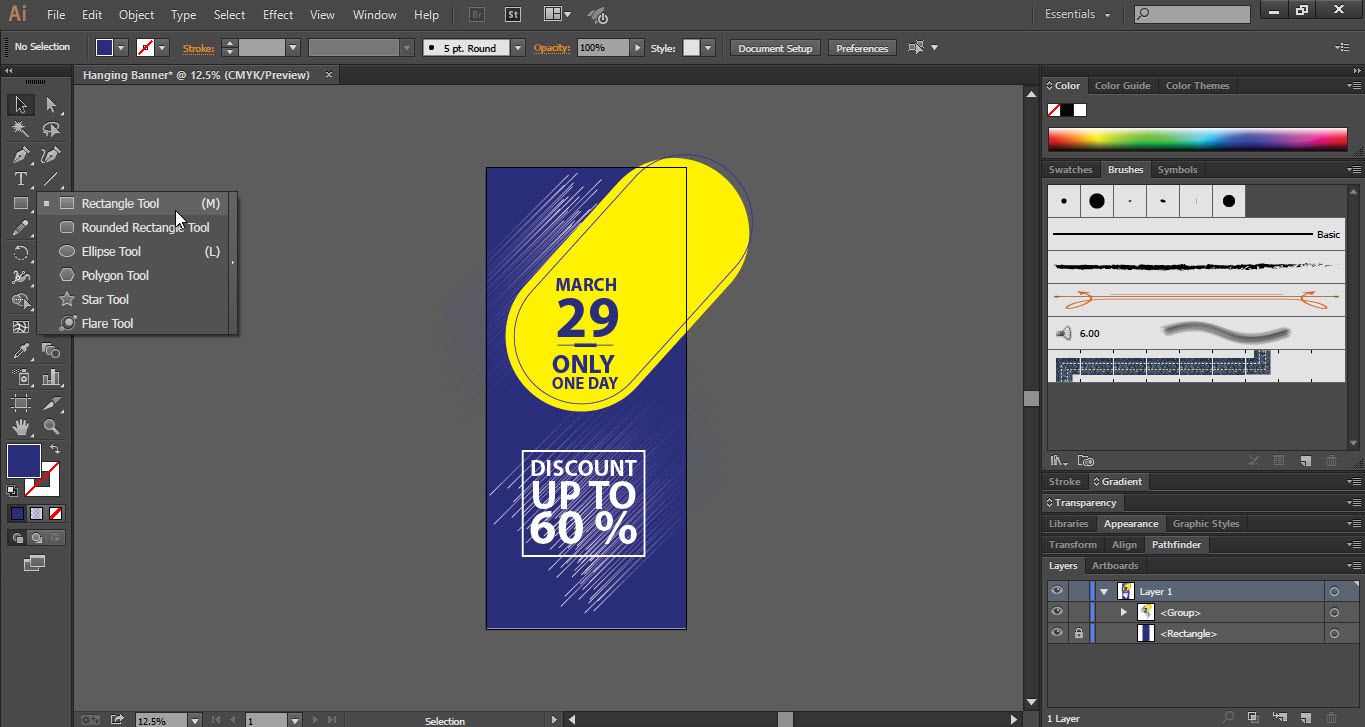
- Take the “Rectangle Tool” from “Tools Bar”.
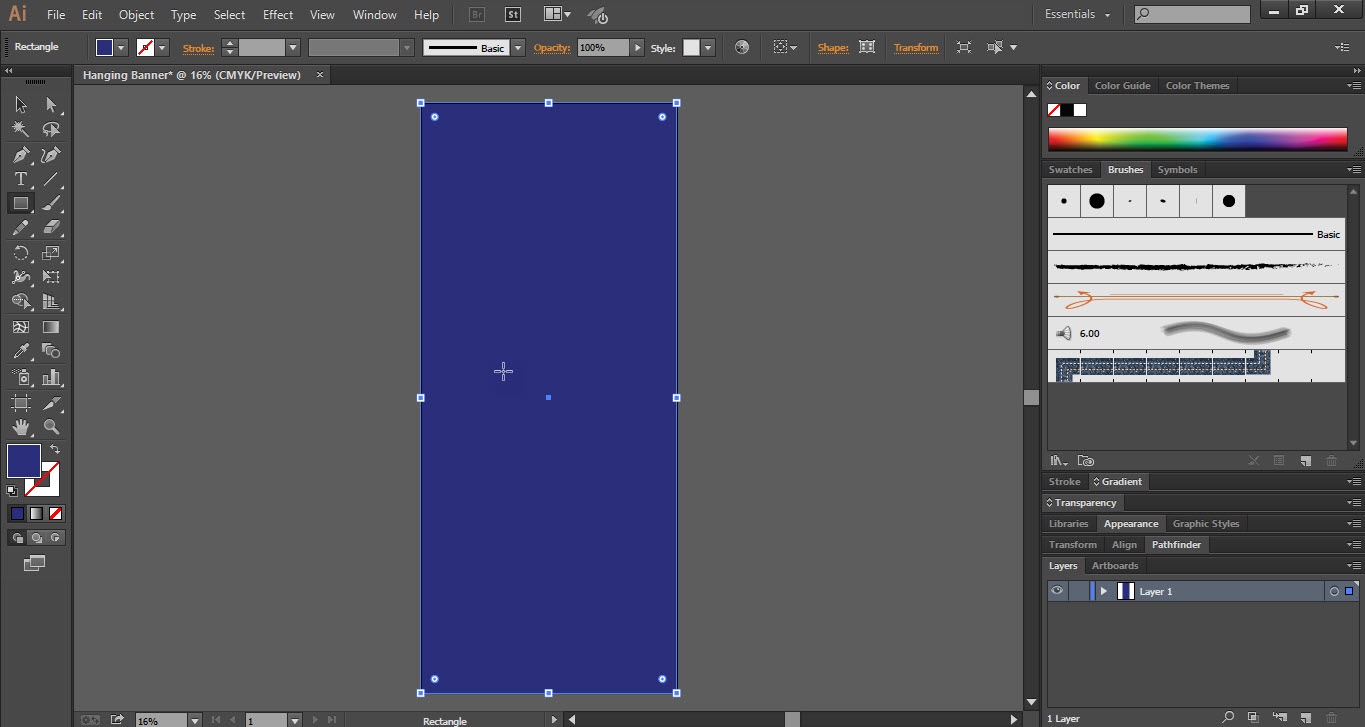
- Draw a rectangle over the “Art Board” and fill it with “Color”.
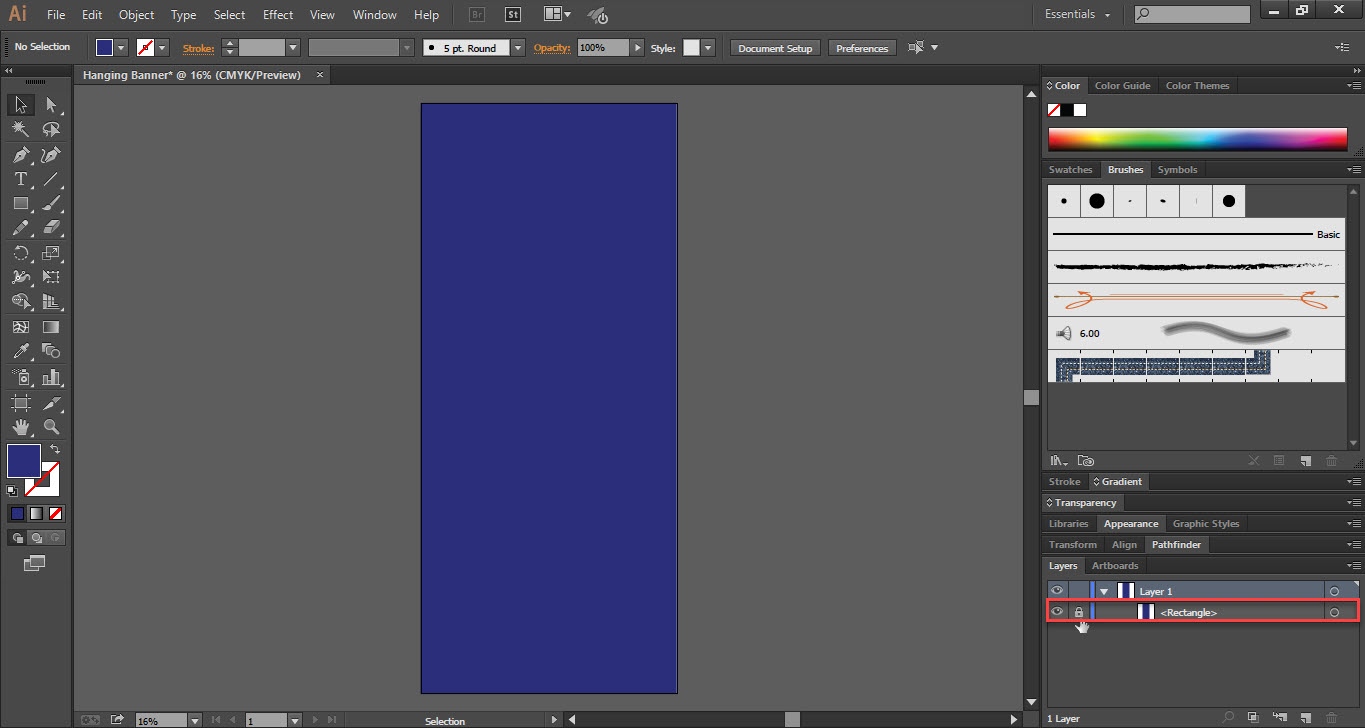
- Lock the “Rectangle” in the layer panel.

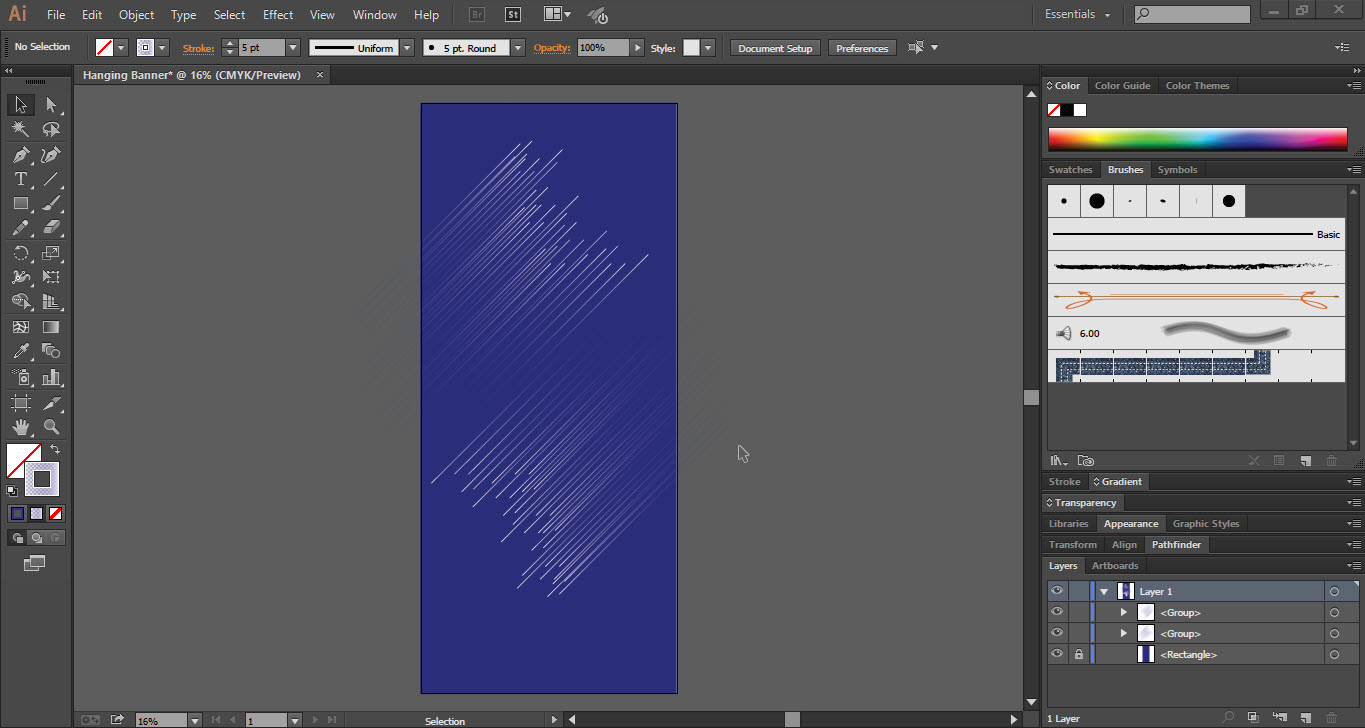
Step 02
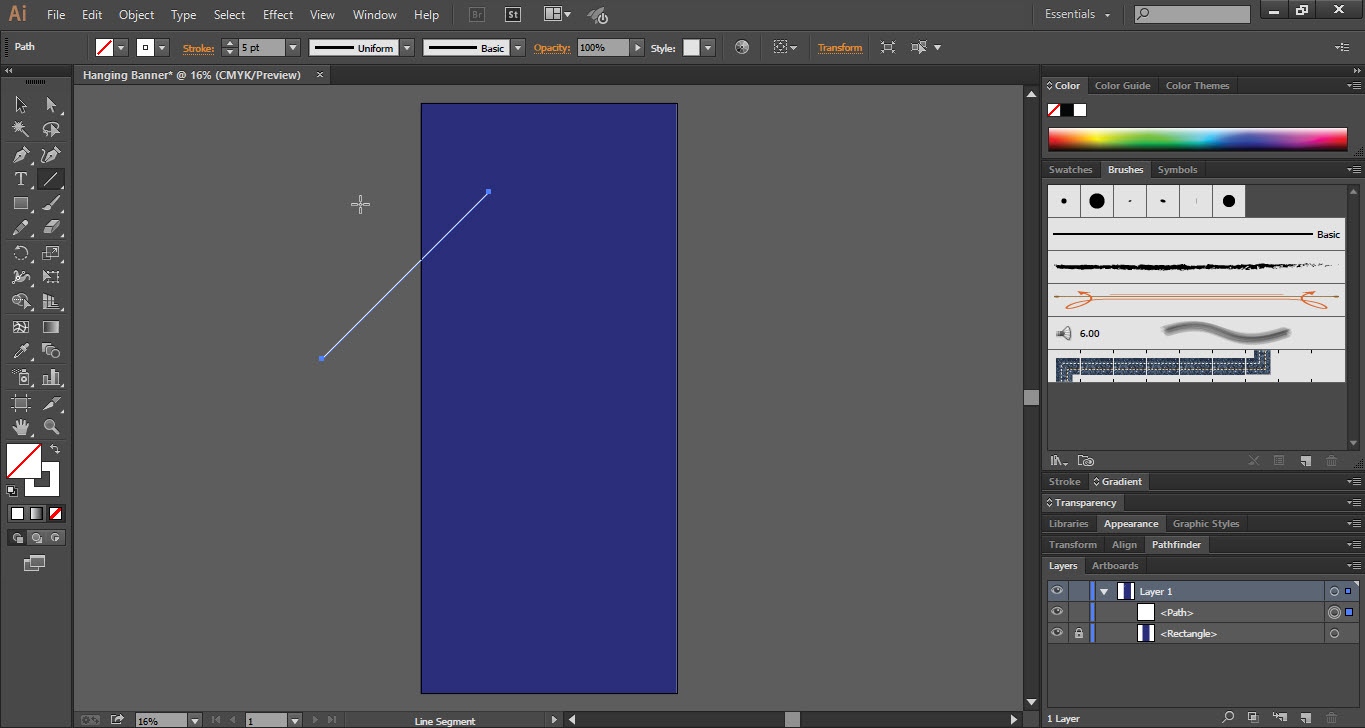
- Now take the “Line Segment Tool” from “Tools Bar”.
- Draw a cross “Line” as shown in the screenshot (2.2).
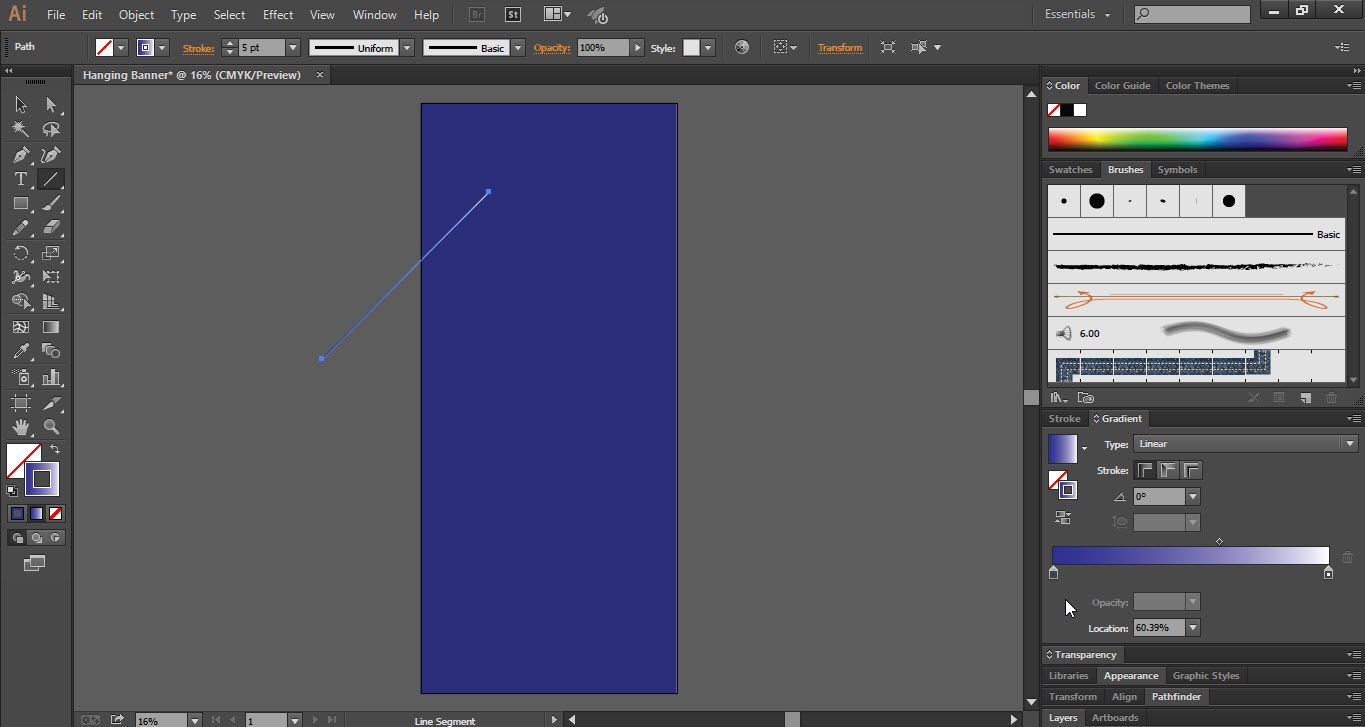
- Apply the “Gradient” to the line.
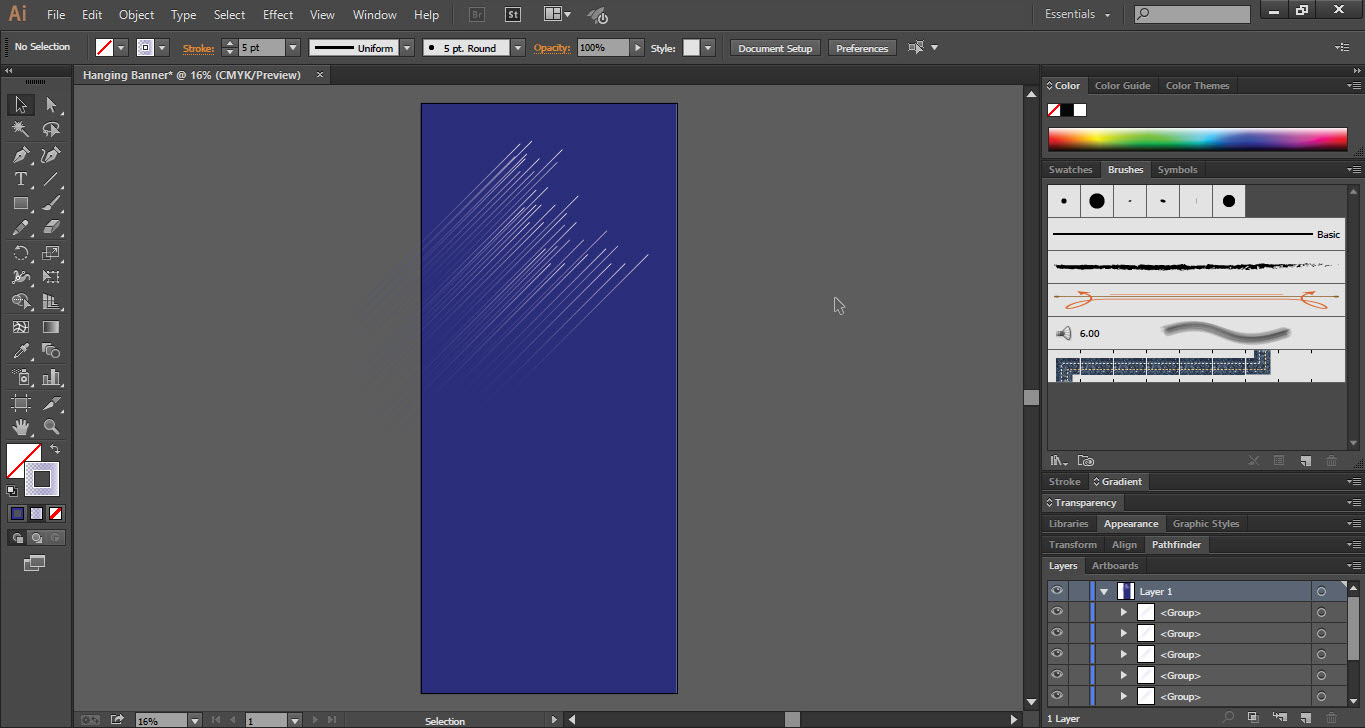
- Press “Ctrl+C” to copy the line then press “Ctrl+F” to place it in front.
- Do the same process again and again and make a line shape as shown in the screenshot (2.4).
- Select all the “Lines Shape” and press “Ctrl+G” to make a group.
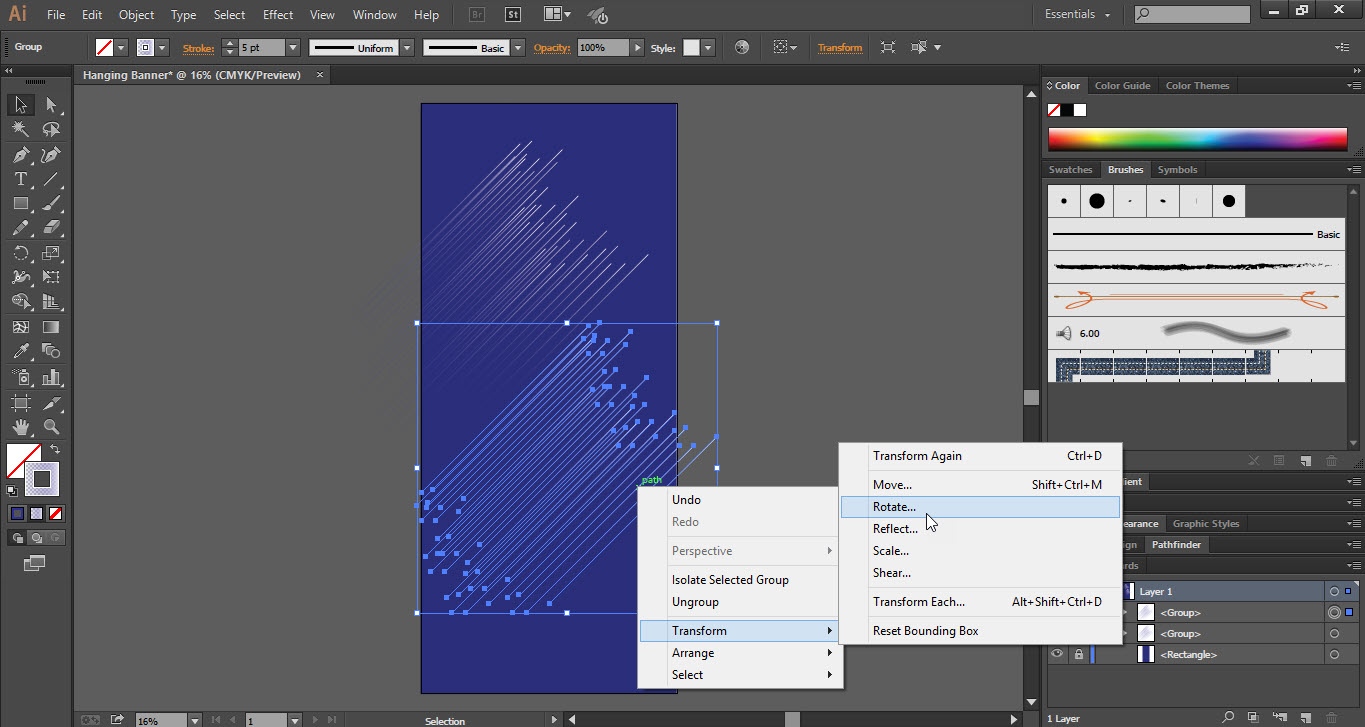
- Make a copy of the “Grouped Lines” and bring it to the downside of the “Rectangle”.
- Select the “Copy Lines” and right-click on it.
- Go to the “Transform” menu and click on the “Rotate” option.
- Rotate the lines in the opposite direction as shown screenshot (2.6).

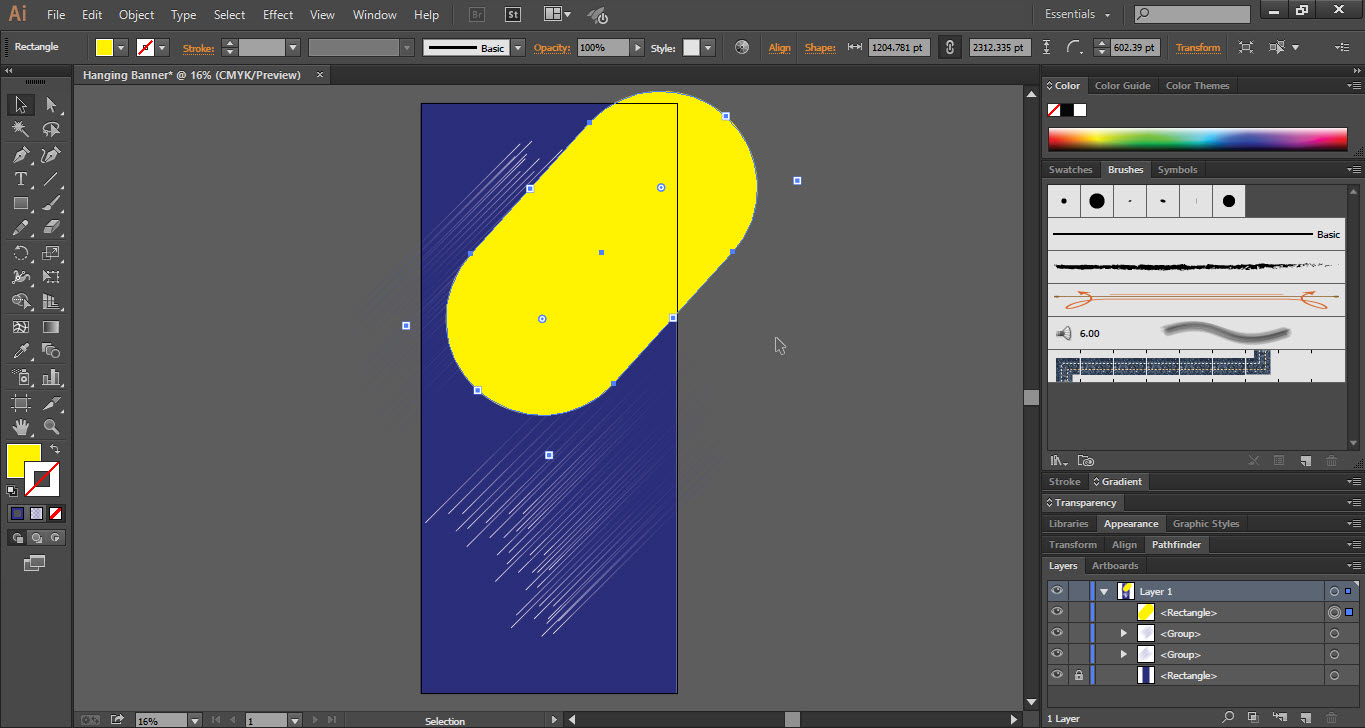
Step 03
- Take the “Rectangle Tool” from the “Tools Bar”.
- Draw a small rectangle and fill it with color.
- Round the rectangle by using the rounding anchor points.
- Place the “Rounded Rectangle” on the upper right side as shown screenshot (3.4).
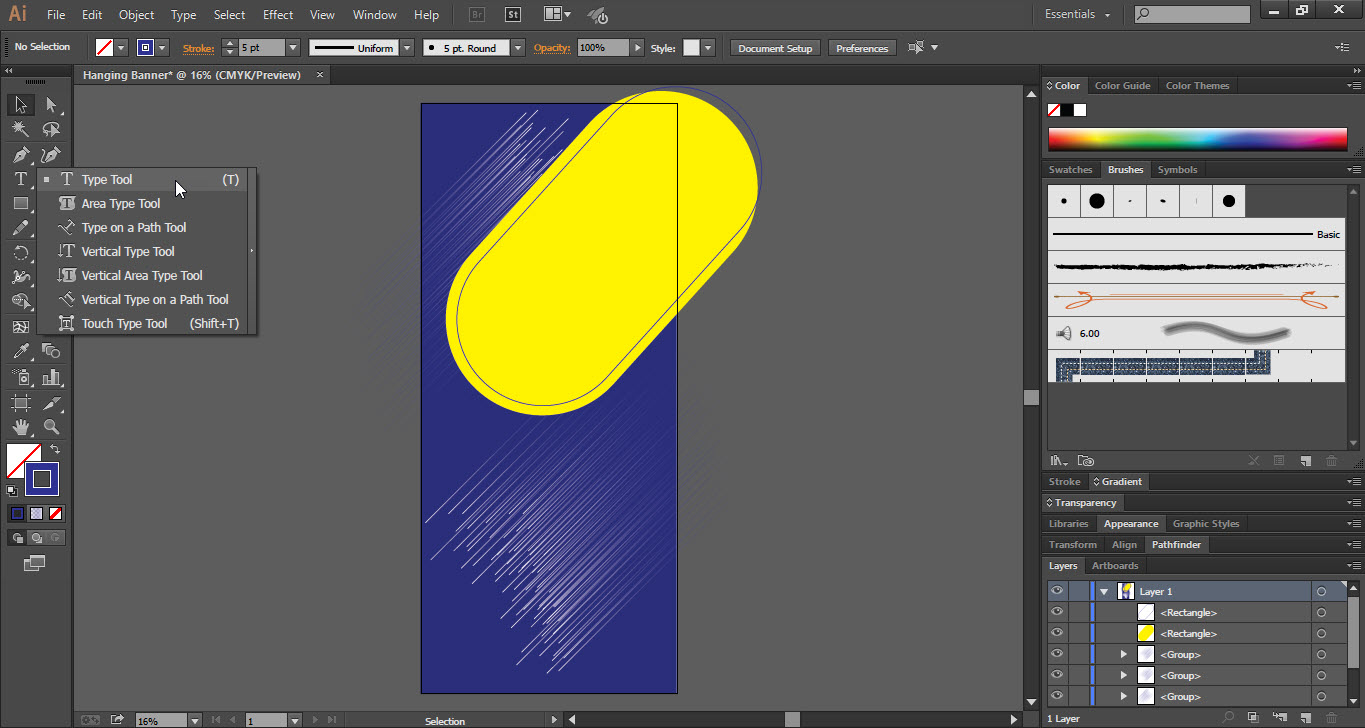
- Press “Ctrl+C” then “Ctrl+F” to make a copy of the same rectangle.
- Turn off the “Fill” option of the copy rectangle and apply only the “Stroke” color.
- Place the copy rectangle on the yellow rectangle as shown in the screenshot (3.5).


Step 04
- Take the “Type Tool” from “Tools Bar”.
- Type anything which you want to display on your banner.
- Here first I type the “Date” and place it on the yellow rectangle.
- Then I add the “Offer” under the rectangle.
- Again take the “Rectangle Tool” from “Tools Bar”.
- Draw a rectangle around the “Offer Text” to make it visible.
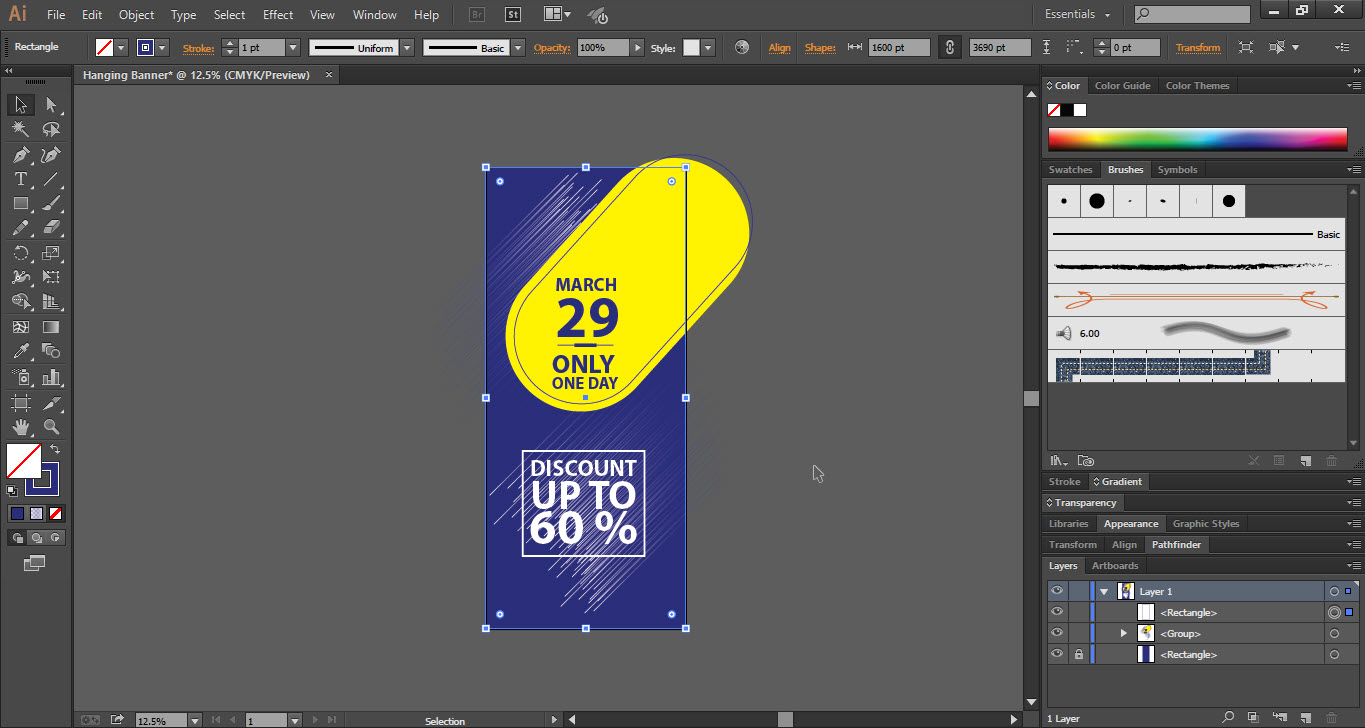
- Now take the “Rectangle Tool” from “Tools Bar”.
- Draw a rectangle exactly around the “Art Board”.
- Make sure that the “Fill” option is turned off.
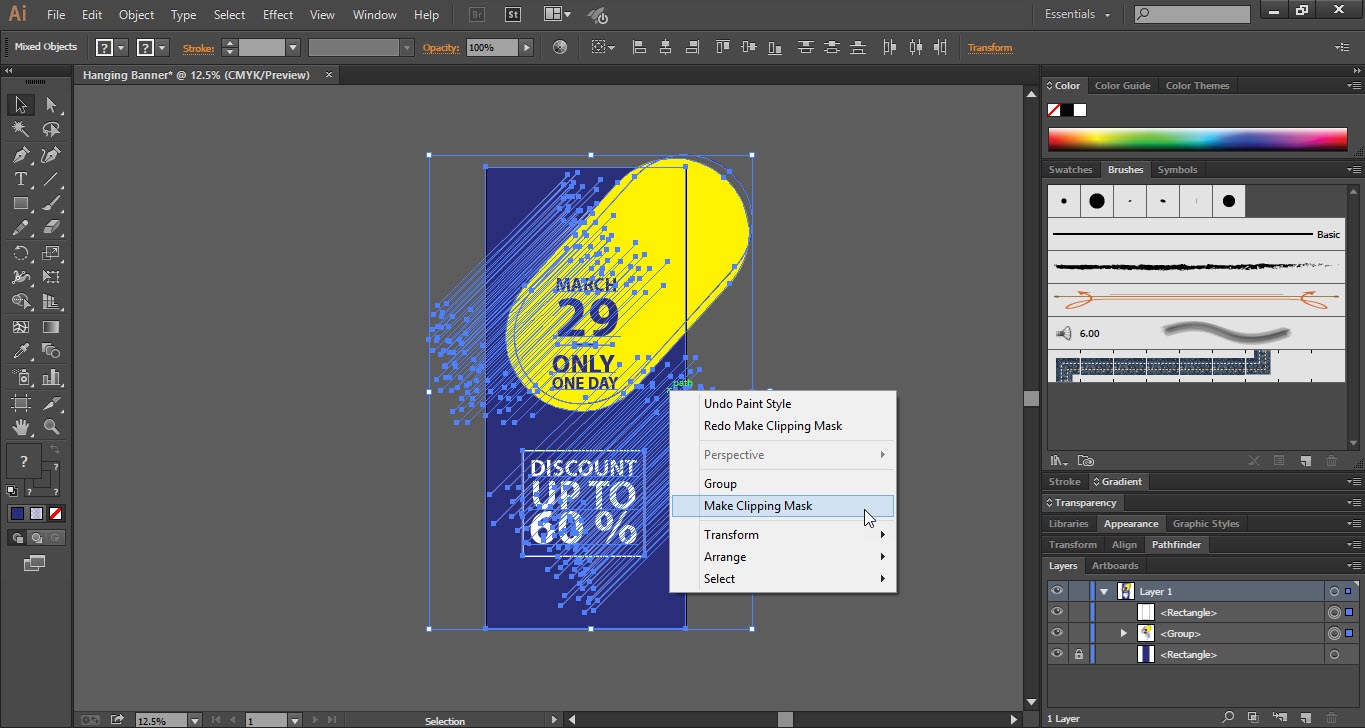
- Then hold down the “Shift” key and select all the design elements.
- Now “Right Click” on the selection and click on the “Make Clipping Mask” option.
- Finally, your design is ready.

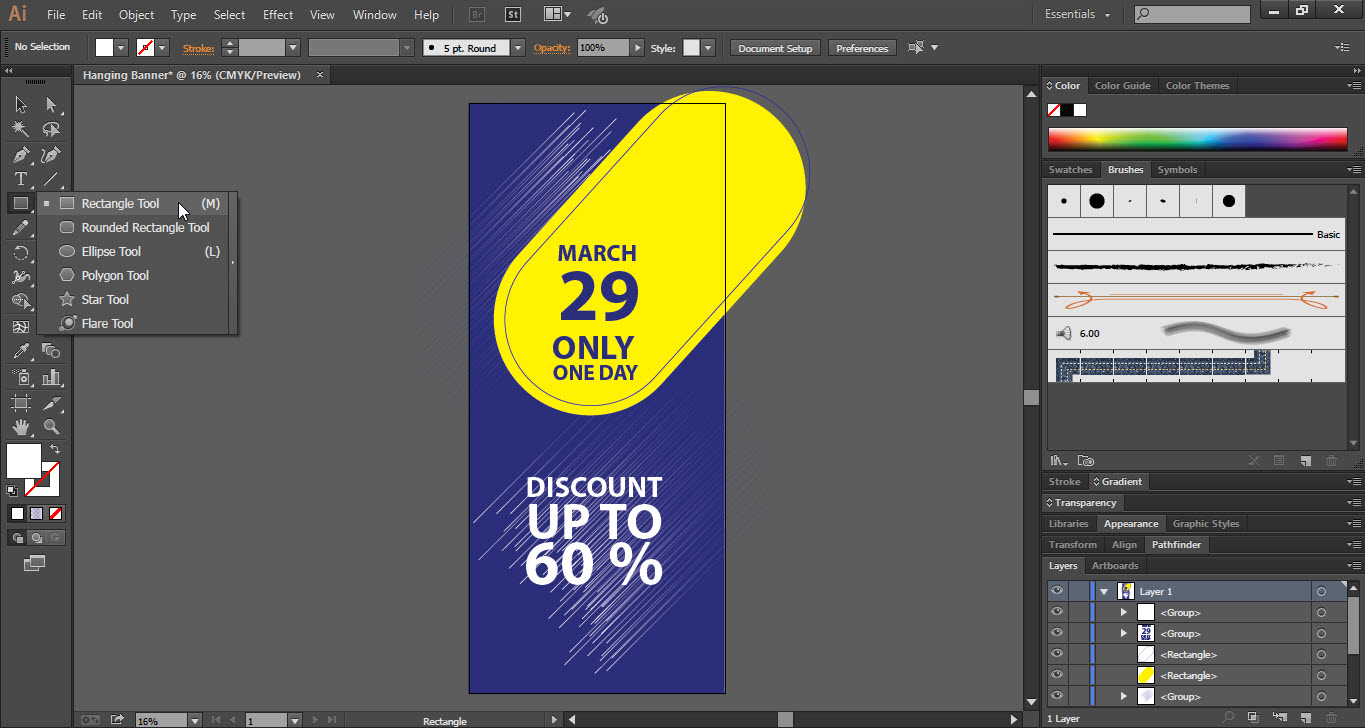


This is how the final result looks like