Hello everyone!! Today we are going to show you “How to Create Simple Flat Home Design in Adobe Illustrator”. In this tutorial, we will show you a very simple step to design a flat house structure quickly.
its step by step tutorial all the screenshots are available and you can also download the source file of the project.
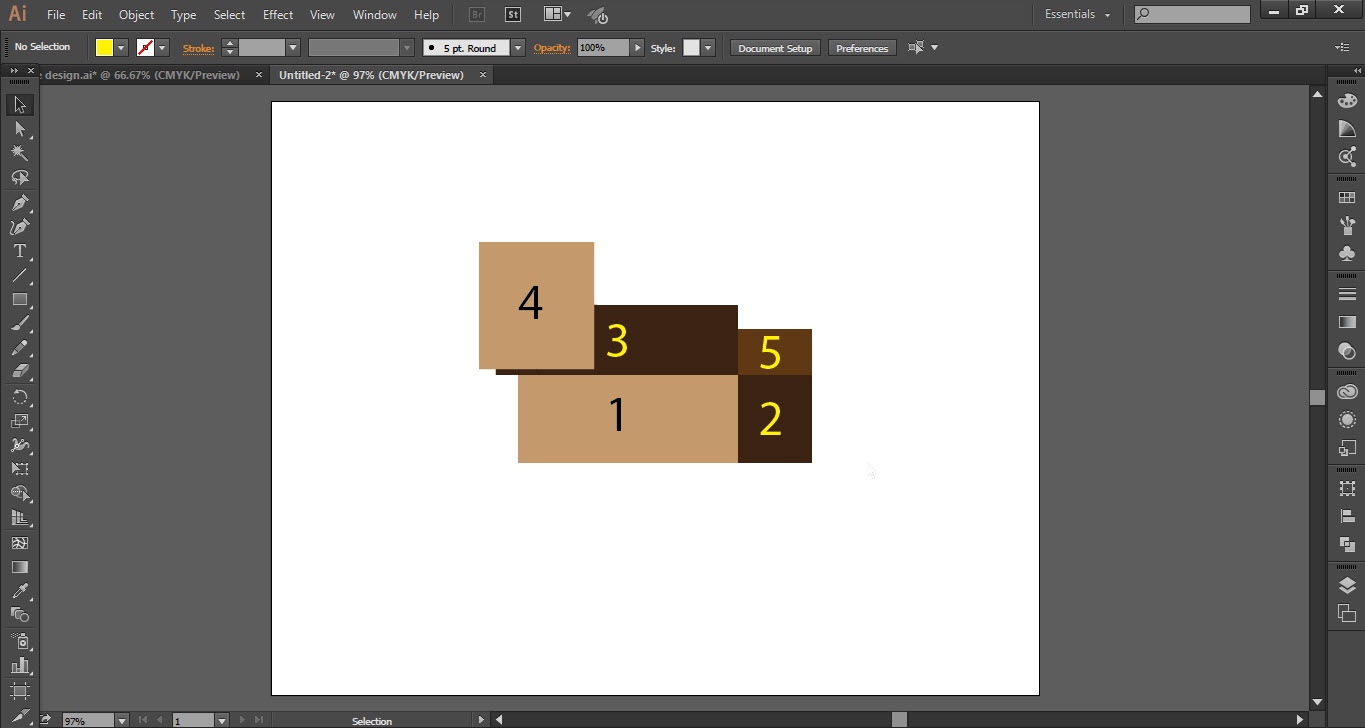
Step 01
- Open the Adobe Illustrator software.
- Go to the “File Menu” and click on the “NEW” option.
- Select the size of the canvas according to your requirements.
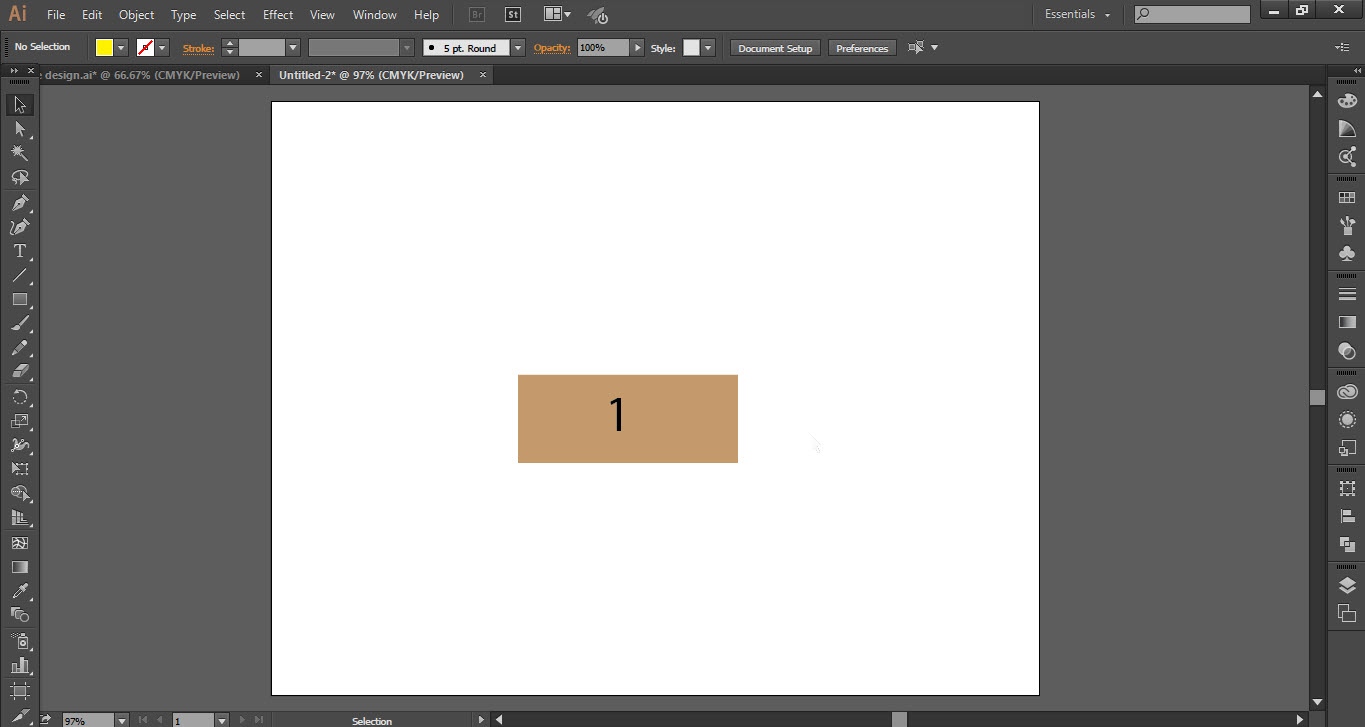
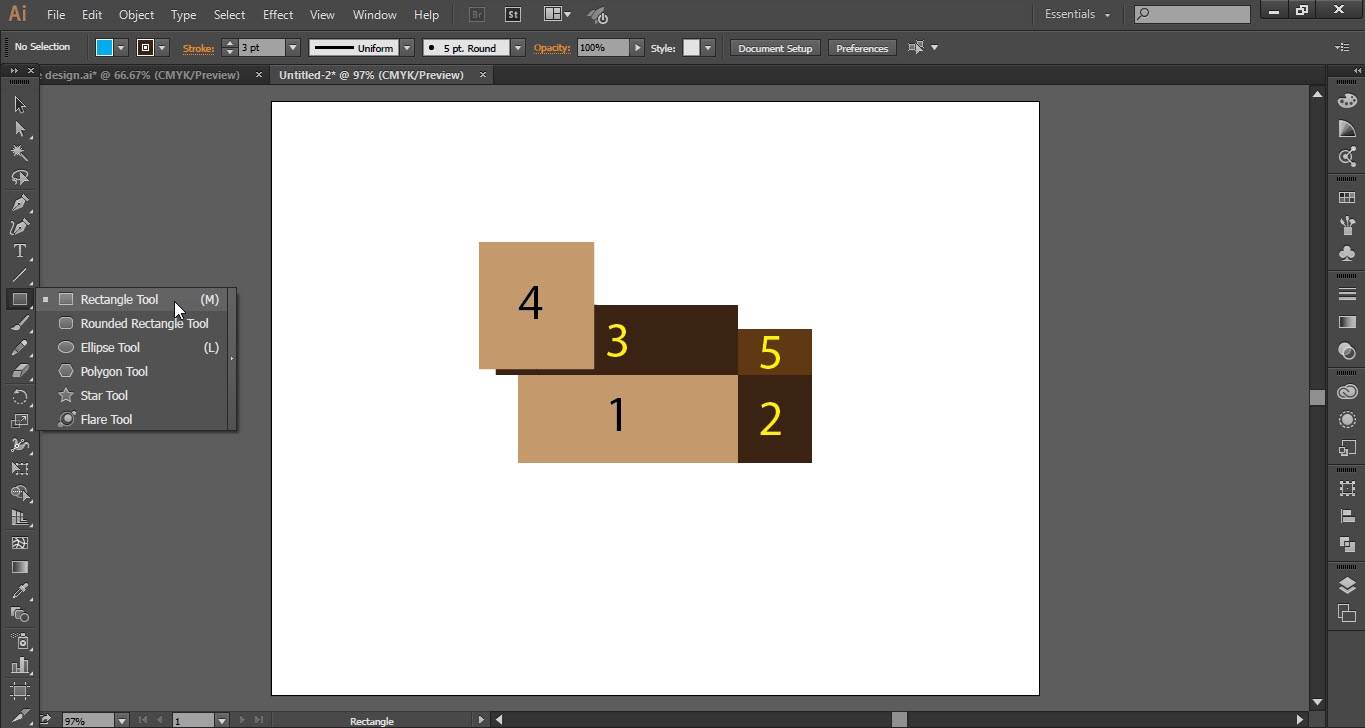
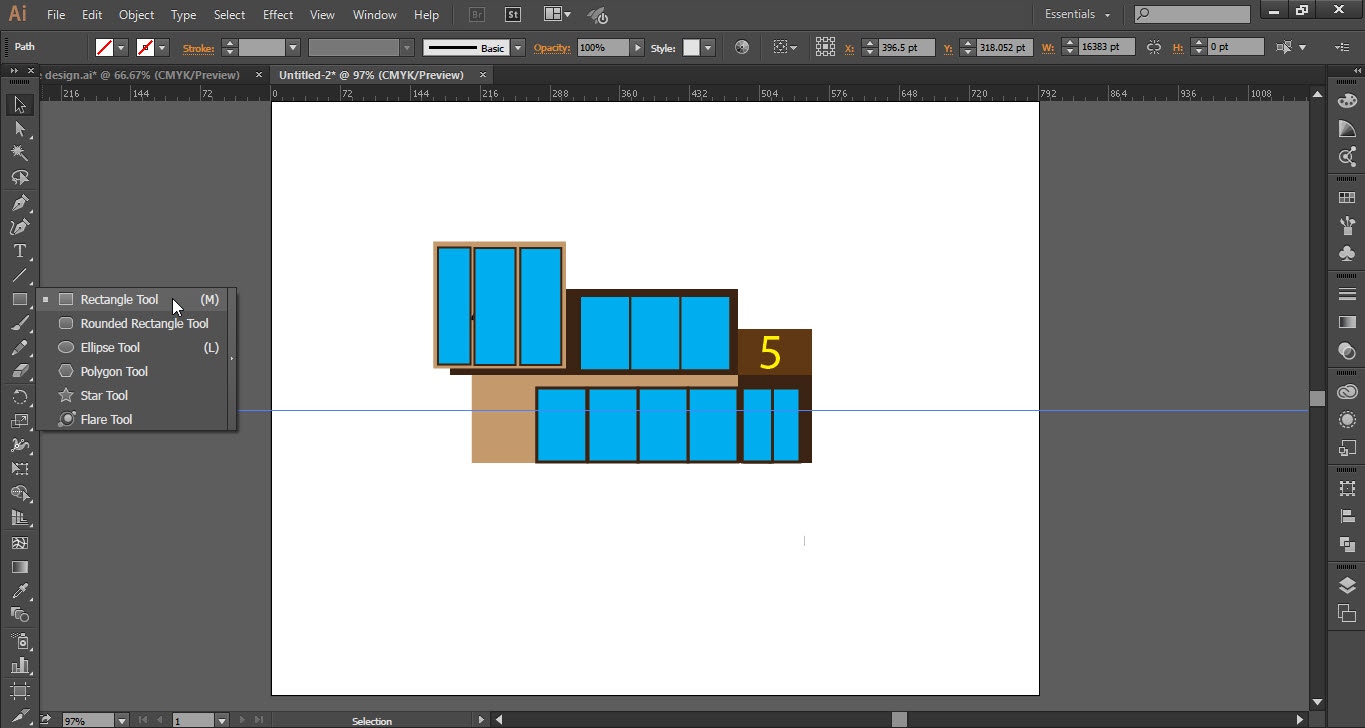
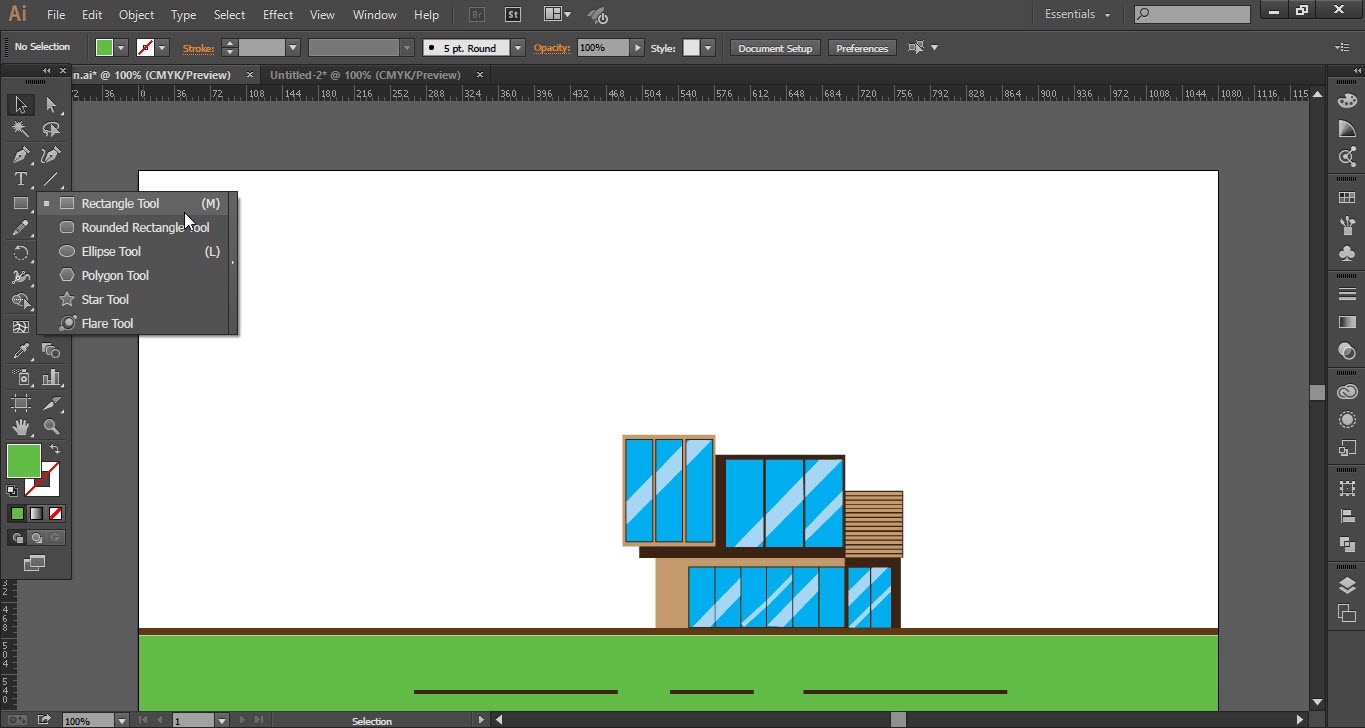
- Now go to the “Tools Bar” and select the “Rectangle Tool”.
- Draw a rectangle as shown in the screenshot and give them the number “1”.
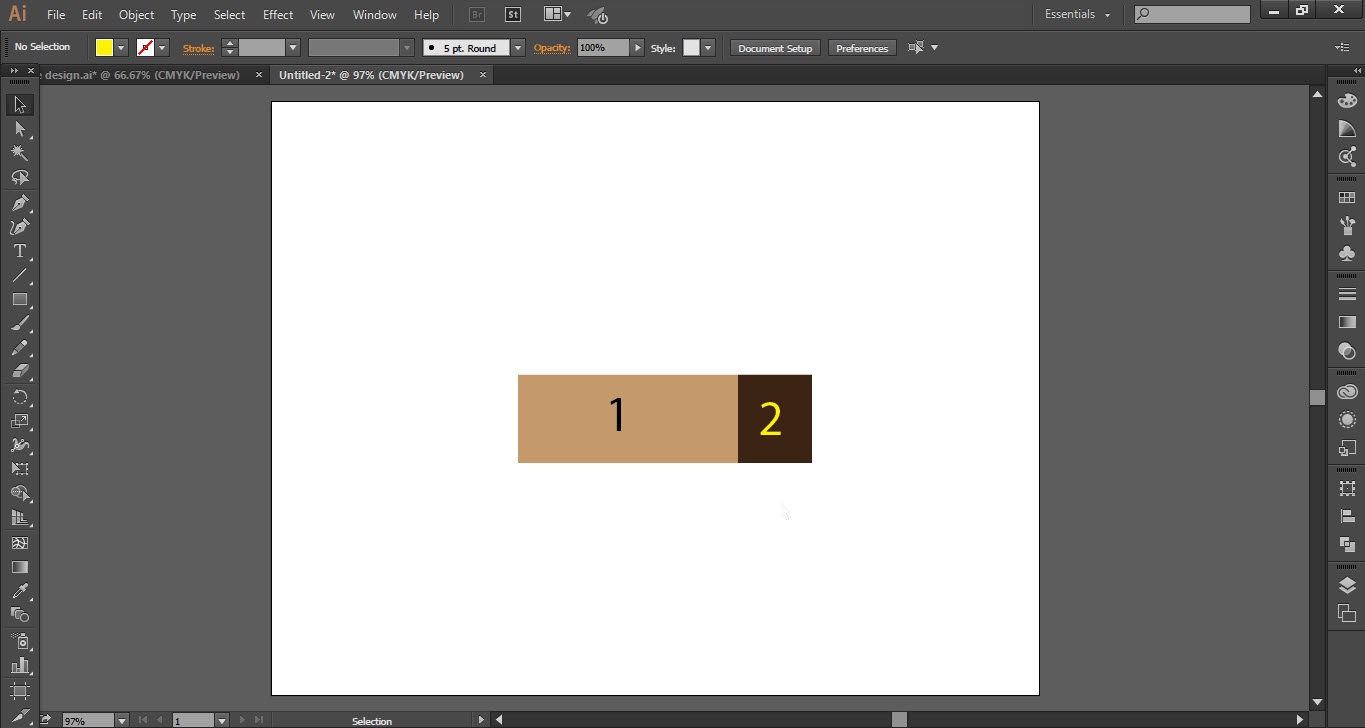
- Again draw another rectangle and give them the number “2”.
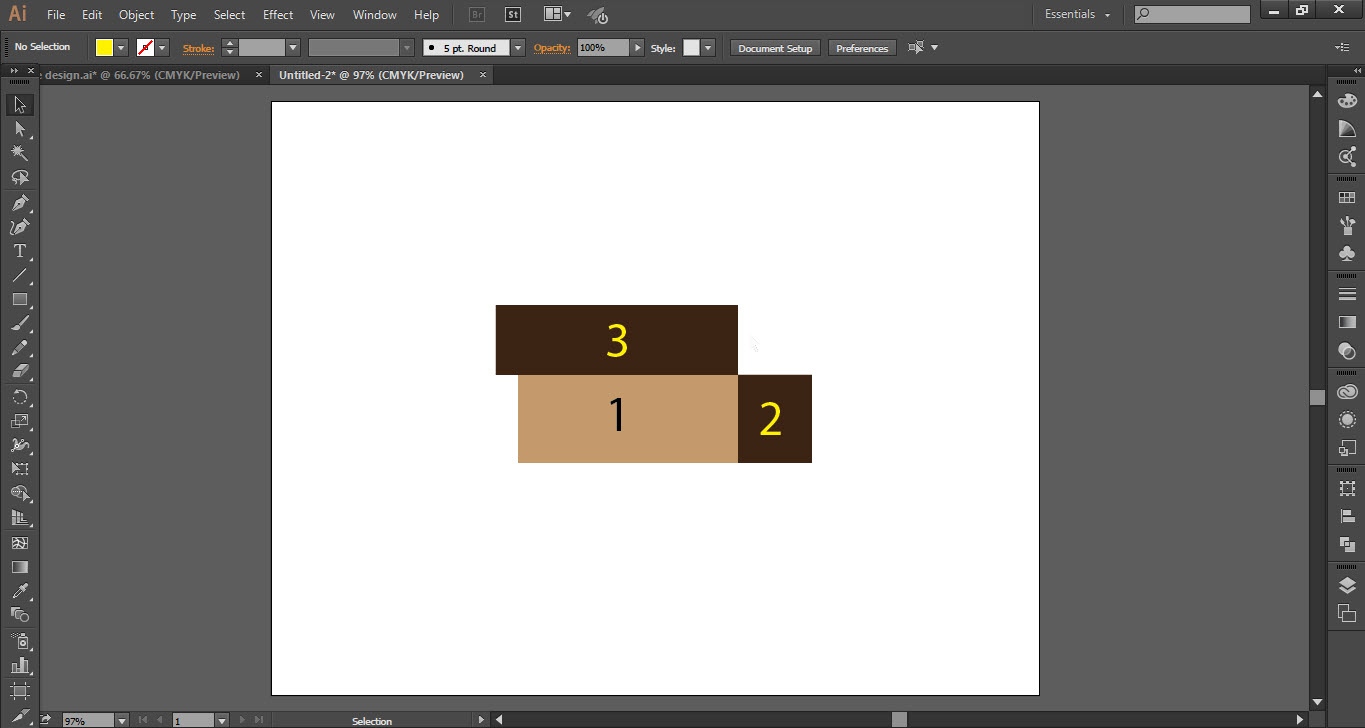
- Do the same draw the rectangles and give them numbers as “3,4,5”.


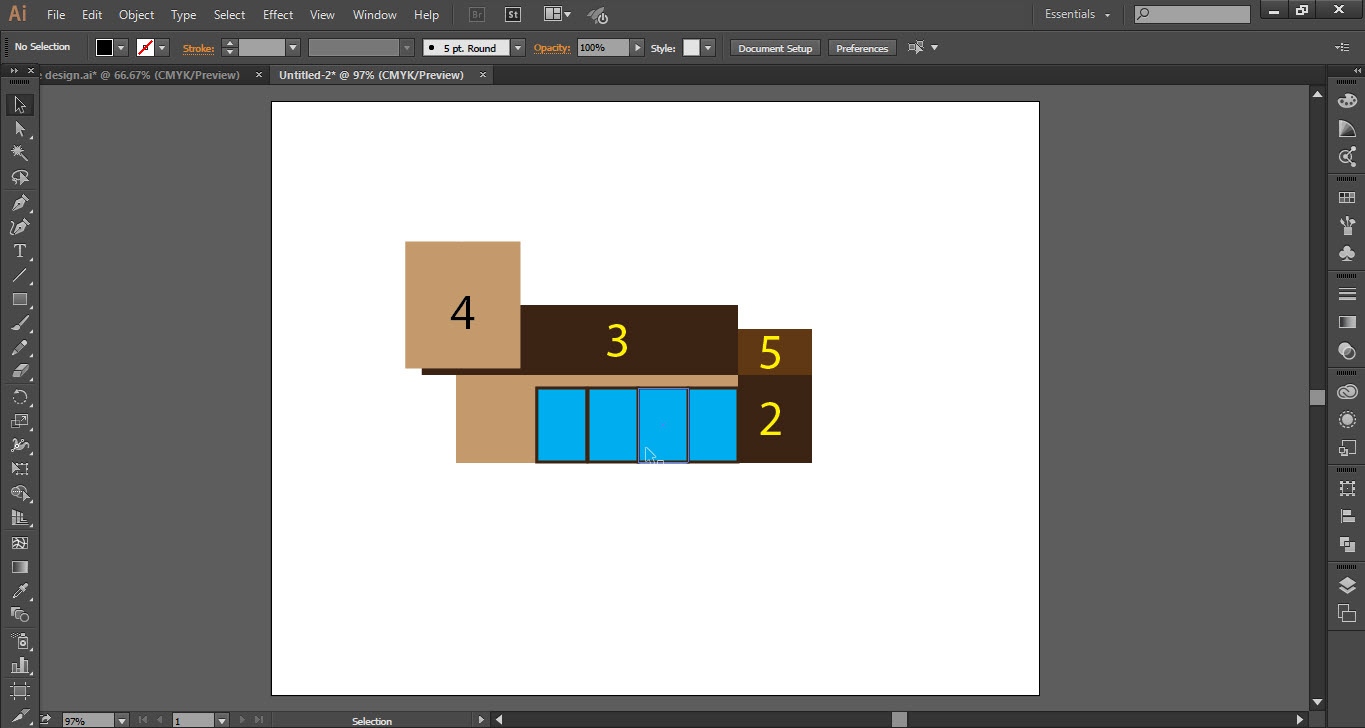
Step 02
- Now we have to create the “Windows”
- So take the “Rectangle Tool” and draw a rectangle as shown and fill it with the “Blue” color.
- Start from the rectangle number “1” (the ground floor) and place the windows according to your requirements.
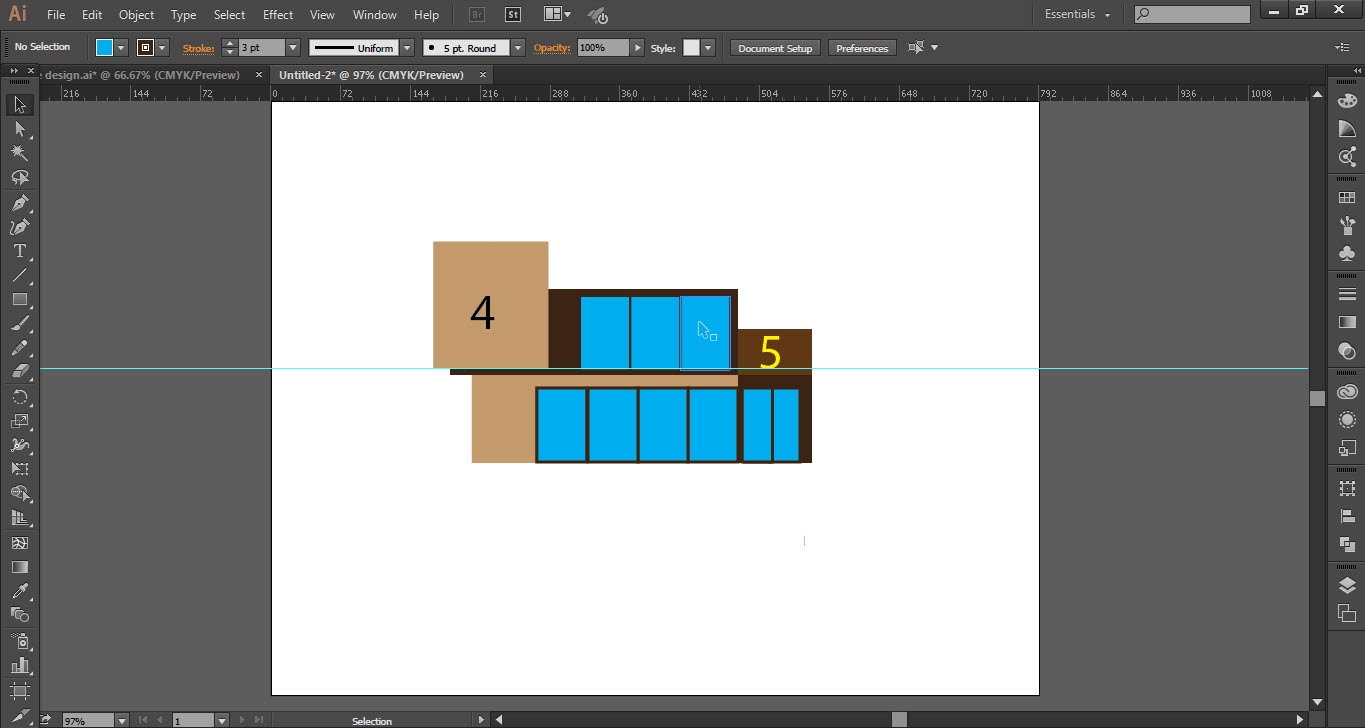
- Now take a “Duplicate” of the windows which we already place on rectangle “1” by hold the “Alt” key and drag the “Curser”.
- Make a little bit think from the normal windows which we place on the rectangle number “1” and place this window on rectangle number “2”.
- Do the same take “Duplicate” of windows and place where you want by holding the “Alt Key” and drag it.
- If u want to make exactly as I did so place the window where I place as shown the screenshot.
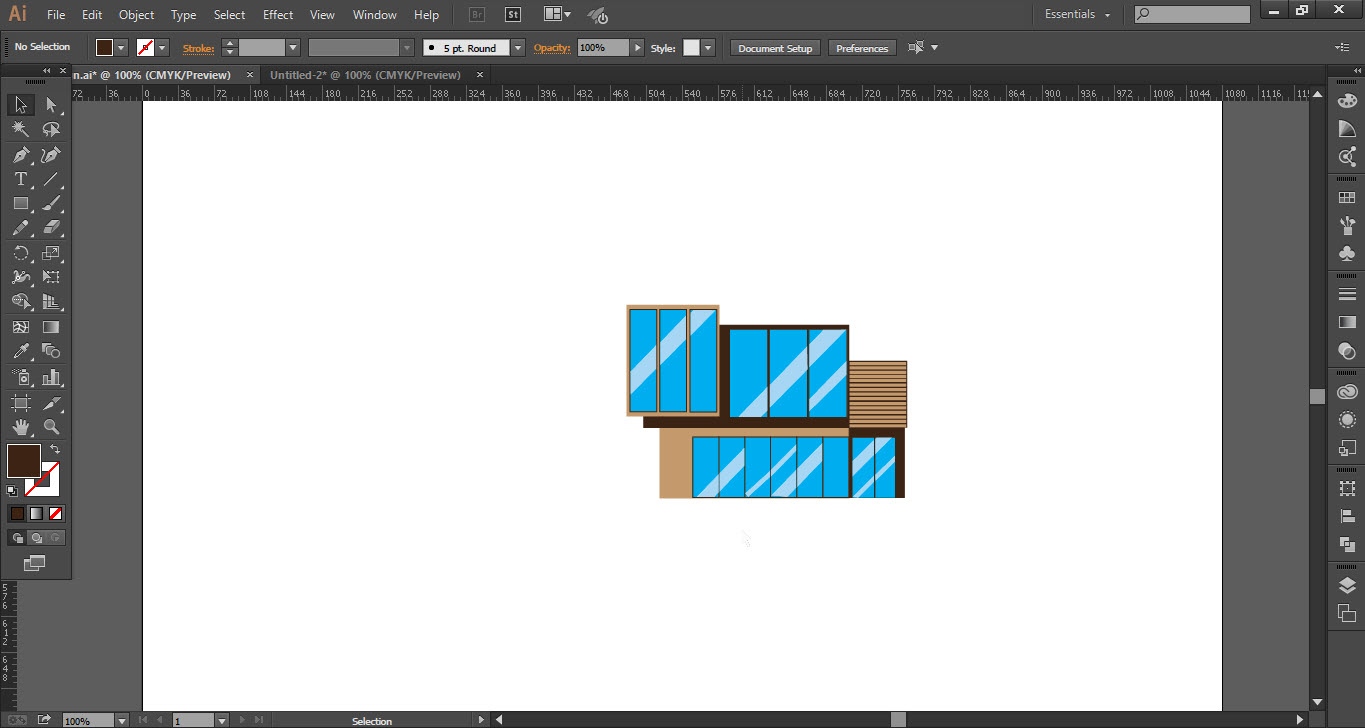
- All the windows are done so the basic structure of the house is ready except rectangle number “5”.


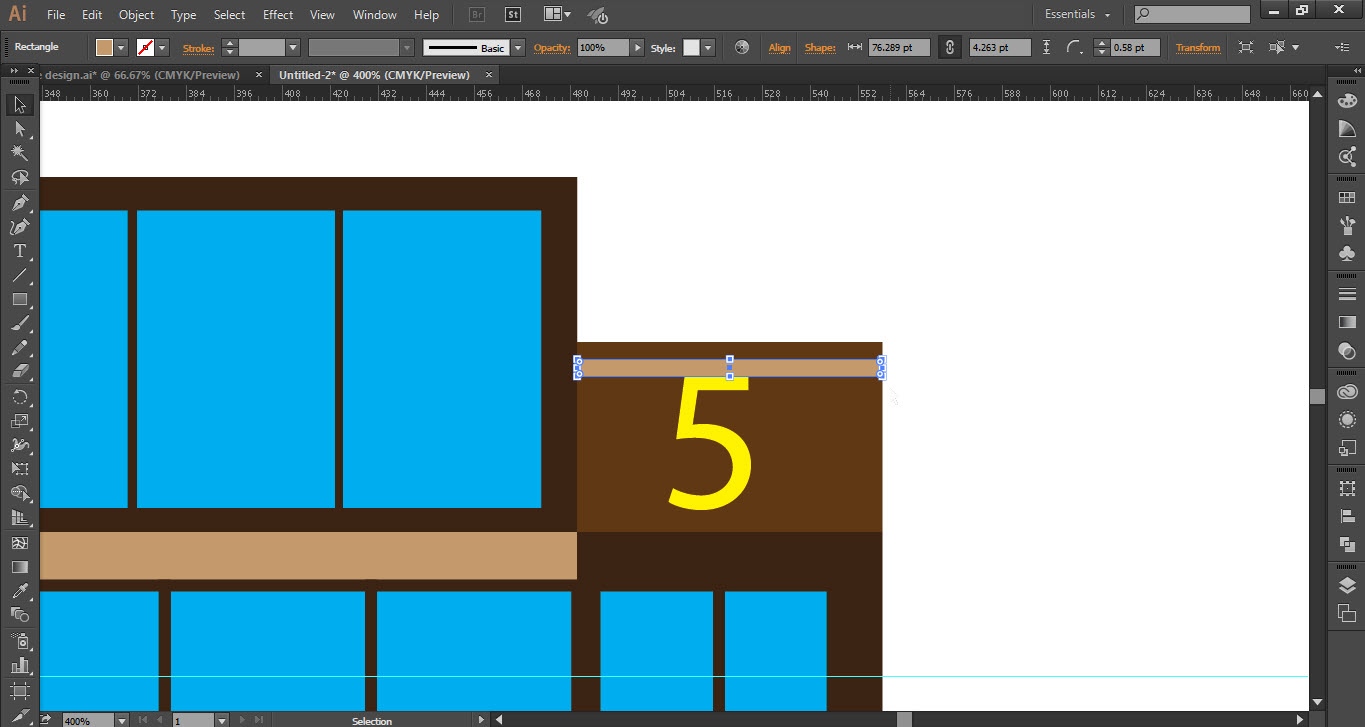
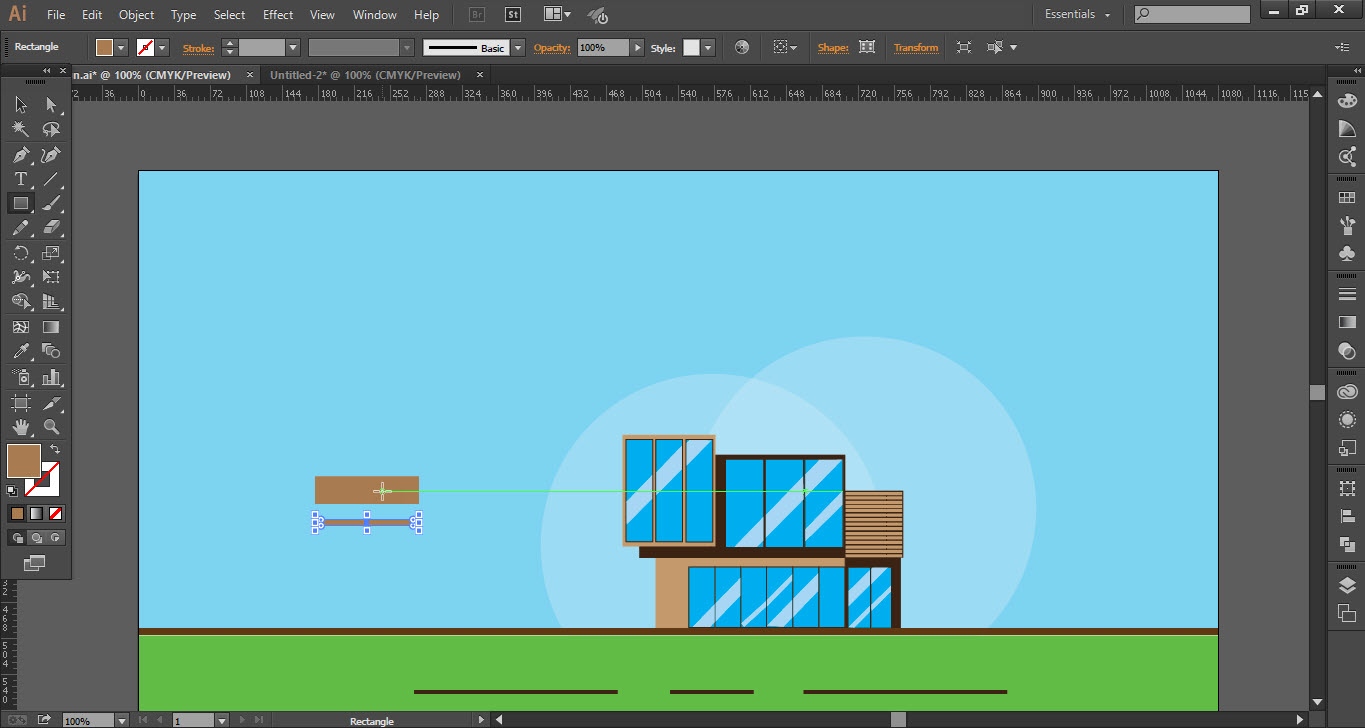
Step 03
- Let’s do it take the “Rectangle Tool” from “Tools Bar” and draw a very think long rectangle.
- Fill it with any color and place on “Rectangle 5”.
- Duplicate the same size of the “Thin” rectangle and place it under the first “Thiny” rectangle.
- Do the same, cover all the “Rectangle 5” as shown in screenshots.
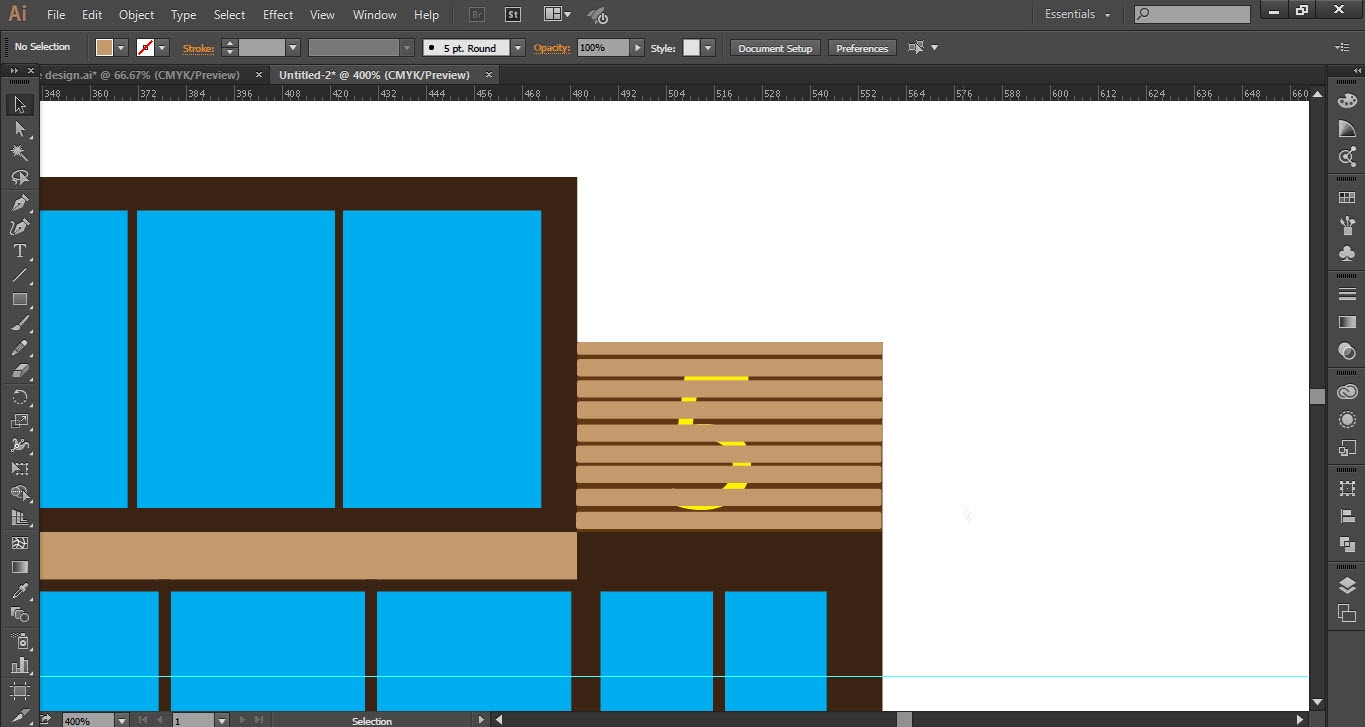
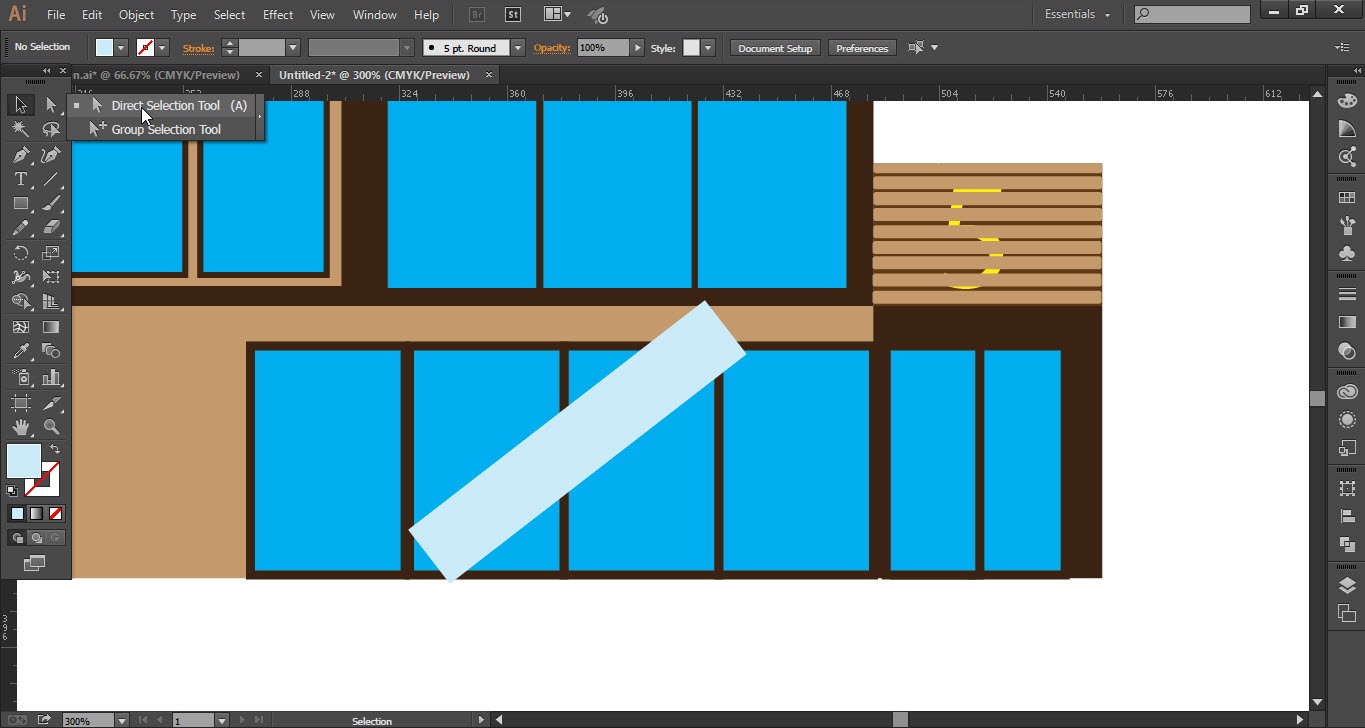
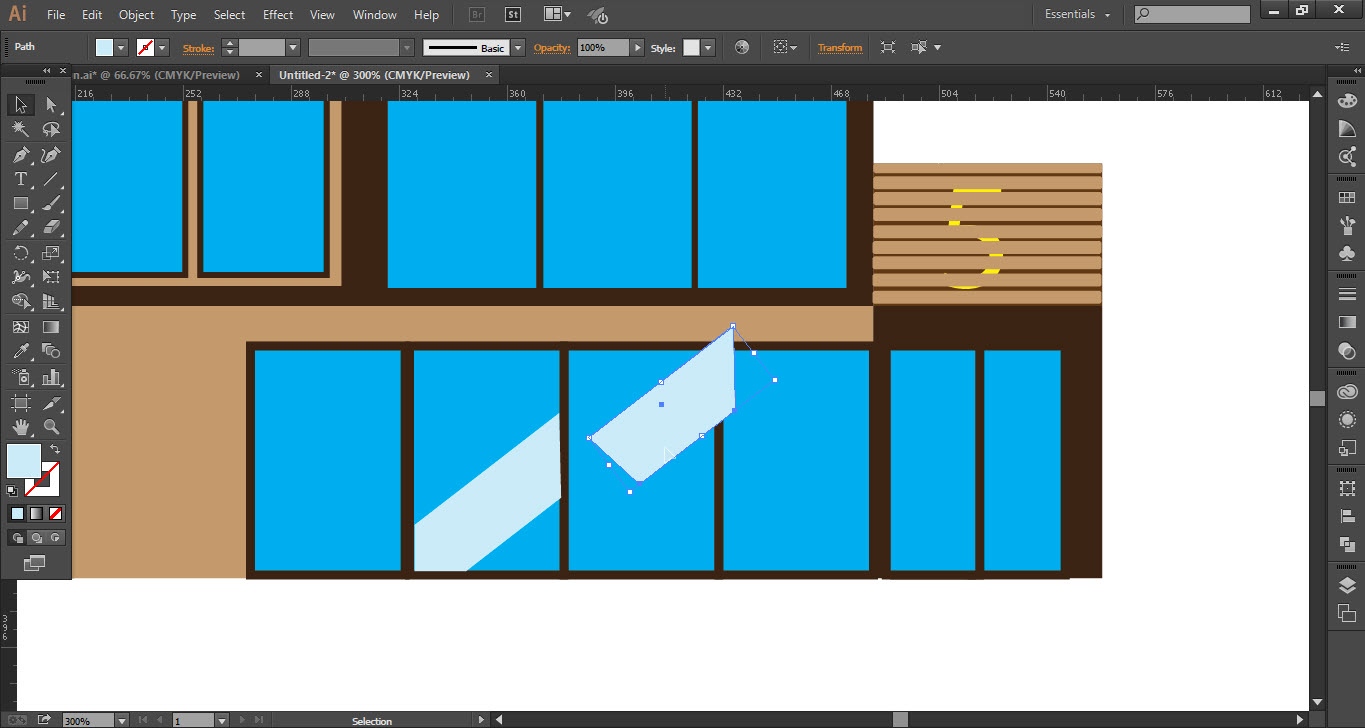
- Now again take the “Rectangle Tool” and draw a long rectangle but “fill” it with the “Light Blue” color.
- Now place it on the window and take the “Direct Selection Tool”.
- select the light blue color rectangle then click on one “edge” of the rectangle and drag it will become flexible.
- Place the light blue color rectangle in the window.
- Apply the same process on each window to give the glassy effect to the window.


Step 04
- Now take the “Line Segment Tool” from the “Tools Bar”.
- Draw a line on the canvas under the house structure.
- Increase the “Stroke” up to 3% or 4%.
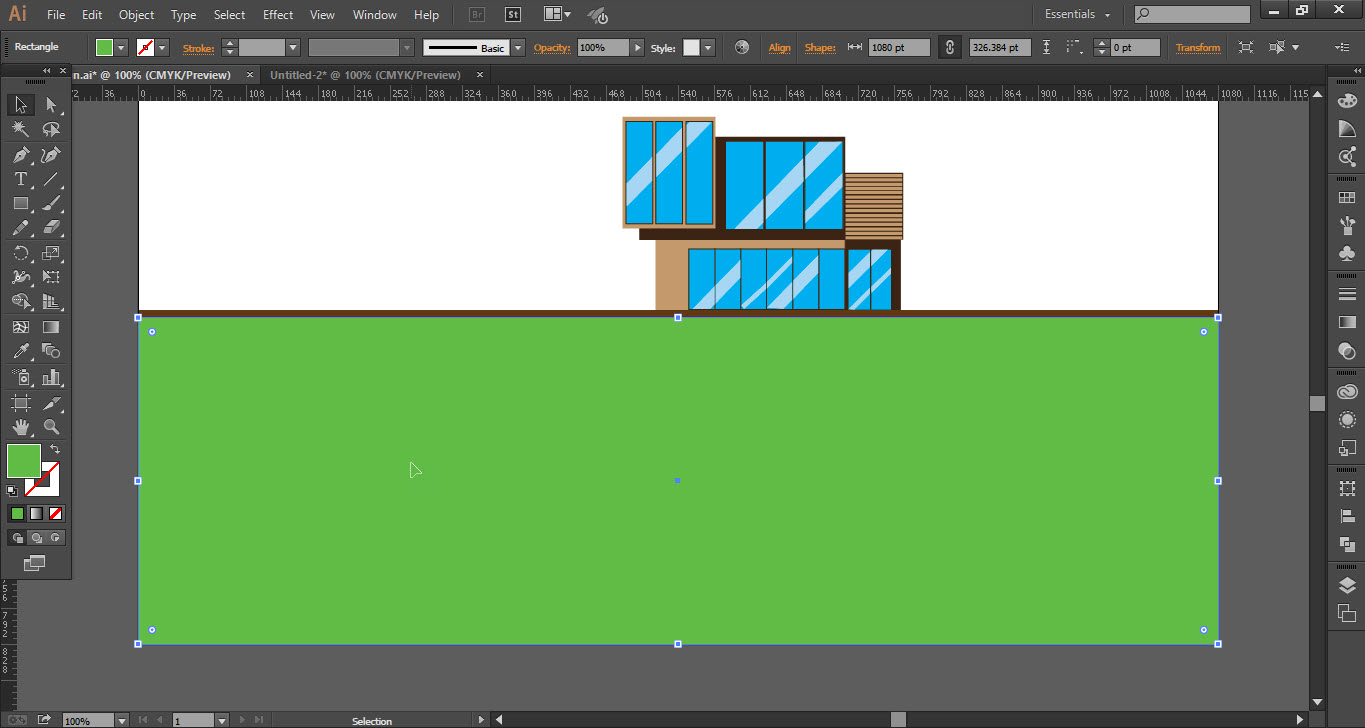
- Again take the “rectangle tool” and draw a rectangle on the whole area under the “Line Segment” as shown and fill it with “green” color.
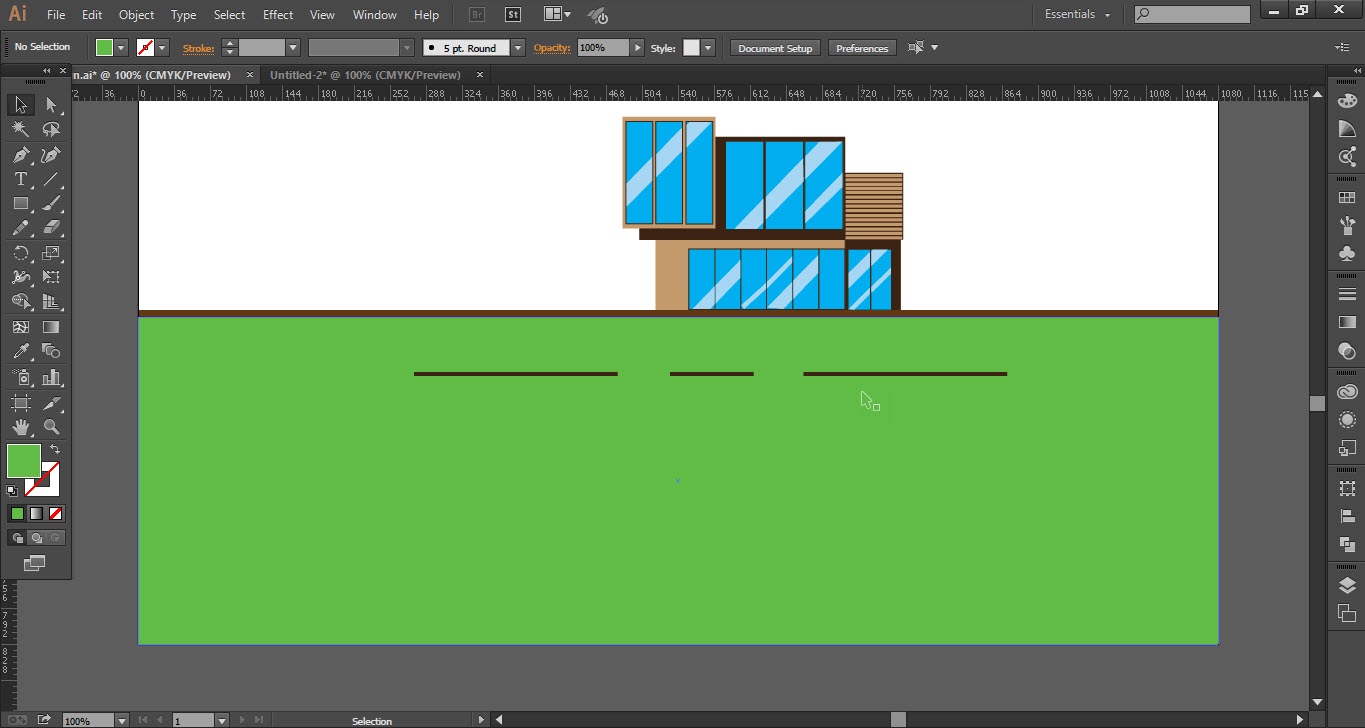
- Again take the “Line Segment Tool” and draw a line on the green area(take a look at the screenshots).


Step 05
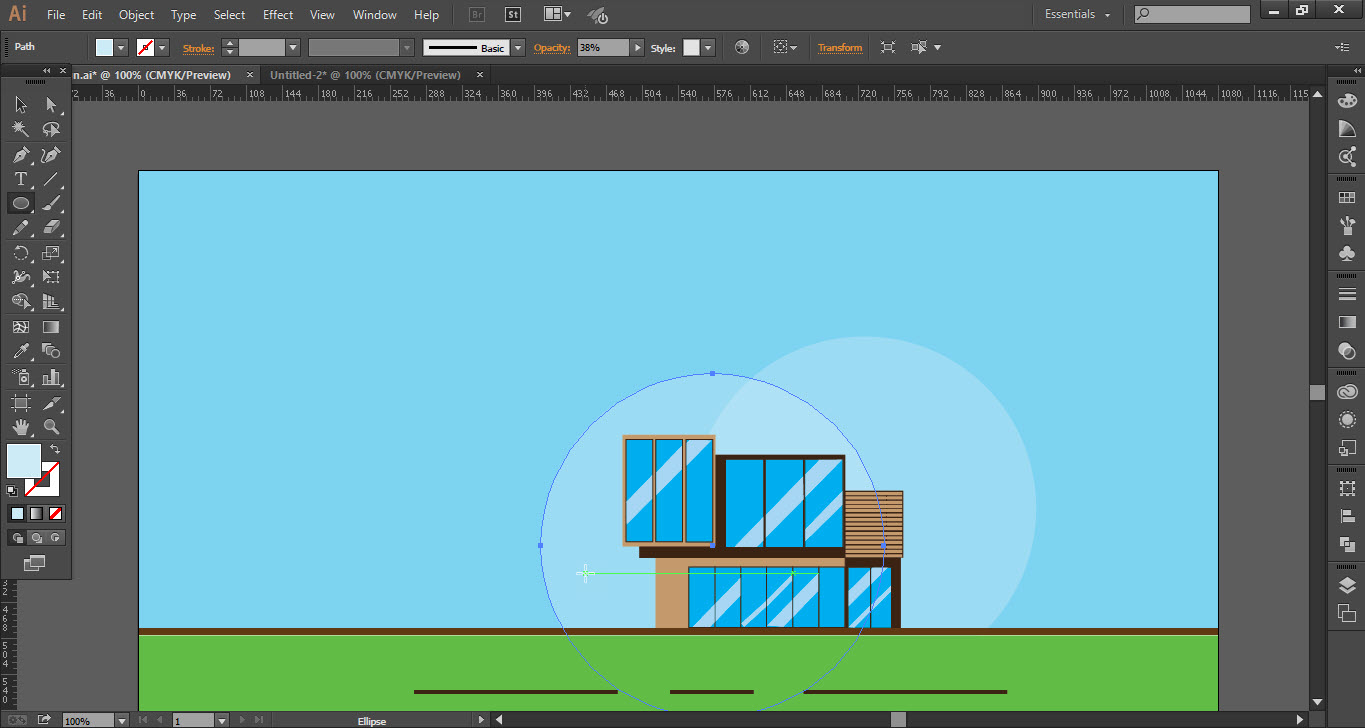
- Now we have to create the “Sky” so take “Rectangle Tool” and draw a rectangle on the upper side of the canvas.
- Fill it with “sky Blue” color, if the sky is cover the house structure so “Right” click on the sky go to the “Arrange” option and click on “Send To Back” option.
- Now take the “Ellipse Tool” and draw a “Circle” fill it with white or any light color and place it beyond the house.
- Duplicate the same circle and place it again beyond the house.


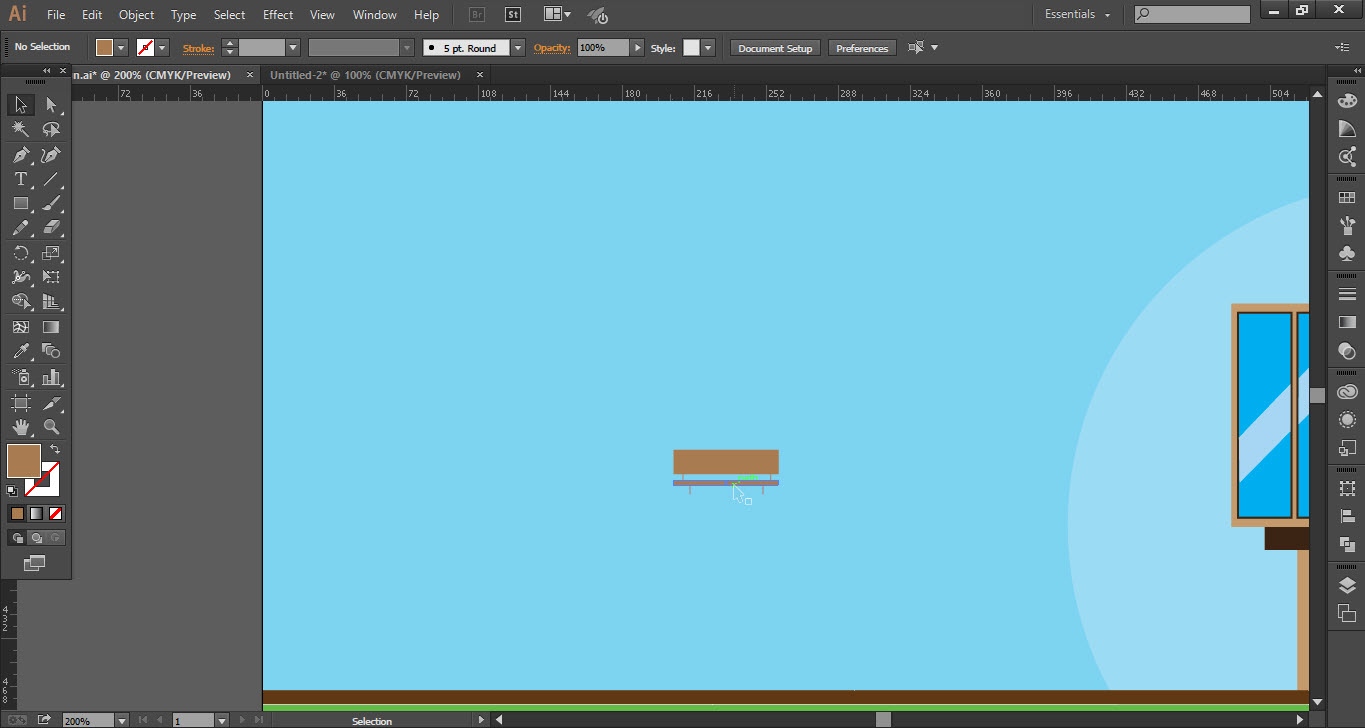
Step 06
- Take the “Rectangle Tool” and draw a small rectangle.
- Again draw another thin rectangle of the same size under the same rectangle.
- Give them a bench type shape.
- Now we have to create the clouds so take the “Ellipse Tool” draw a circle as shown in screenshots.
- Select all the circles and take the “Shape Builder Tool”.
- Combine all the circles and place them in the sky area.
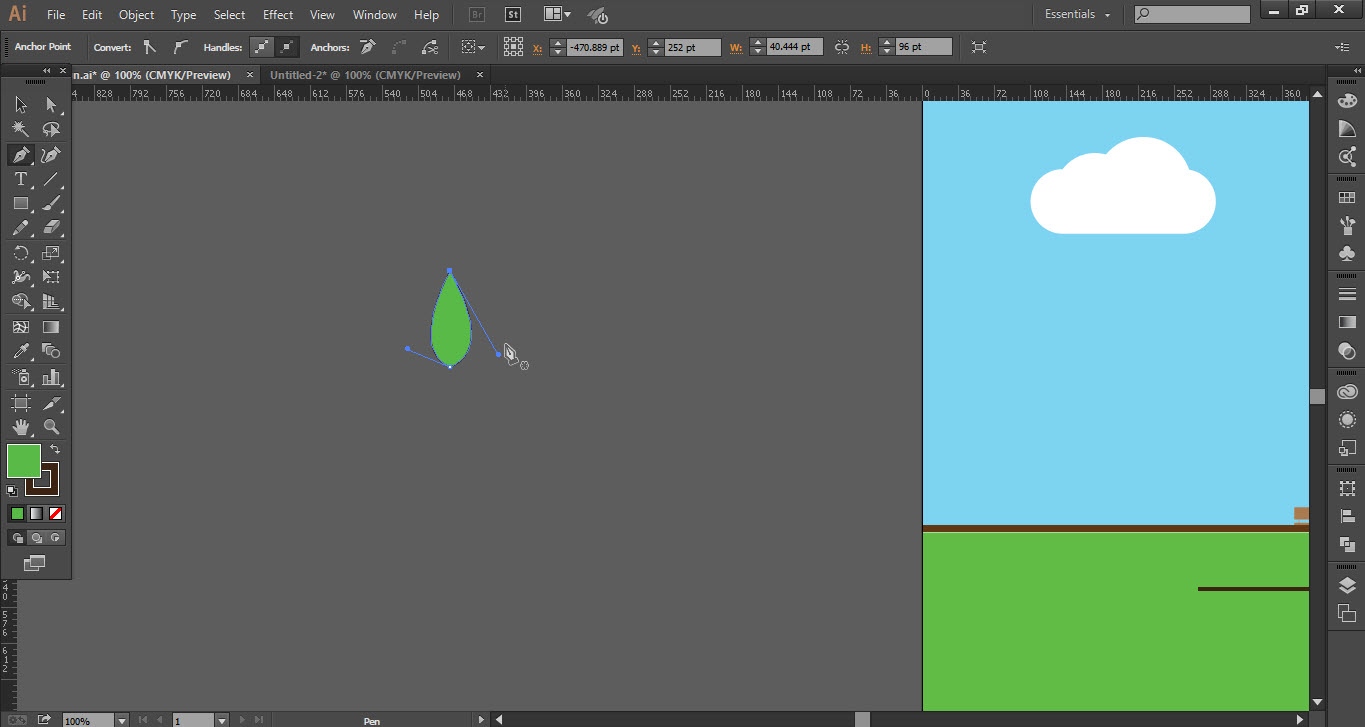
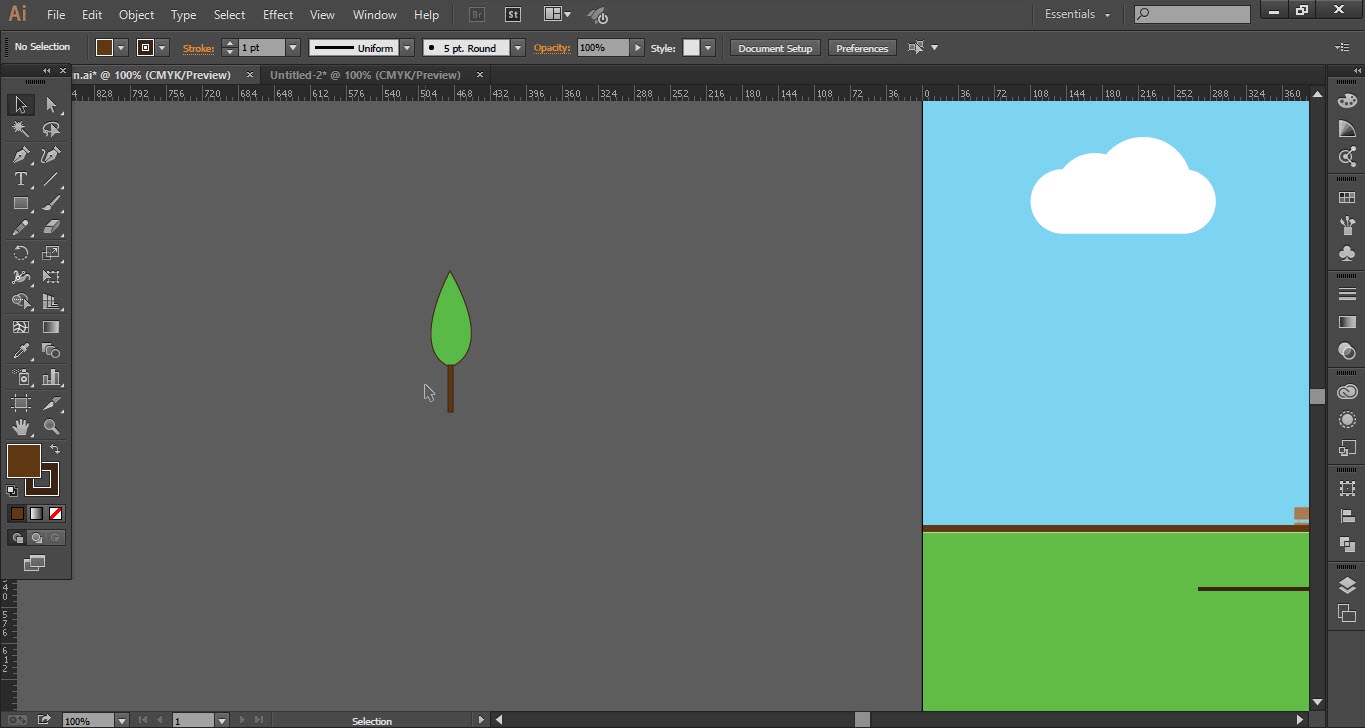
- Now take the “Pen Tool” and draw a tree if you don’t know the use of the pen tool then we have another option.
- Take the “Ellipse Tool” draw a circle, then take the Rectangle tool and draw the “Verticale” rectangle.
- Fill the circle with green and rectangle with brown color.
- Combine the rectangle and circle our tree is ready to place anywhere you want.
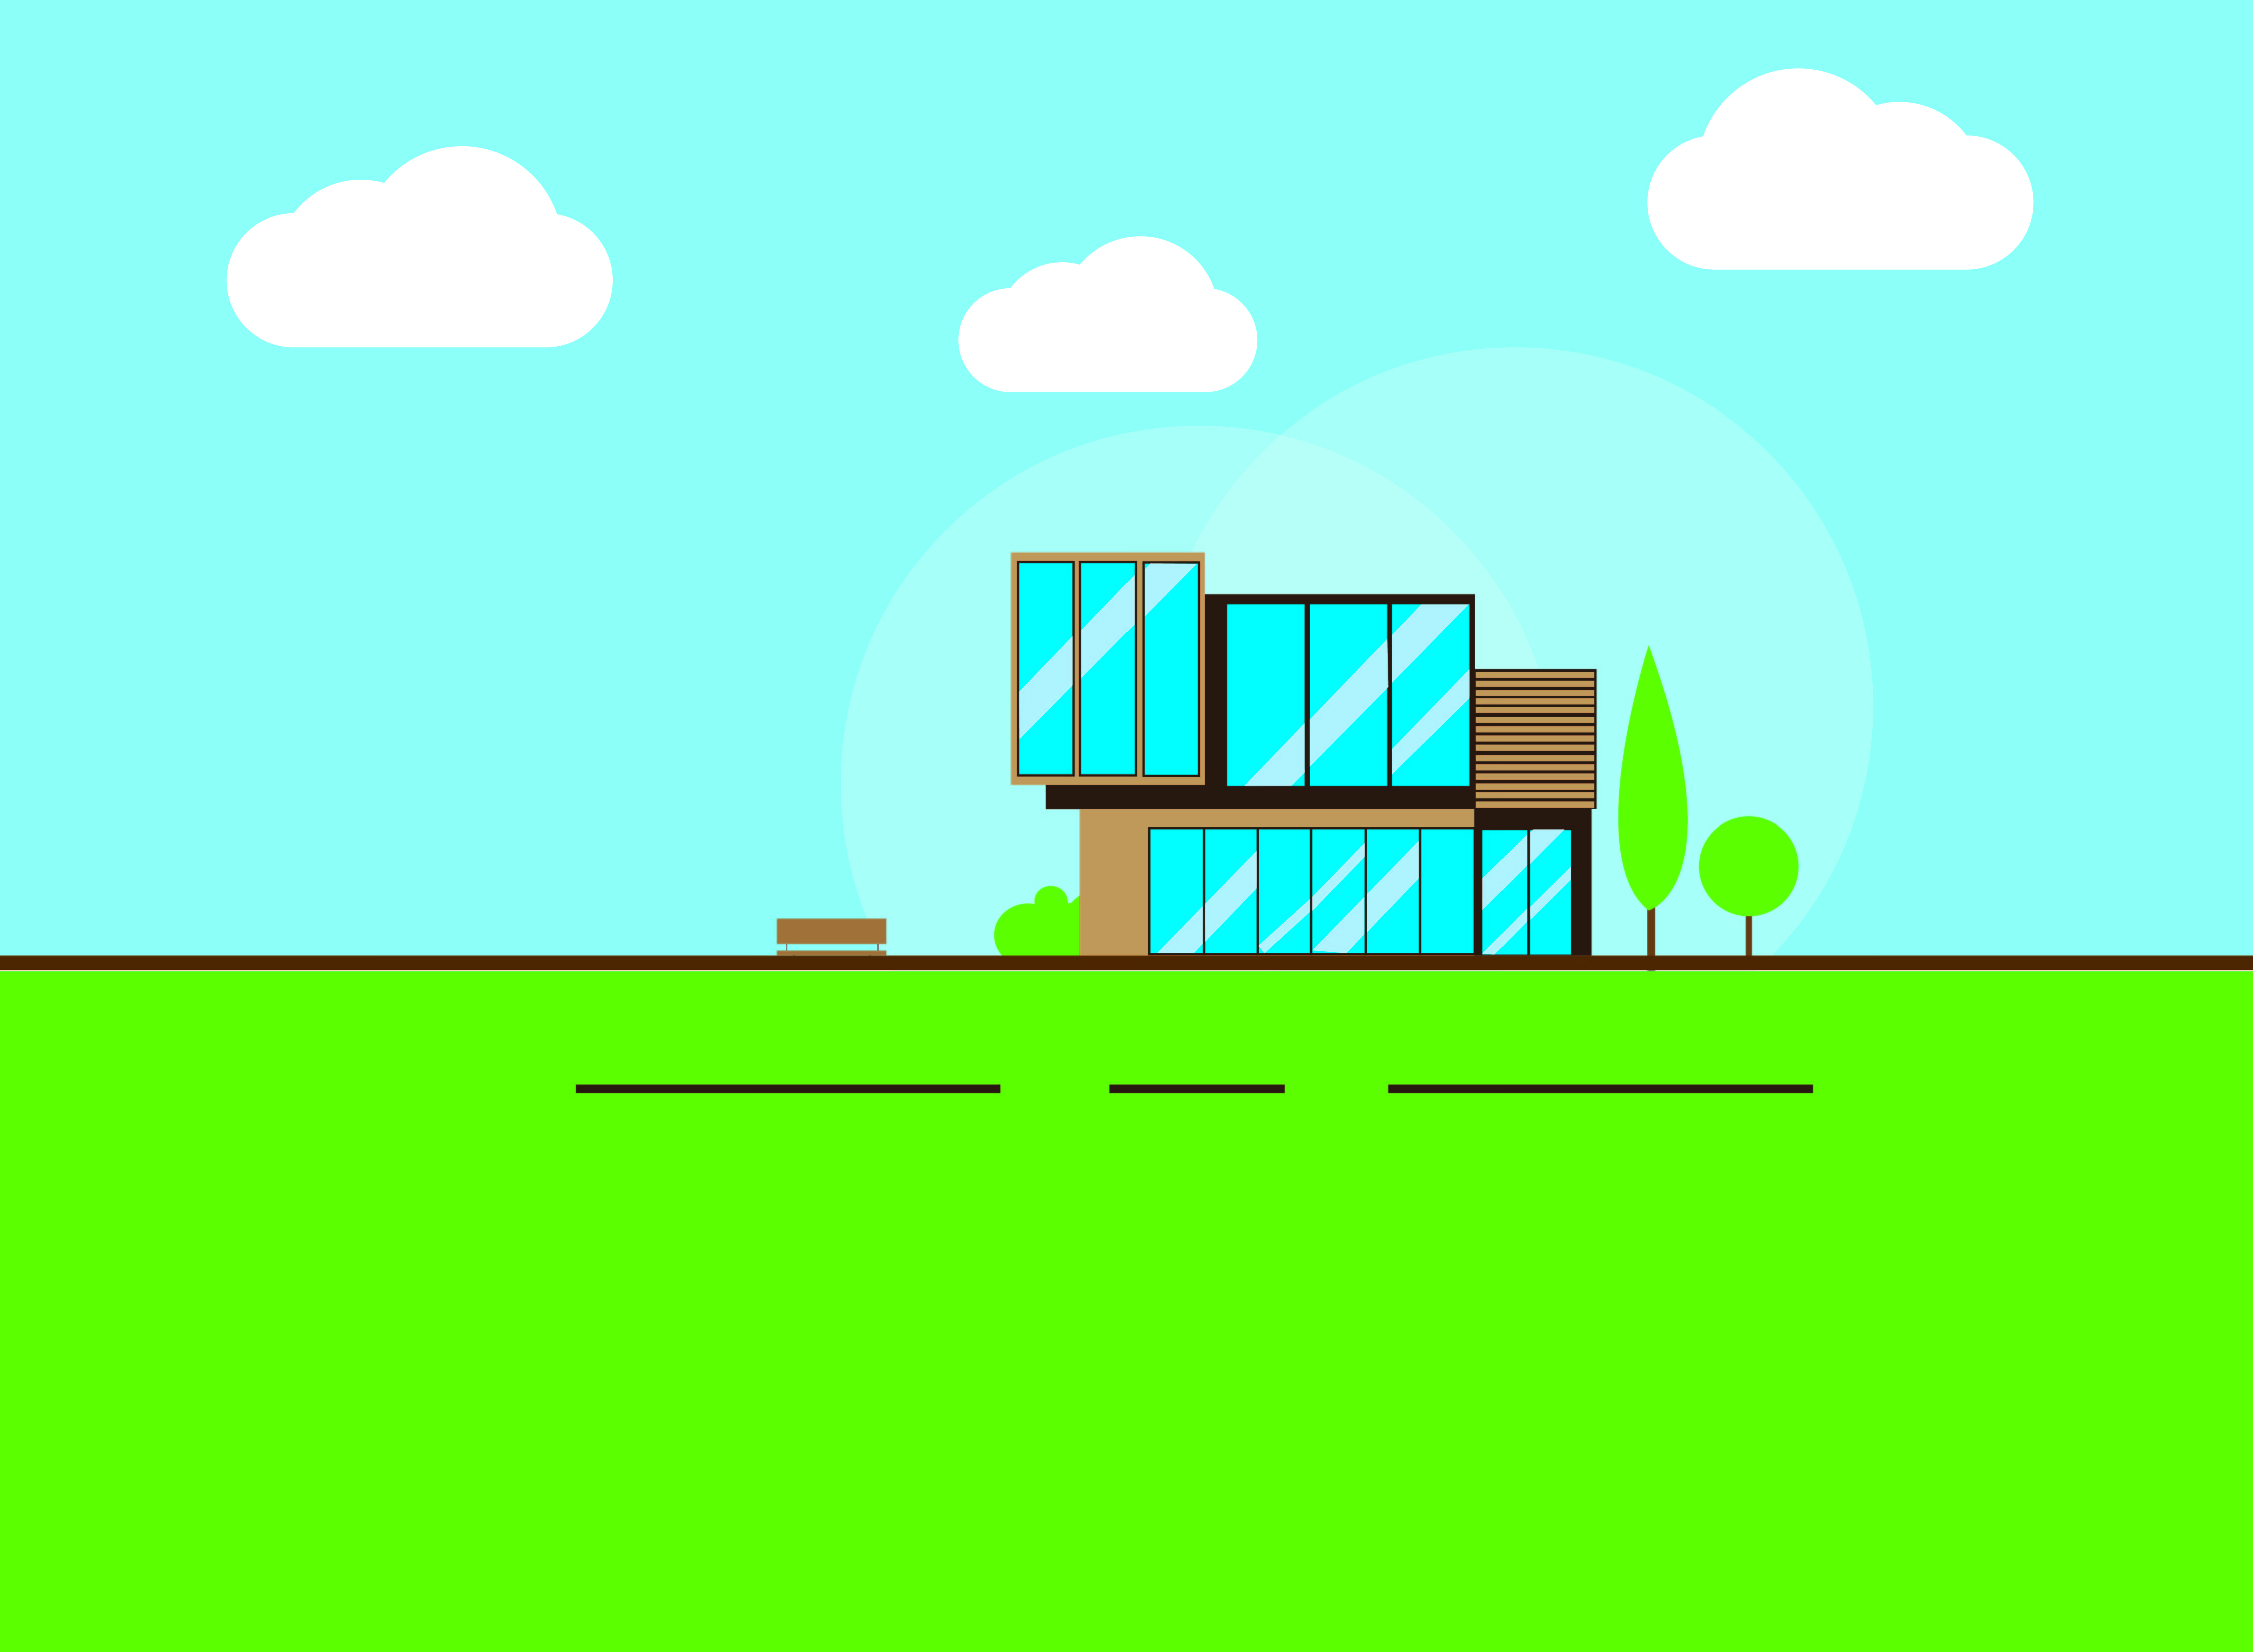
- Finally, your dream home is ready, take help from the screenshot it’s very easy.


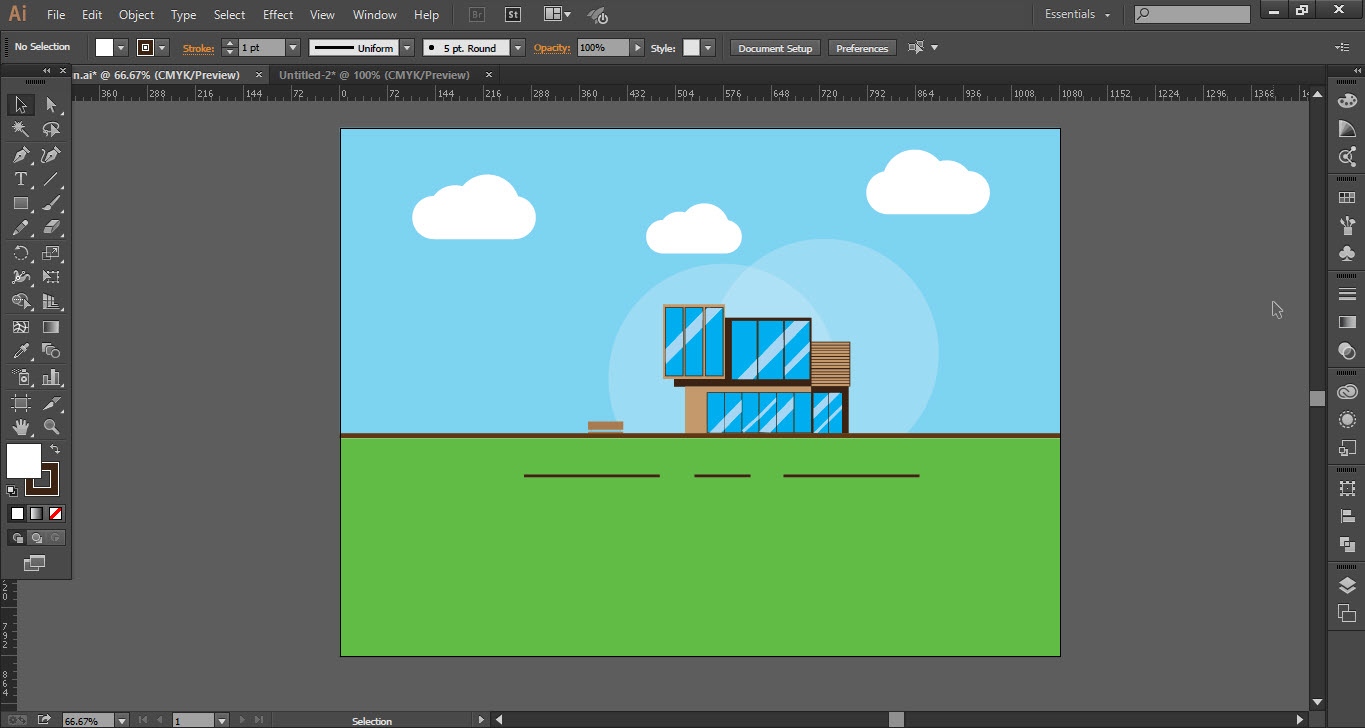

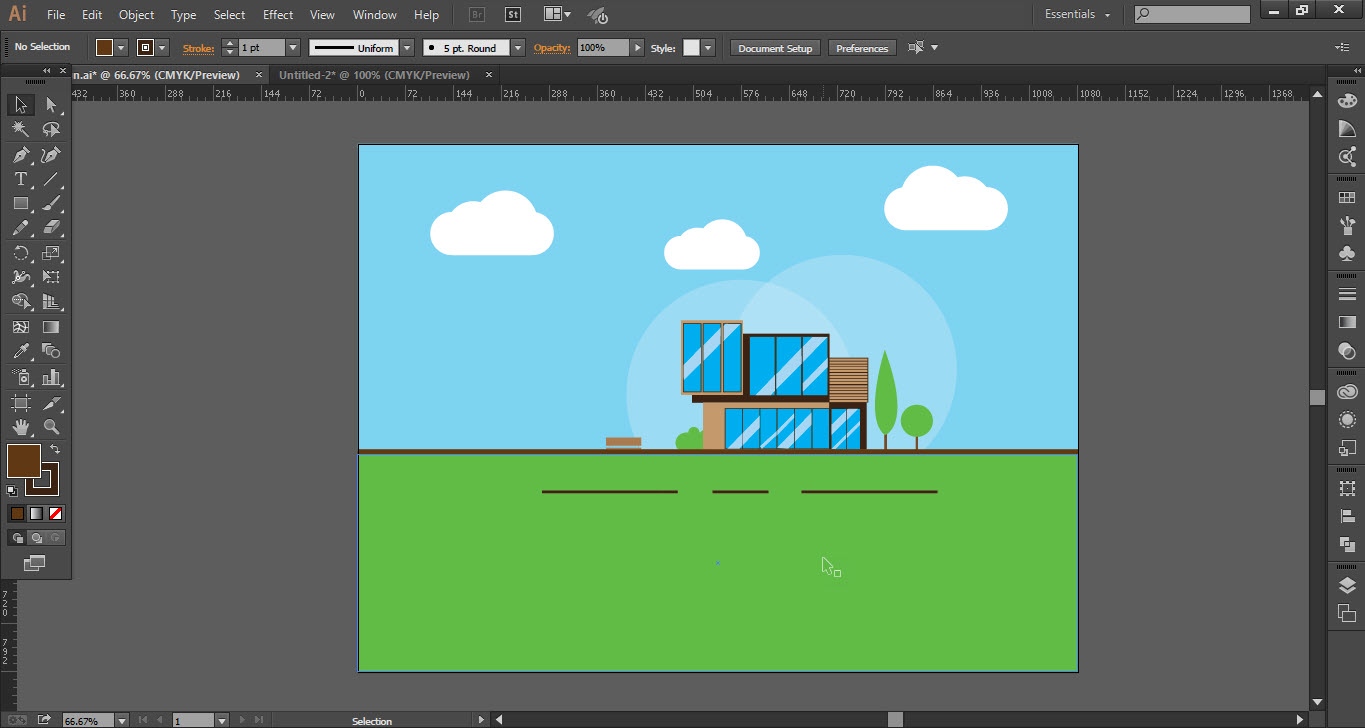
This is how the final result looks like