Hello, guys today we are going to show you “How to Create a Text Glitch Effect in Photoshop”. In this tutorial, you will learn how to apply the glitch effect to your text. Don’t worry if you are new this is a step by step tutorial also have a screenshot of each step so you can know about each step that how did it do.
Text effects are a great way to practice and check your Photoshop skills. In this tutorial, learn how to design a text glitch effect using Marquee Tools, the Gaussian Blur, and more!
Resources
Fonts used:
- Calibri Bold
Step 01
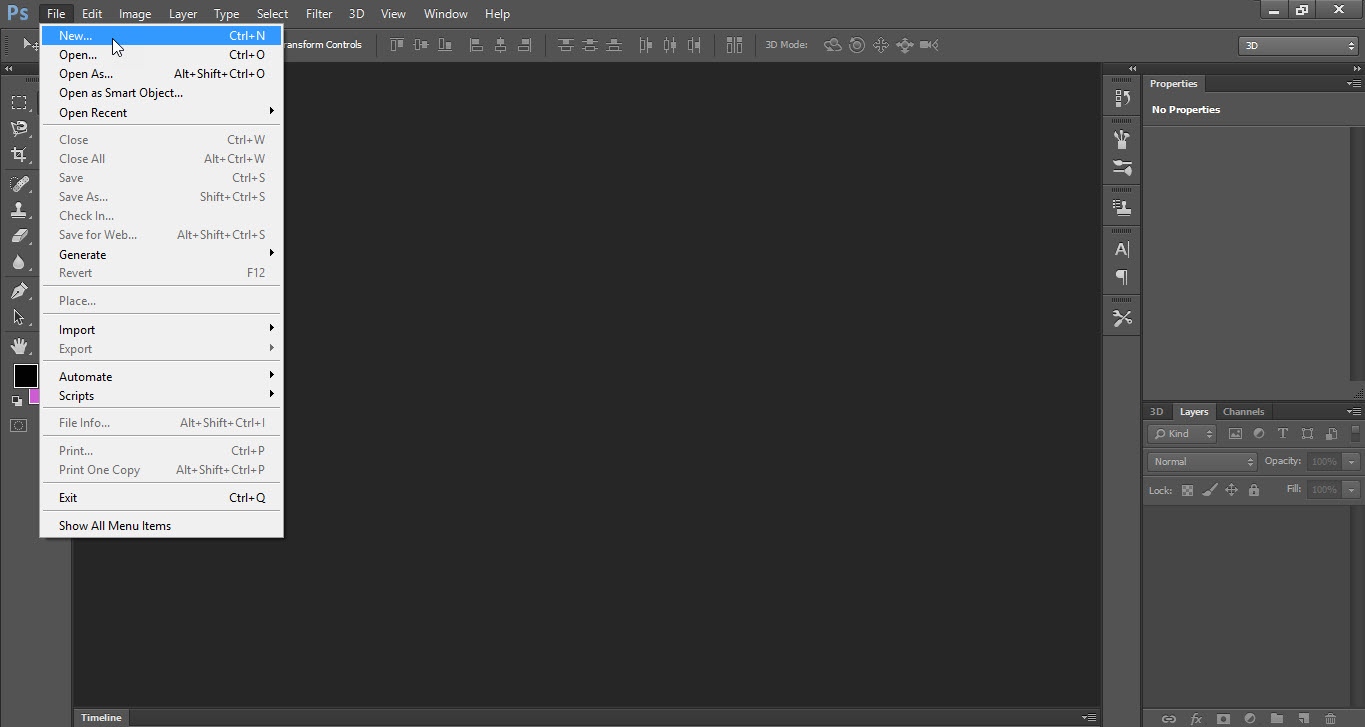
- Open the Photoshop software.
- Go to the “File” menu and click on the “New” option.
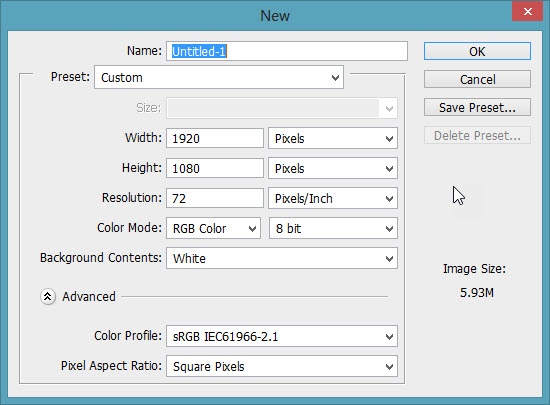
- Select the size according to your requirement.
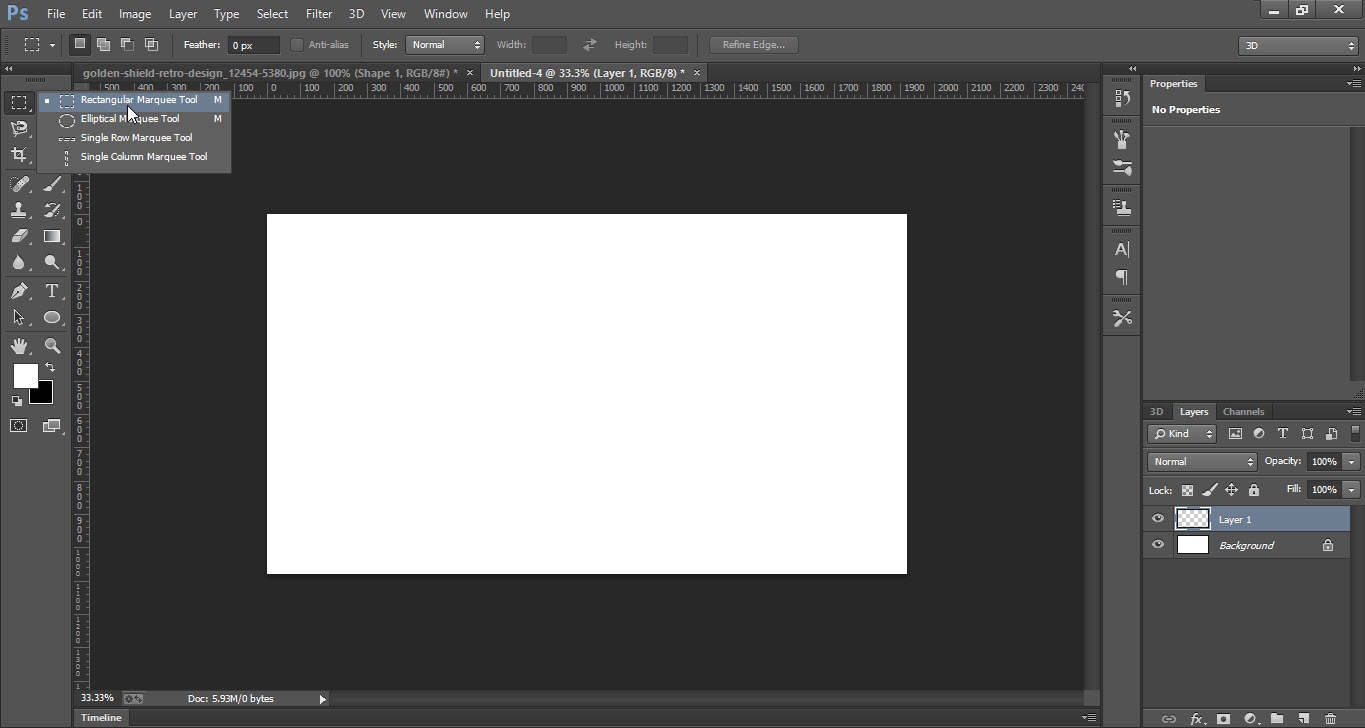
- Now go to “Tool Bar” and select “Rectangular Marquee Tool”.
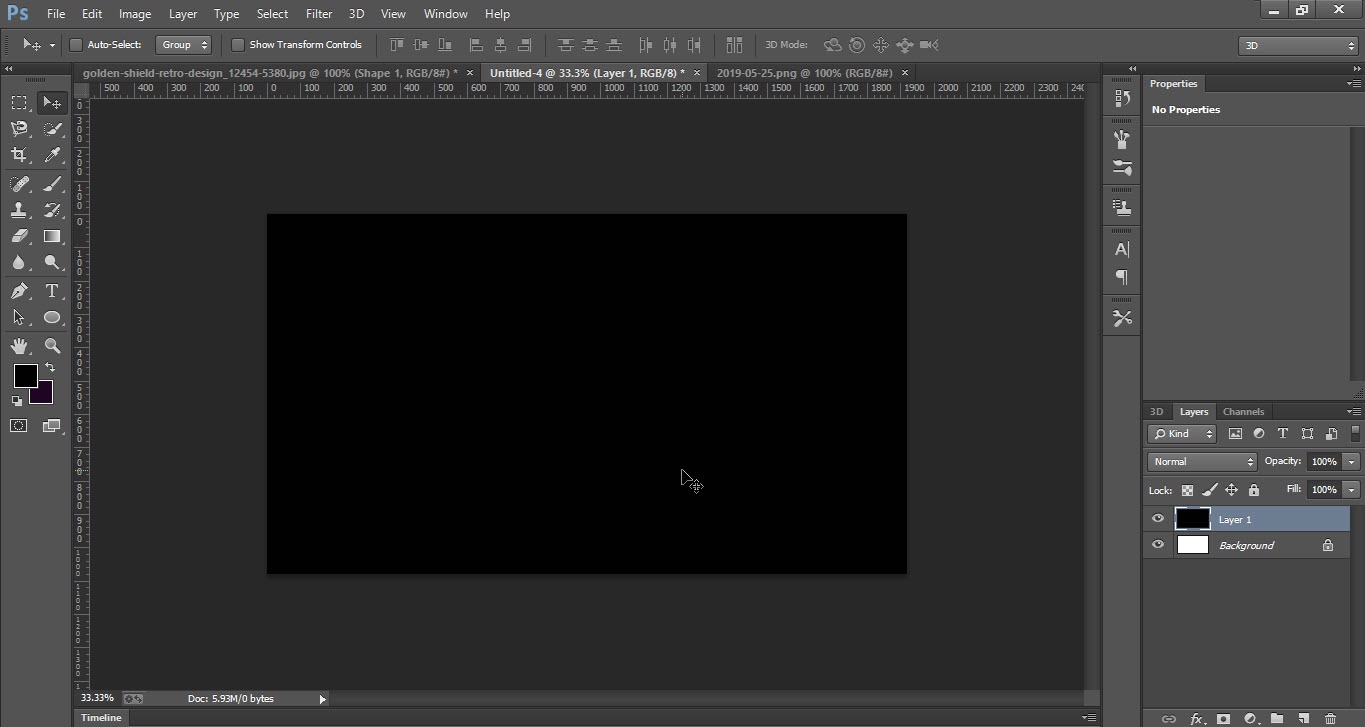
- Select “Black” color.
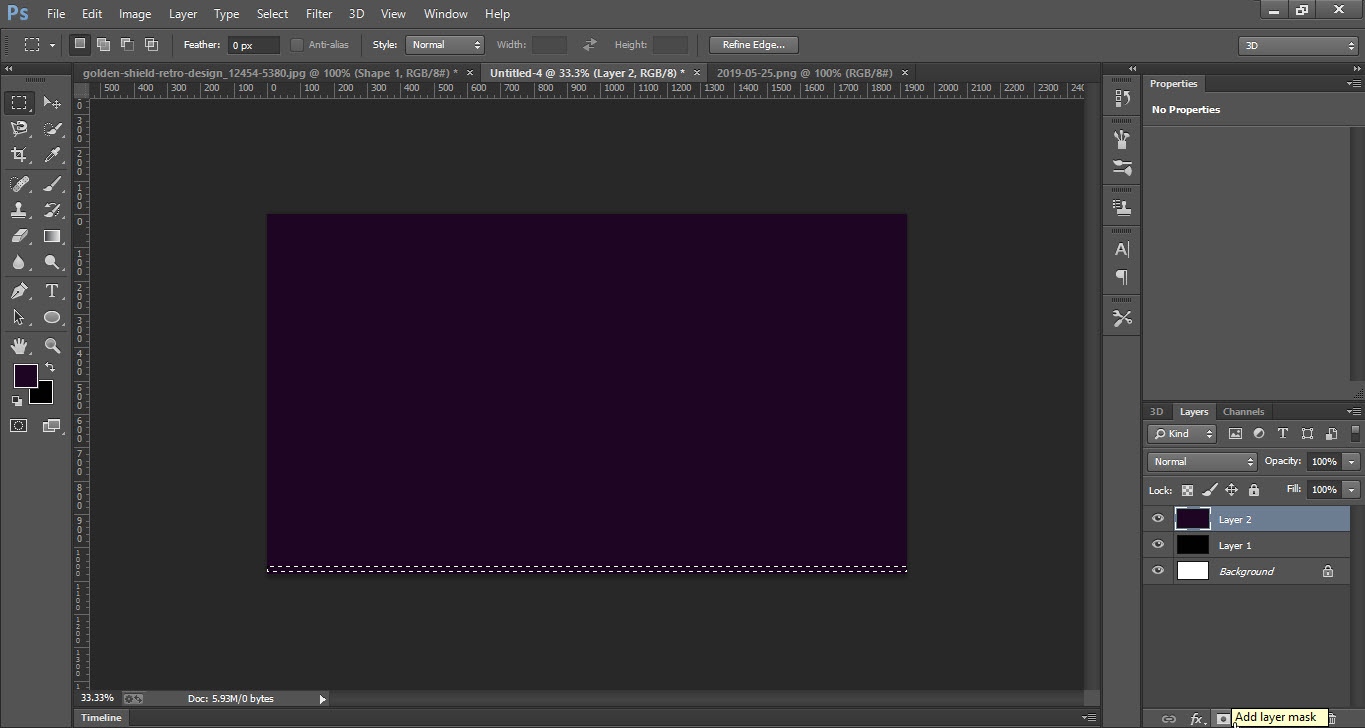
- Make a rectangle around the canvas and press “Alt+Backspace” keys to fill the background with black color.
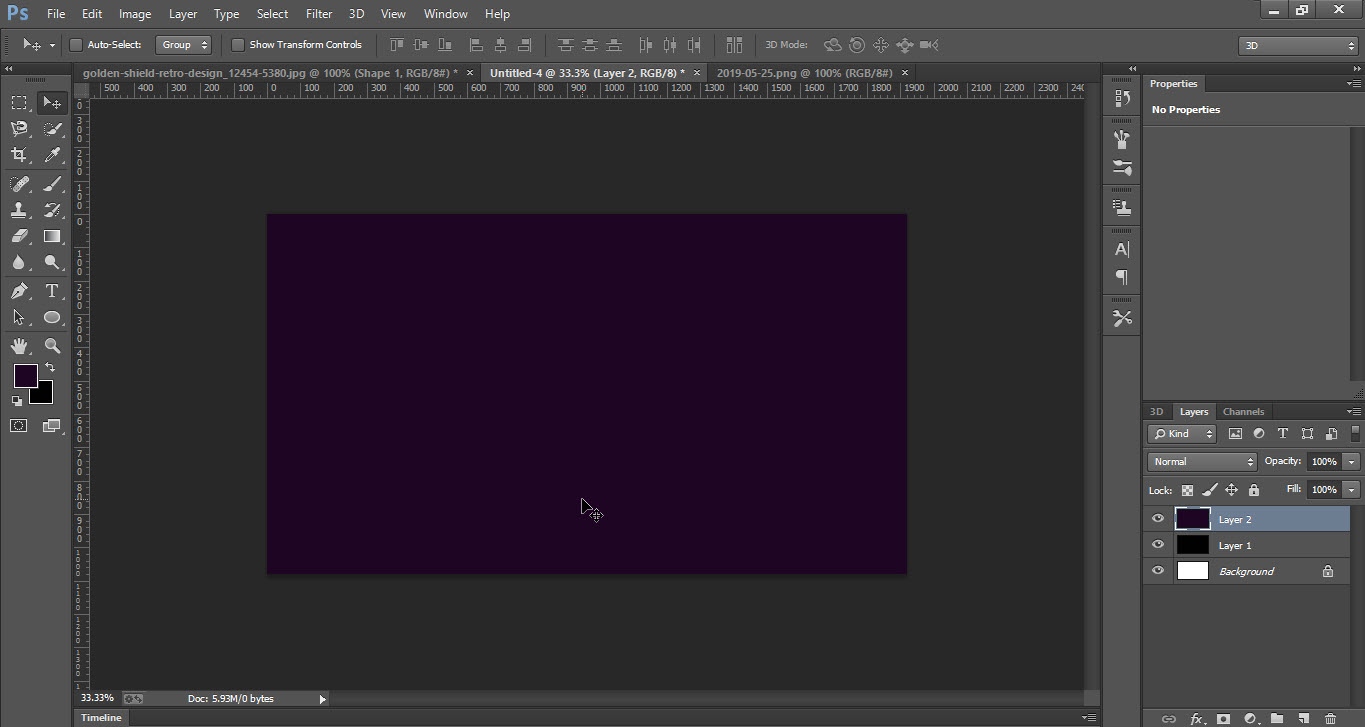
- Open new “Layer” and again fill it with any color.

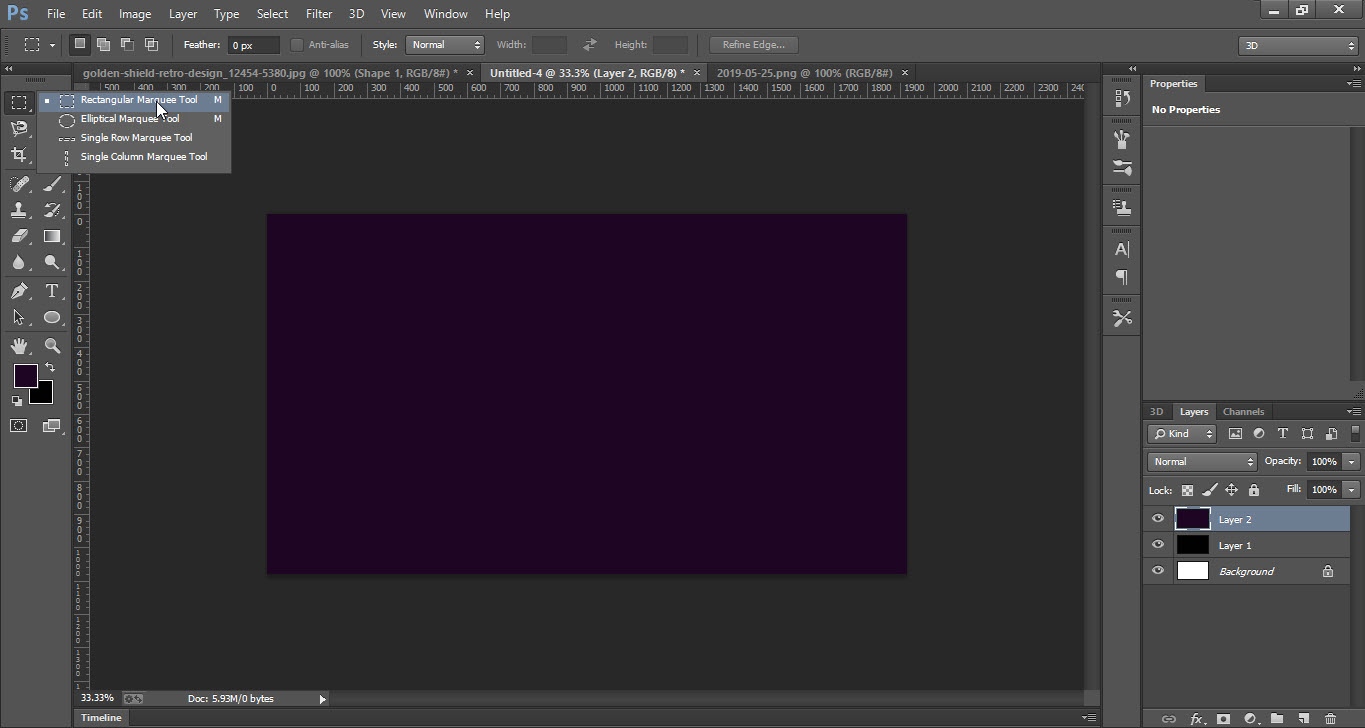
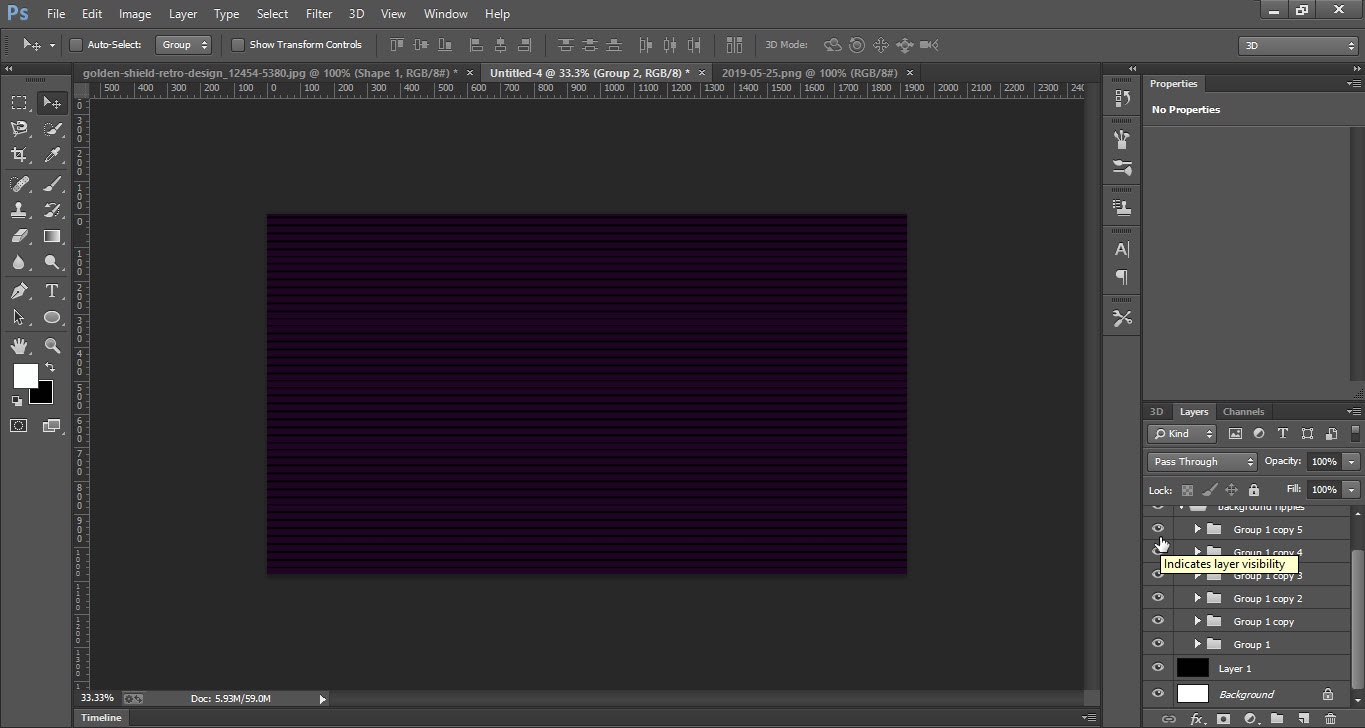
Step 02
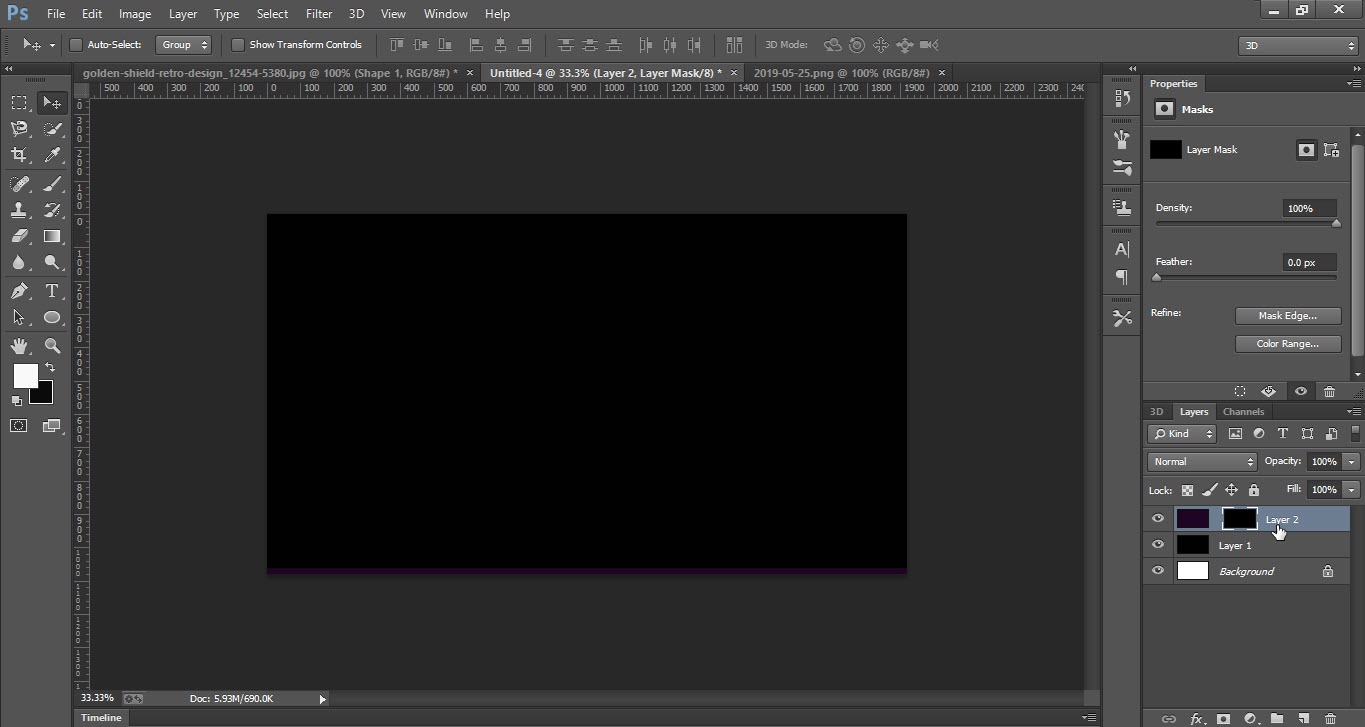
- Select “Rectangular Marquee Tool” from the “Tool Bar”.
- Make a thin rectangular selection (as shown in screenshot 2.2).
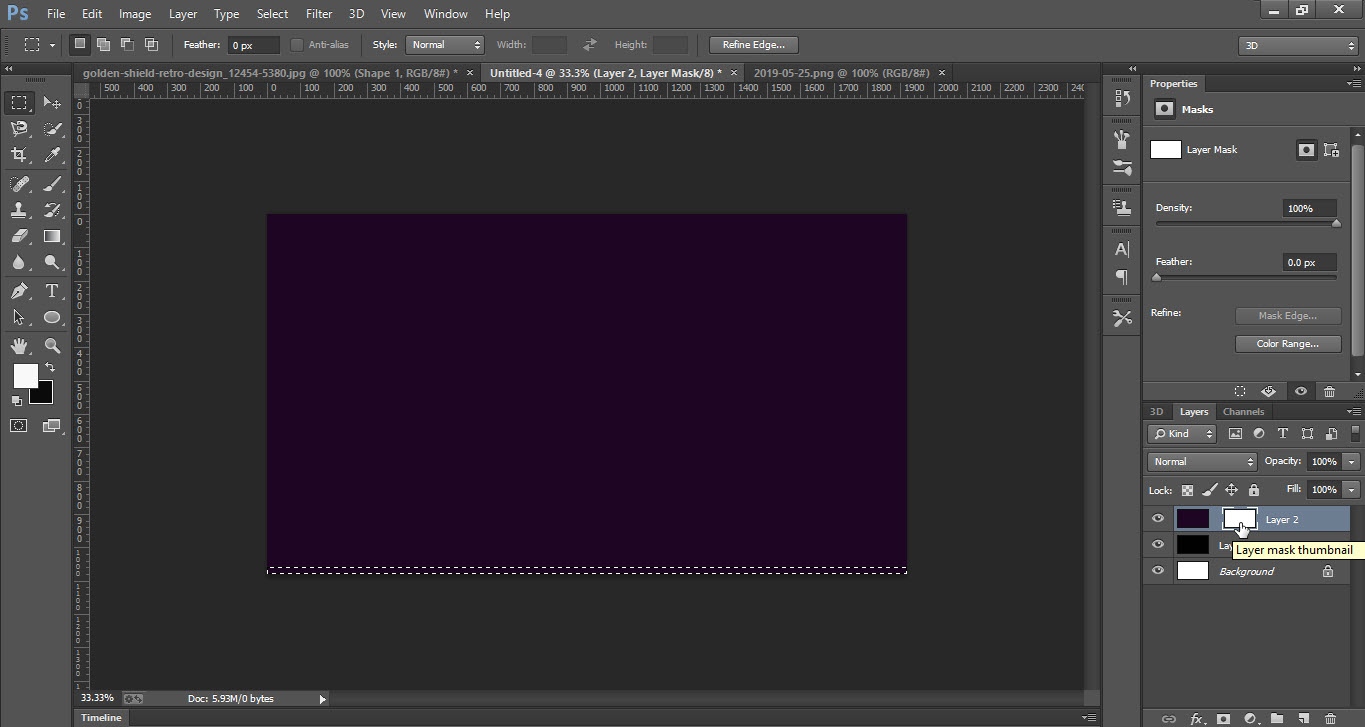
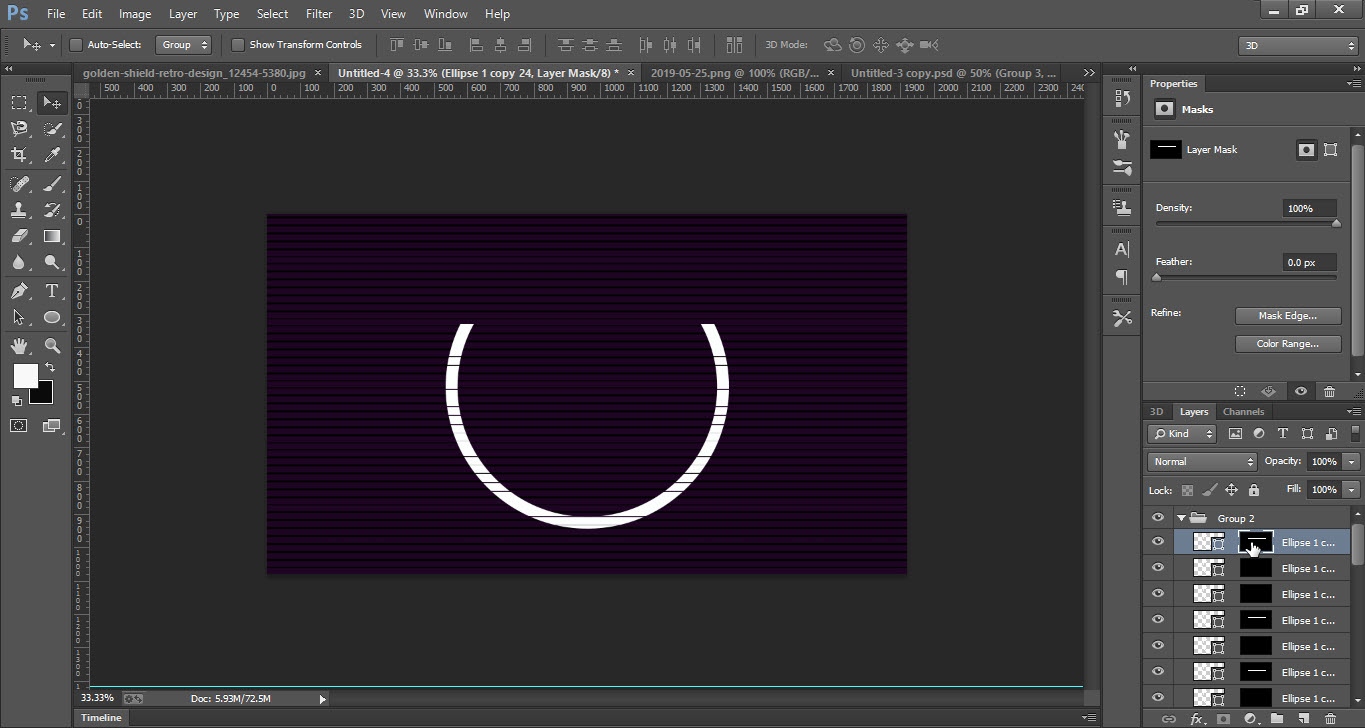
- Now add “Layer Mask” to the same layer.
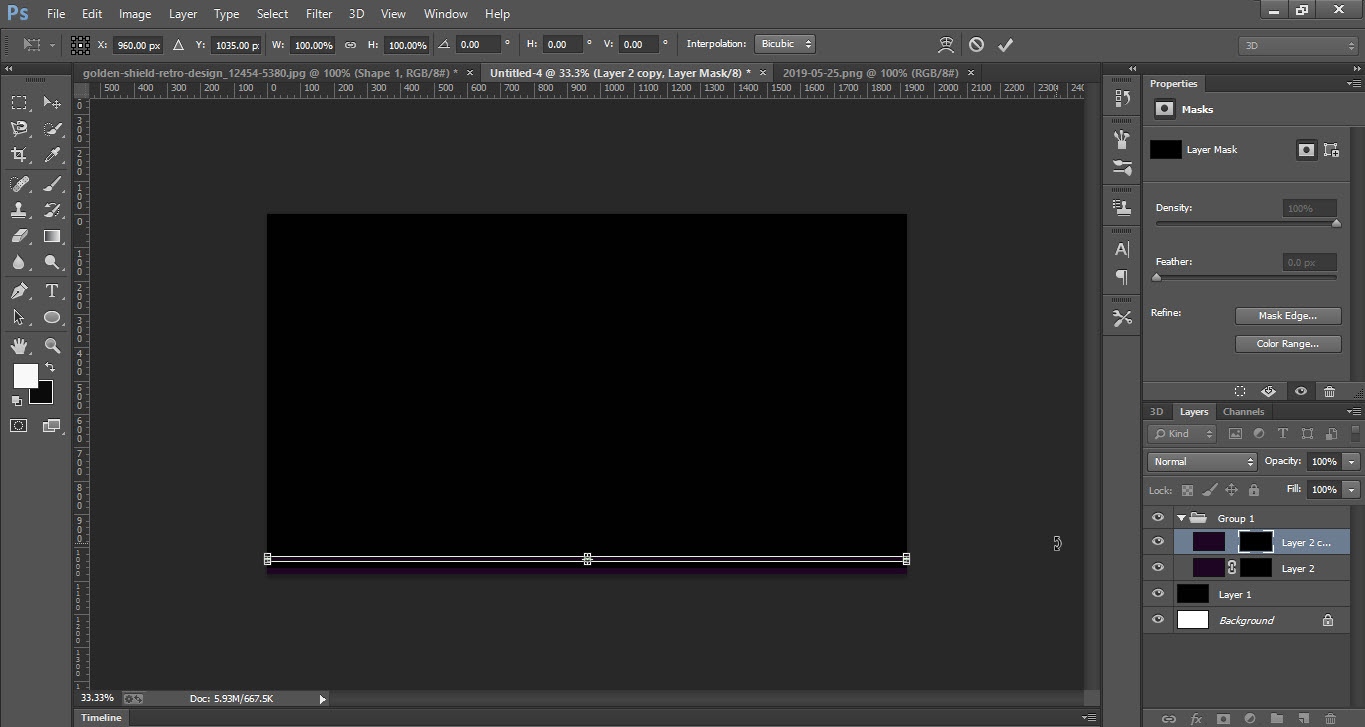
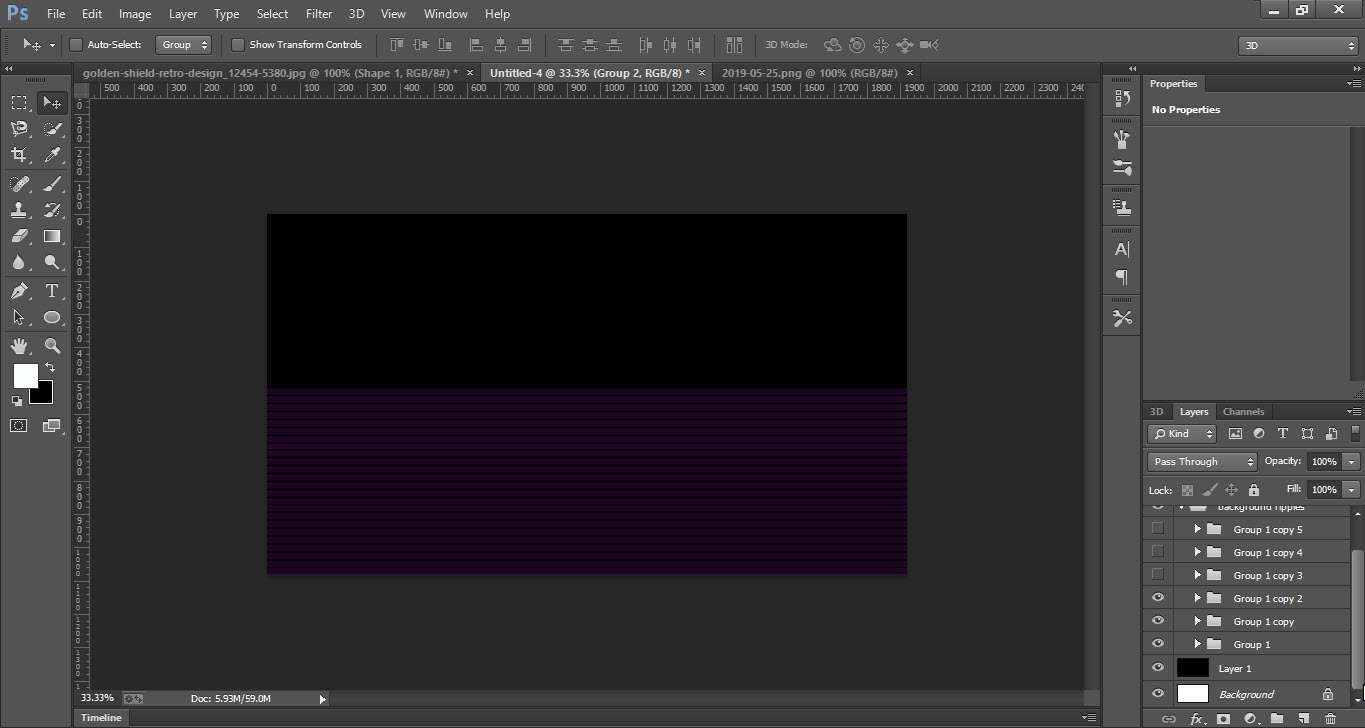
- Duplicate the mask layer and unlink the mask from the layer.
- Select the “Mask” and use upper “Arrows” key to make the background as ripples shape.
- Again duplicate the mask layer unlink the mask from the layer then select the mask and again use the arrow key to create ripple shape.
- Follow the same steps until the whole background looks like a ripple shape background.
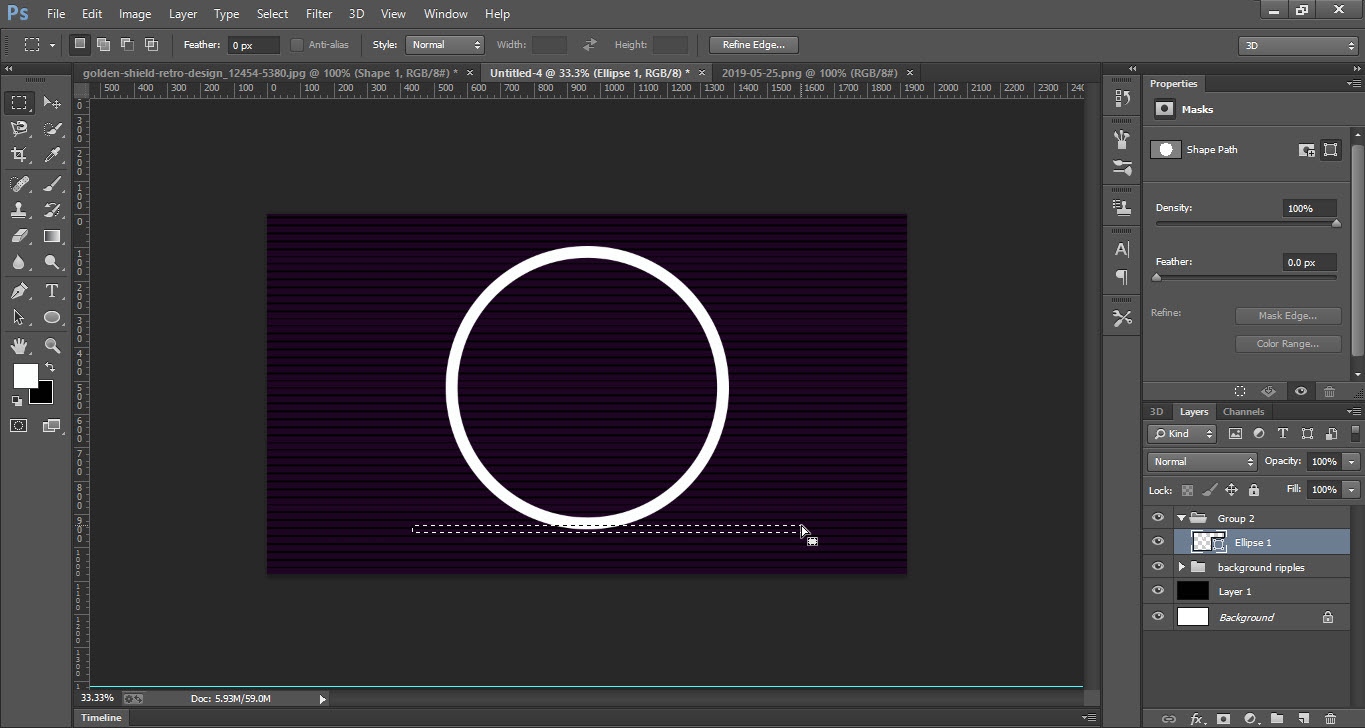
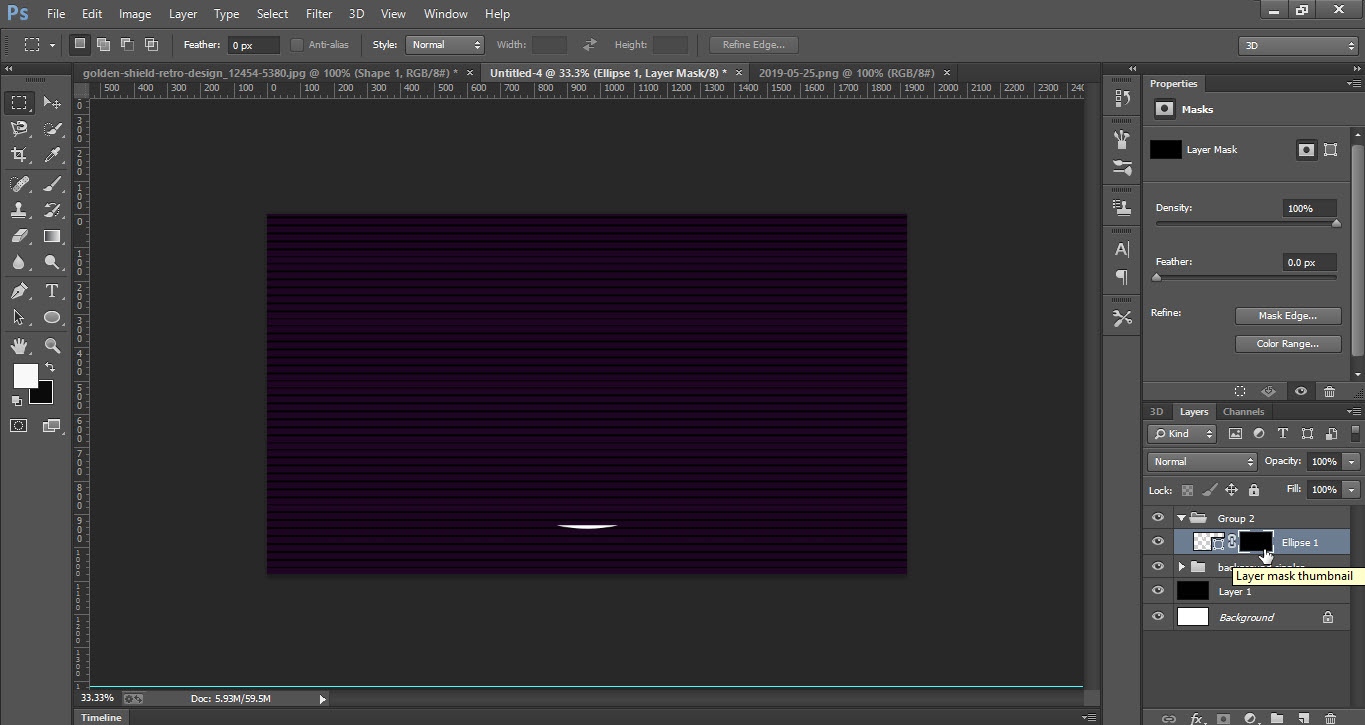
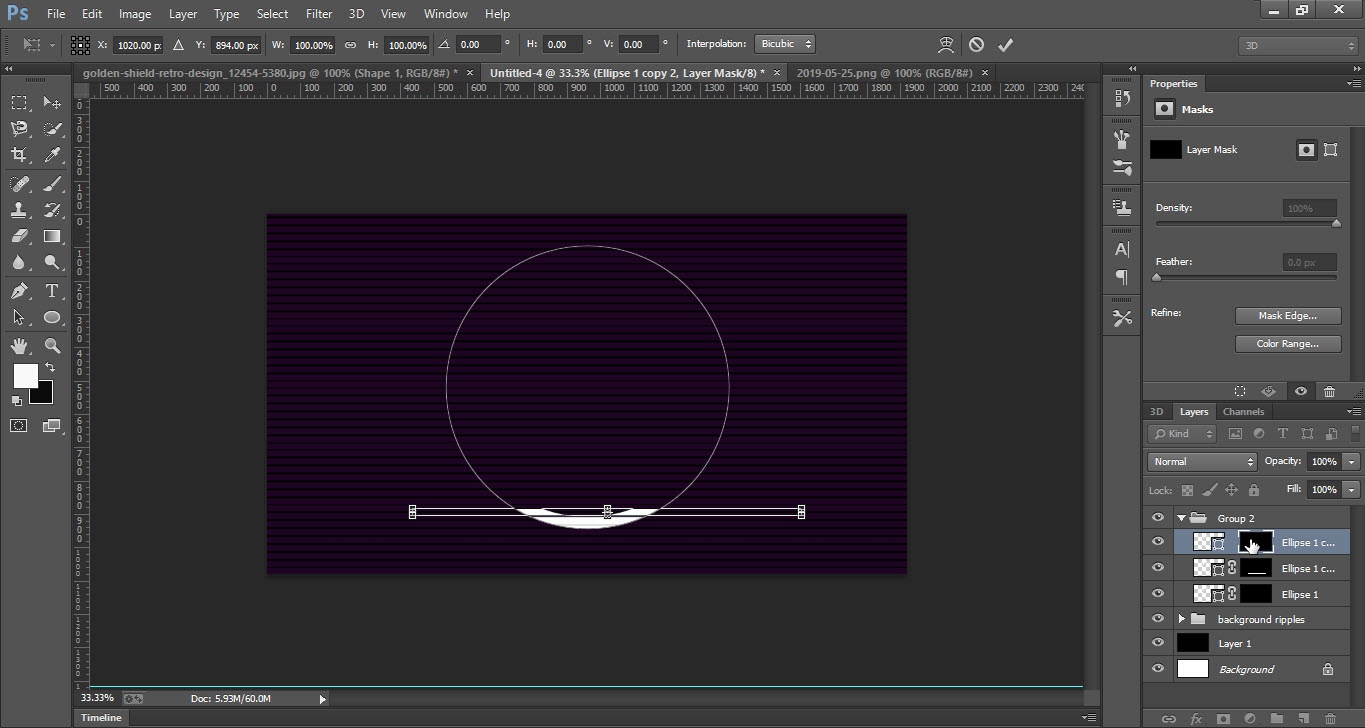
Step 03
- Go to “Tool Bar” and select the “Ellipse Tool”.
- Make a circle at the center of the ripple background.
- Now we have to do the same process as we did for the background.
- Select “Rectangular Marquee Tool” from the “Tool Bar”.
- Make a selection with the help of the “Rectangular Marquee Tool”.
- Add “Layer Mask” then unlink the mask from the layer and again make same ripple shape as we did before for background.
- Check the screenshot that you will understand very well.


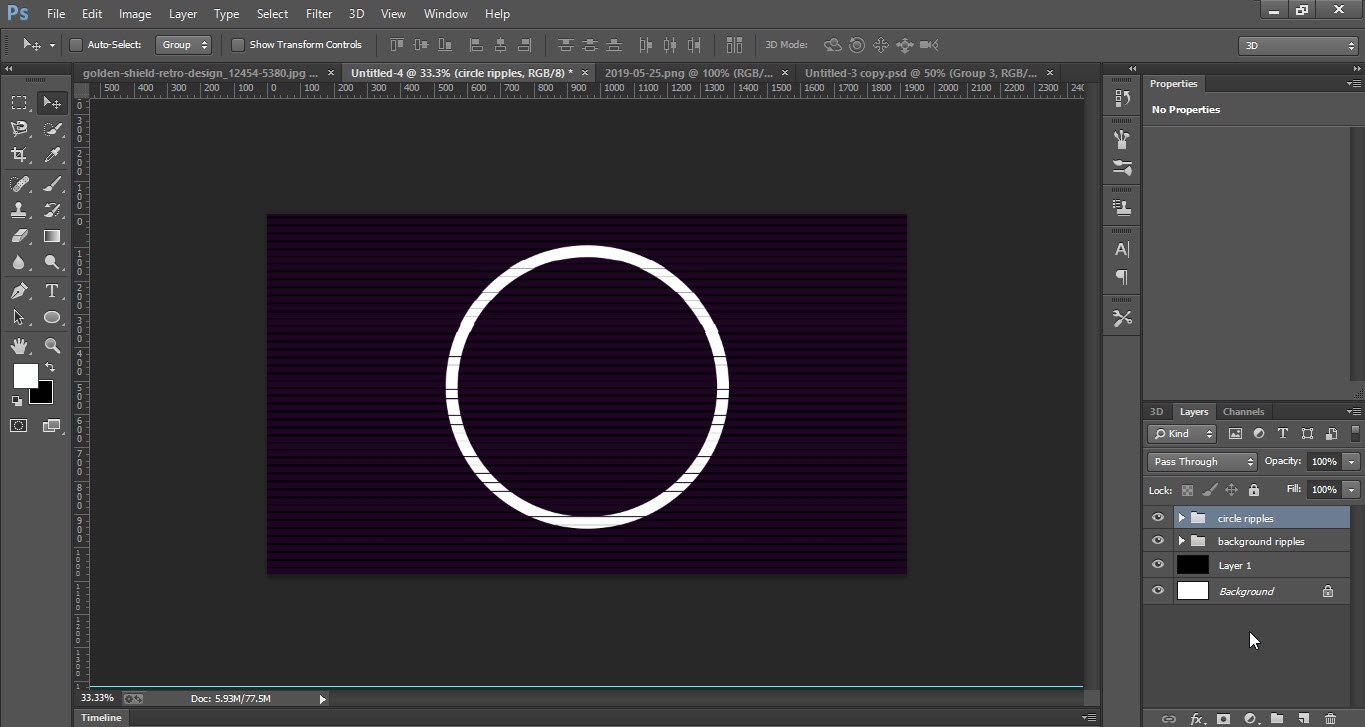
Step 04
- Now we have to make “Glitchy Effect” to the circle.
- Select the circle each layer one by one and uses your arrows key to move right or left.
- Do the same process for the whole circle that it will look like “Glitchy”.
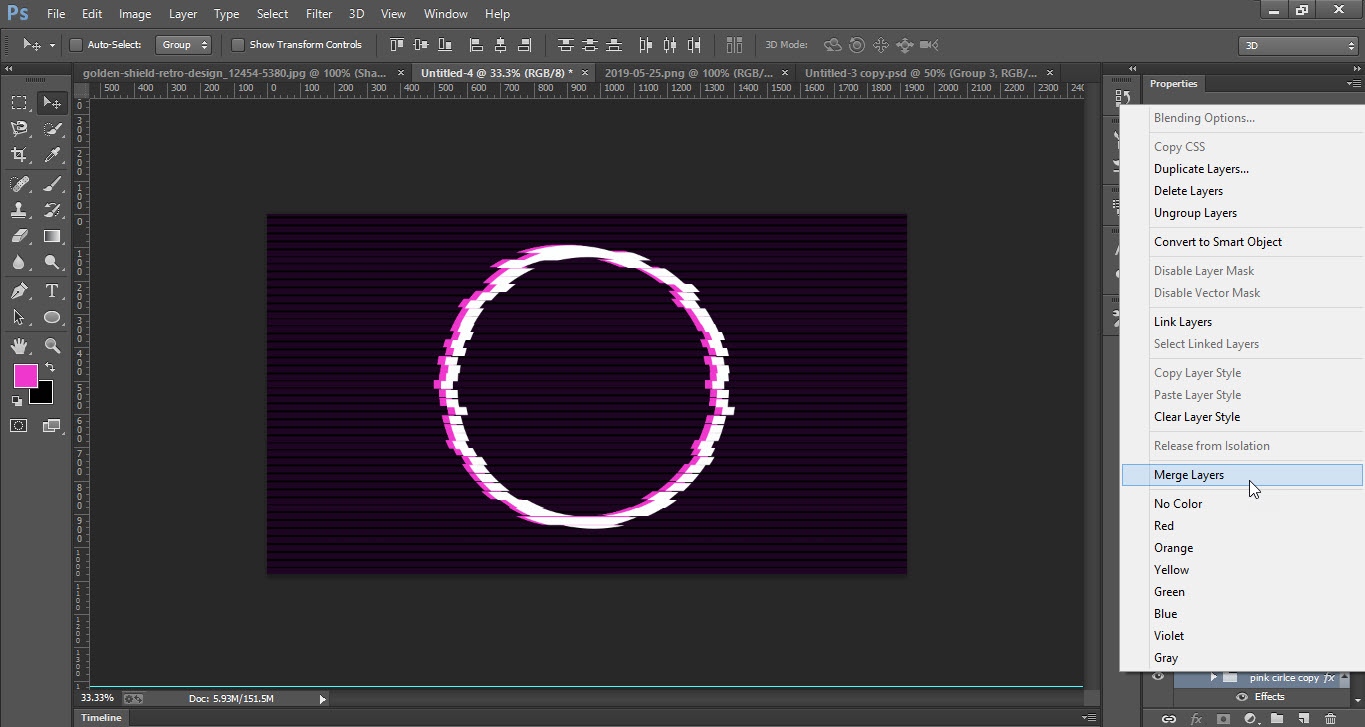
- Group the whole layer of the circle.
- Now duplicate the circle group by pressing the “Ctrl+J” keys. Keep the duplicate layer below the original group layer.
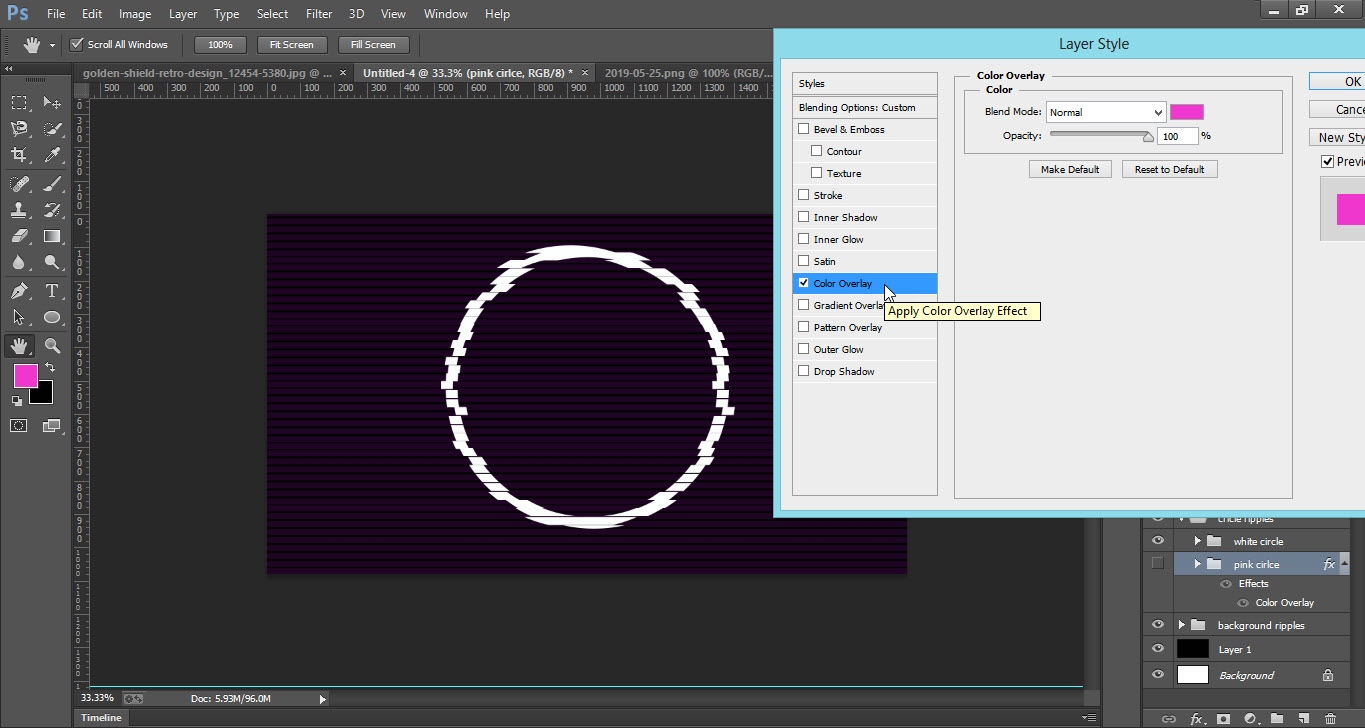
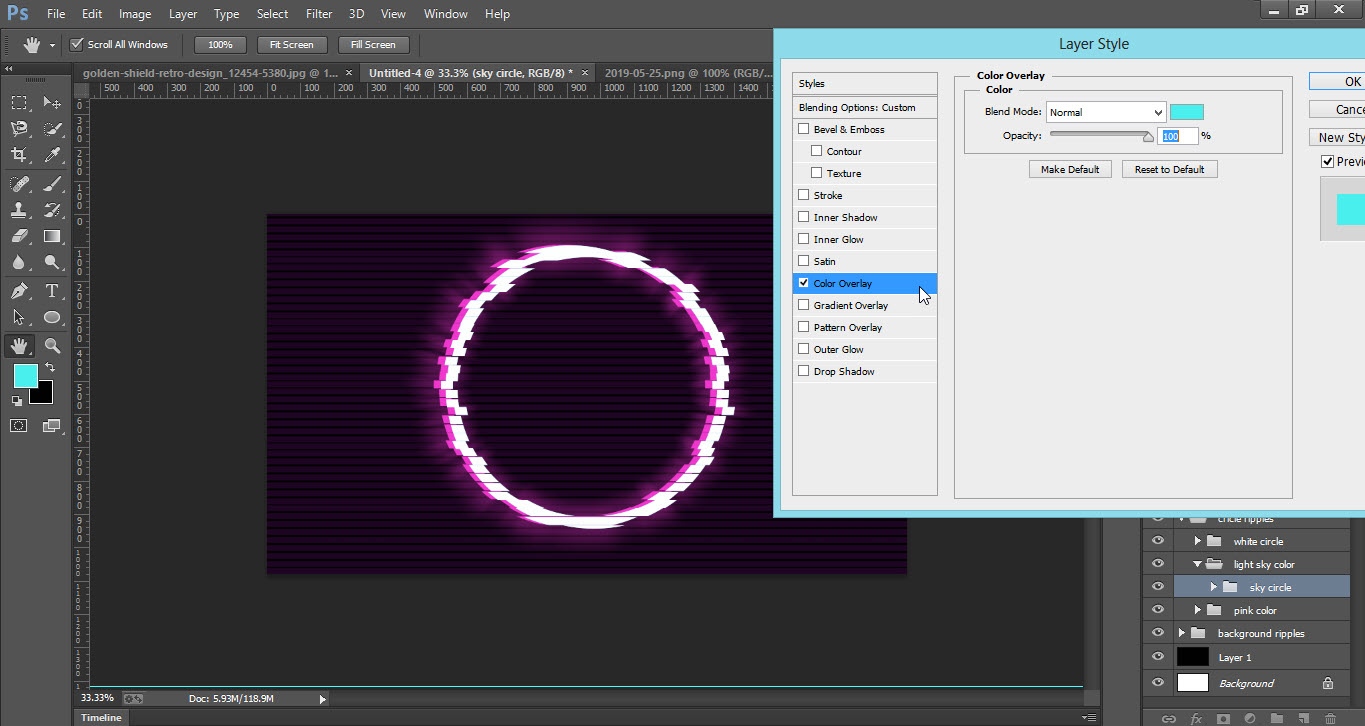
- Double click on circle group “Layer Style” window will be opened.
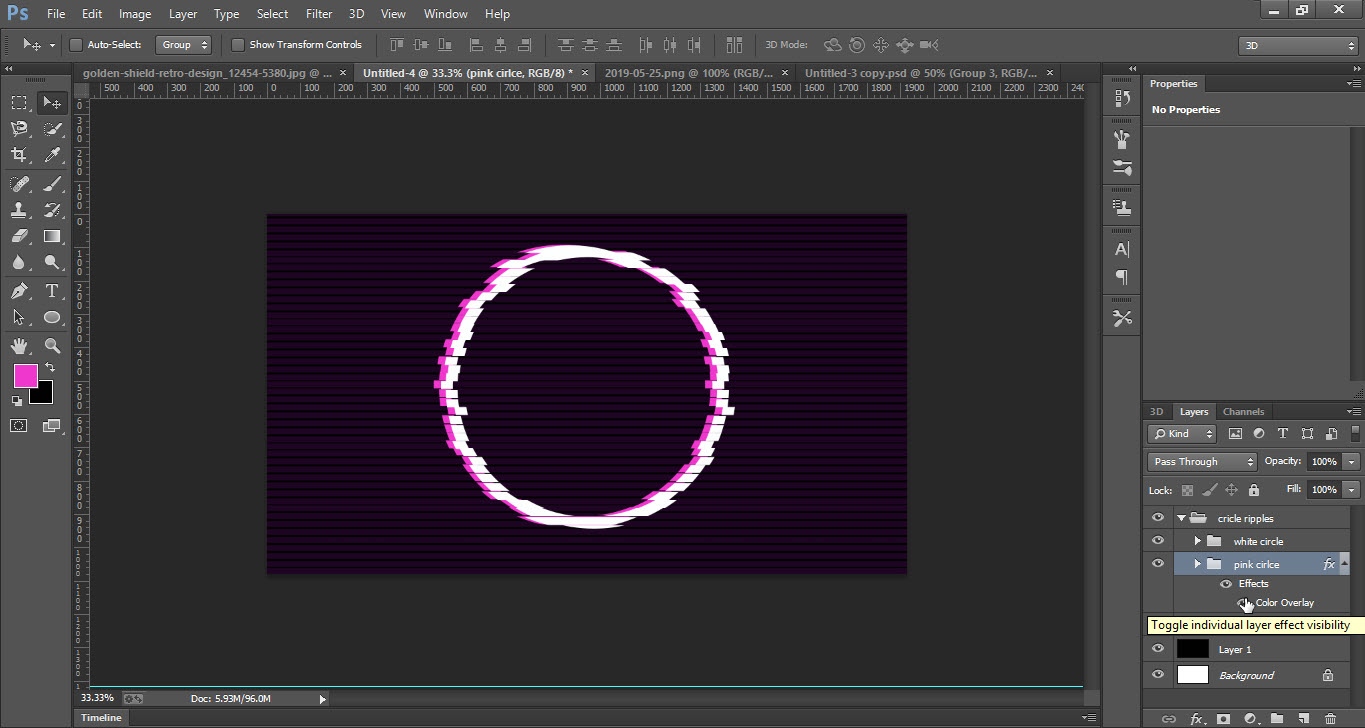
- Tick “Overlay” option and select the color as you want to use then click on “ok”.
- Use arrow keys to move the color right or left it’s up to you guys.
- Now make three duplicate groups of the one which we duplicate earlier.
- Select all the three groups by pressing the “Ctrl” key and click on each layer.
- Right click on any selected layer and click on “Merge Group ” option.
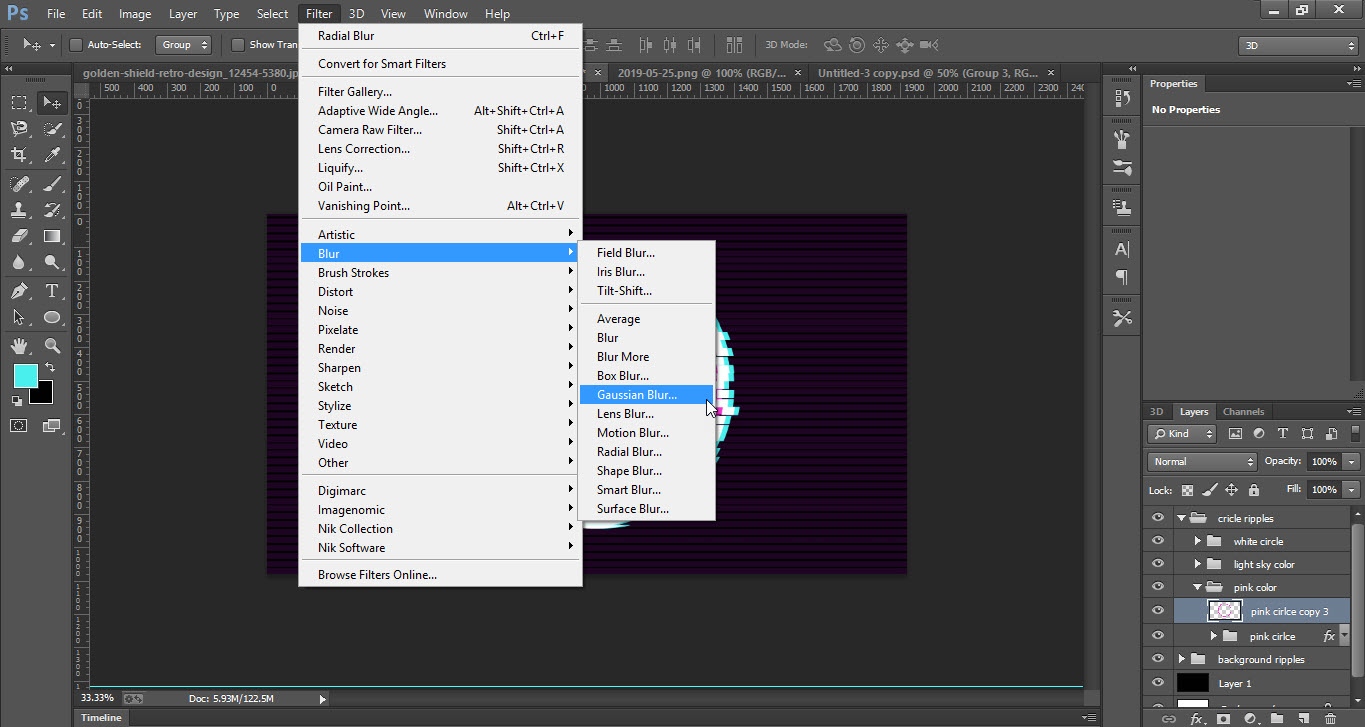
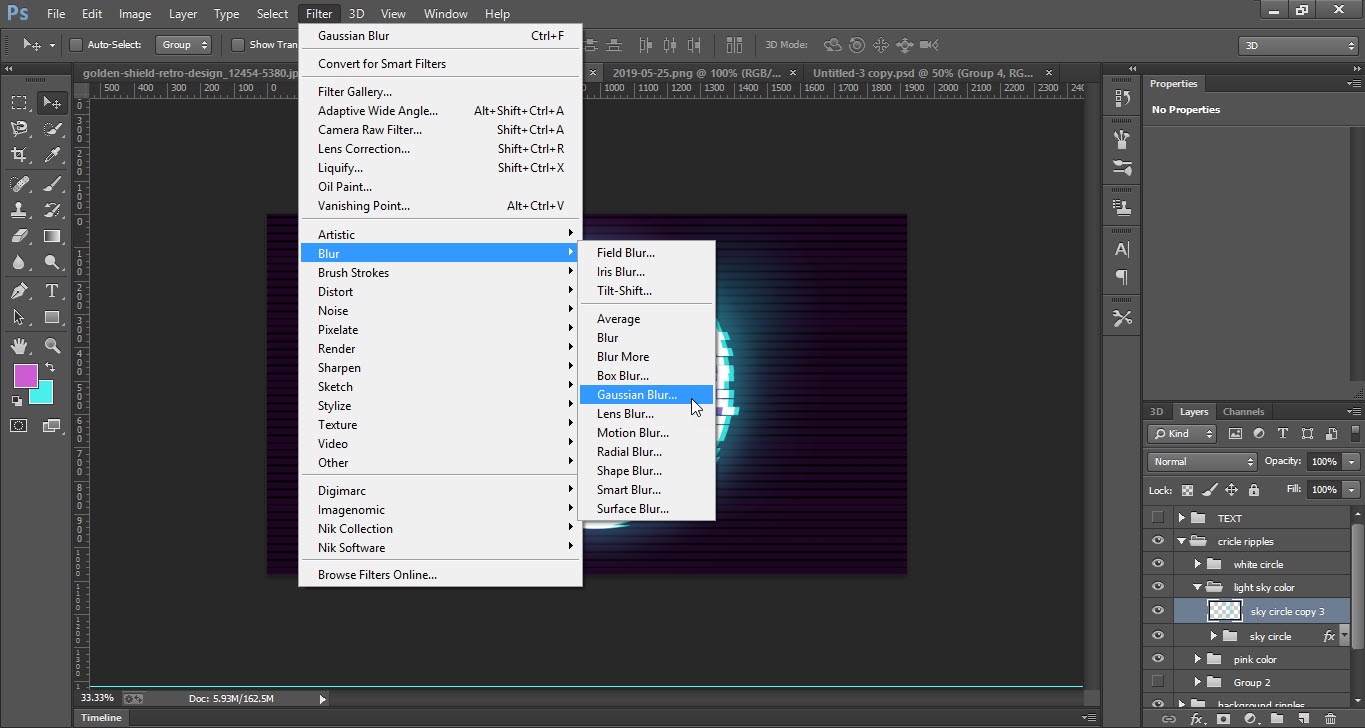
- Now go to “Filter” menu.
- Go to the “Blur” option and select the “Gaussian Blur”.
- Gaussian blur window will be opened, Adjust the blur effect according to your point of view.
- Now apply the same steps for light color as shown in the screenshots.


Step 05
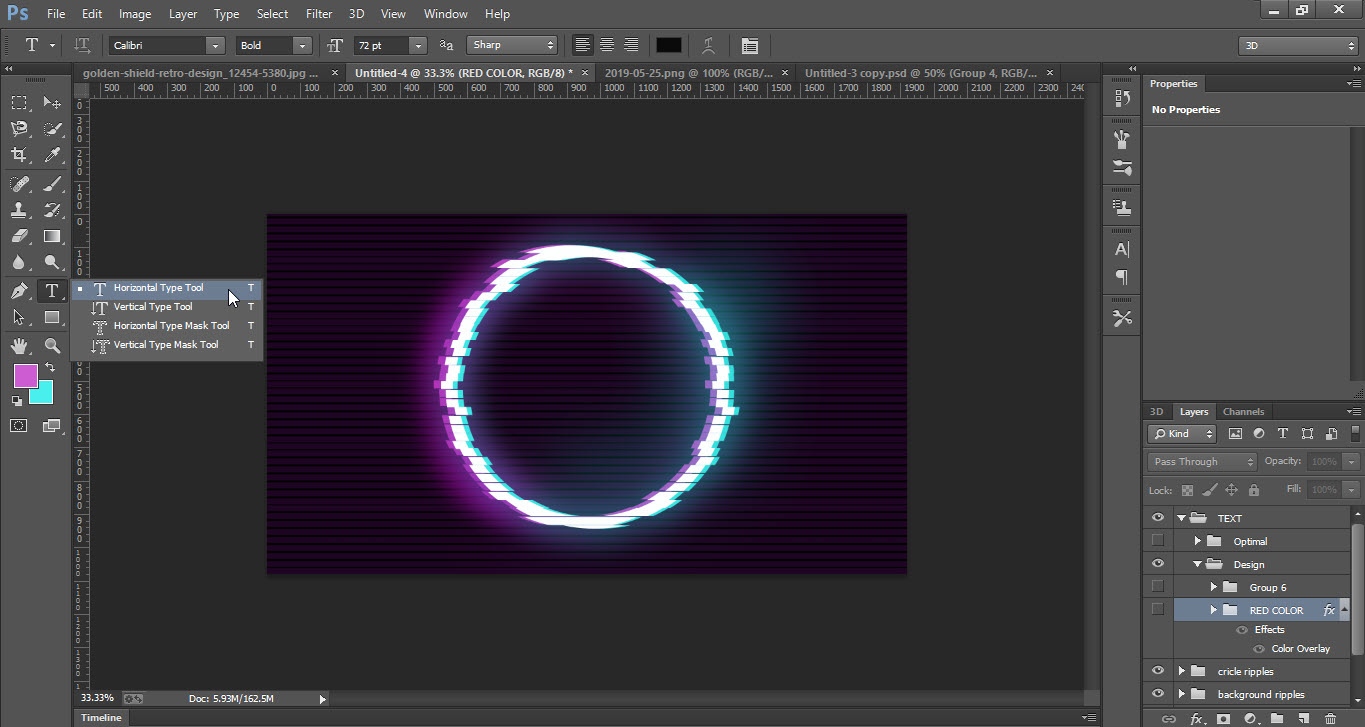
- Go to the “Tool Bar” and select the “Horizontal Tool”.
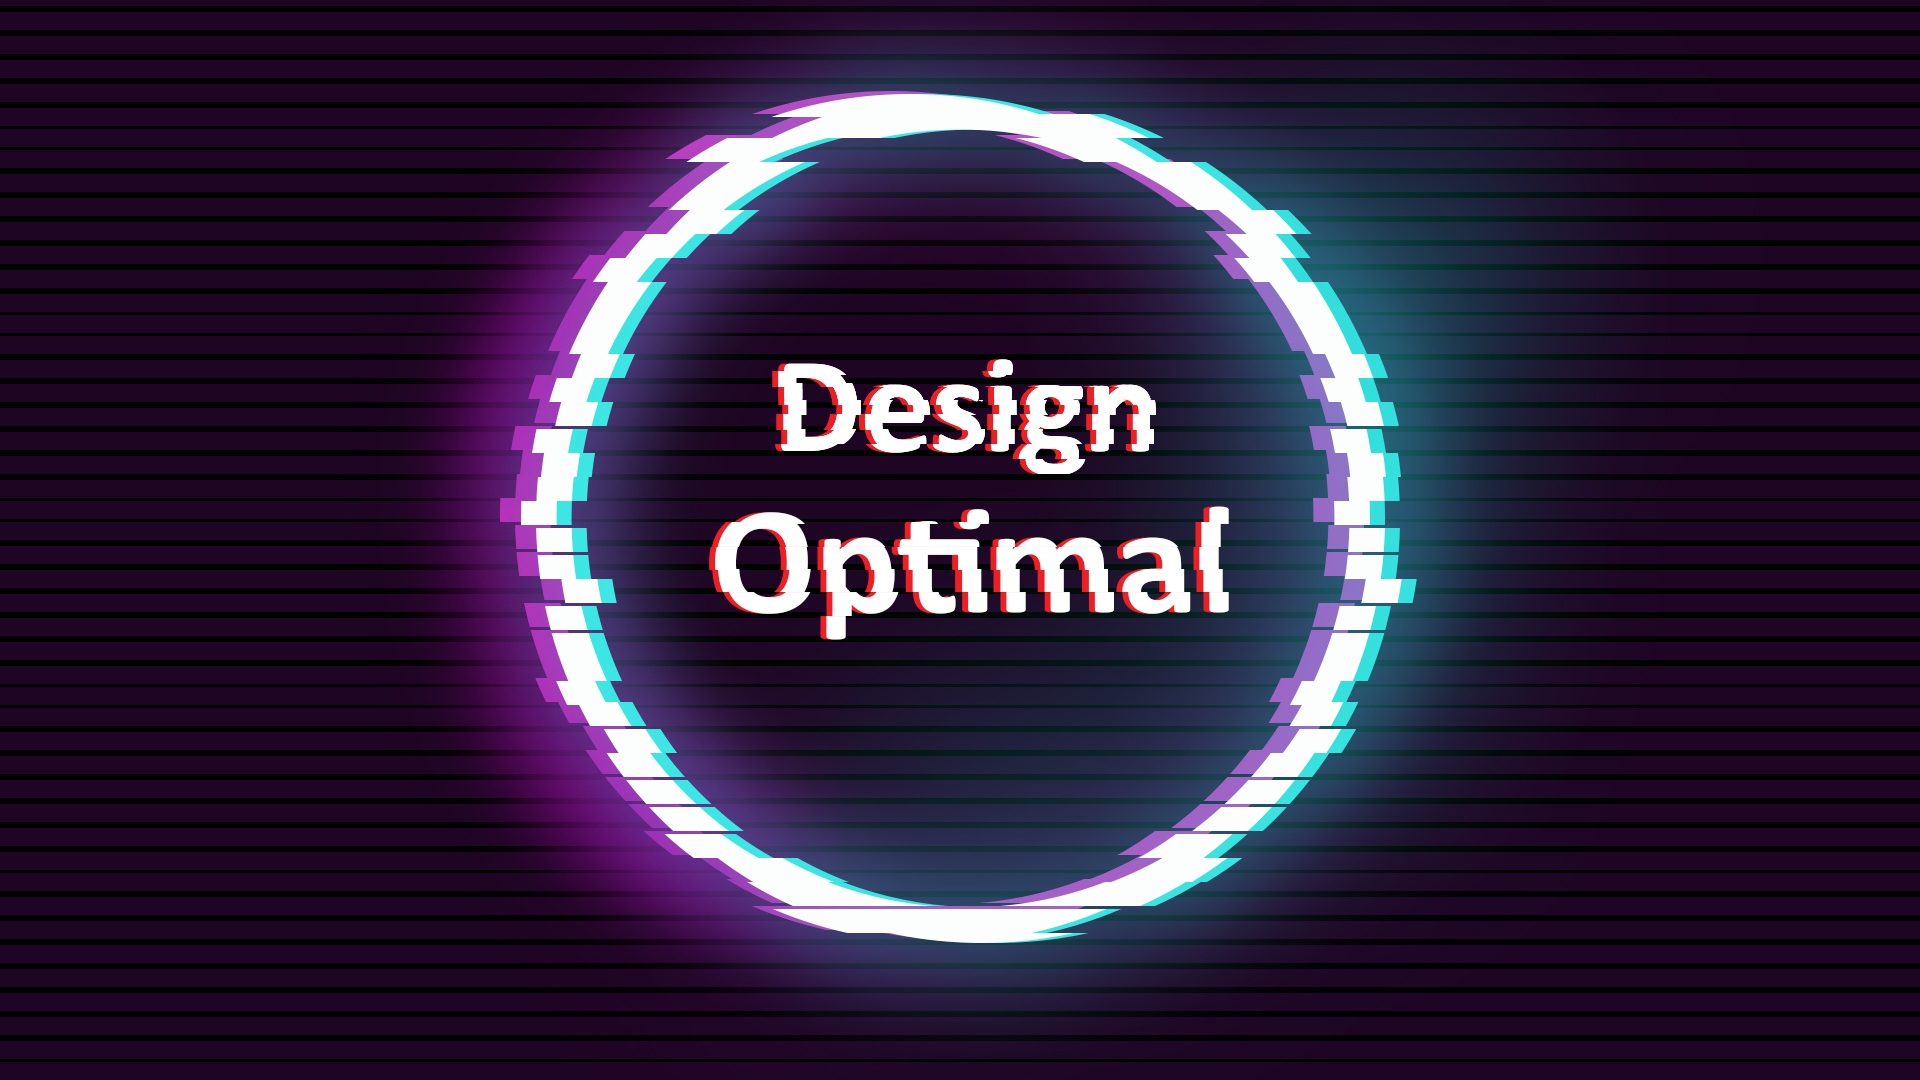
- Write whatever you want, Here I wrote “DesignOptimal”.
- First I write “Design”.
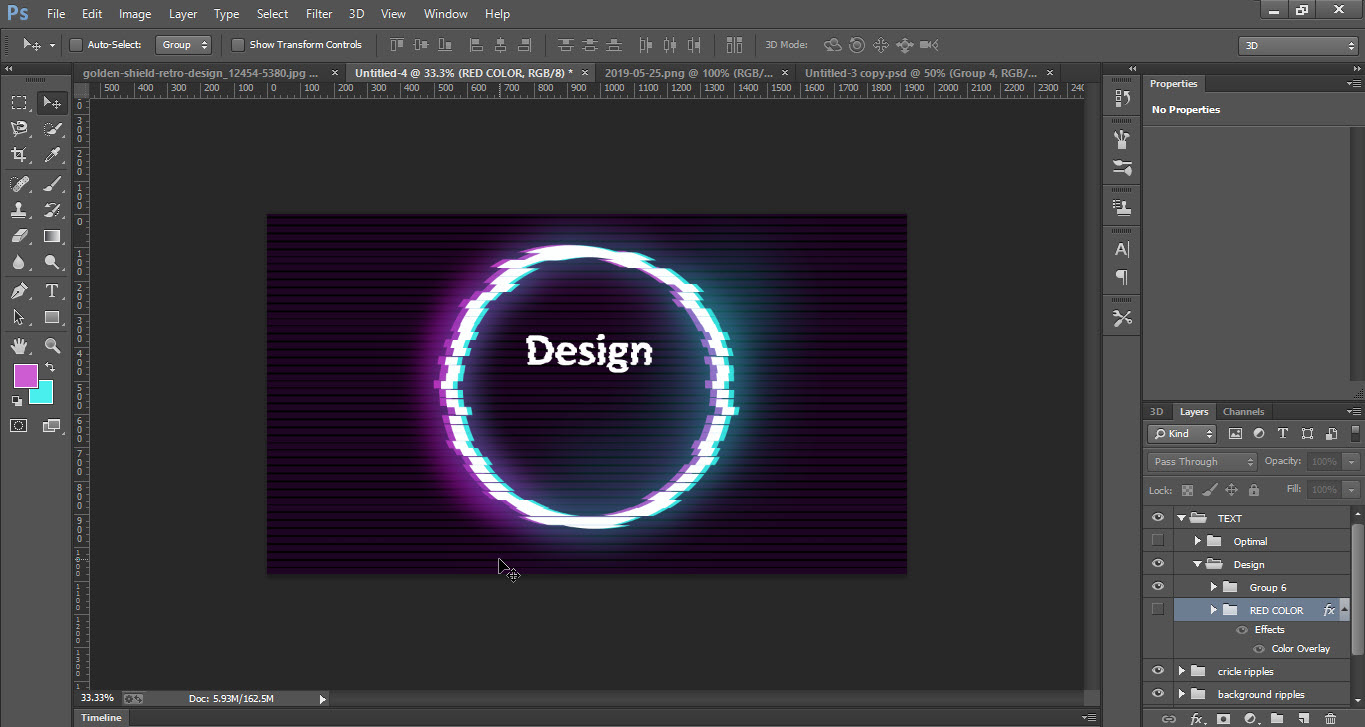
- Now select the “Rectangular Marquee Tool” and follow the same steps as we did for ripple background and for ripple circle.
- So to do so the “Design” text will be also changed to ripple text.
- Now group the “Design” text layers and duplicate it.
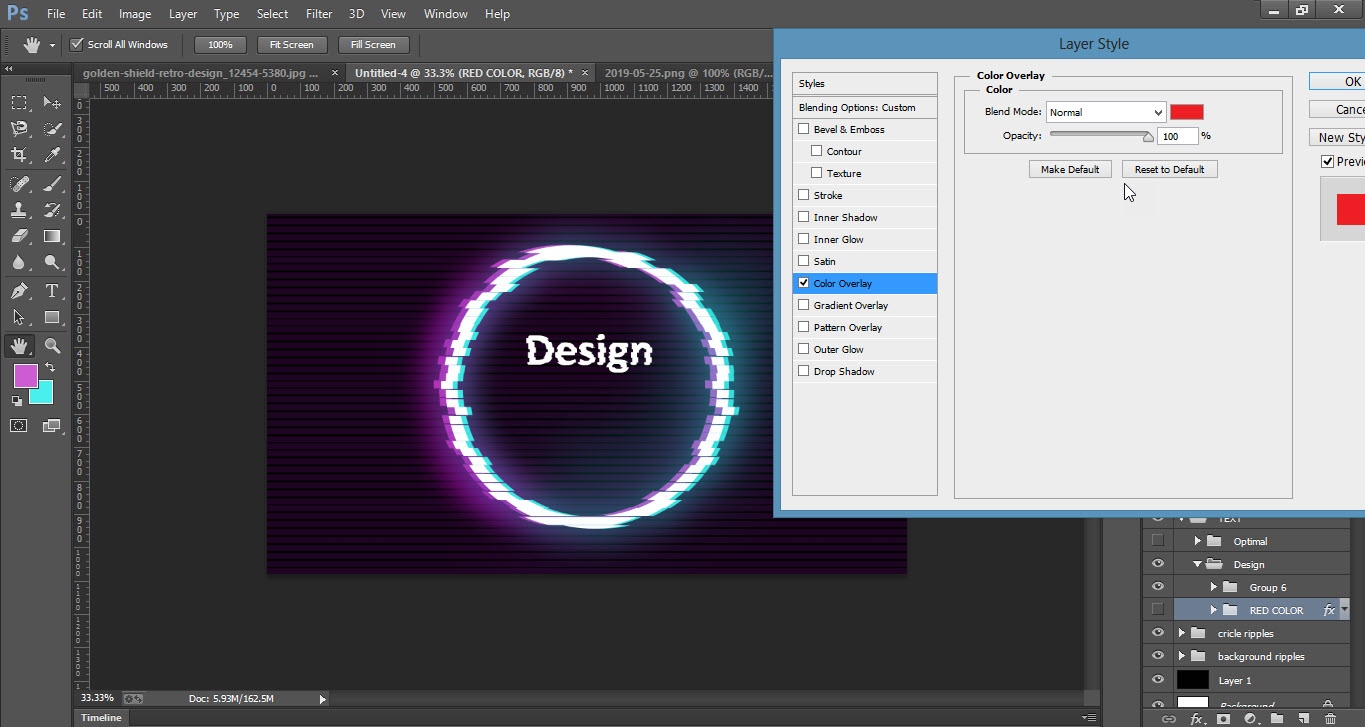
- Double click on duplicate layer a window will be opened, Tick the “Overlay” option then click on “Ok”.
- Now use the arrow keys to adjust the red color.
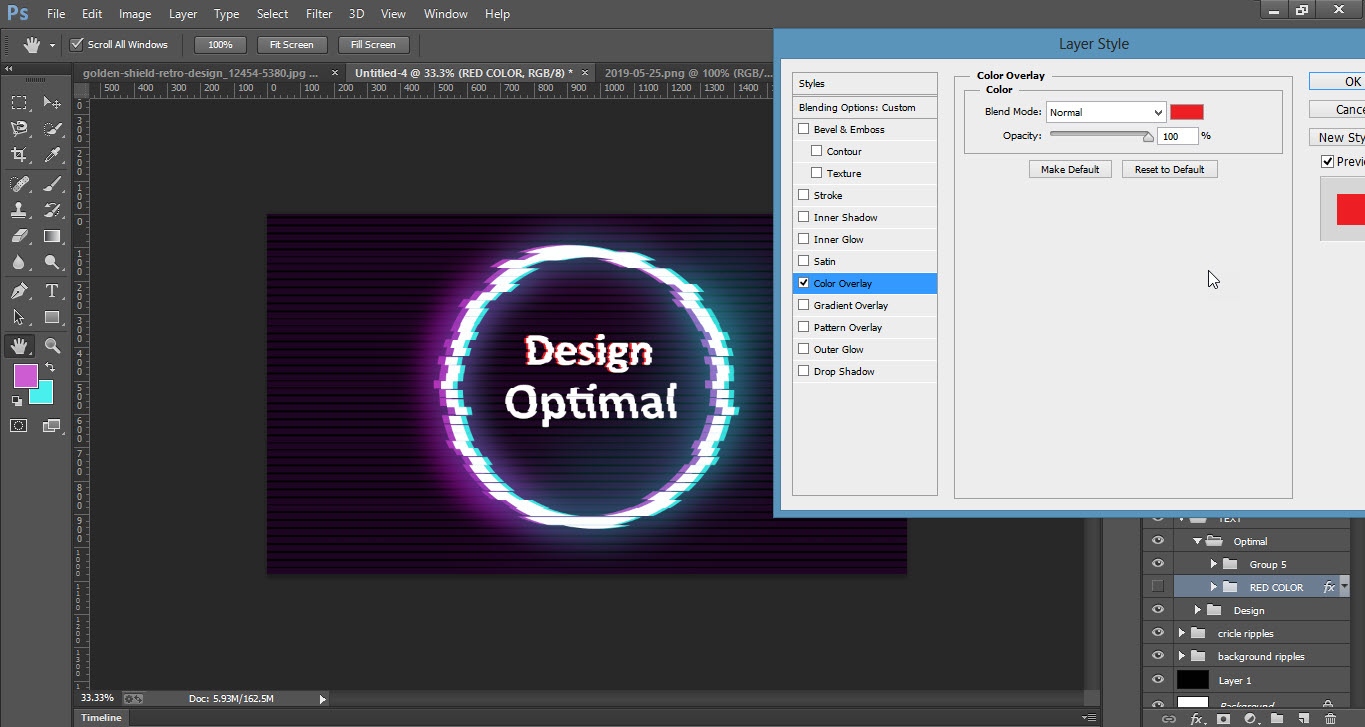
- Do the same for “Optimal” text follow each step for this which we did for “Design” text.
- And finally here is your “Glitchy Effected Text”.
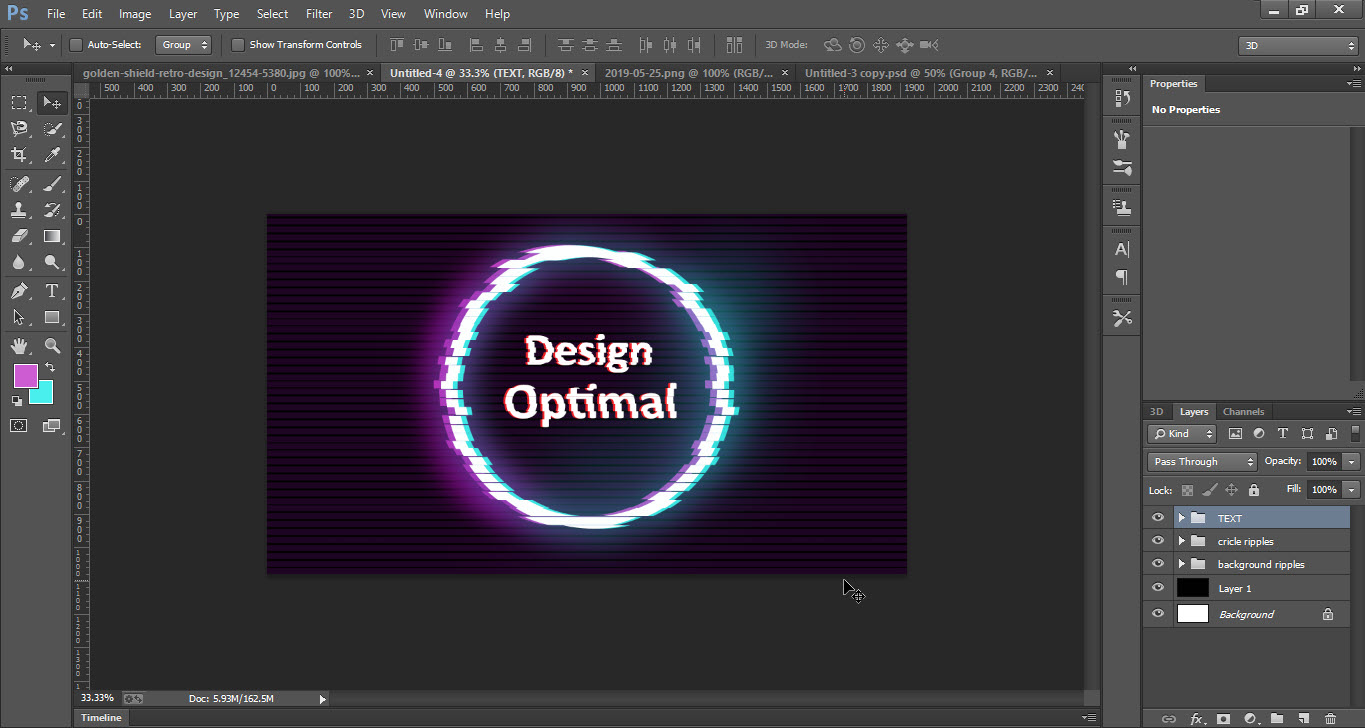
This is how the final result looks like