Hello Guys! Today we are going discuss about how to create a Pop art poster design using Adobe Illustrator.
If you search in the web, you can find many inspirational Pop art posters. Some of them like Comics and some are kind of vintage effect. You can get more inspired from them too.
Resources
- Fonts Used :
- Images used :
Step 01
- Open Adobe Illustrator and make a new document of A4 but make sure the color mode is RGB, because currently we are not doing this for the print but for the web.
- If we are going to create this straight away for printing then better start in CMYK mode.
- Make sure the page orientation is Landscape. Now save it as Pop Art.
- We used an image called karina_by_nerysoul-d4k7m2y, which is mentioned in the resources section at the beginning of the tutorial. So here we start.
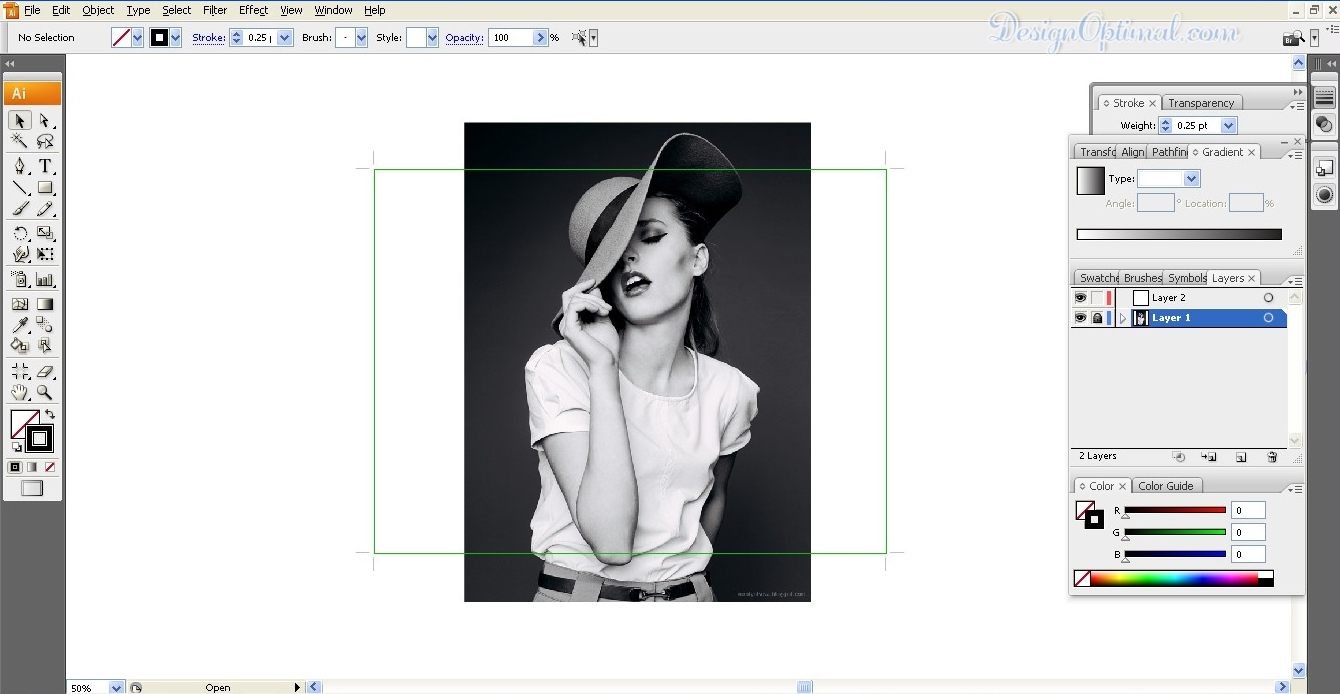
Step 02
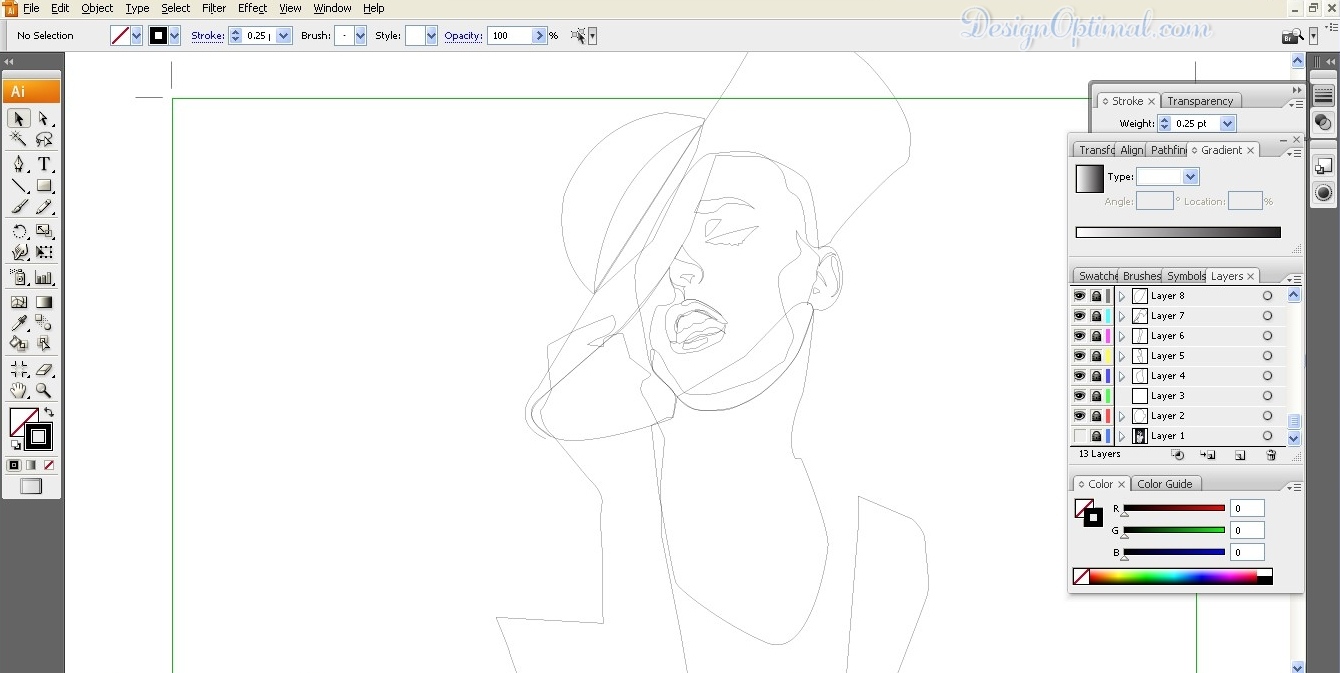
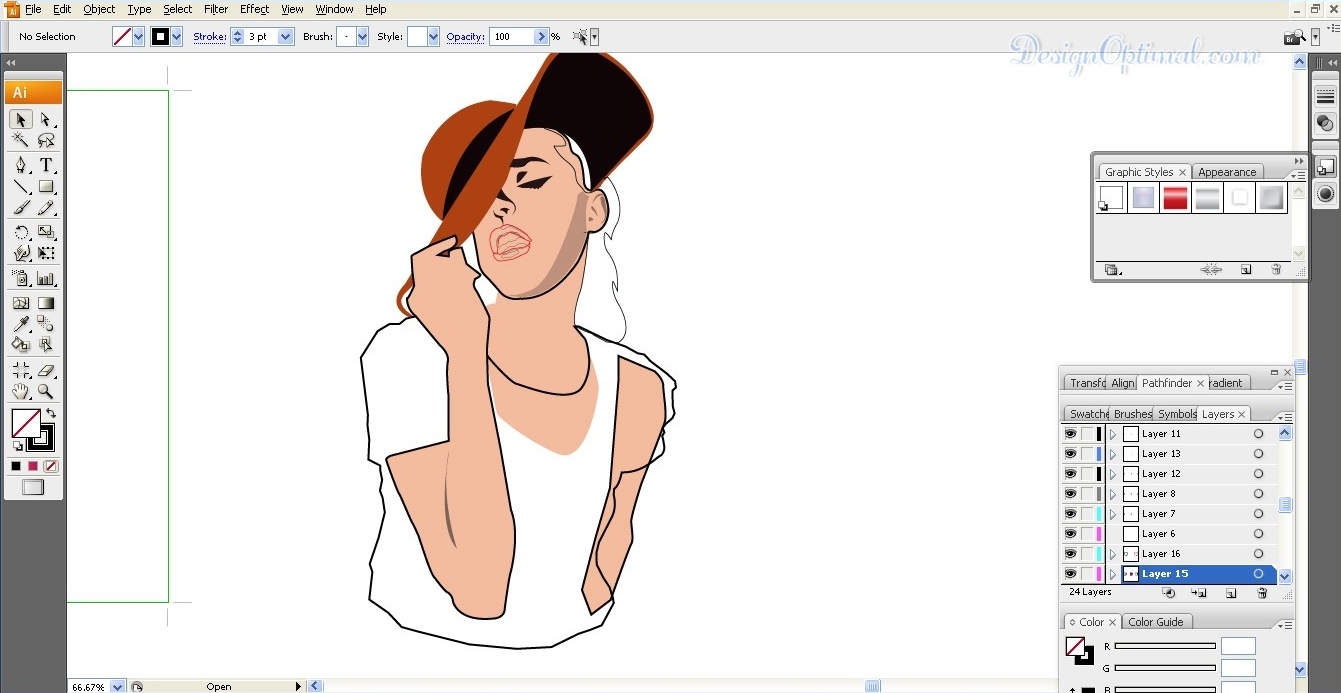
- We will be tracing her Part by part so we will start with the face and after that we will be tracing the outline of the Hair.
- Next we will be tracing the outline of the body and the dress in order. Make sure when you draw the outline of the Girl to make the lines and curves smooth.
- Note: every time you trace a part of the girl add a new layer and if you need to see the reference image turn off the appearance of the top filled layers or outline layers.
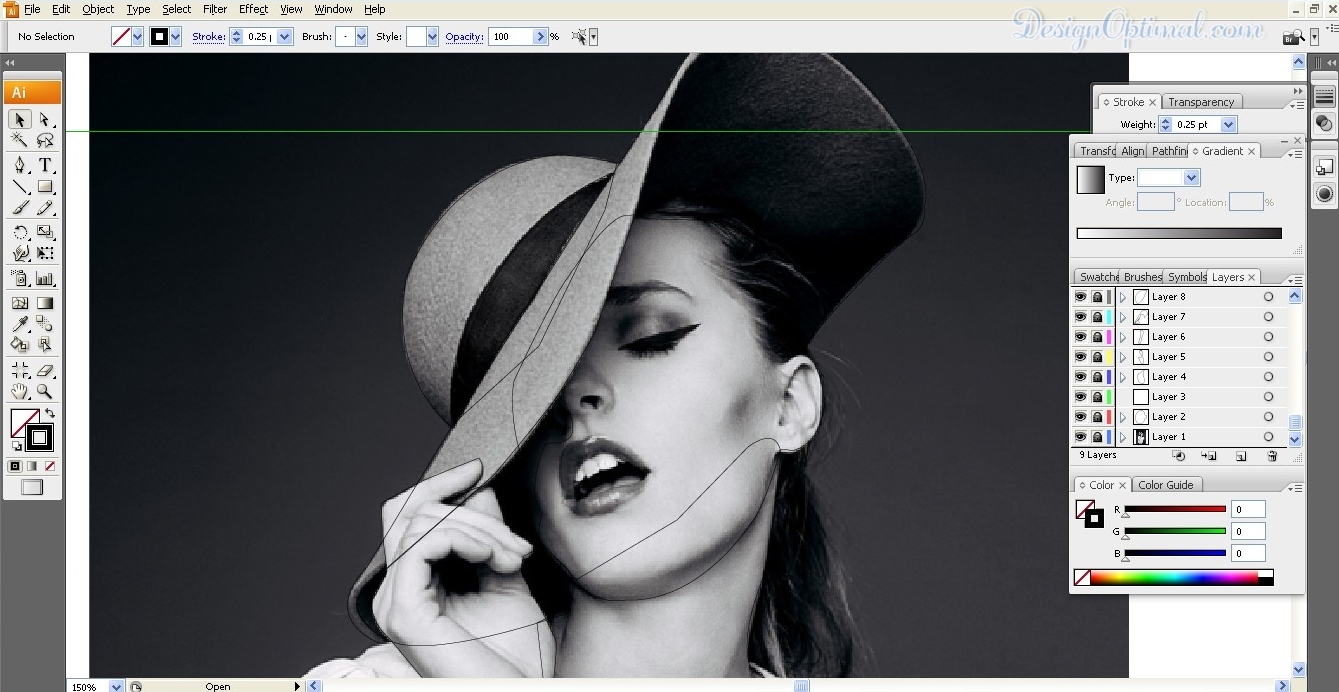
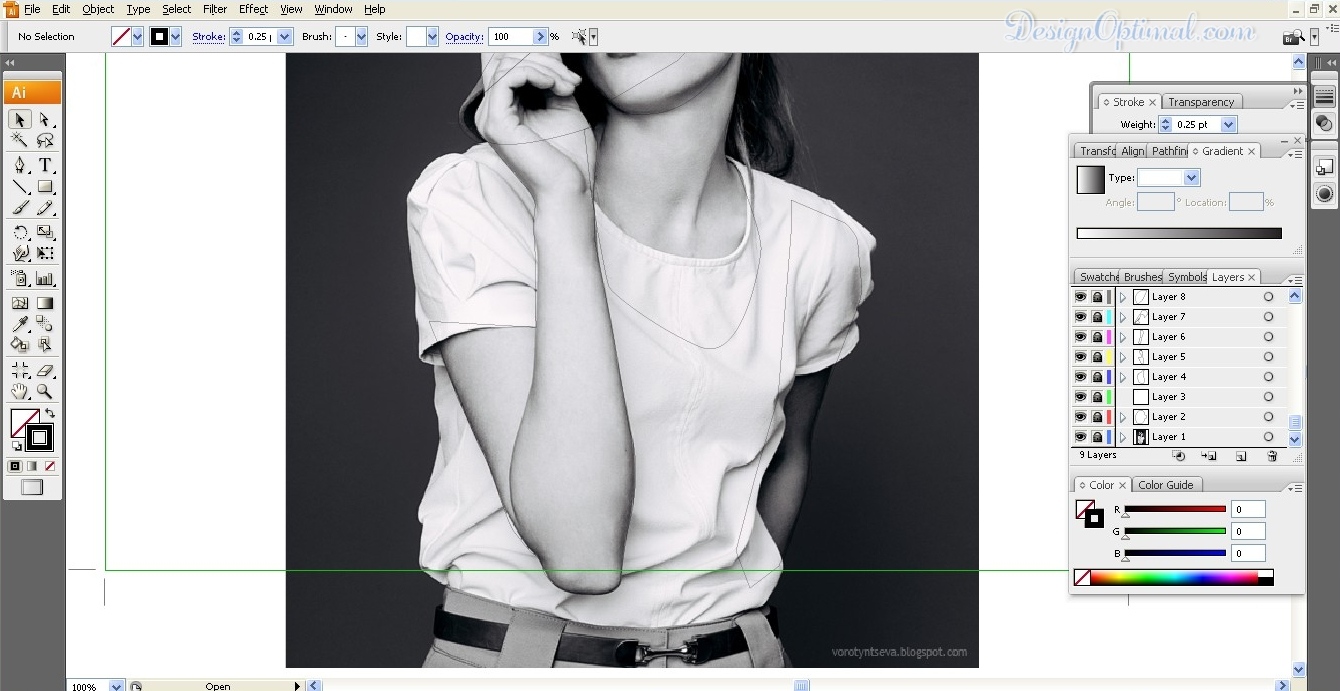
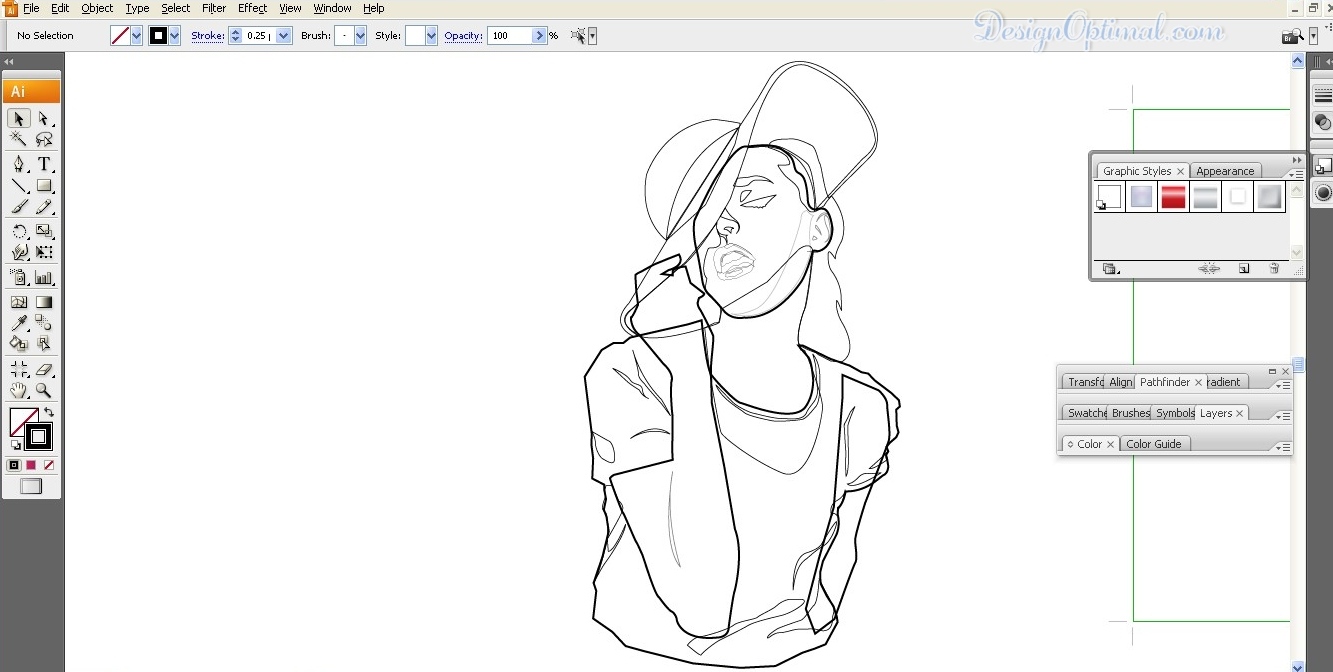
- After tracing these we will be tracing the outlines of the eyes, mouth, nose and the ears. When you finish tracing it, it would look like this.
Step 03
- After that, we will be marking the highlight areas and shadows as shown below.
Step 04
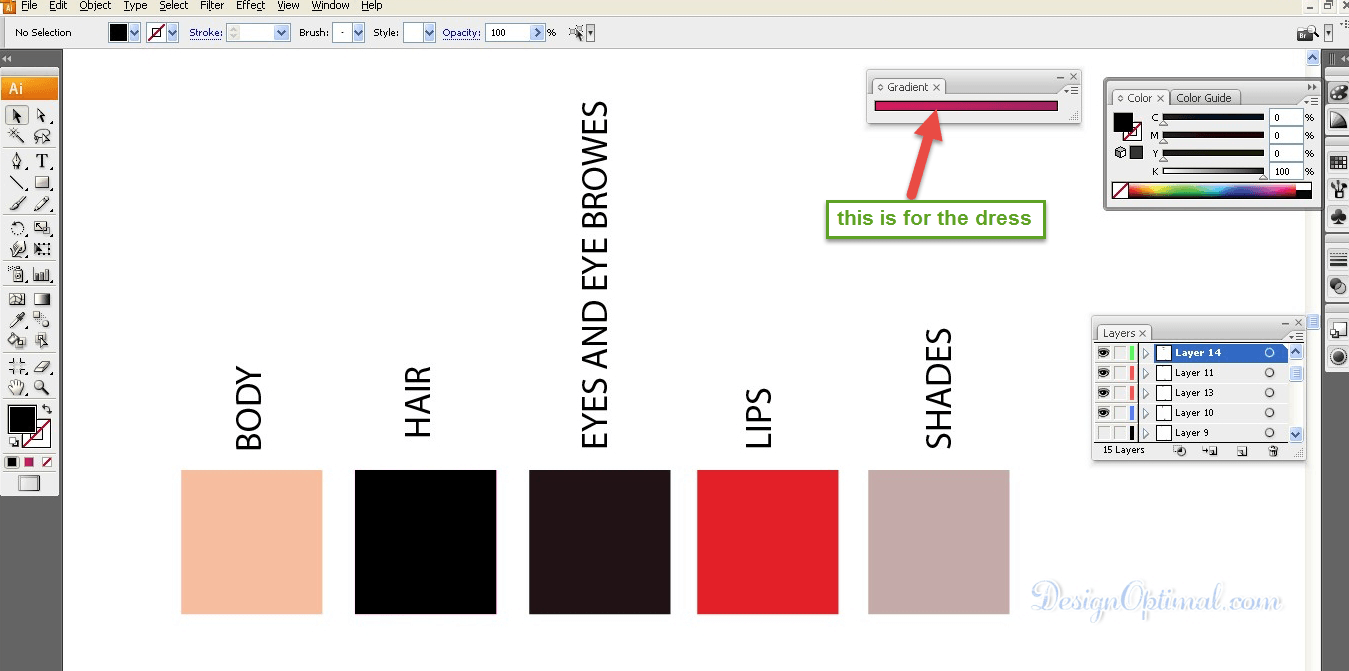
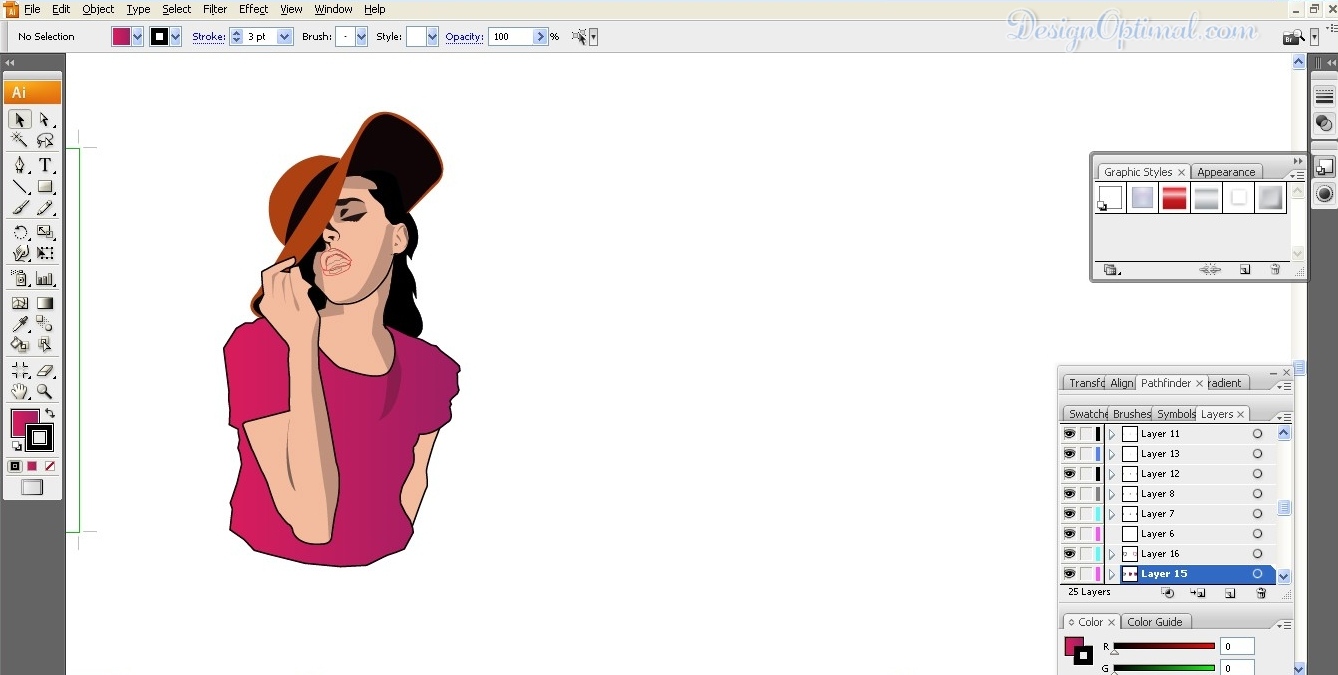
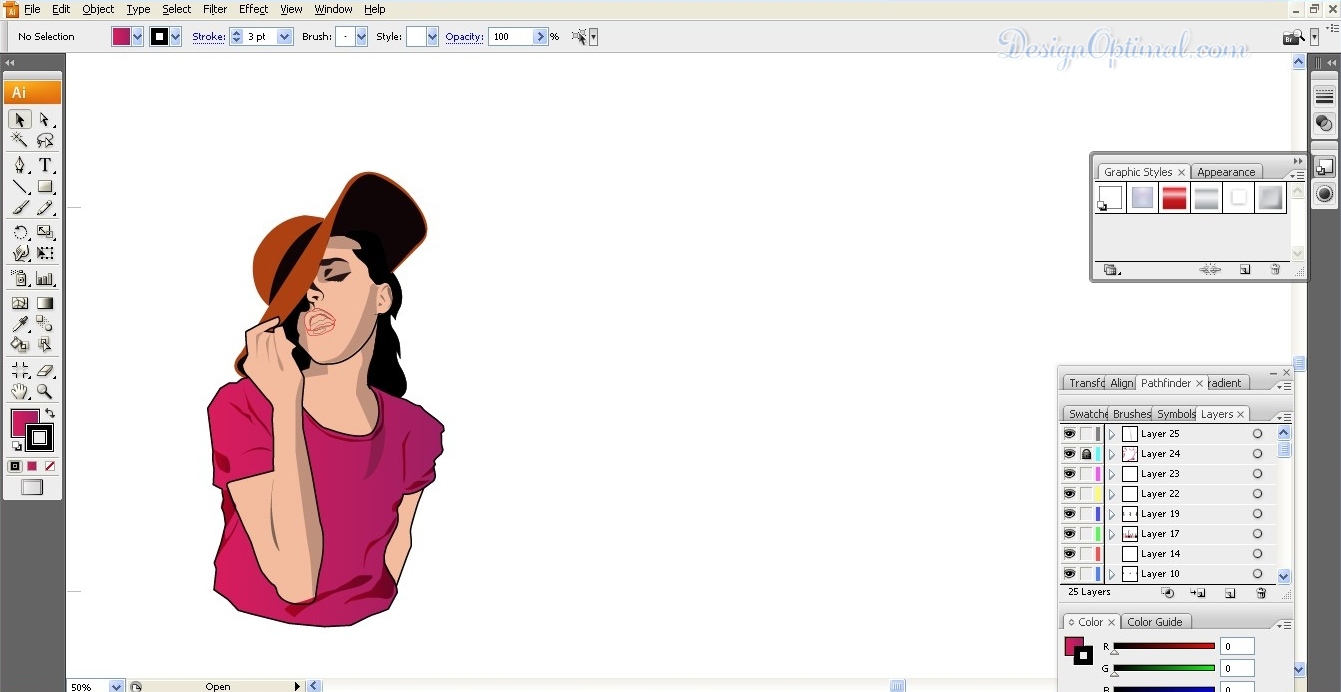
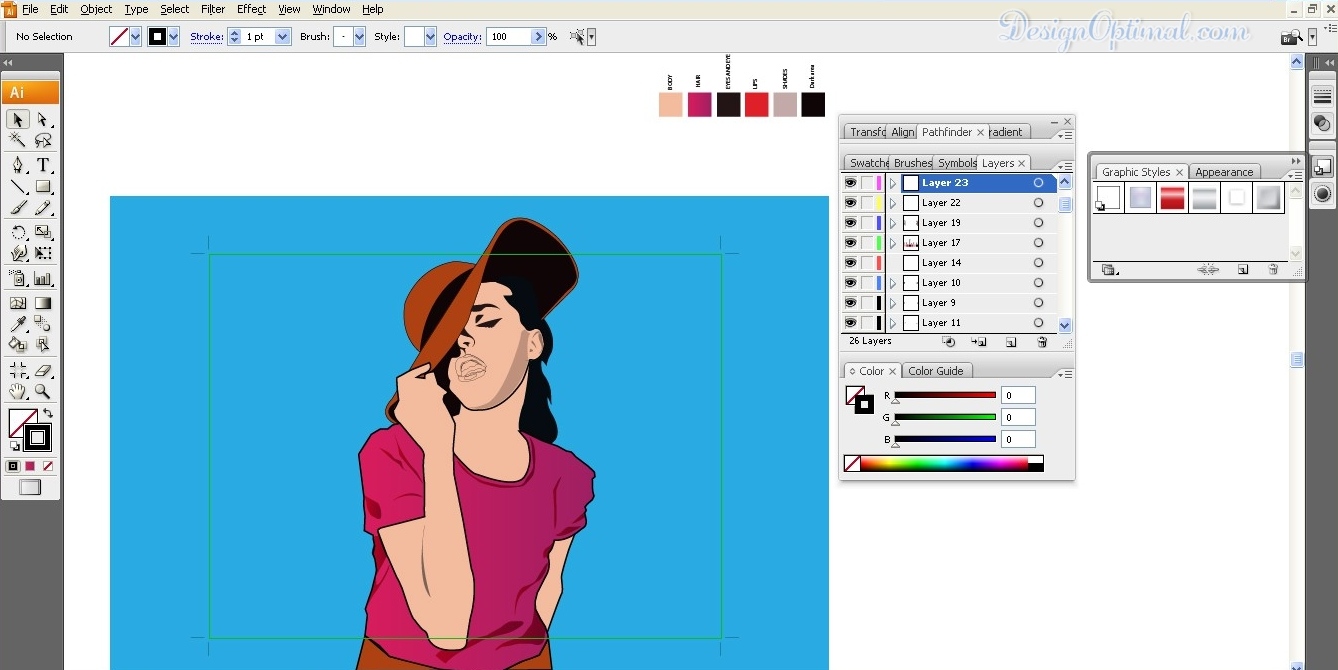
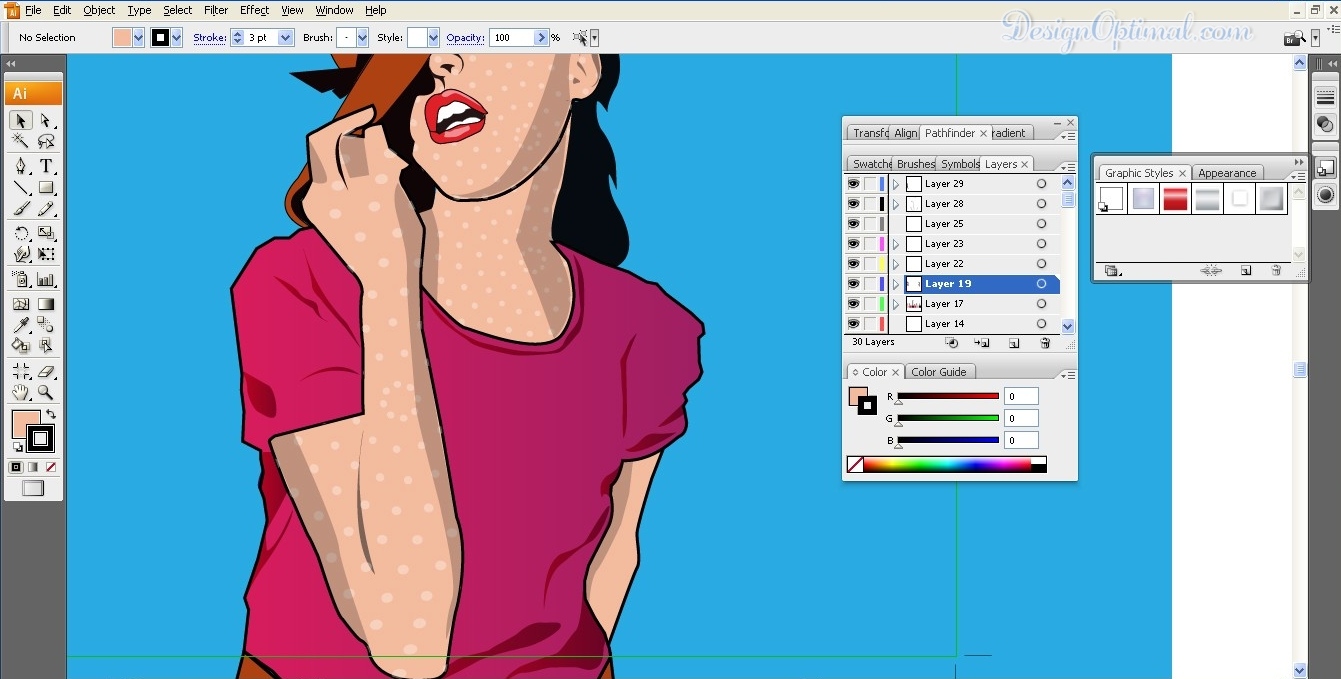
- Now start filling the colors as shown in next couple of images, the used colors will be like this.
Step 05
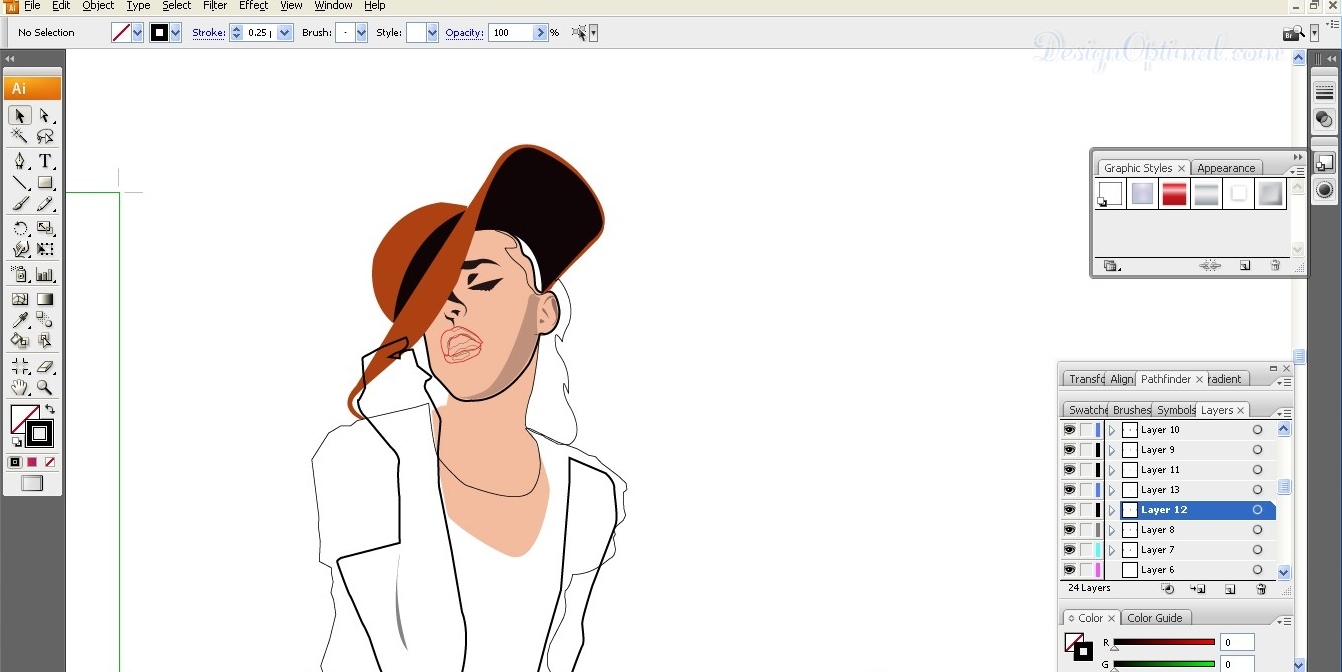
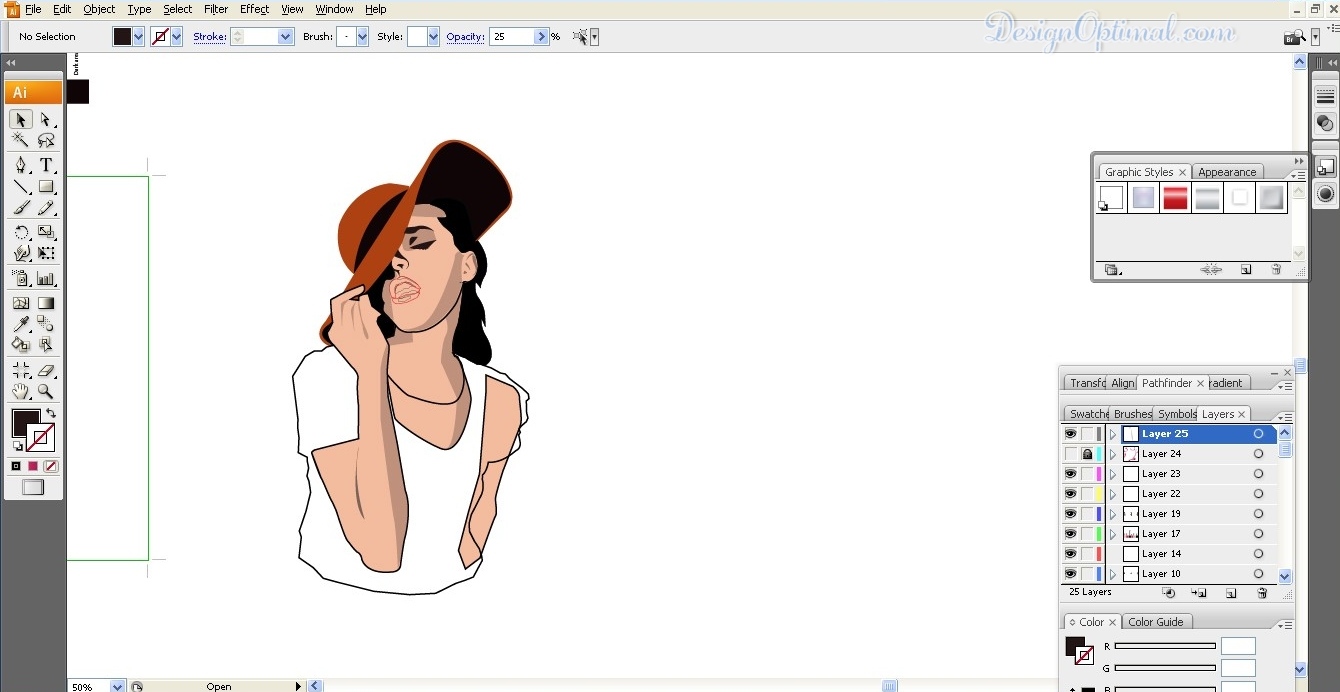
- After that we will be adding the highlights and shadowed areas of the body
- We will add #000000 (Black ) Fill to the hair as for the model image that we have used. There are no highlights in her hair.
- After tracing the hair give 3px stroke around it.
- And give the body and the face fill color around 3px stroke with black fill.
- As you can see we have traced her hair as sold black and the color code is #000000.
- Now to get a better view of the detail we are adding I have set a background color for this #00B0D8 is the color for that.
Step 06
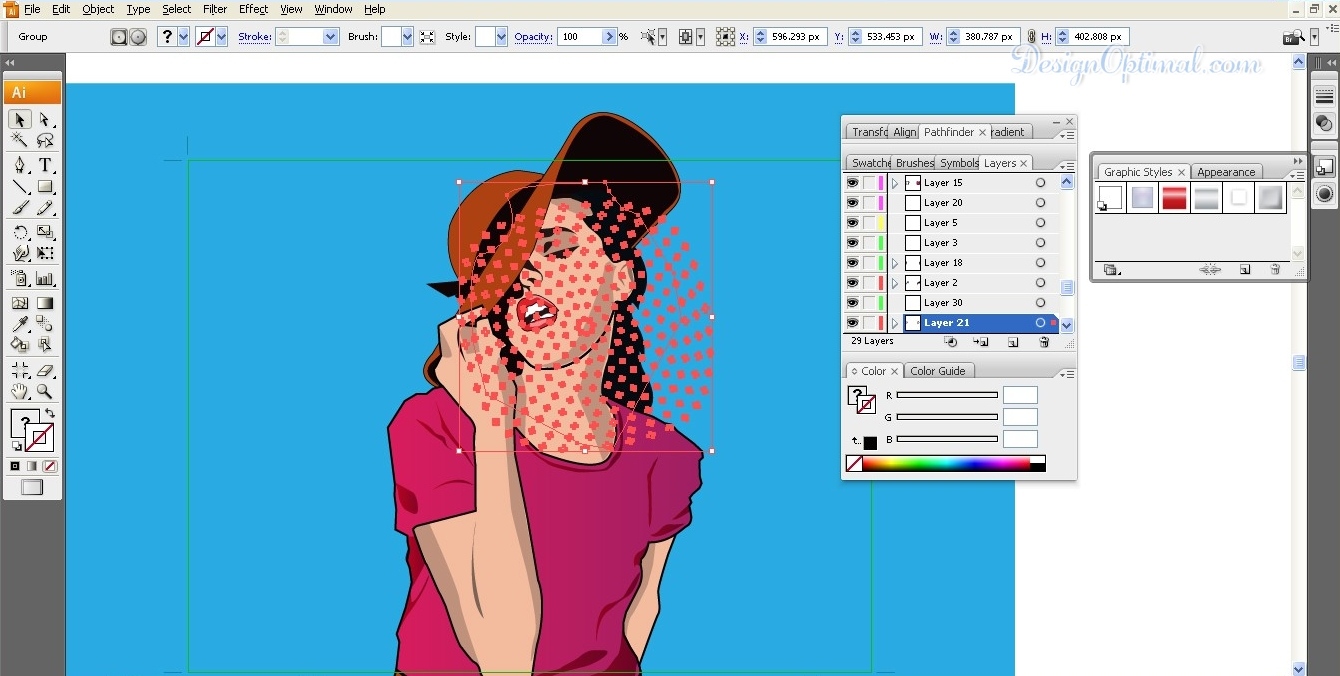
- Now we will be adding the halftone pattern to the face of the girl.
- Select the body areas with the fill color, duplicate the layer and use the halftone pattern (we used a pattern named dotted-Patterns.ai). Then make it a clipping mask to the duplicated body area.
- Make the fill color of the halftone pattern in to #C4ABA9 and reduce the opacity in to 55%.
- Do the same with the face area too.
- Steps are shown below in the reference images.
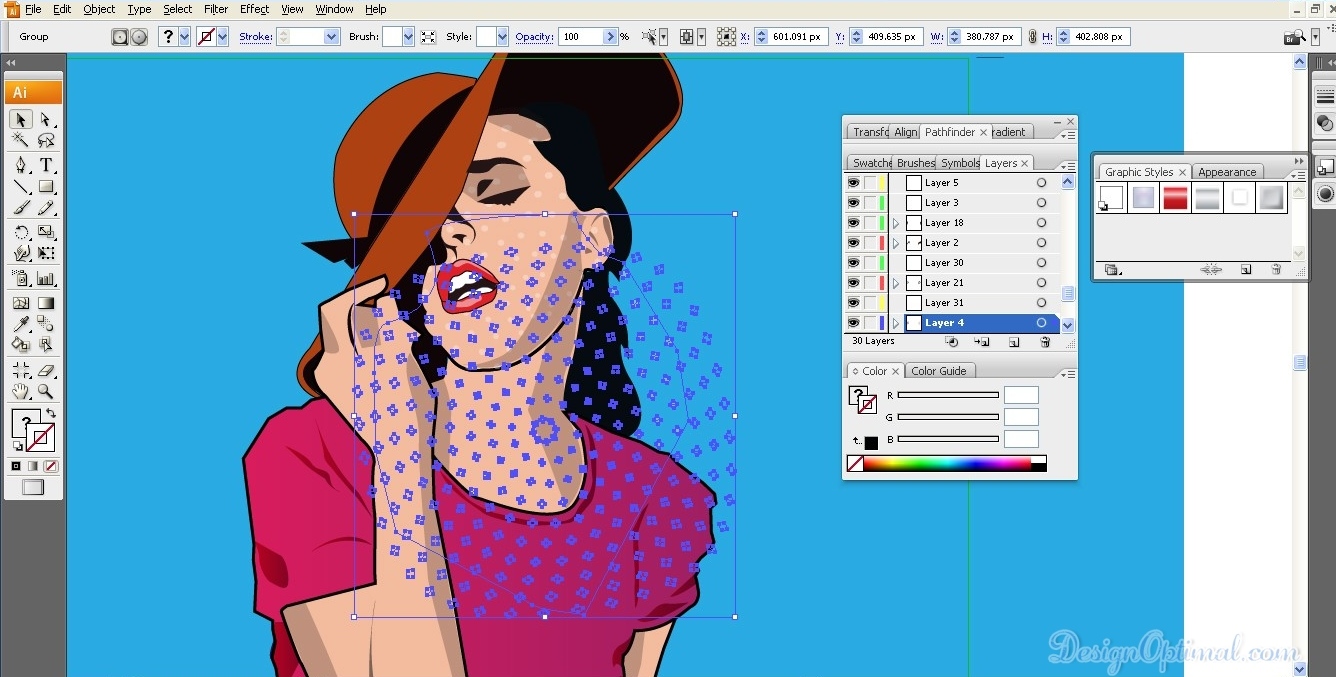
Step 07
- Repeat the same process with the area of the hands.
Step 08
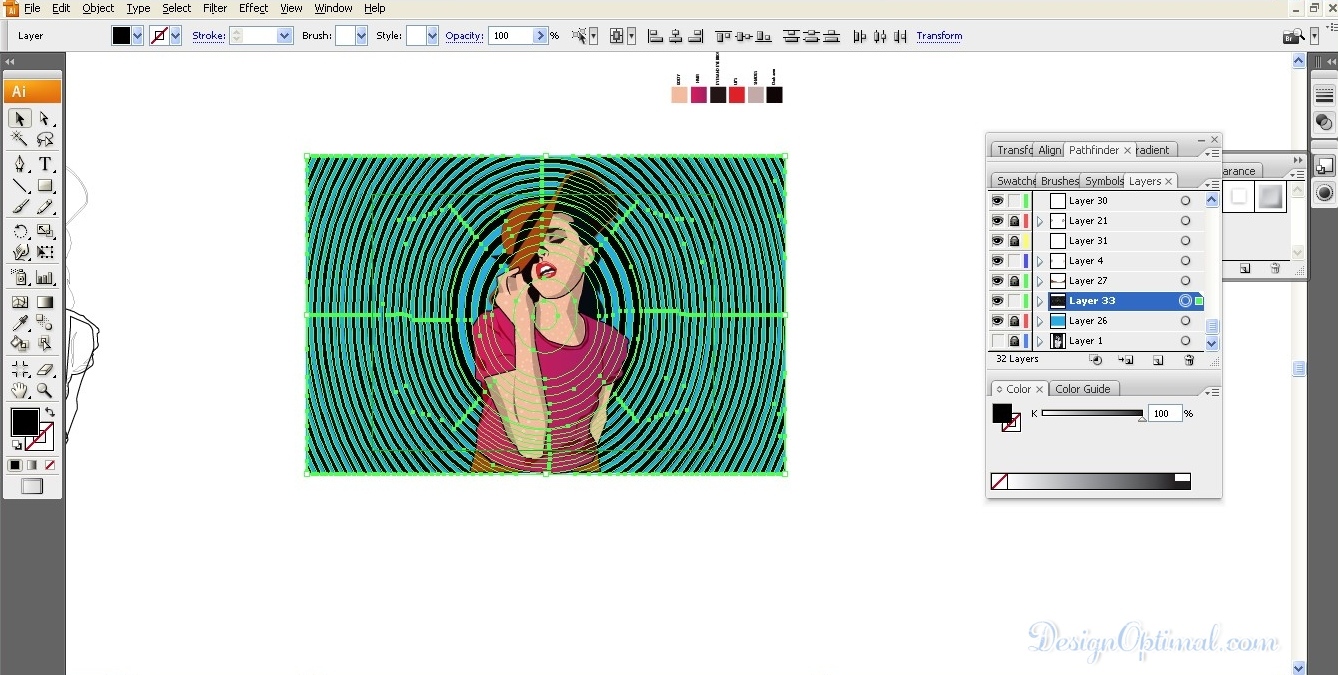
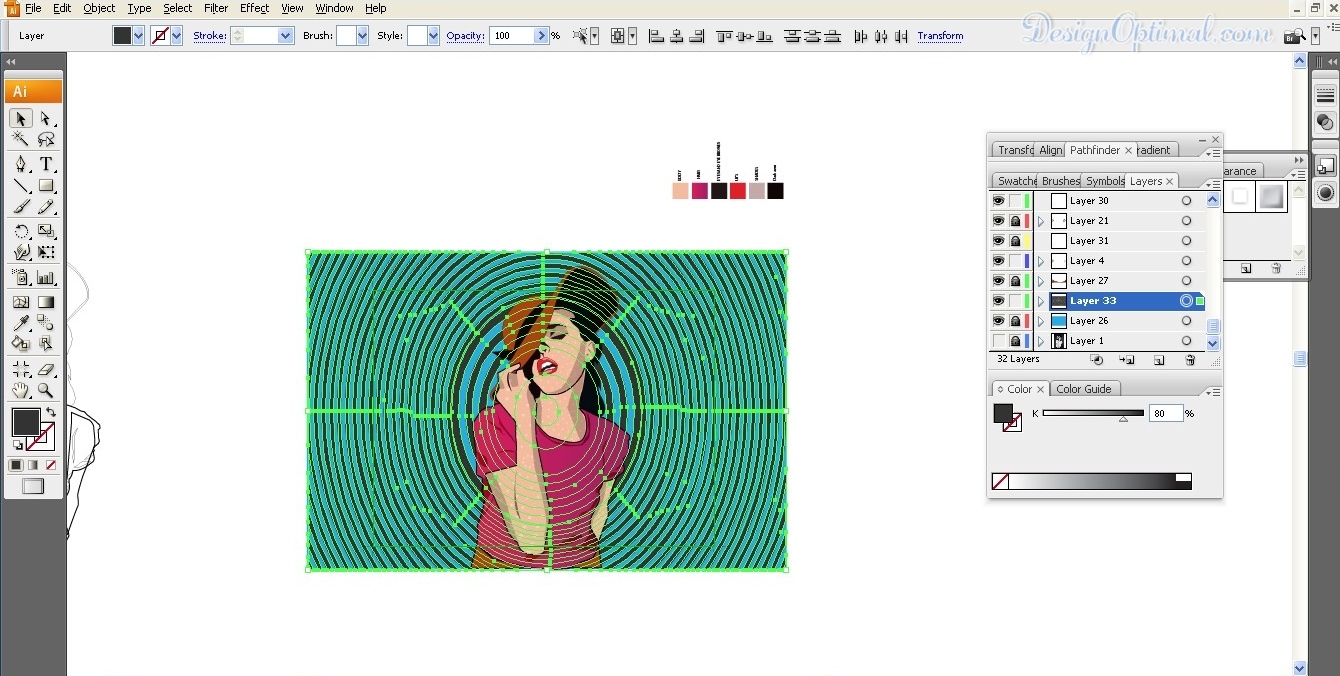
- Now we will add the hypnotize background for the art work (check the resources section at the beginning).
- Change the fill color in to #054568 and reduce the opacity in to around 50%.
- The process is shown below.
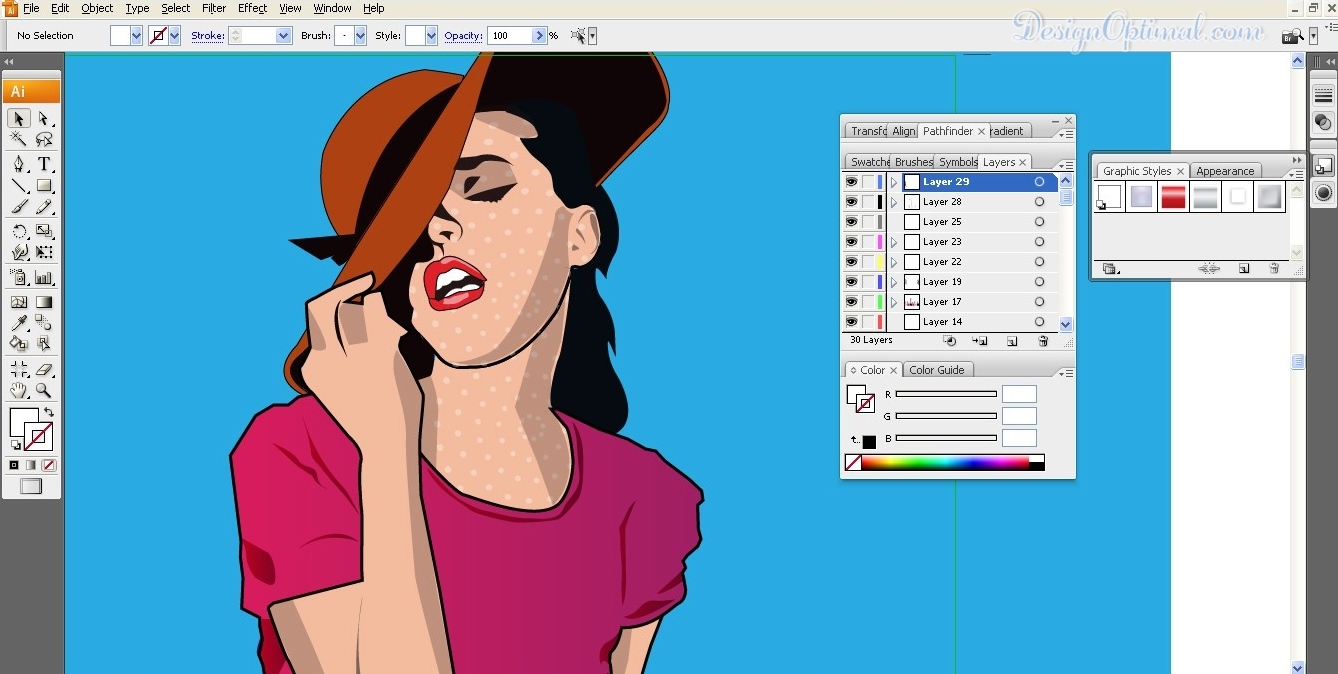
Step 09
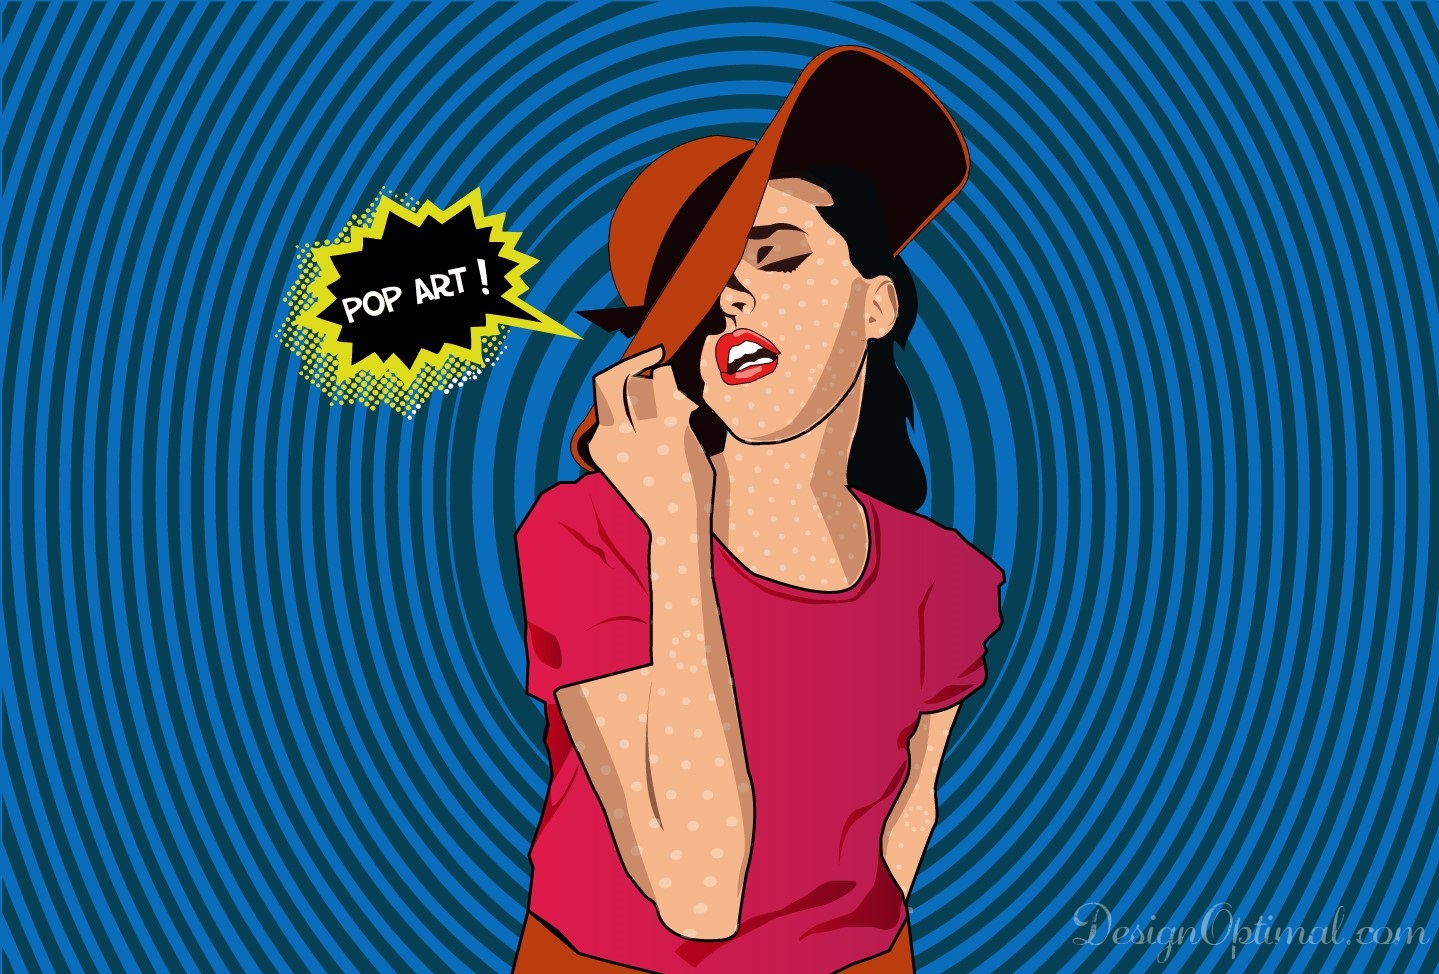
- Now Use a pop art talk bubble image (we used pop_art.ai) and places it in the art work as shown below.
- I did some final adjustments with the hypnotize background so the place area of it has been changed.

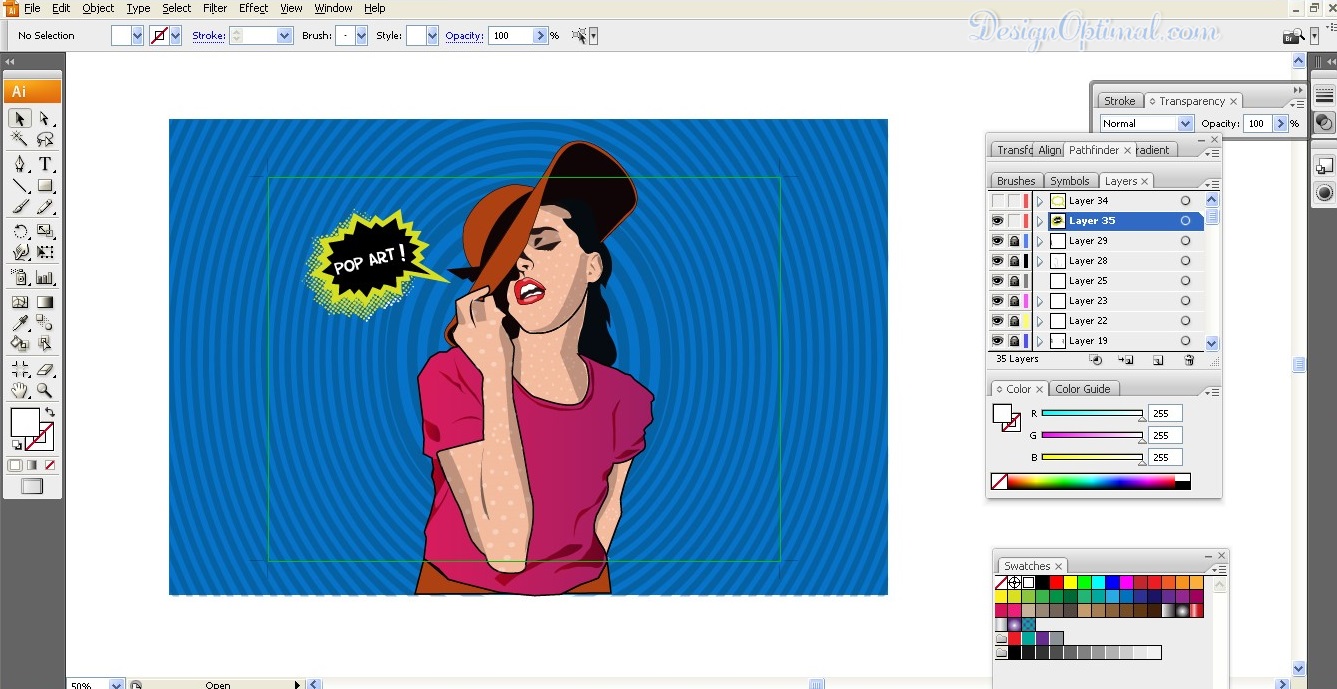
- This will be the final output of the art work of the pop art